Tag: Gelli Print

  • Holiday ATC’s | By, Natasha Vacca

    Holiday ATC’s | By, Natasha Vacca

    Hello Birch Press friends, it is Natasha here today sharing a couple of ATC’s (Artist Trading Cards) using the Holly Sprig and Pine Needle Twigs die sets. I had a lot of fun creating these, let’s get started!
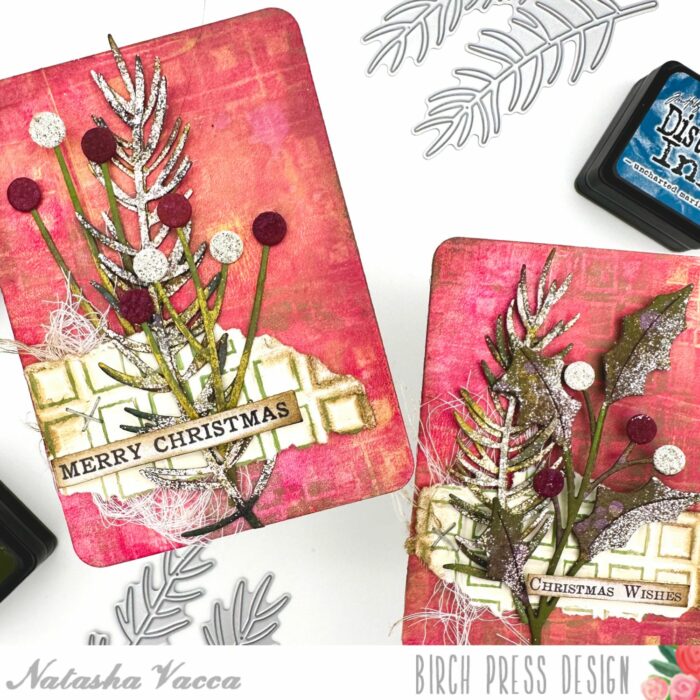
    I started by die cutting both the Holy Sprig and Pine Needle Twigs die sets using paper pads from Memory Box. I used the following pads: Blush, Greenery, Earth Neutral, and the Festive Glitter Pad. For each of the die cuts I used a combination of dye inks, sprays, as well as embossing powder to add texture to each of the die cuts. Once everything was completed, I adhered all the layers together using liquid glue.
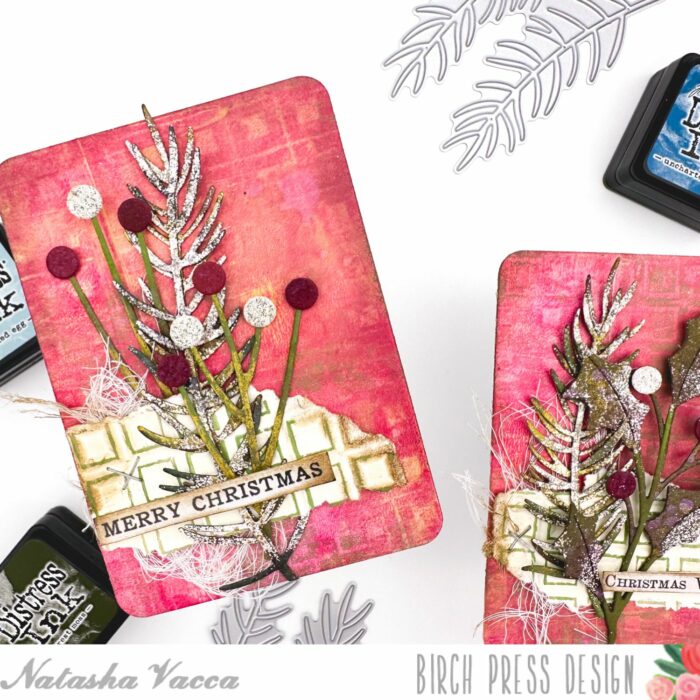
    Next I chose a gelli print background from my stash. The background was made on my gelli plate using the Geometric Crystals embossing folder. I dry embossed the folder, then used the dry embossed panel to create prints on my gelli plate. I also kept the dry embossed panel as an extra piece for additional layers. I trimmed the panel down into 2 ATC’s. I then inked the edges using Distress Ink.
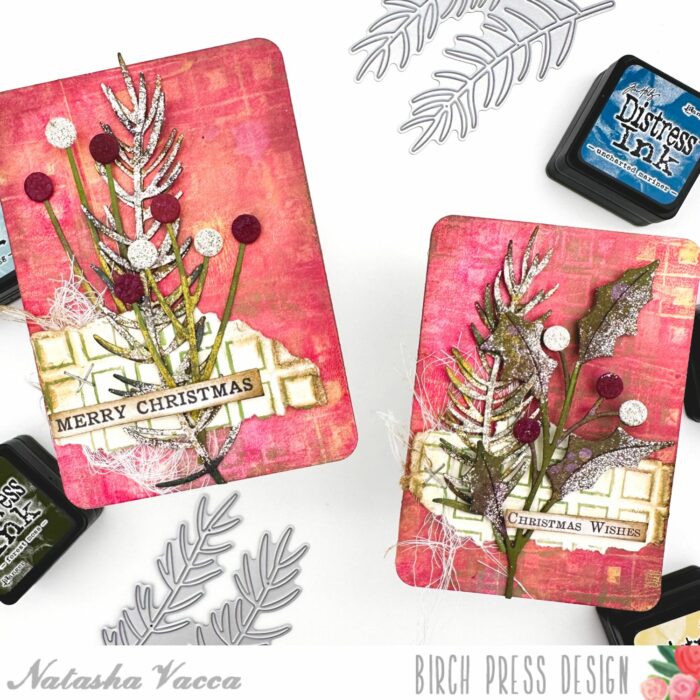
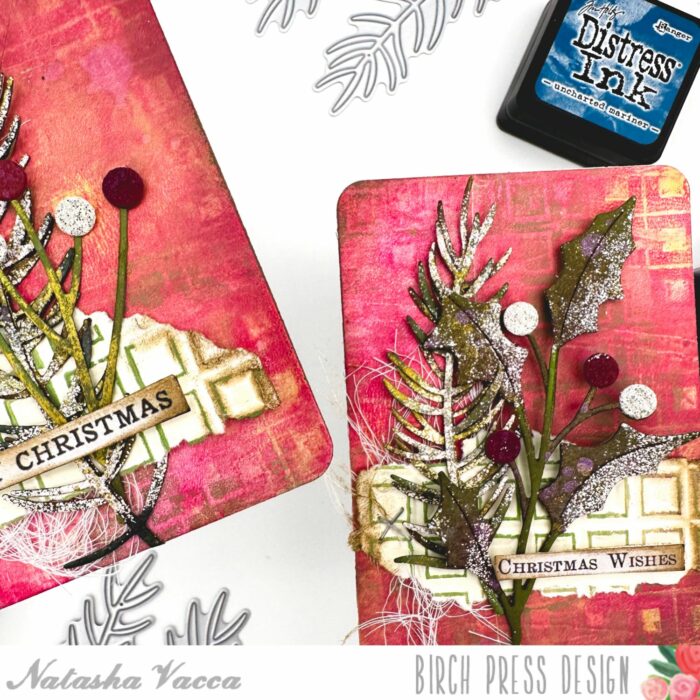
    Next I determined the layout for each ATC. I added additional texture to each ATC with a piece of cheesecloth, as well as pieces of the Geometric Embossing folder. I adhered everything using liquid glue and foam tape.
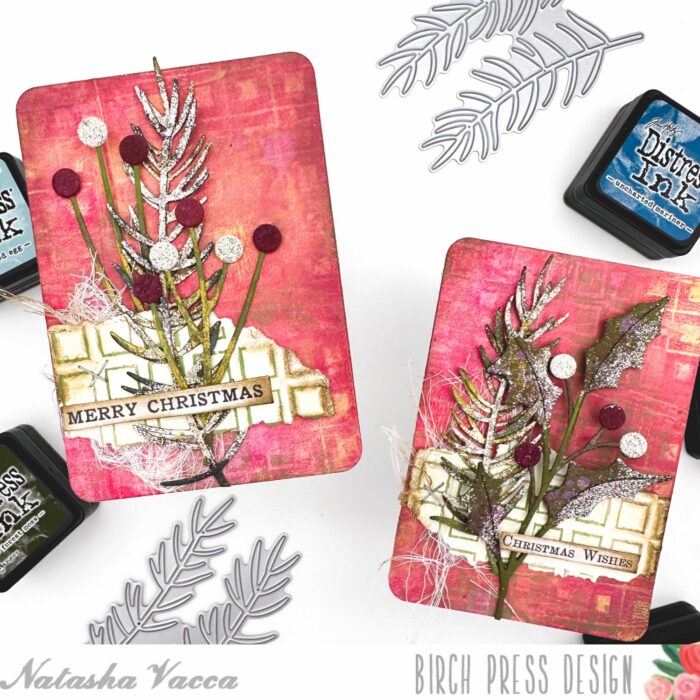
    I completed the project with 2 small sentiment strips from my stash. I had a lot of fun creating these and I hope you enjoyed them!

    Supplies


    Supplies

  • Let’s Create ATC’s |By, Natasha Vacca

    Let’s Create ATC’s |By, Natasha Vacca

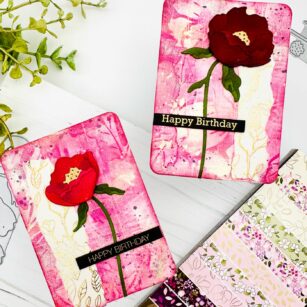
    Hello Birch Press Friends, it is Design Team member Natasha here today! Today I am sharing ATC’s – Artist Trading Cards! I had a lot of fun creating these, so let’s get started!

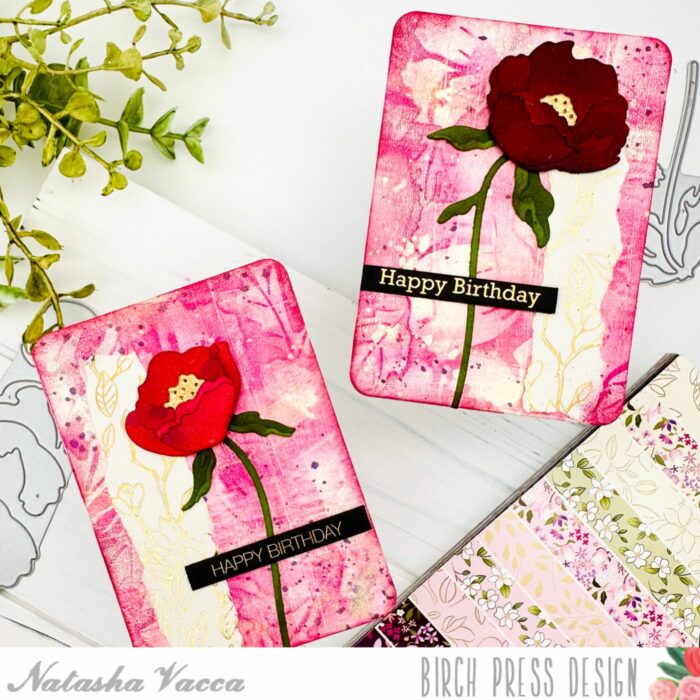
    For today’s project I started by creating the background for my ATC’s using the Anenome Bunches Embossing Folder. I used the folder on my gelli plate to create the background. The background was created using acrylic paint and a dry embossed panel using the embossing folder. I just love the texture this provides and it gives you another idea and way to use your folders!

    I trimmed down the panel I created into 2 ATC size pieces. Next I took a piece of scrap paper I had saved from the Magnolia Grove Paper pad. I used my fingers to tear the paper. I love the distressed look this gives! I then adhered this to my ATC panel and added splatters to the background using black and gold ink. I then inked the edges of each panel with a dye ink. I then set these aside.

    Next I started to work on my flowers using the Prime Peony Duo Contour Layers die. I die cut the flowers and stems using the Greenery and Blush Paper Pads from Memory Box. Once these were die cut I used dye inks in my stash to add more depth to each die cut. On the center of the flower I heat embossed this piece using gold embossing powder. Once everything was inked, I adhered all the layers together using liquid glue. I completed the ATC’s with Birthday Sentiments from the Happy Birthday Foil Greetings Black Tabs set. I love these foiled sentiment strips!

    Thank you so much for stopping by today! I will be back soon with more crafty inspiration!


    Supplies


    Supplies