Hi friends! Do you ever look for creative ways to use your BPD layered dies other than their original intention? Well, today I want to show you how to use them as stencils! We’ll be using Make a Splash Sugar Script die, Pinpoint Contour Plate, and Floral Balloon Layered dies, and I’ll include links to these supplies at the end of my post. Let’s get started!
Creating stencils from your dies is easy! You’ll need the dies, of course, and masking paper. I use the Gina K Designs Masking Magic, but you can find masking paper just about anywhere! I recommend you buy 5×7 or 8×10 in size so you can die cut larger dies for this technique!
First step is to create the mask by die cutting the layered dies using the masking paper.
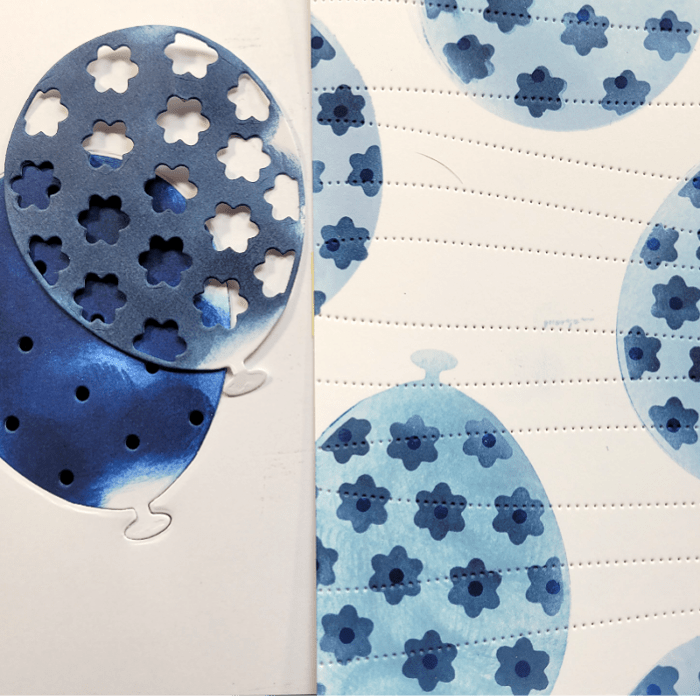
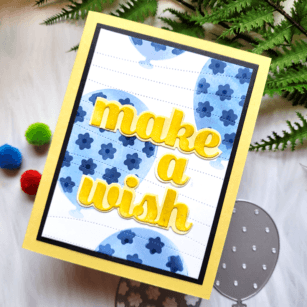
Using both the positive (the image) and negative (the outline) pieces of the mask, I placed them over the white card panel to protect the panel from getting ink where I didn’t want it. Then I ink blended just like I would with a regular stencil! I used shades of blue and went from light to dark as I built the layers of the balloons with my handmade stencil. If you’re not sure how to build the layers, think about how the die would look if you adhered the layers of the die together and use it the same way as a stencil. You can see in the photo above how I created the stencil and then inked up the white card panel (stencil is on the left and inked up panel on the right)!
Once the background was finished, I added another element of detail to it by die cutting the Pinpoint Contour Plate over the entire panel. I like this cover plate because it adds interest without stealing the show from the focal point!
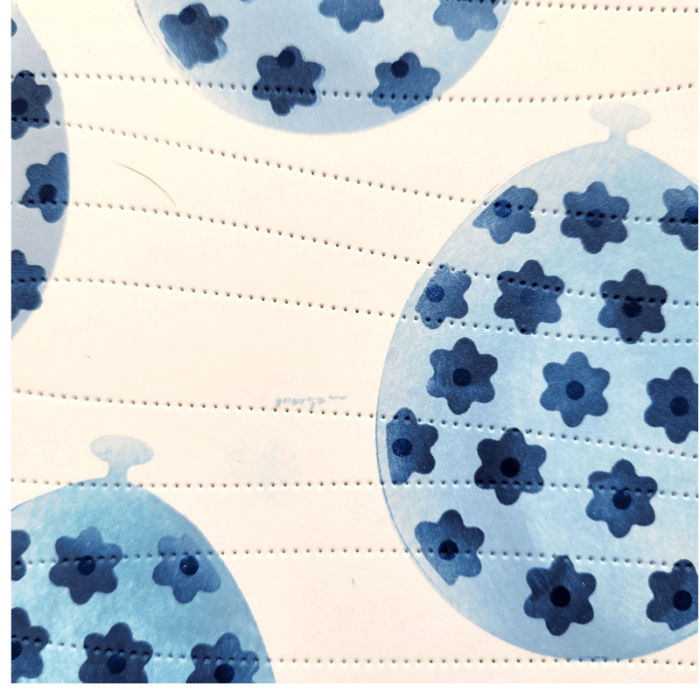
Then, I trimmed down the panel with a rectangle nesting die, along with a black card panel that was slightly larger. I adhered them together and placed them over a yellow card base, sized 5.5×4.25
Next up, the sentiment!
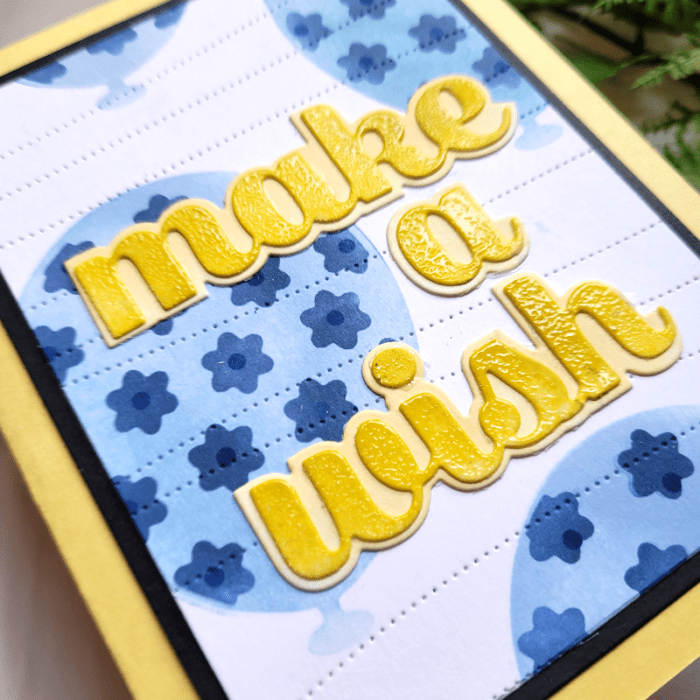
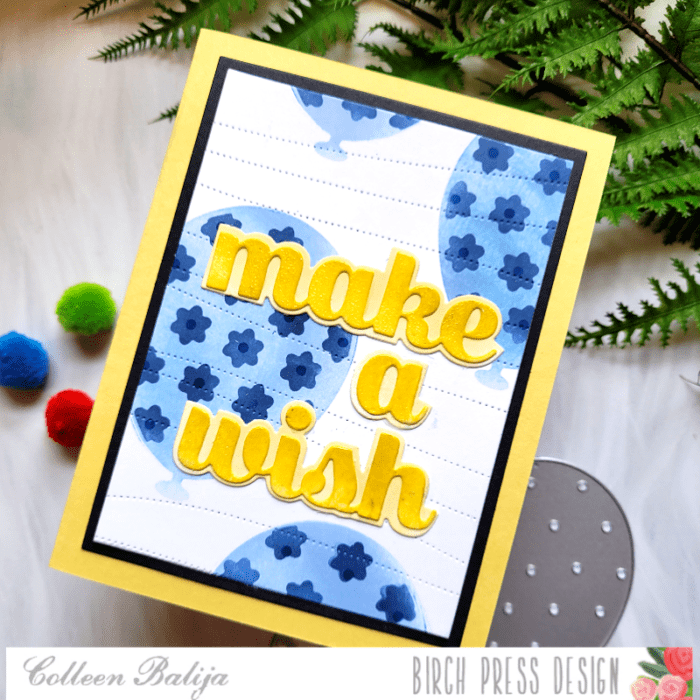
I chose the Make A Wish Sugar Script sentiment, which is 2 layers. I die cut each layer and then inked them up using 2 shades of yellow. To help the top layer pop even more, I heat embossed over it with a clear embossing powder. That adds shine and makes the color even more bold! Then I adhered the sentiment over the balloon background!
Below is a closer image of the entire card when finished!
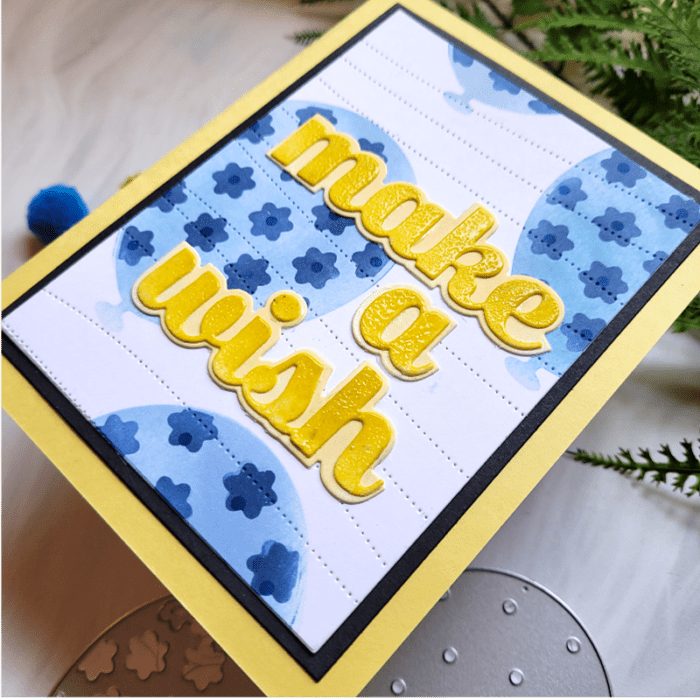
To summarize, grab any of your BPD layered dies and masking paper of choice, create a stencil by die cutting onto the masking paper, and then use it as a stencil! You can keep the stencil for future use by storing it with your dies, too!!!
YThanks for stopping by!
Supplies
