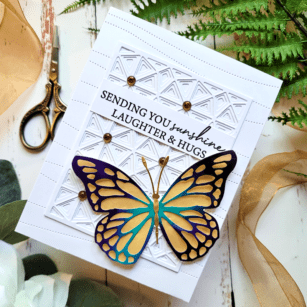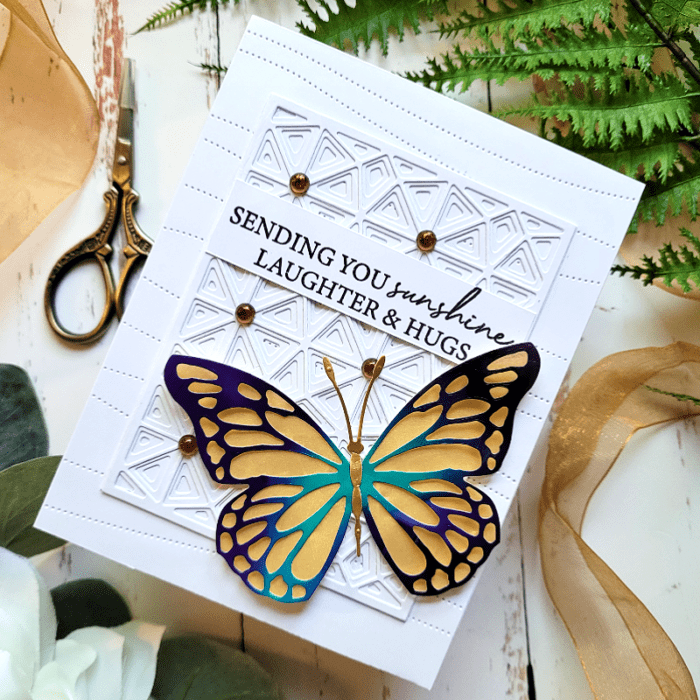
Hi friends! Ya know, every once in awhile I love a good card with lots of white space and a small pop of color! But, I admit, it’s hard to know how to make white space not look boring! Well, I found a surefire way to add interest to white space!!! It works like a charm every single time for me! Let me share how it’s done!
For my card today, I’ll be using Butterfly Basics die, Pinpoint Contour Plate, Splendor Bevel Layered Plates, Kind Hearts stamp (sentiment only), and Memory Box Fairy Crystals.
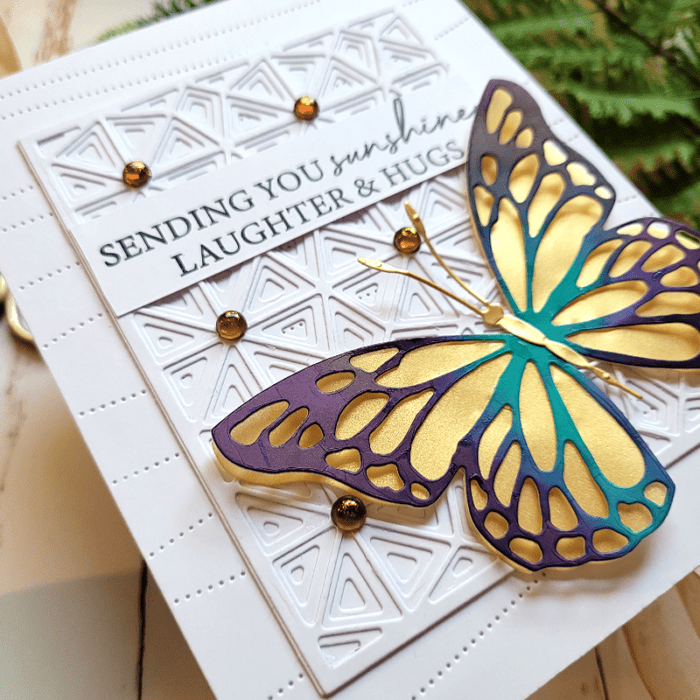
The first step is to create interest to a white background, and the best way to do this is by adding texture and layers with die cuts I die cut the Splendor Bevel Layered Plates, all on white cardstock, and adhered the layers together. These dies are made to be smaller than an A2 sized card, which is perfect for layering! Next, I die cut the Pinpoint Contour Plate onto a piece of 5.5×4.25 white cardstock. This added even more interest and texture to the background! I adhered the Splendor Bevel Layers over the Pinpoint Contour Plate and then adhered both onto a white 5.5×4.25 white card base. If you look at the photo above, you can see all the details in that background!
TIP: Consider mixing vintage elements with modern geo elements! They work beautifully together!
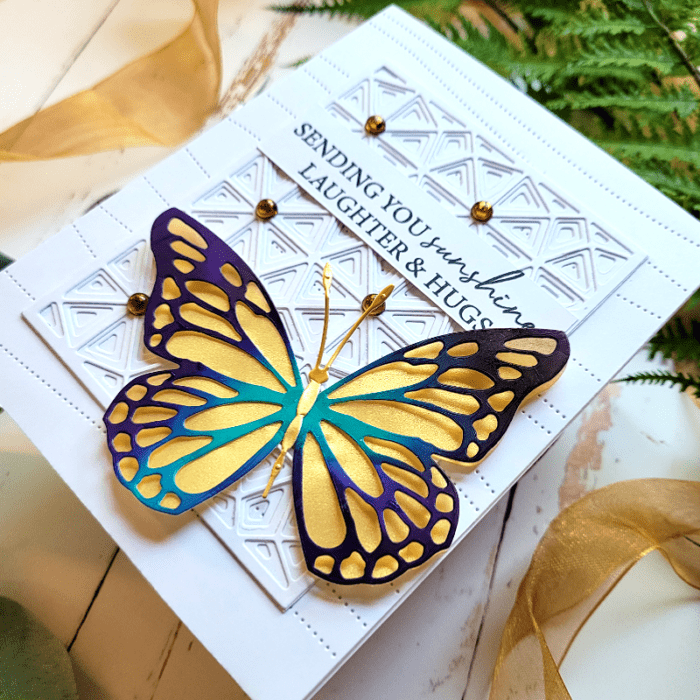
Next step was to work on a colorful focal point – the Butterfly! Using the larger of the 2 butterflies that comes with this set, I die cut the base layer with gold vellum and the top layer with an alcohol card panel that I had on hand. I only glued the center of the top layer of the butterfly and fluffed the wings out a bit to give it some movement.
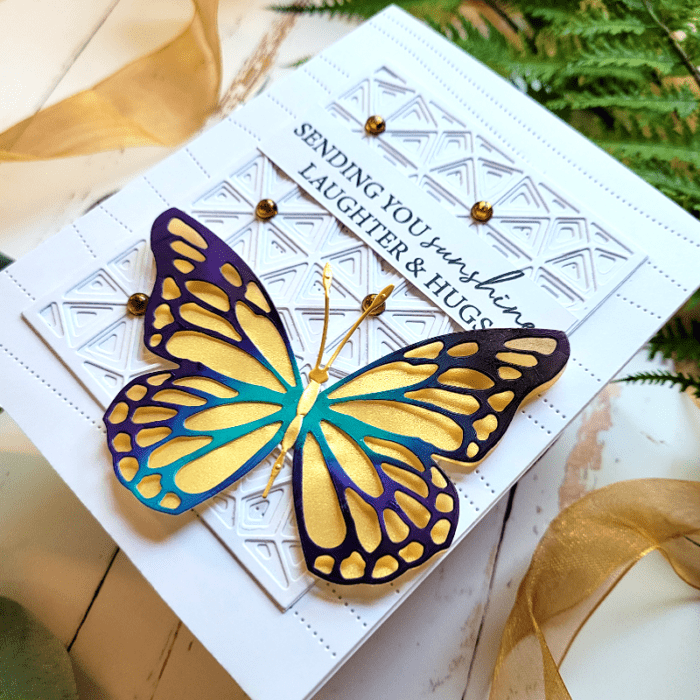
The final step was to add a sentiment from Kind Hearts stamp and adhere the butterfly and sentiment to the white card panel. I kept the butterfly in the lower corner of the card panel so that you can still see lots of that luxurious white detail!
TIP: You could also die cut the butterfly in white and have the entire card be white. It works beautifully! Consider embossing the butterfly with clear powder to add glossy shine!
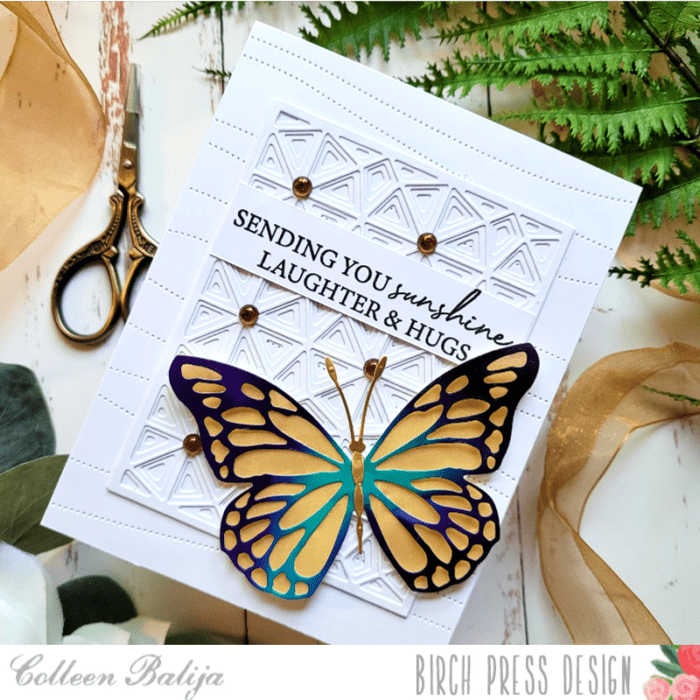
To summarize, create interest to a white background by:
- Adding texture with die cuts
- Adding layers with die cuts
- Use clear embossing powder to create a clear glossy shine onto one of the layers
- Limit the size of the focal point so the background is the star of the show!
I’m so glad you stopped by today!

Supplies:
