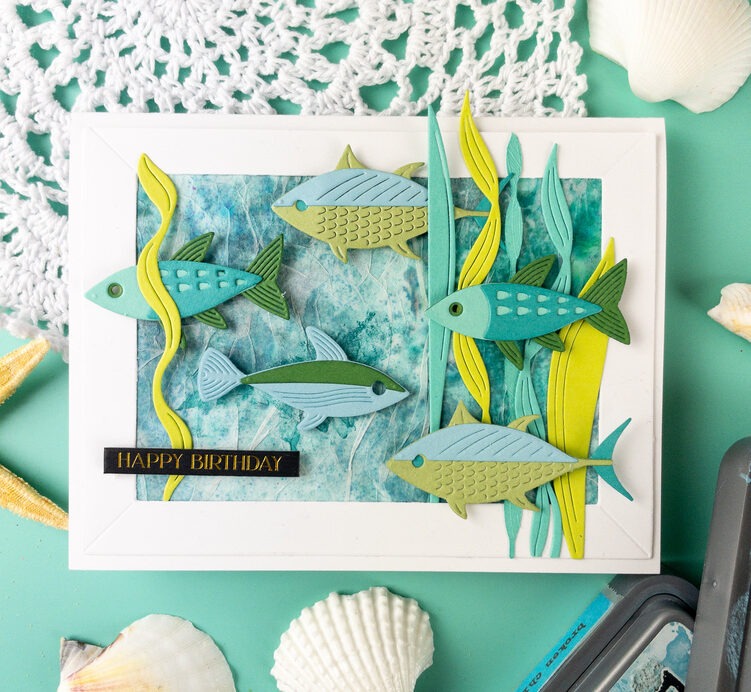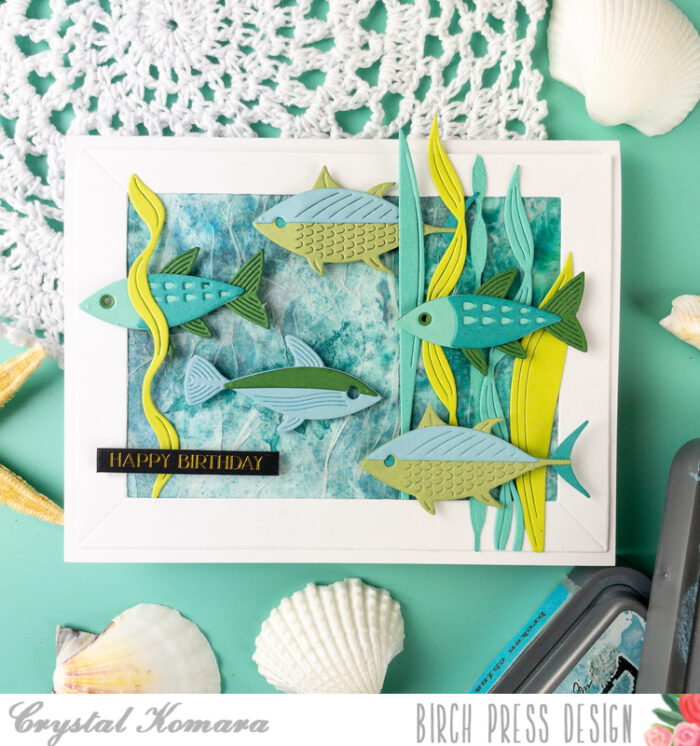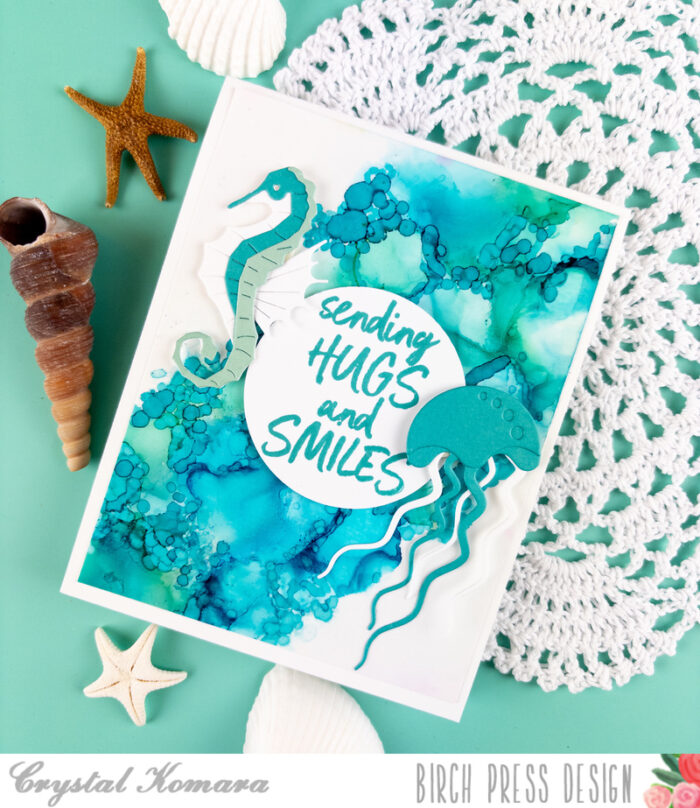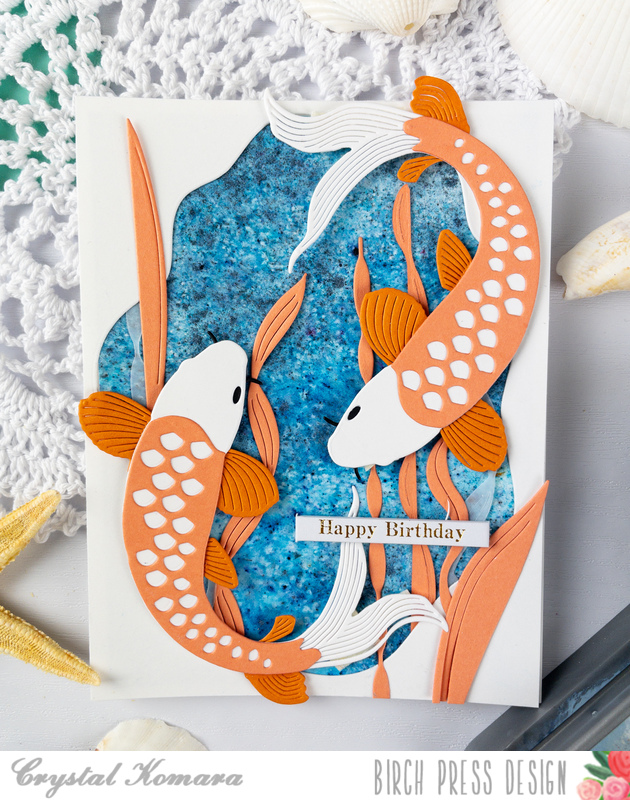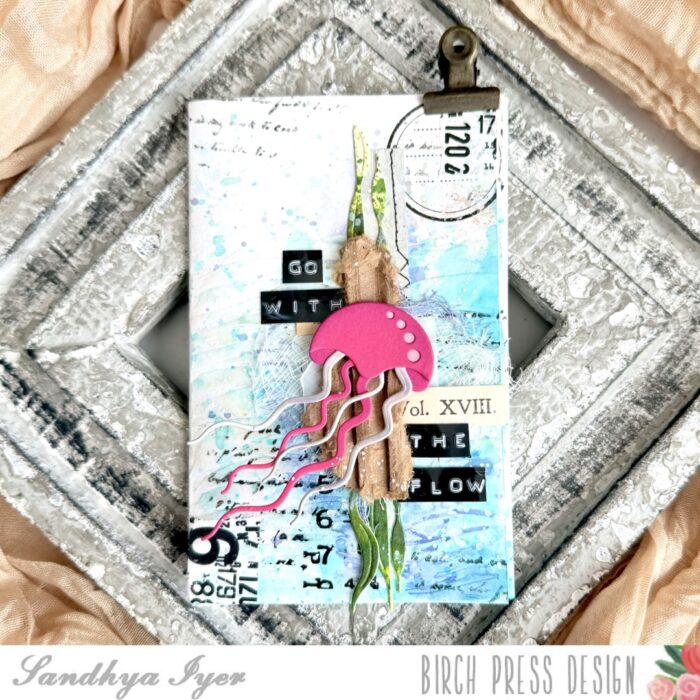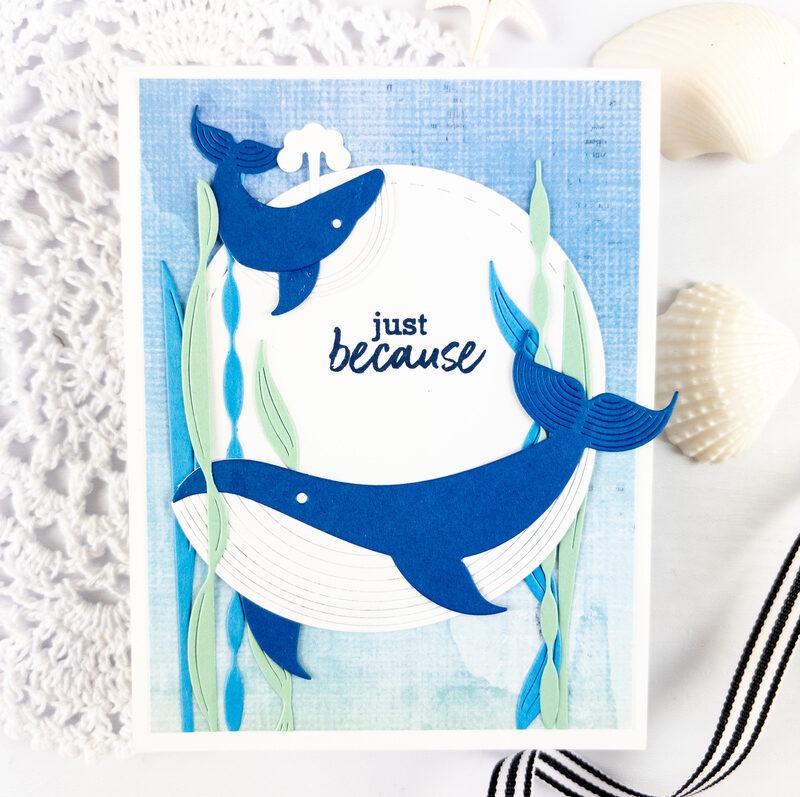
Hello readers! This is Design Team member Crystal Komara here with you today sharing a card that I made using products from the Block Print Ocean inspired collection. Yes, this is my third card this month using some of these products, because it is such a beautiful collection, particularly if you are into the nautical theme.
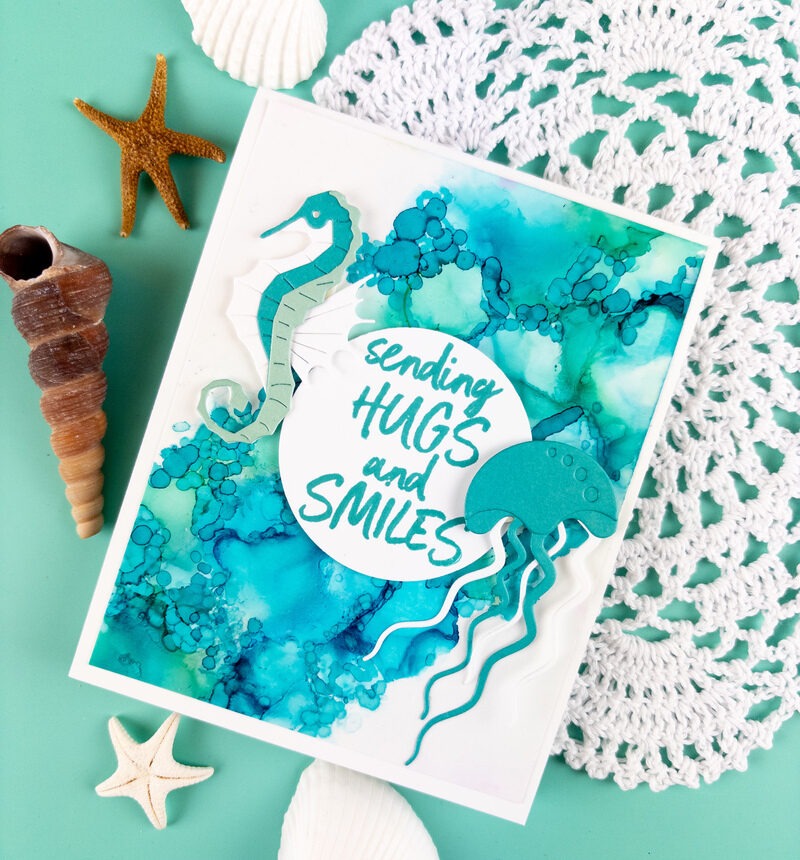
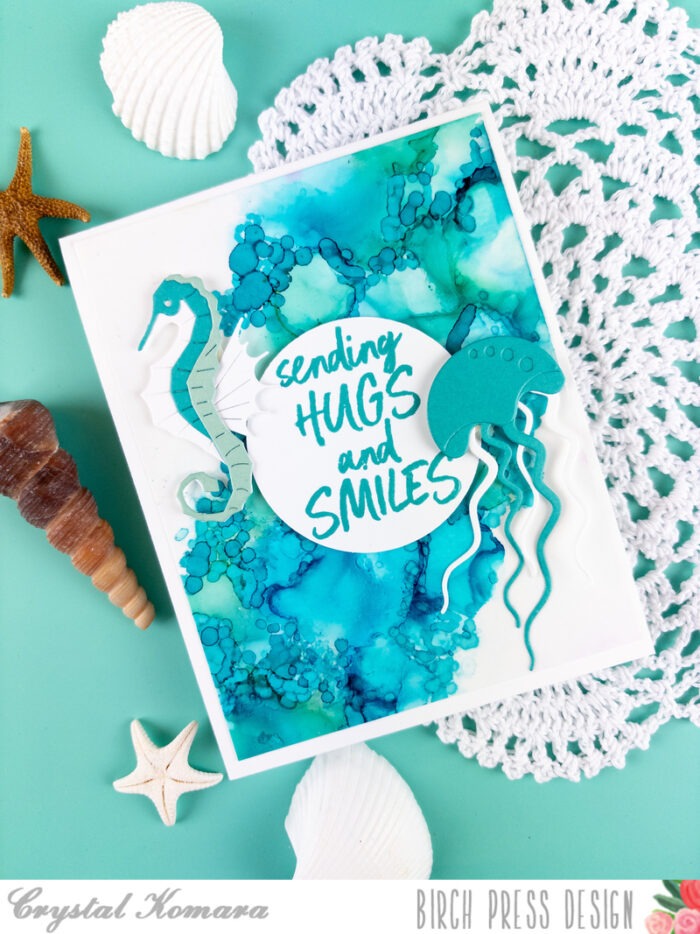
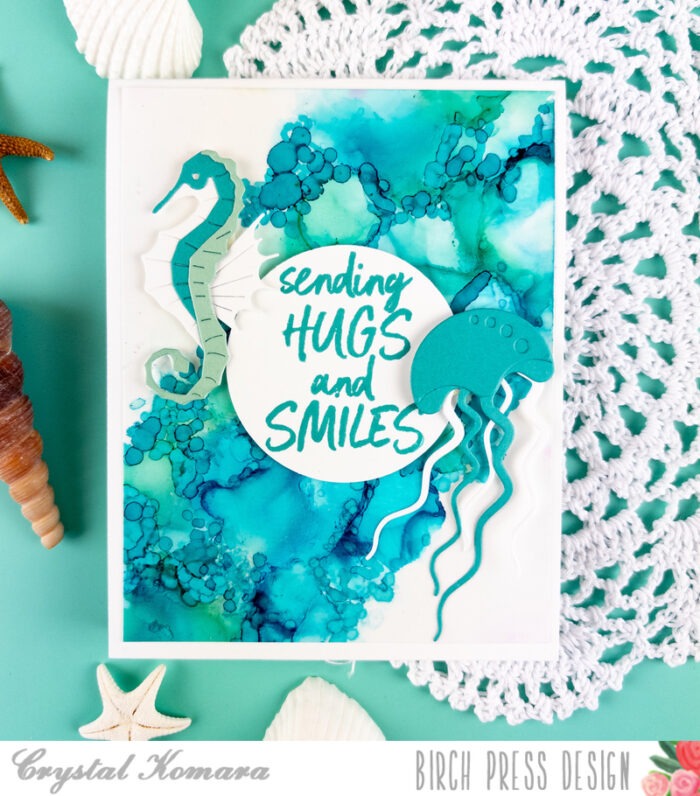
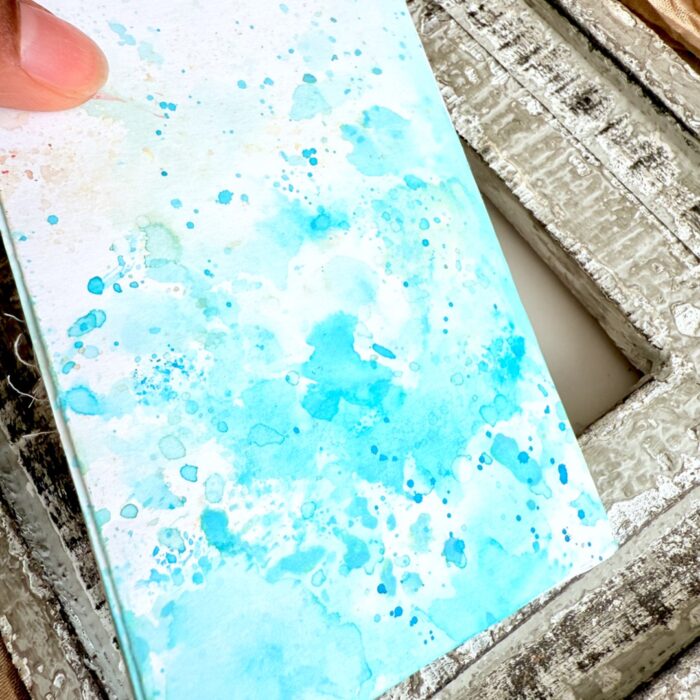
The base of this A2 sized card is made from 110 lb. Neenah Solar White Smooth cardstock. I used a piece of pre-watercolored background paper as the first layer. I keep a stack or supply of watercolored backgrounds and alcohol ink backgrounds, because it’s SO much easier to just pull from them, rather than creating on the fly.
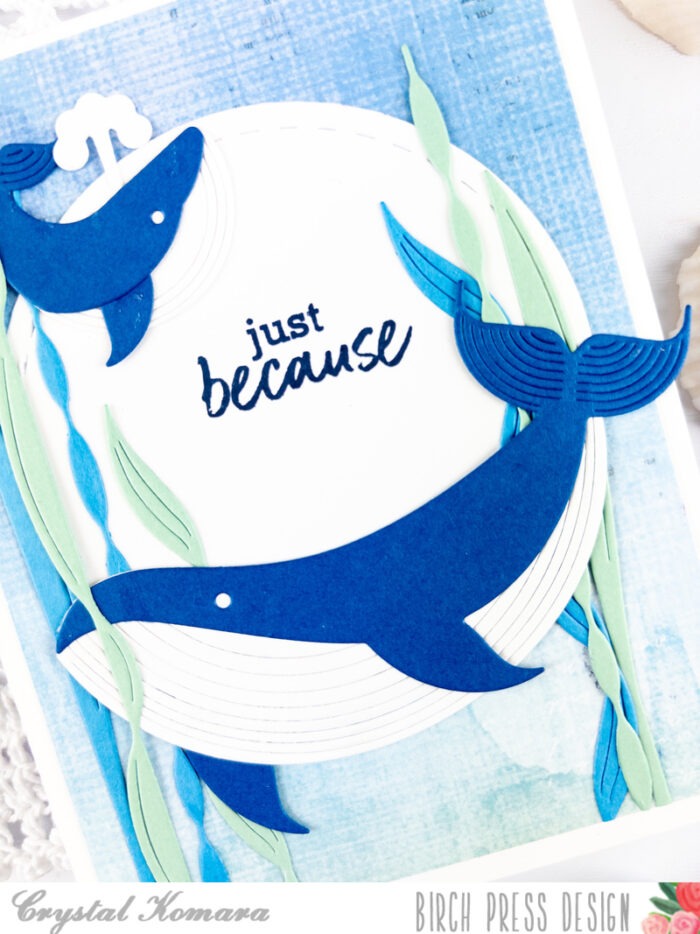
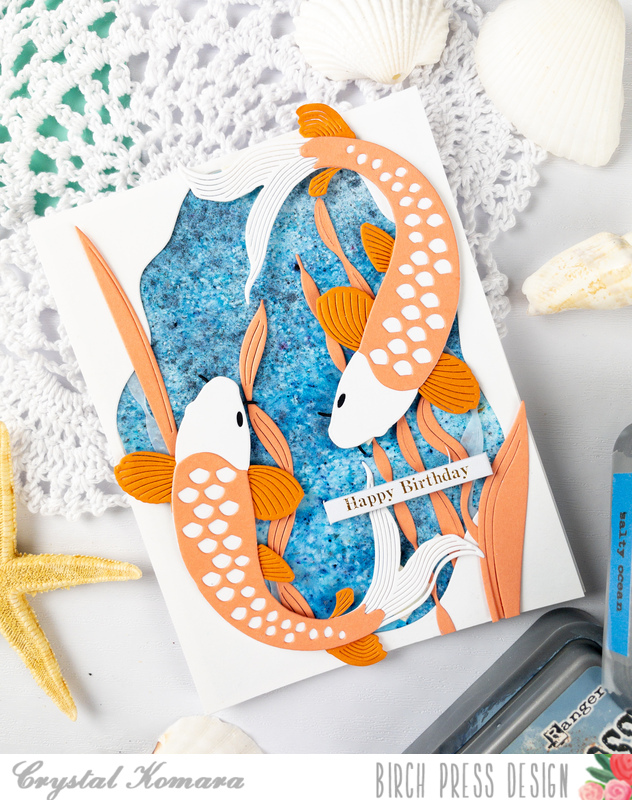
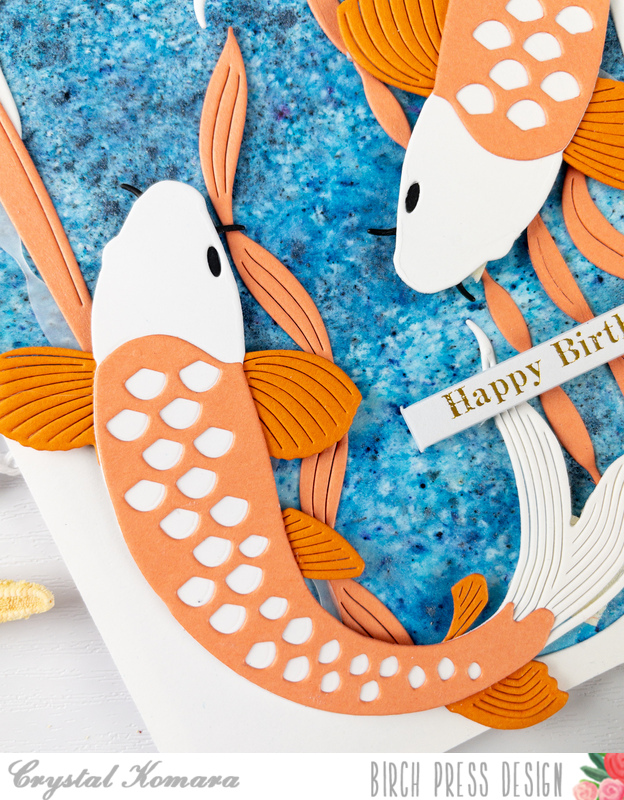
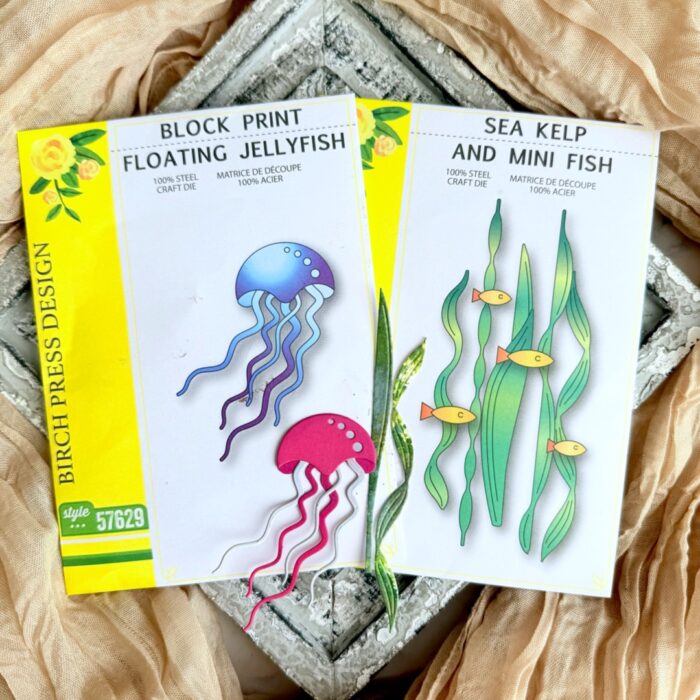
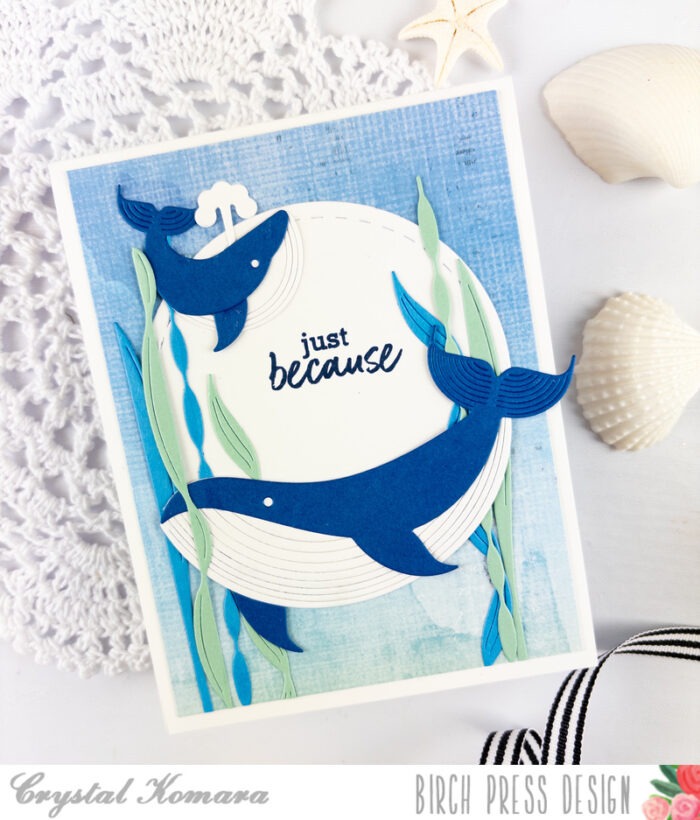
Using the Block Print Majestic Whale and Block Print Whale duo, I die cut the whales from a navy blue cardstock and white cardstock. I used a liquid adhesive to adhere the components together and then once the whale pieces were assembled, I added the whales to the card using 3M foam adhesive for added dimension.
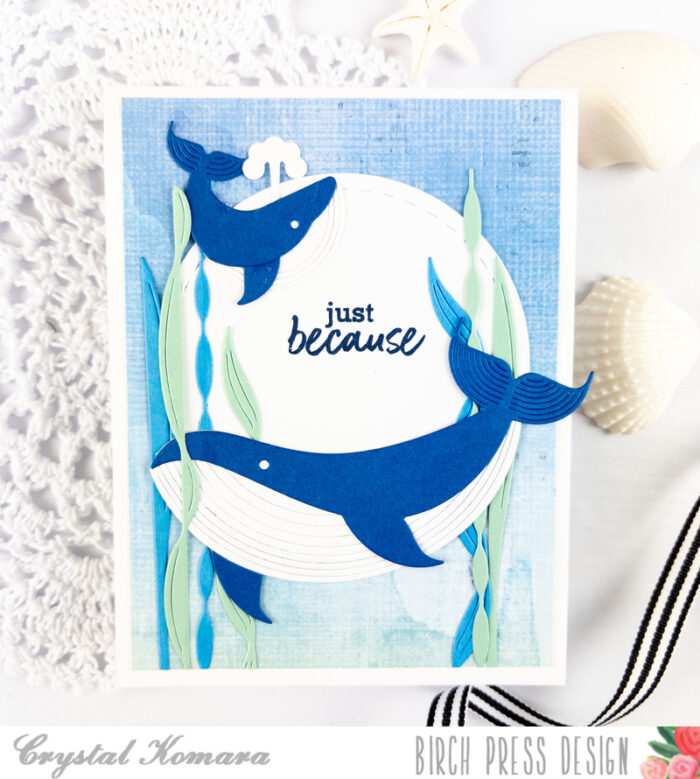
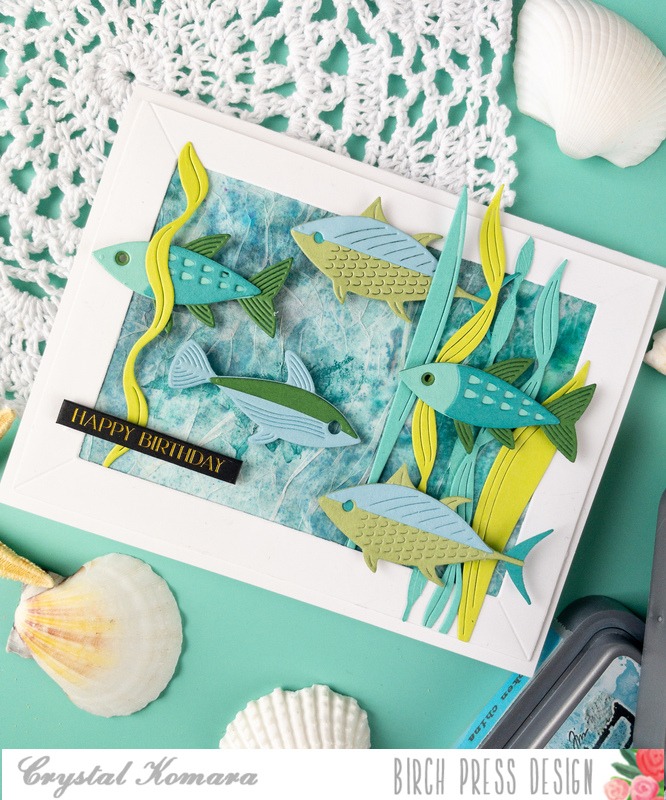
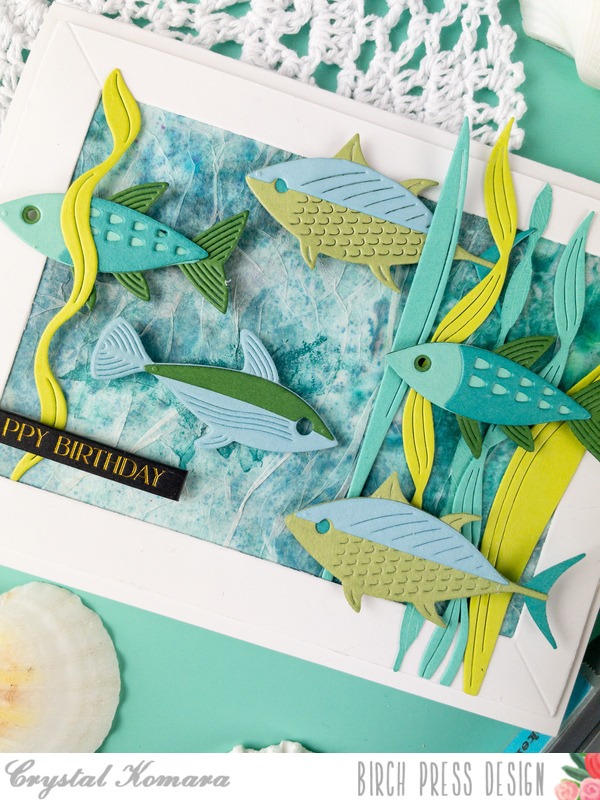
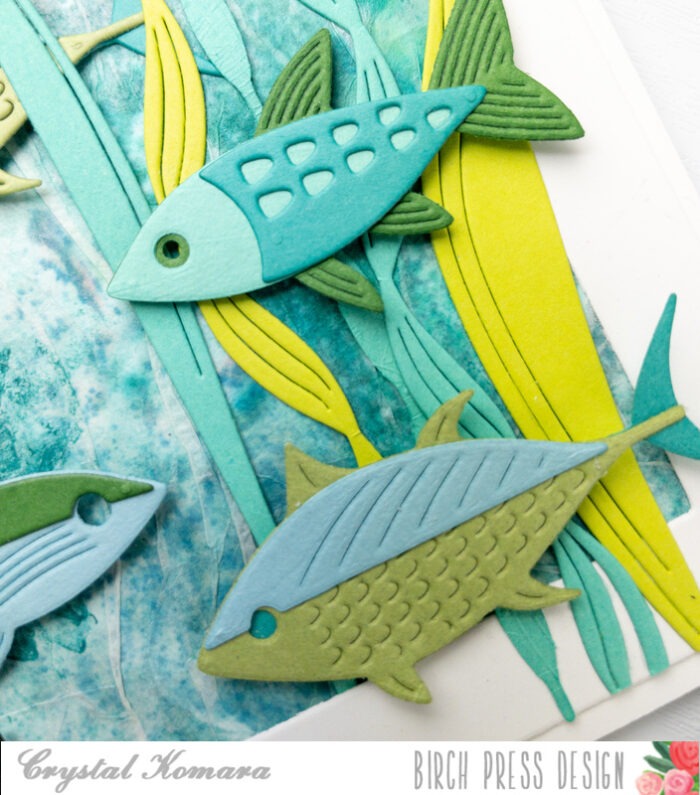
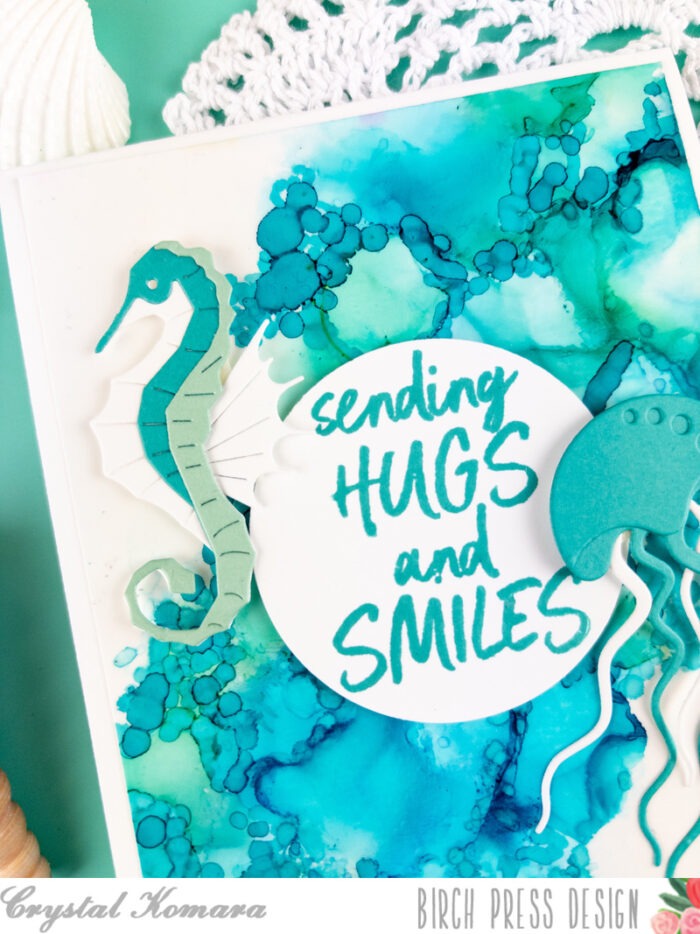
Using the Sea Kelp and Mini Fish dies, I die cut the key from a lighter blue and a green cardstock. I stamped the sentiment on a white circle in navy ink.
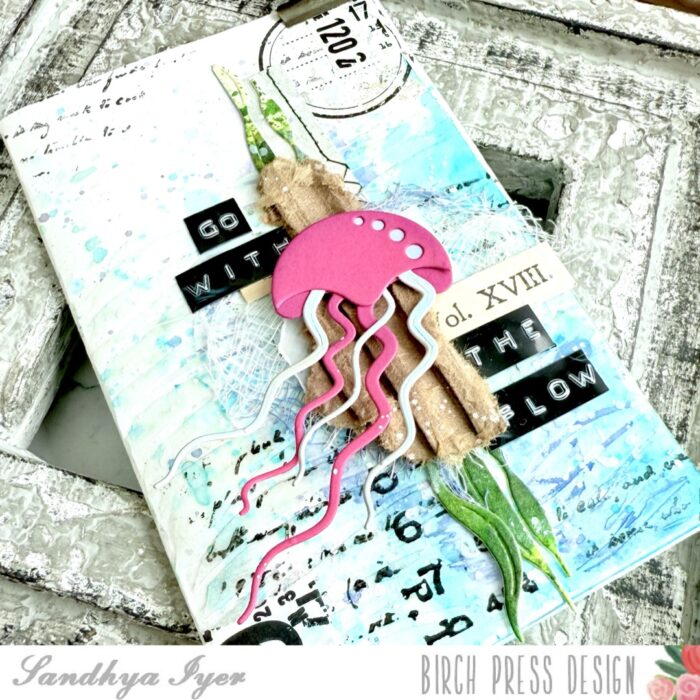
What a majestic whale! It makes for such an elegant card. Thanks for visiting and have a wonderfully creative day.