Tag: snowflake

  • Felicity Snowflakes | by Crystal Komara

    Felicity Snowflakes | by Crystal Komara

    Hello friends! This is Design Team member Crystal Komara here with you today. If there is one thing I love when it comes to cardmaking, it’s the alcohol. Ink, that is! ; ) Initially I never thought I would have enjoyed working with alcohol inks as much as I have because, well. . . they’re messy. They stain. They are a tad unpredictable in outcome and all that just terrifies me. Yet, somehow I learned to love them and now can’t feature them enough on my cards.

    Card details:

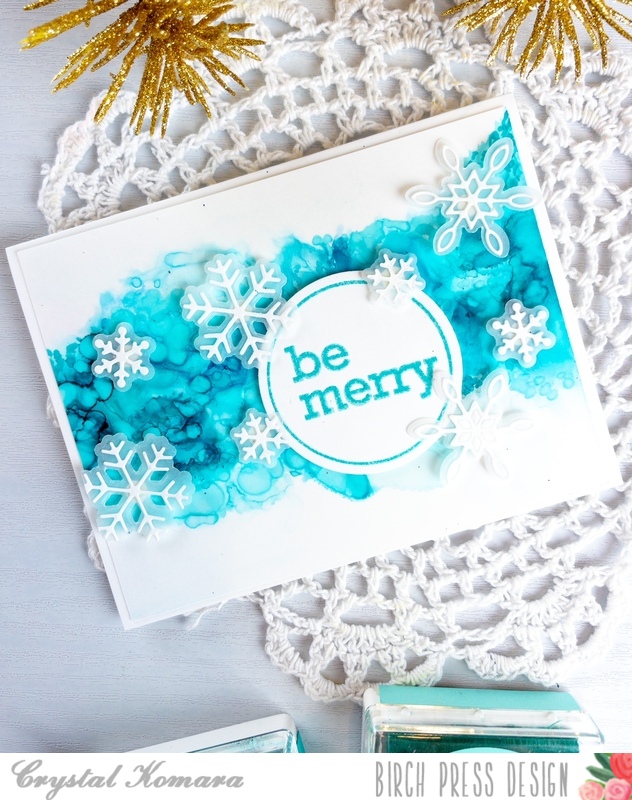
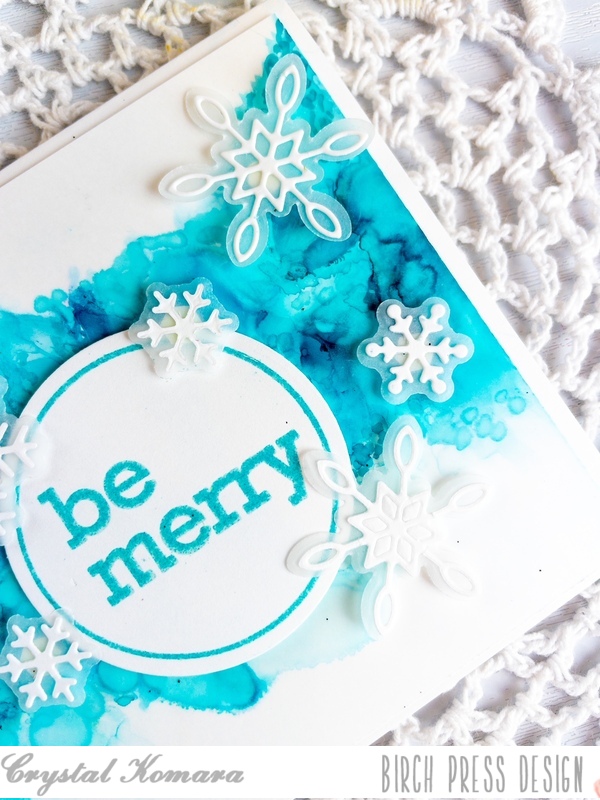
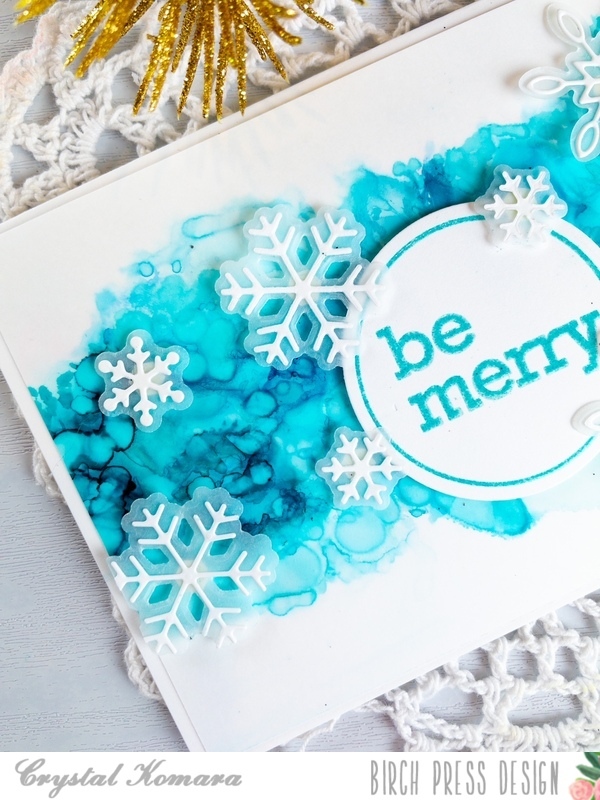
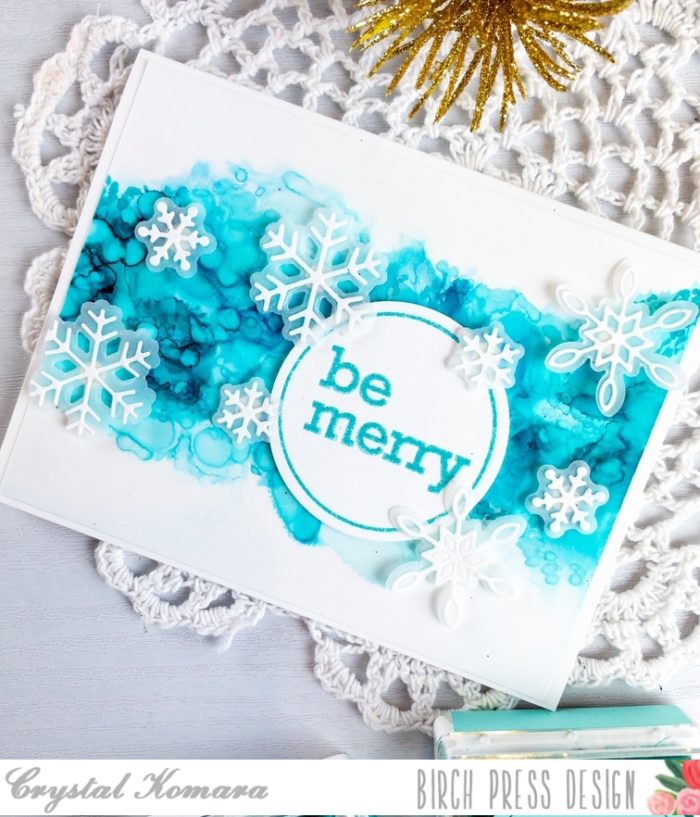
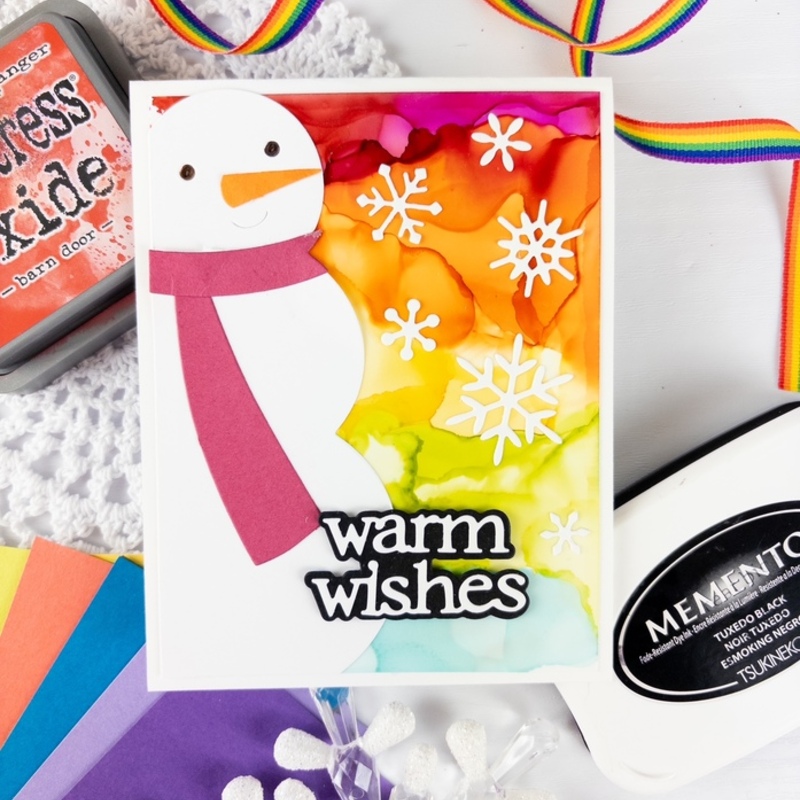
    The base of this A2 sized card is made from 80 lb. Neenah Solar White Smooth cardstock. I cut a 5 1/4″ x 4″ piece of Yupo (polysynthetic paper) and “ink blew” Ranger Adirondack alcohol ink in the color Stream over the Yupo paper. That’s it, just one ink color was all I used! As it moves around and dries, you get puddles of ink that look like other darker and lighter colors, but I assure you, I used just one color. Nice and easy!

    Using the Felicity Snowflakes dies, I cut the outer layer from vellum cardstock and the top thinner layer from white cardstock. I adhered the two layers together with liquid adhesive and then I adhered the snowflakes to the card with a small pop dot (which you can actually see through the vellum, it’s too hard to hide).

    Using the Contempo Christmas Greetings stamp set and coordinating die, I stamped the sentiment in Versamark ink on white cardstock and heat embossed it with turquoise embossing powder. I used the coordinating circle die to cut out the sentiment. I adhered the sentiment to the card with Scotch 3M foam adhesive for added dimension.

    Now that I think about it, you could make this same card in ANY color! Red or green alcohol ink would be very traditional, but I’m also thinking pinks and purples for a pop of pizazz too!

    Thanks for visiting and have a wonderfully creative day!

  • Be Merry | by Crystal Komara

    Be Merry | by Crystal Komara

    Hello friends! This is Design Team member Crystal Komara here with you today sharing more holiday themed inspiration using products from the latest Birch Press Design Release. Birch Press Design never ceases to amaze me with its elegant layering dies, contour dies and foil plates. Some of my most loved cards have been as a result of these gorgeous and elevated products.

    Card details:

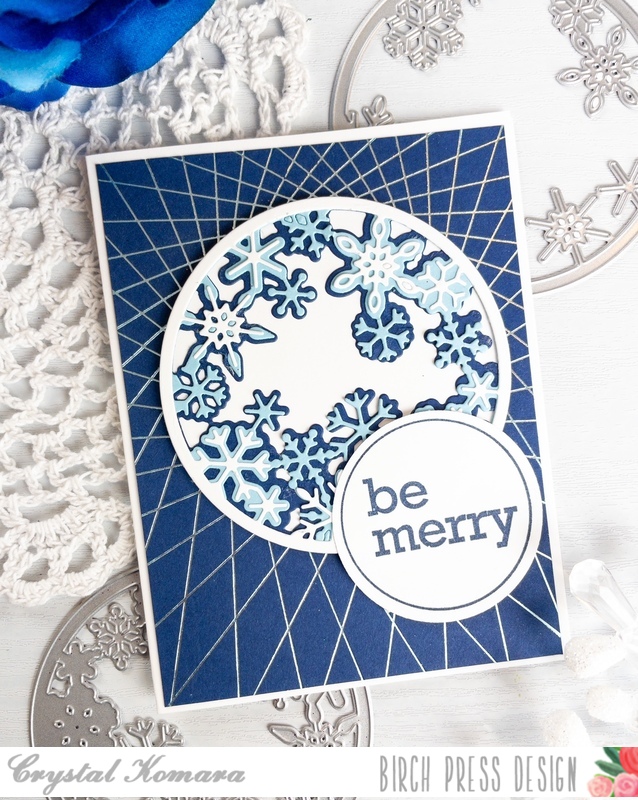
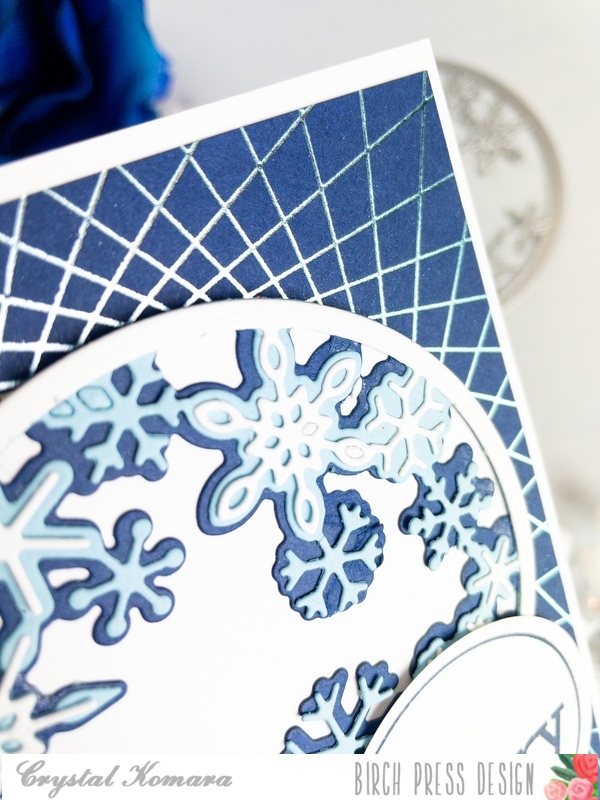
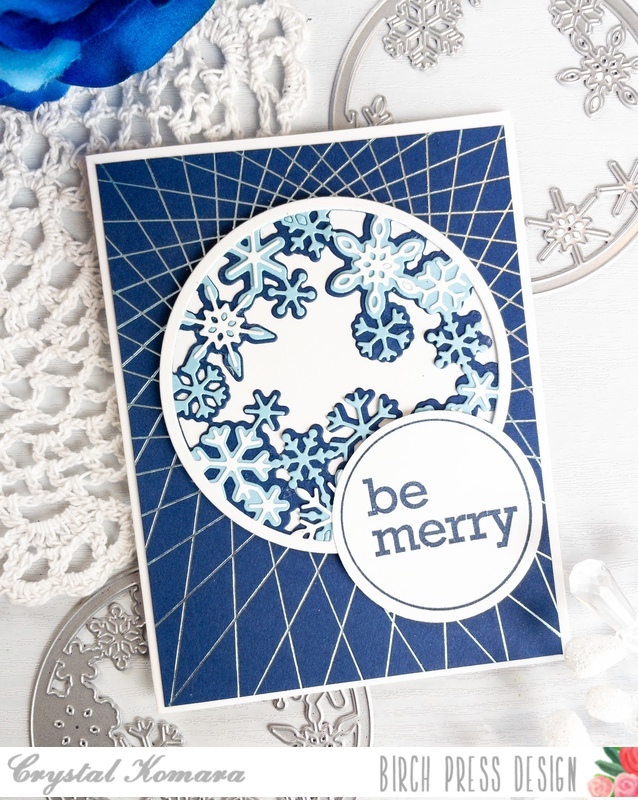
    The base of this A2 sized card is made from 80 lb. Neenah Solar White Smooth cardstock. I cut a 5 1/4″ x 4″ piece of navy cardstock from the 6″ x 6″ Ocean Blue paper pack. Using my Gemini Foilpress machine and the String Art Hot Foil Frame, I heat foiled a cerulean blue foil onto the navy cardstock. I know that it kind of looks like silver foil in these photos, but it is ever-so-slightly more blue tinted in person.

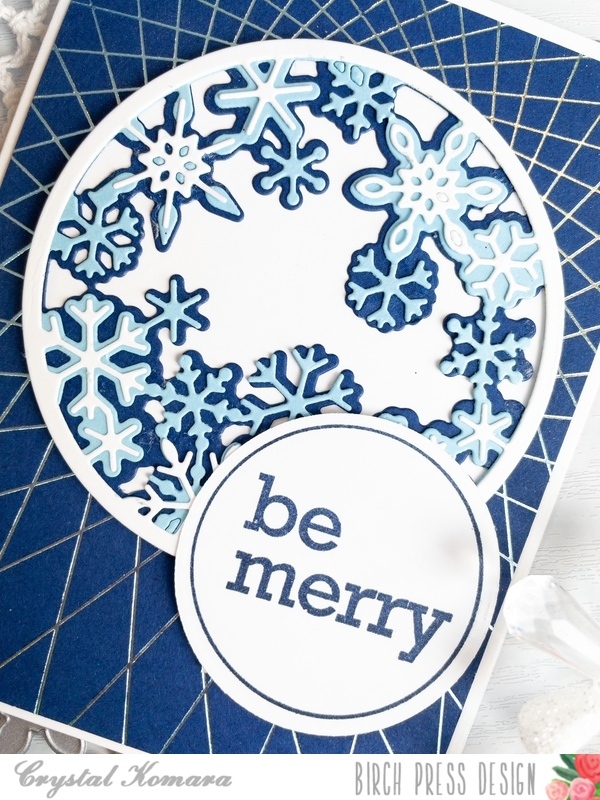
    Using the Snowy Circle Layer Set, I created the center focal piece. I die cut Layer C (bottom layer) from navy cardstock. I die cut Layer B (middle layer) from a sky blue cardstock. I die cut Layer A (top layer) from white cardstock. Again, I used cardstock from the 6″ x 6″ Ocean Blues paper pack. I used a fine-tip liquid adhesive to adhere all three layers together and then I lined the back of the three layers with a solid sheet of white cardstock. I adhered the entire Snowy Circle image to the center of the card using 3M foam adhesive.

    Lastly, I stamped the sentiment “be merry’ in navy ink on white cardstock. This sentiment is from the Contempo Christmas Greetings stamp set. I used the coordinating circle die to die cut the sentiment out. I adhered the sentiment to the lower right side of the snowflakes with 3M foam adhesive.

    I hope you have enjoyed today’s card. Thank you for visiting and have a wonderfully creative day!
    Supplies