Tag: thank you cards

  • Autumn Thanks | by Sandhya Iyer

    Autumn Thanks | by Sandhya Iyer

    Hello Birch Press friends! This is Sandhya and I am super thrilled to be a part of the Birch Press design team and look forward to sharing my ideas and creations with all of you. I will start off with a couple of ‘thank you’ cards using the gorgeous new Adornment Wreath die set. It was fun playing with the delicate leaves as well as filling them up with leftover die-cuts.
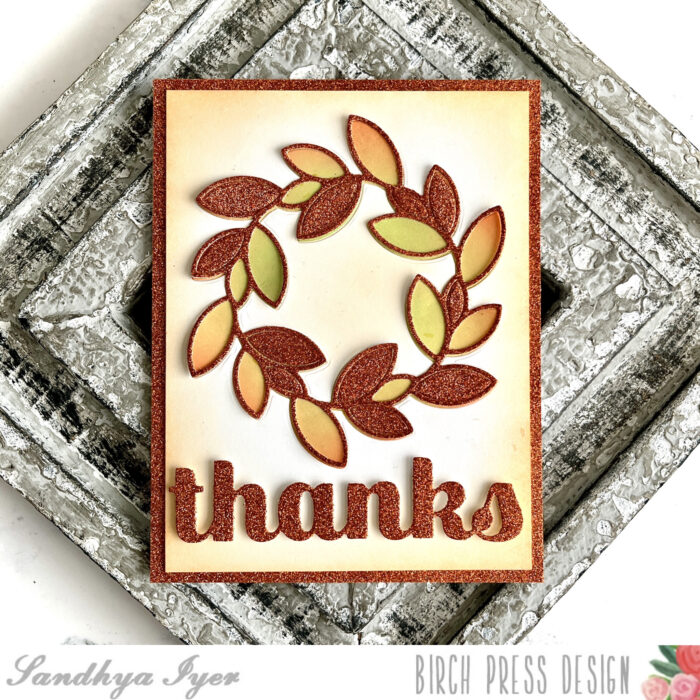
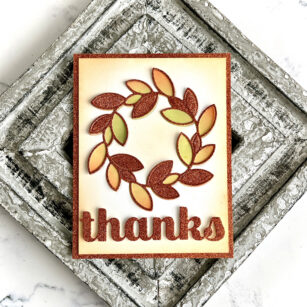
    I started by trimming a piece of copper cardstock from the Memory box Glitzy Glitter Pad to a 4.25″x5.5″ panel. Then, I centered the detailed part of the Adornment Wreath die right in the middle of that panel and die-cut the wreath. I made sure to save the loose leaves that fell out of the die-cut wreath. Next, I used the Big Thanks Sugar Script die to cut out my sentiment from the same glitter panel and set it aside.
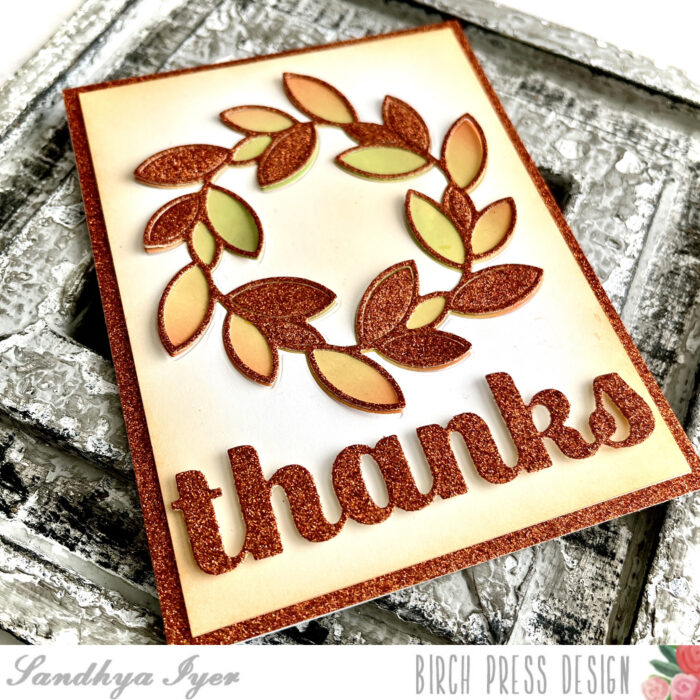
    Then, I trimmed a panel out of white cardstock to measure 4″x5.25″ and gently ink-blended around its edges with Antique linen Distress ink. I die-cut the wreath shadow layer out of white cardstock and ink blended over it with orange, yellow, and green inks and smaller-sized blending brushes.
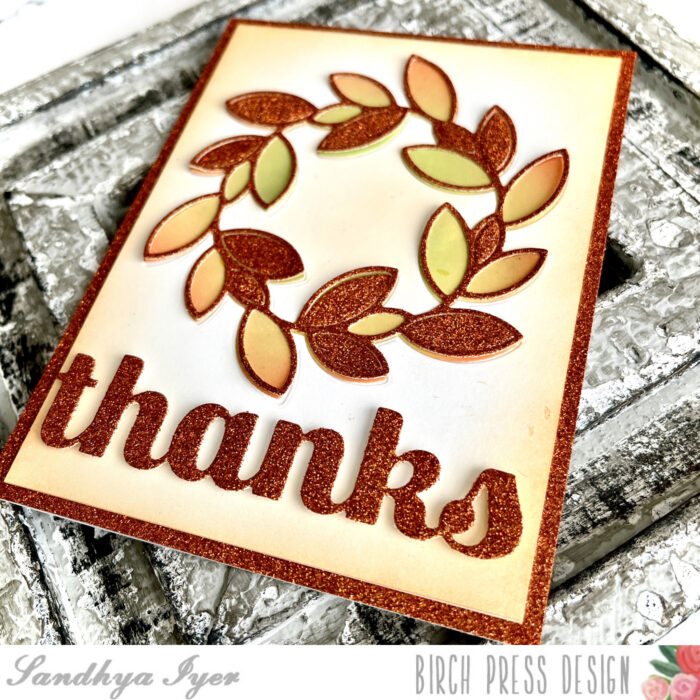
    Now that I have all the bits and bobs ready, I assembled my card using glue and foam tape. First, I aligned the delicate glitter wreath over the ink-blended shadow and filled some of the gaps with solid leaf die-cuts. I didn’t add much glue towards the outer edges and gently lifted the glitter cardstock for added dimension. I adhered this down on the ink-blended panel and added the thanks sentiment using thin foam tape. Finally, I matted this panel with the glitter panel I used for diecutting and adhered it to an A2 card base.
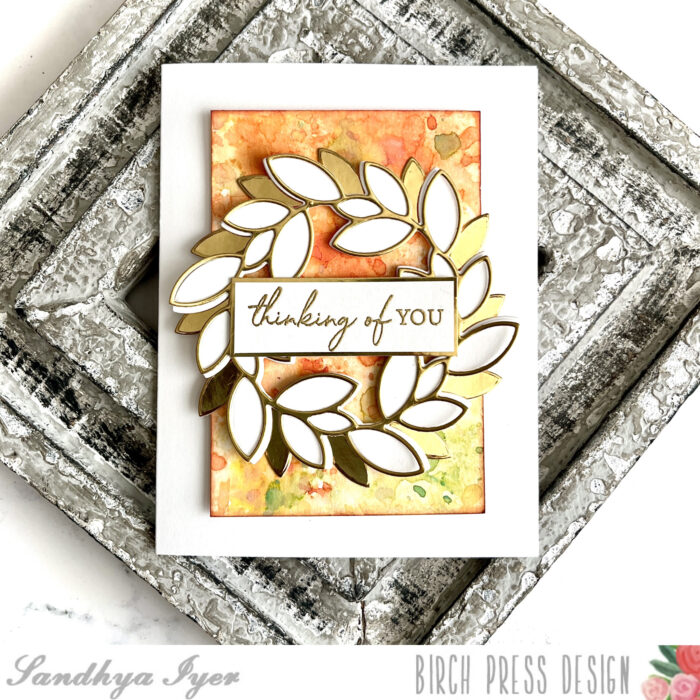
    As I was creating this card, I had another idea to use the solid leaves to fill out the wreath a bit more. So I ended up creating another fun card to give this a try. For this card, I cut the wreath out of gold cardstock from the Memory Box Rainbow Reflection Mirror pad. I cut the solid shadow layer out of white cardstock and set them aside.
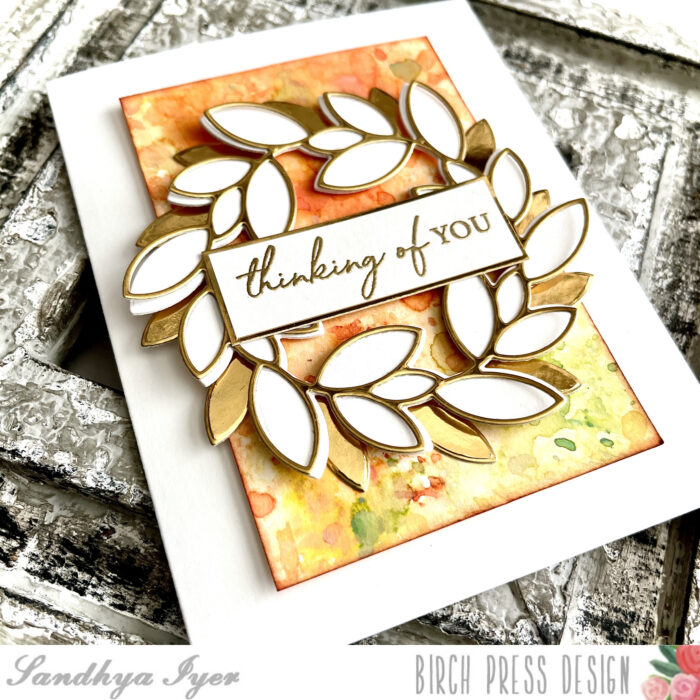
    Next, I stamped my sentiment from the Classic Sentimental Wreath stamp set on white cardstock and heat-embossed it in gold. I added a gold mat for my sentiment strip for added glam. Then, I went to play with a piece of watercolor paper and ink smooshing with Distress Oxide inks in fall colors – Crackling Campfire, Mustard Seed, and Mowed Lawn.
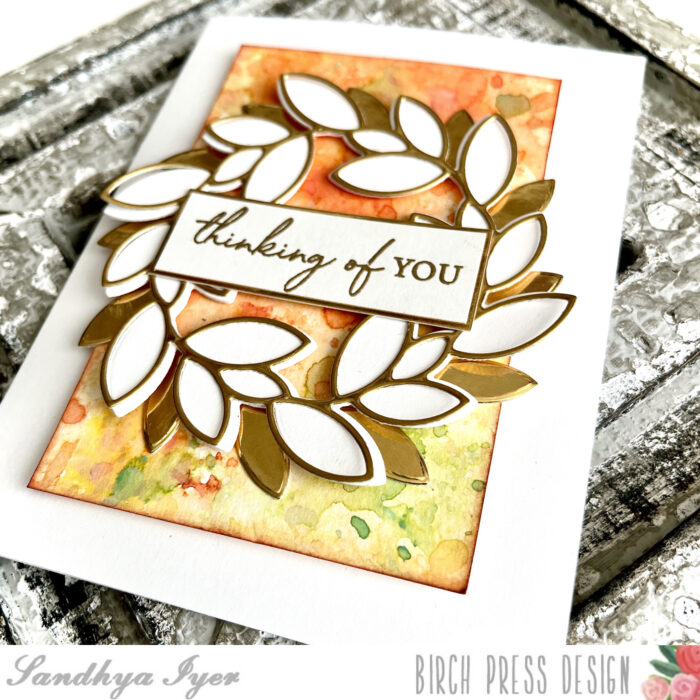
    I inked around the edges in orange and popped the watercolor panel on an A2 card base with foam tape. Next, I aligned the gold wreath imperfectly over the white solid layer and adhered it to the inky panel with foam tape. I went on to tuck the solid golden leaves to fill out the wreath. I just fell in love with this look and might just create this look in different colors now. Anyways, I went on to add the sentiment strip and finish this card. I would love to know your thoughts on my cards and if you will give any of these a try. Thank you so much for stopping by today.
    Supplies:

  • Do the Slimline with Crystal Lingo | by Tracey McNeely

    Do the Slimline with Crystal Lingo | by Tracey McNeely

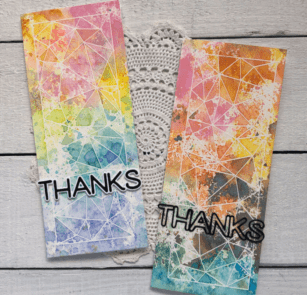
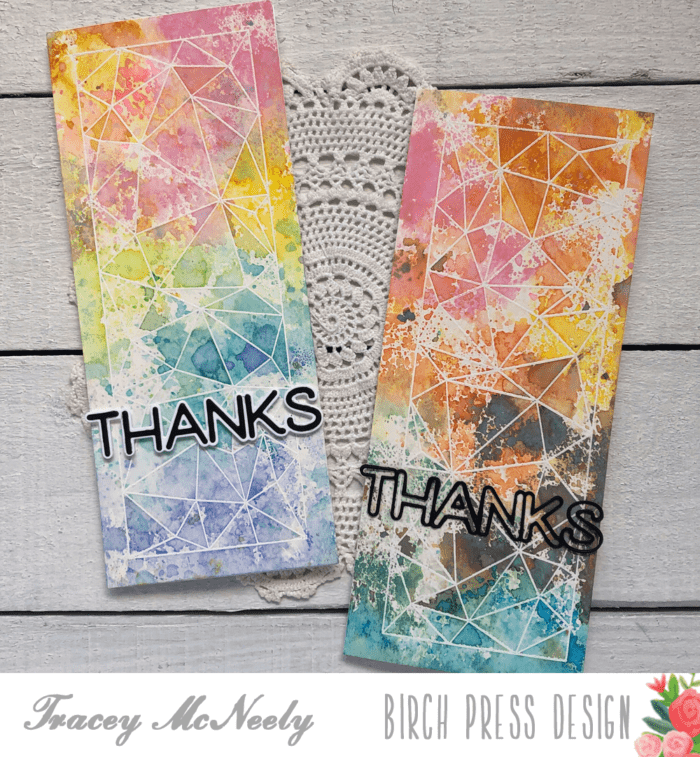
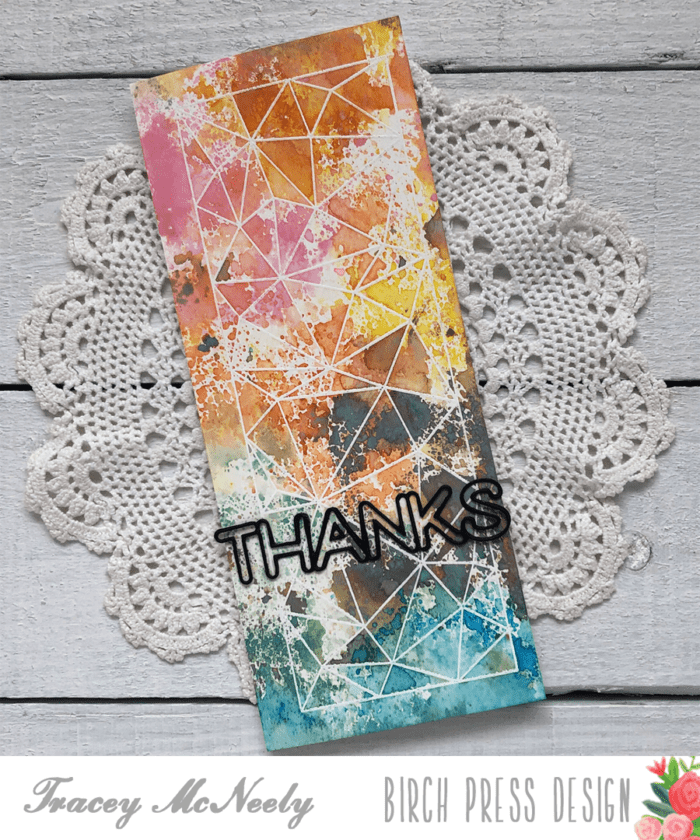
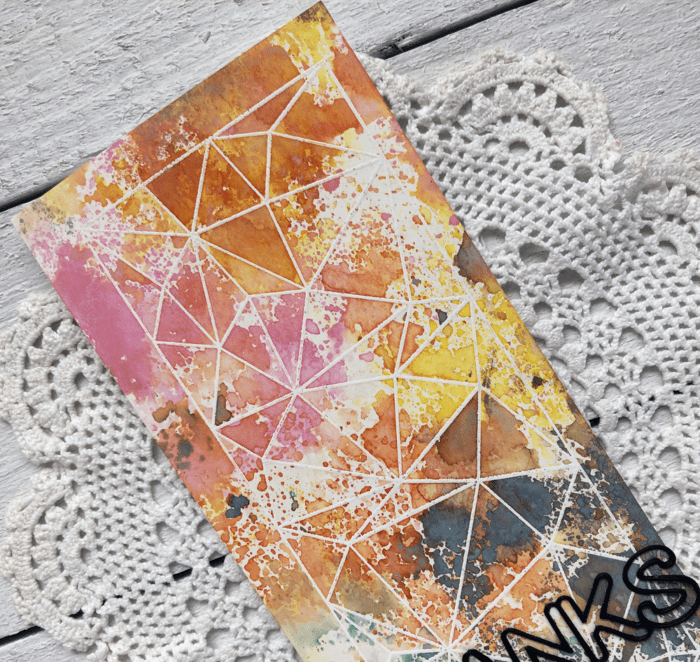
    Happy Spring crafty friends! Today I’m creating two slimline cards using the Crystal Lingo Stamps and dies.

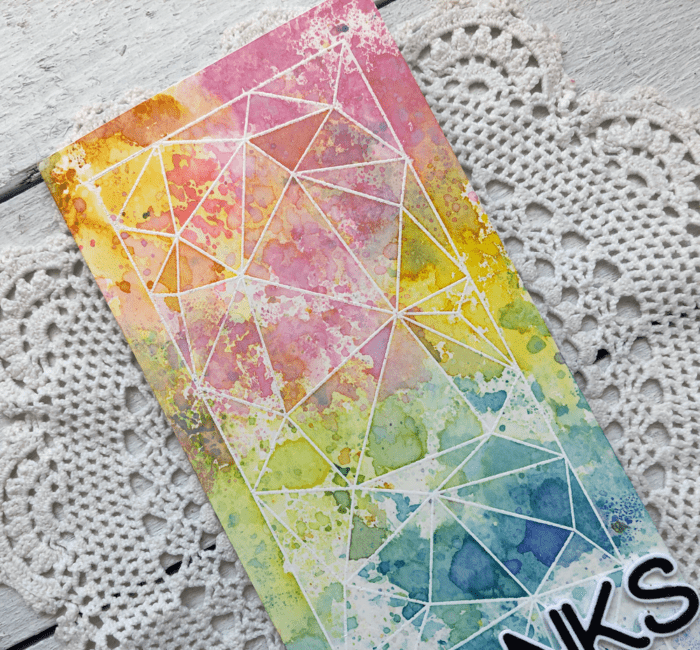
    The faceted rectangle stamp in the Crystal Lingo clear stamp set is the perfect size for 8 1/2″ x 3 1/2″ slimline cards.

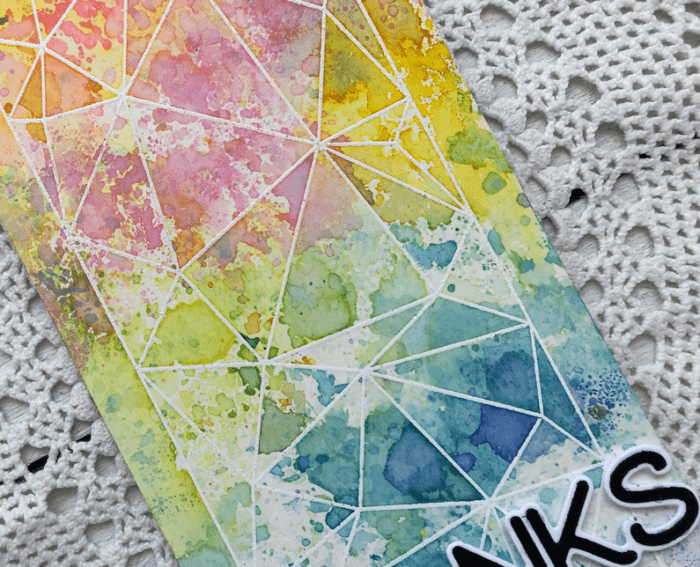
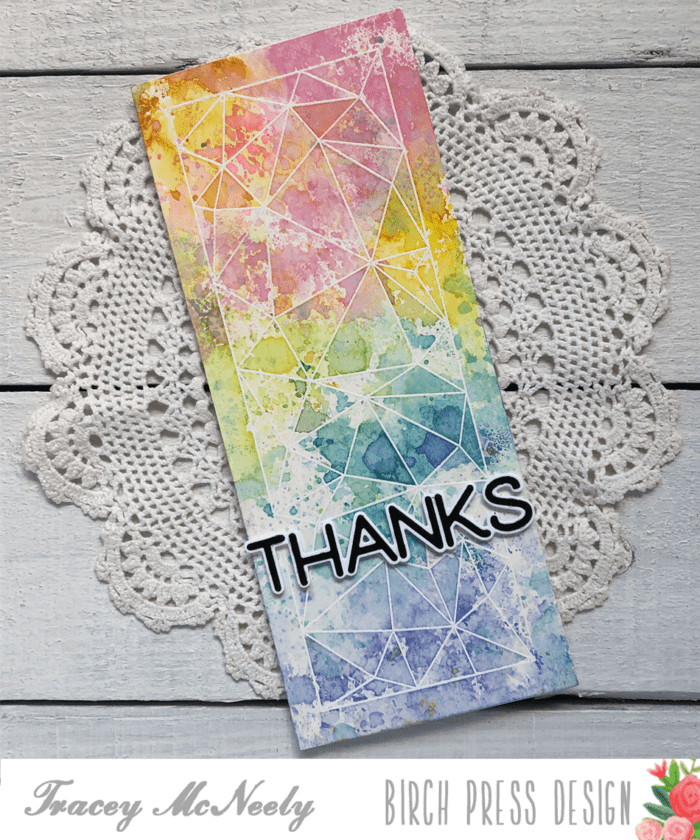
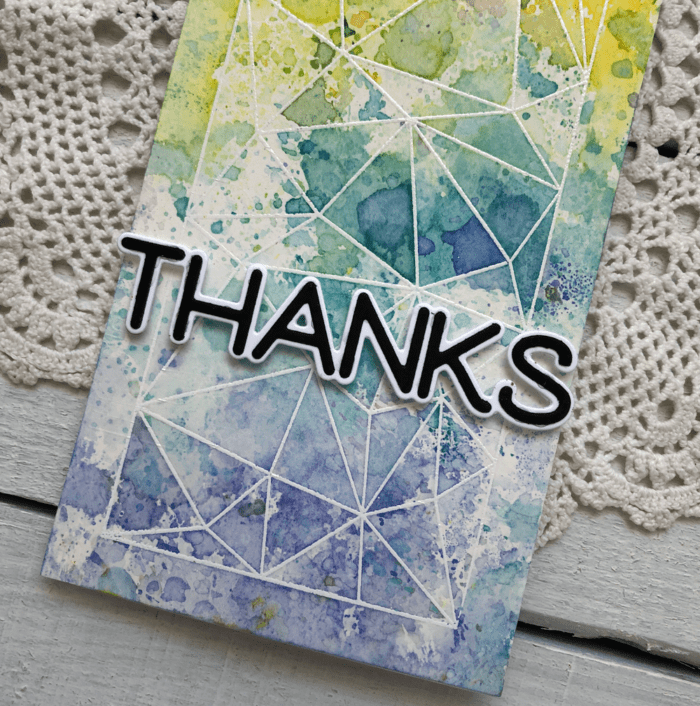
    For both of the my cards today I started off by white heat embossing the faceted rectangle from Crystal Lingo on to two panels of watercolour cardstock cut to 8 1/2″ x 3 1/2″.

    TIP: When embossing on watercolour cardstock I always make sure I prep the paper well with my embossing buddy and I always double stamp my embossing ink.

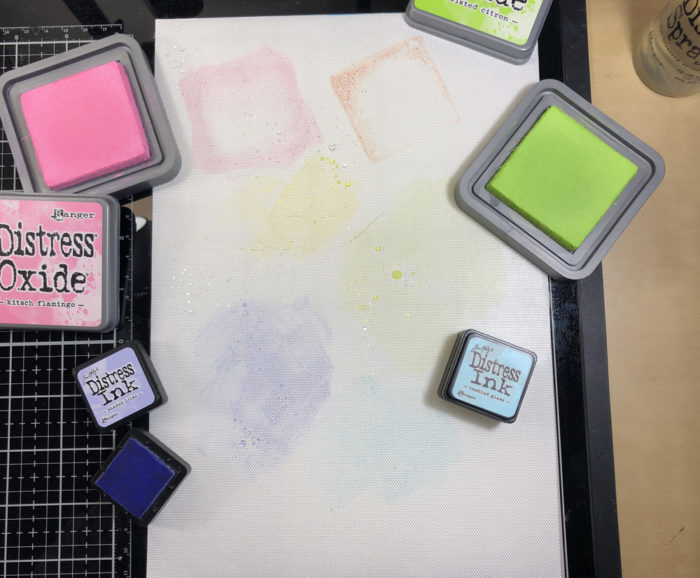
    I laid down a combination of Distress Ink and Distress Oxide inks on to my craft mat in a staggered rainbow. I used Kitsch Flamingo, Carved Pumpkin, and Twisted Citron Distress Oxide inks and Mustard Seed, Tumbled Glass and Shaded Lilac Distress ink.

    I spritzed some water onto the mat and then put my panel facedown into the ink and picked it up right away. I did not smoosh the ink, just straight on and off. I dried the panel thoroughly and then went back to the mat and tapped the panel around putting on a second layer. I spritzed a bit of water on my panel where the Distress Inks were to disperse them a bit more.

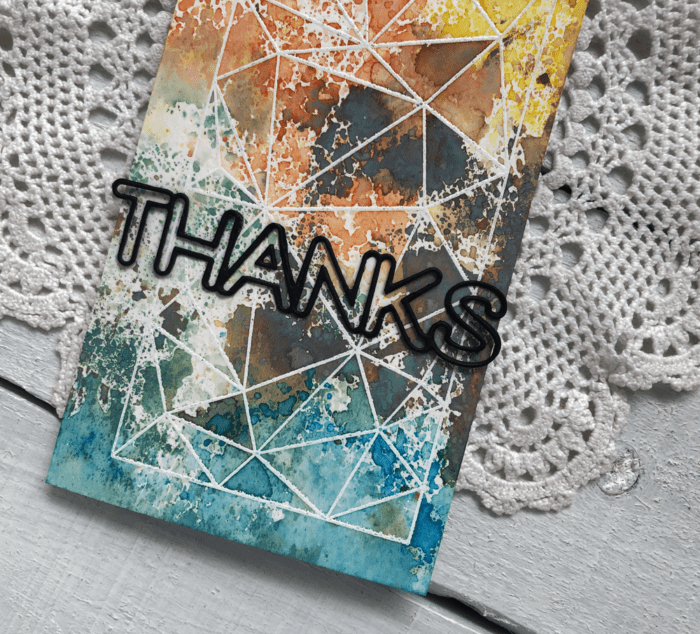
    Once again I dried the panel thoroughly and went back to the mat one more time but before tapping down I spritzed the craft mat a bit more to reactivate the ink and did one final layer by tapping the panel on the craft mat. I stamped and die cut the Big Lingo Type Thanks die in white and black and attached it to the card with foam adhesive!

    The second panel was actually the first panel but a little bit of Frayed Burlap was all it took to muddy up my rainbow.

    Rather than toss it away I kind of liked the masculine vibe that the brown gave to the card. So I did the same as I did for the other card.

    I dried it and added more ink until I had three layers! I die cut the Big Lingo Type Thanks using only the detailed die three times for the sentiment. I adhered the three layers together to give the die cut some stability. Trust me this takes some patience–lol! I adhered the die cut directly to the card front.

    It’s so much fun to take an image like this, emboss it and then have some fun with your inks. This technique can be done with most inks and of course a little bit of water.

    Thanks so much for joining me today and we’ll see you next time!

    Supplies

  • Give Thanks

    Give Thanks

    image

    This is your year, the year your child is graduating from high school and moving on to the next stage of their life…College!

    This time of the year can be very emotional and exciting at the same time. Your son/daughter is graduating and moving on to big things. You two have been on this journey together since day one. Whether it be college, trade school, work, or travel, it is a thrilling time in ones life. We’re here to make things easy for you!

    You know that they are maybe a tad upset to leave home but also very excited. They don’t know that you’re having the same exact feelings! 

    But before sending them on their way, you need to get them through their going away party. After the excitement and celebration, it is time to dash off a few thank you cards.

    Well, we have some thank you cards that will maybe help that stubborn child of yours get a little excited to write some thanks.

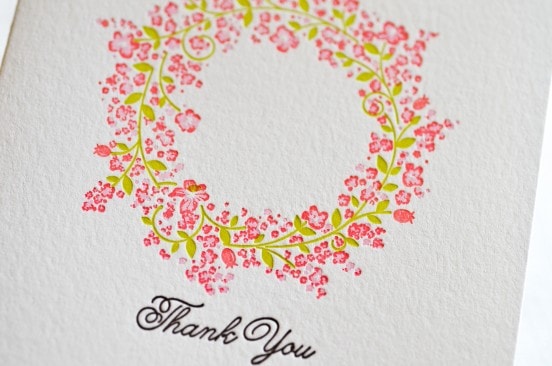
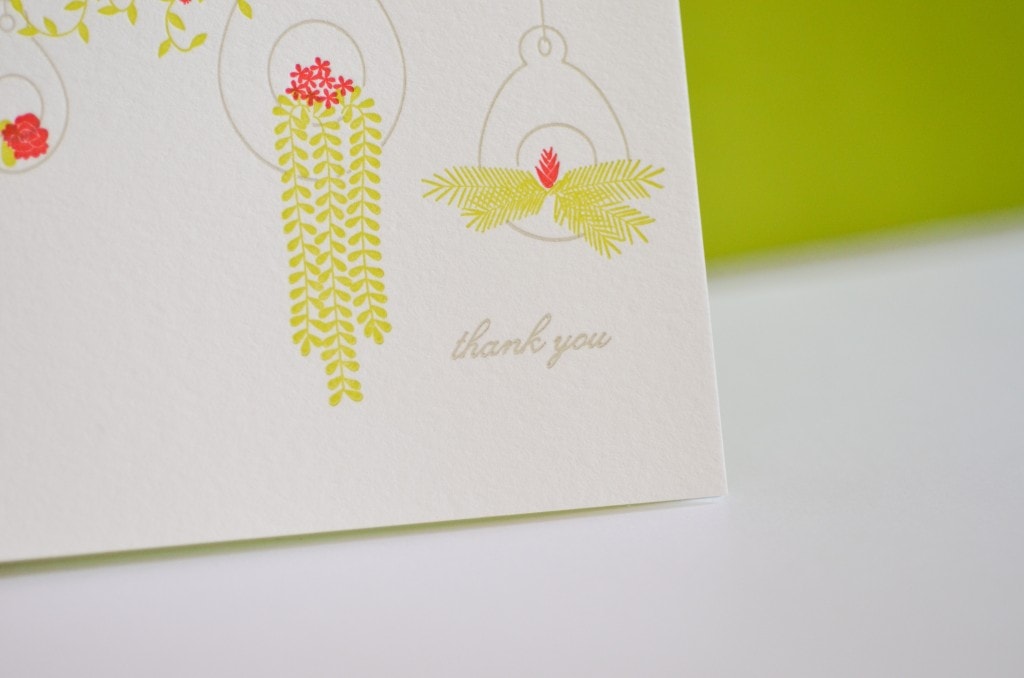
    Our thank you cards are made in letterpress and printed card versions. In our letterpress thank you section, we have classic looks that will want any receiver to keep them on their mantel all summer long! The printed letters have floral designs for the girls and a chalk board thanks design for the boys! Get your kids excited to give thanks with our hip thank you card sets.

    image