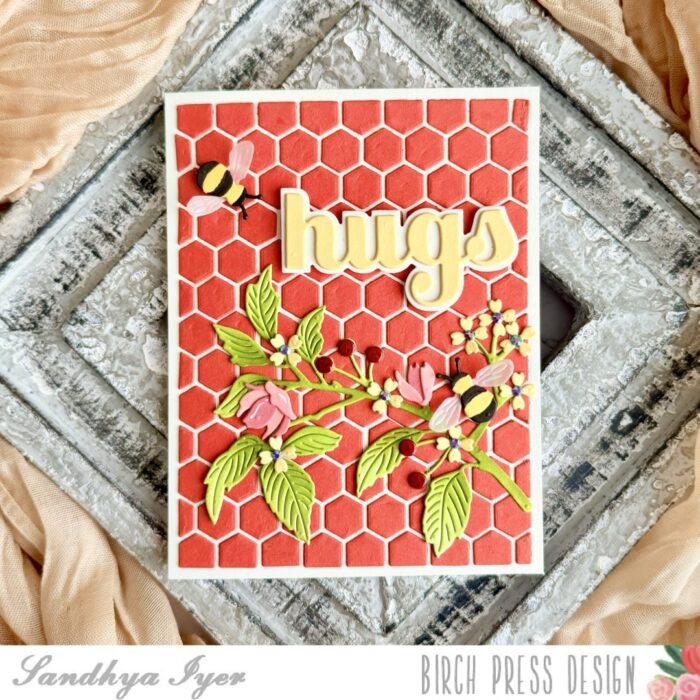
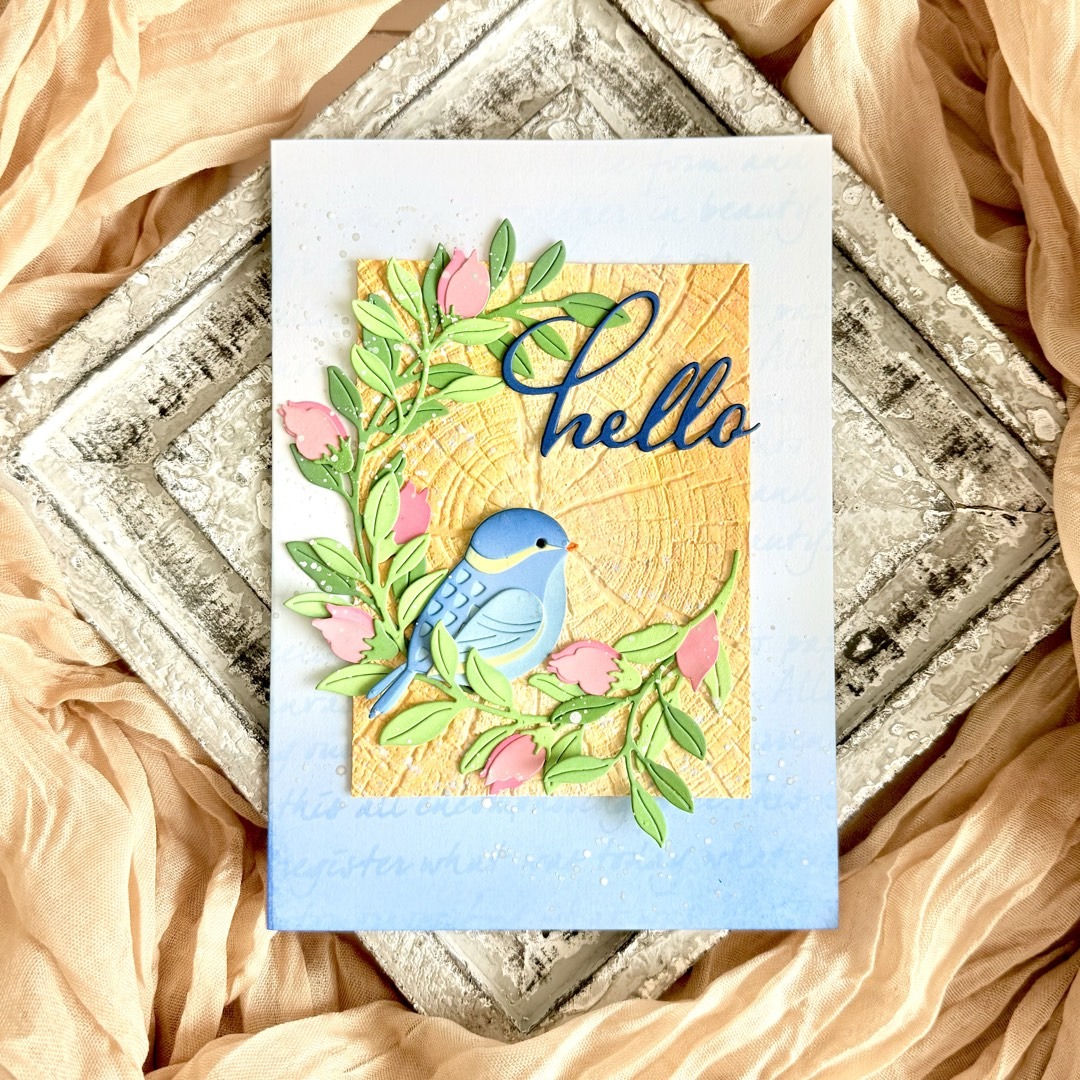
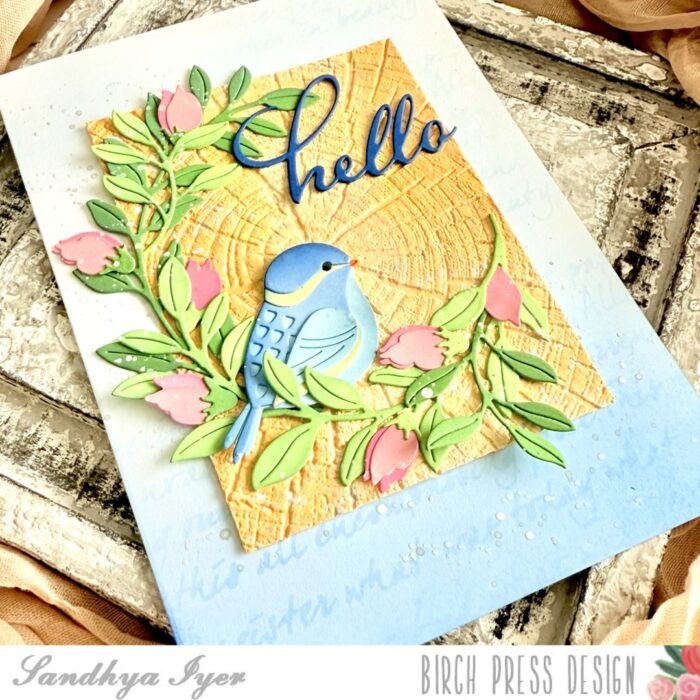
Hi, crafty friends! Sandhya here, and I’m excited to share a card I created using some gorgeous Birch Press Design dies and Memory Box cardstock. This card was a joy to make, combining intricate layering, soft ink blending, and a little ink splatter to bring this charming bluebird to life.
I started with a white card base and lightly ink-blended blue Distress Ink around the edges to create a soft, dreamy effect. I also added subtle script details using a stencil from my collection. Next, I embossed a piece of gel-printed cardstock from my stash with a woodgrain pattern to add texture and warmth.
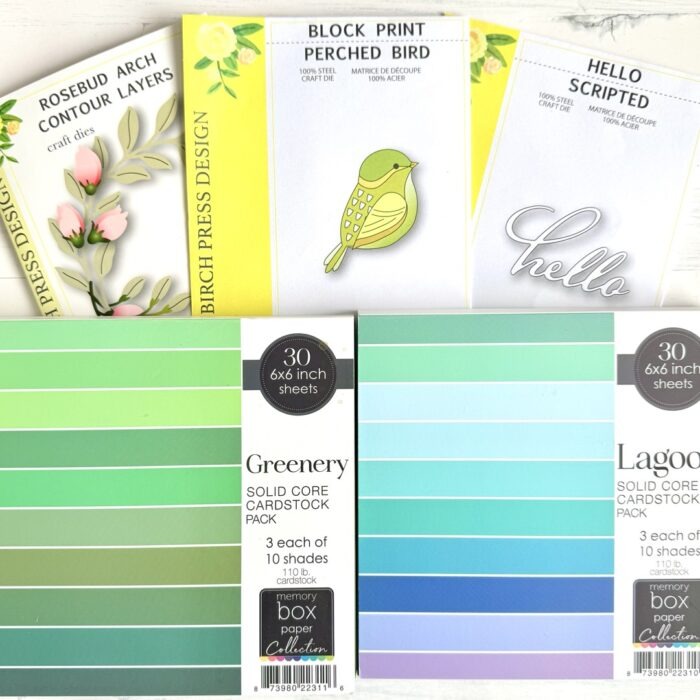
I used the Block Print Perched Bird die to cut out my adorable bluebird, layering different shades of blue and gray from the Lagoon cardstock pack. The result? A dimensional, eye-catching bird with intricate details!
The Rosebud Arch Contour Layers die set was perfect for adding a graceful frame around the bird. I die-cut the leaves in varying shades of green from the Greenery cardstock pack and the flowers in soft pinks, lightly inking the edges for added depth.
The Hello Scripted die provided a delicate yet bold sentiment. I cut it from deep blue cardstock and adhered it near the top for balance. I then arranged all the elements—bird, floral frame, and sentiment—onto the woodgrain panel, ensuring a harmonious composition. To bring everything together, I splattered some white ink across the background for a subtle artistic effect. This step adds a hint of whimsy and enhances the overall dreamy vibe of the card.
I love how this project turned out—full of dimension, texture, and soft, natural beauty. I hope this inspires you to experiment with layering, color palettes, and die-cutting to create your own nature-inspired cards. Happy crafting!
Supplies:
Floral Wishes | by Sandhya Iyer
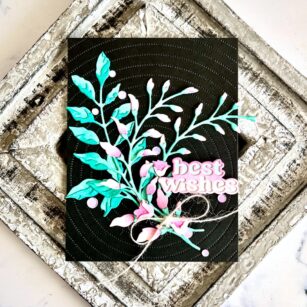
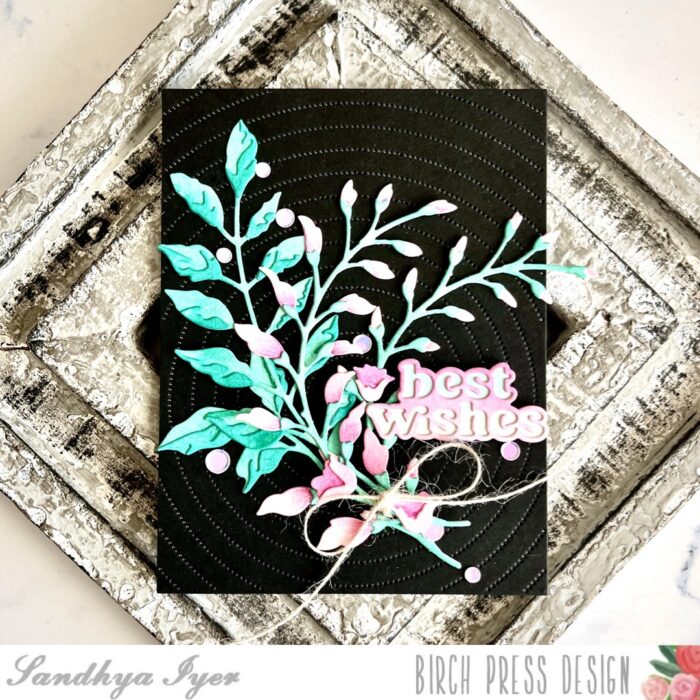
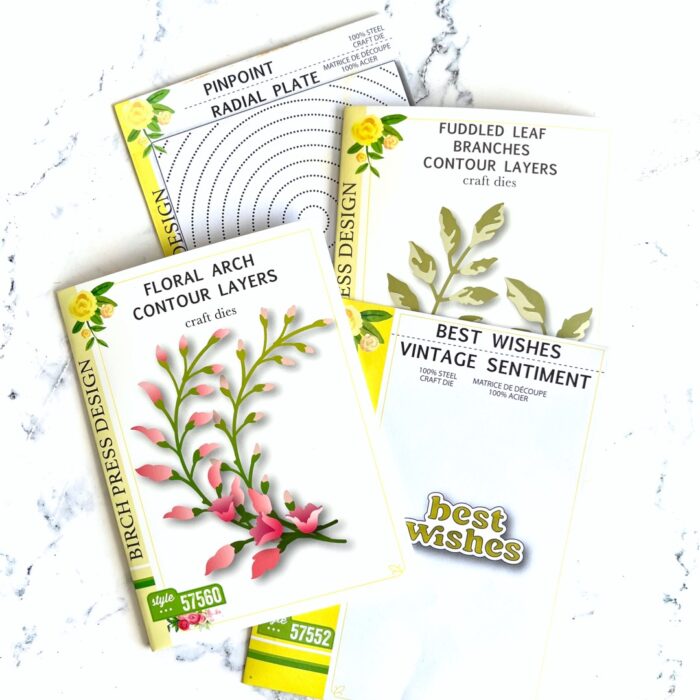
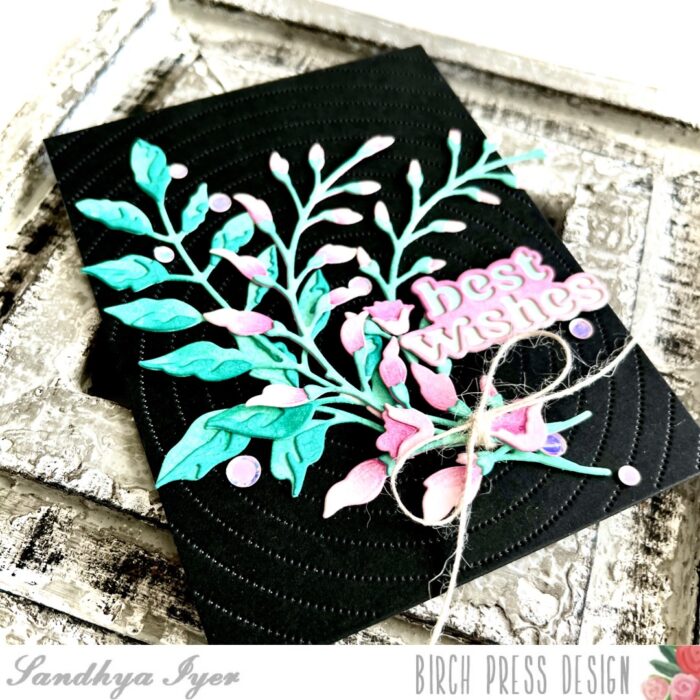
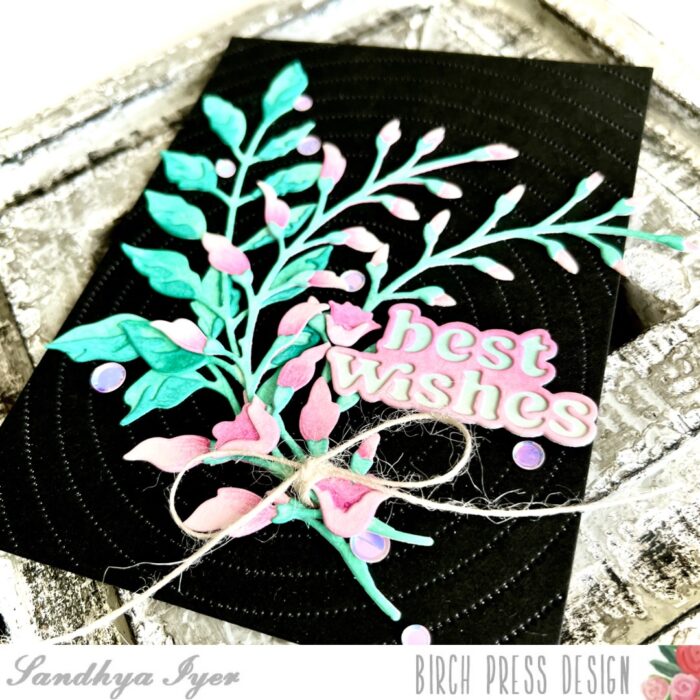
Hello, friends! Design Team member, Sandhya Iyer here with a contrast-filled floral card to send best wishes to loved ones. I used the Floral Arch Contour Layers, Fuddled Leaf Branch Contour Layers, Pinpoint Radial Plate and Best Wishes Vintage sentiment dies for my project today.
I started by die-cutting the layers for the floral arch, leaf branch and the sentiment out of watercolor cardstock. Next, I pulled out dye inks in shades of pinks and inked up the floral layers and the letters in the sentiment. I chose a minty cool green for the stems and leaves.
Next, I die-cut black cardstock using the Pinpoint Radial Plate to create a background panel for my card. I bunched the die-cut foliage and tied a bow with jute twine.
Next, I adhered the die-cut floral and leaf bundle and the sentiment to my black panel. Finally, I finished off with a sprinkling of iridescent pink sequins.
This brings us to the end of today’s post. Thank you so much for stopping by and I hope you have fun crafting today!
Supplies:
Supplies
Summer Ocean Blues | by April Antonio
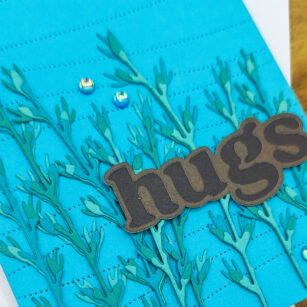
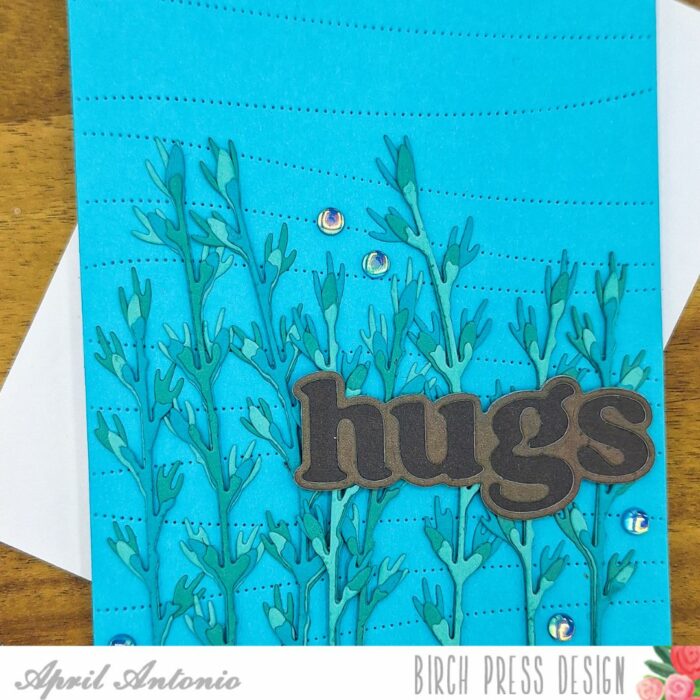
Hello friends! Design Team member April here today sharing a beautiful, bright, blue ocean inspired card using the Budding Twigs Contour Layers die set. I visited the beach last month and was inspired to create something ocean-y.
Here’s how I pulled this card together:
I cut a piece of heavy-weight white cardstock down to A2 card size. is made from 80 lb. I used on of my favorites, the Pinpoint Contour Plate to cut a background from the Memory Box Lagoon 6×6 cardstock pack and layered that onto the card base.
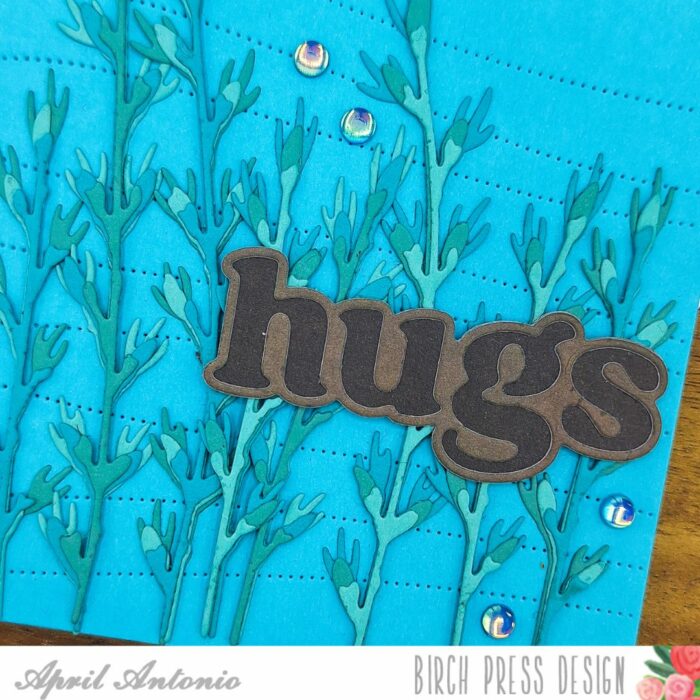
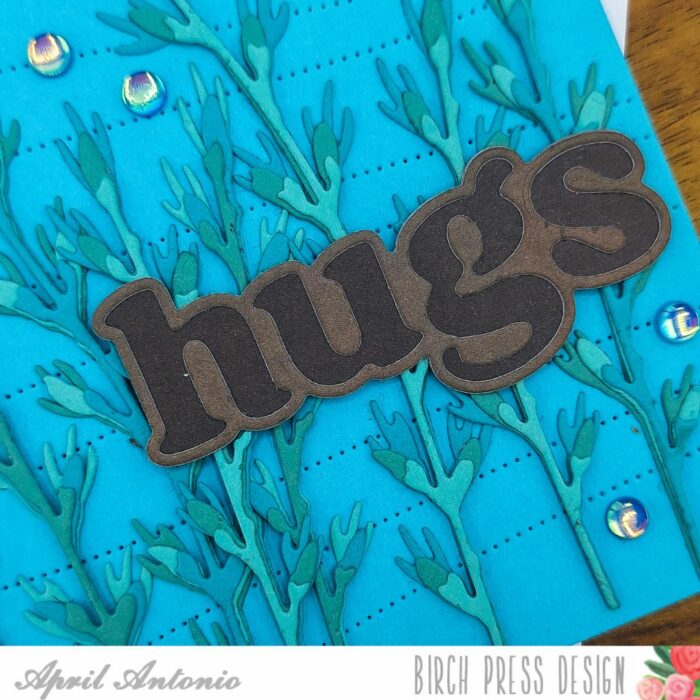
Next I cut the three layers of the Budding Twigs Contour Layers die set from three different colors from the same Lagoon cardstock pack. I glued the layers together following the included guide, making sure to alternate colors, and adhered each finished twig onto the card front. The blue background with the budding twigs reminded me of seeing coral underwater!
I used the Big Hugs Vintage Sentiment die and shadow die to cut the ‘HUGS’ and adhered it to the front of the card. I used two different shades of brown I found in the Memory Box Earth Neutral 6×6 cardstock pack.
I finished off the card with some fun gemstones from the Winter Fantasy Fairy gemstone set. I really enjoy paper-piecing and this card was fun to pull together! I hope you are able to have fun and do something creative this weekend.
Supplies
Supplies
Best Wishes Tag | by Sandhya Iyer
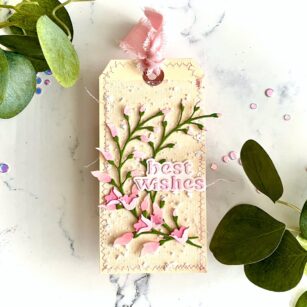
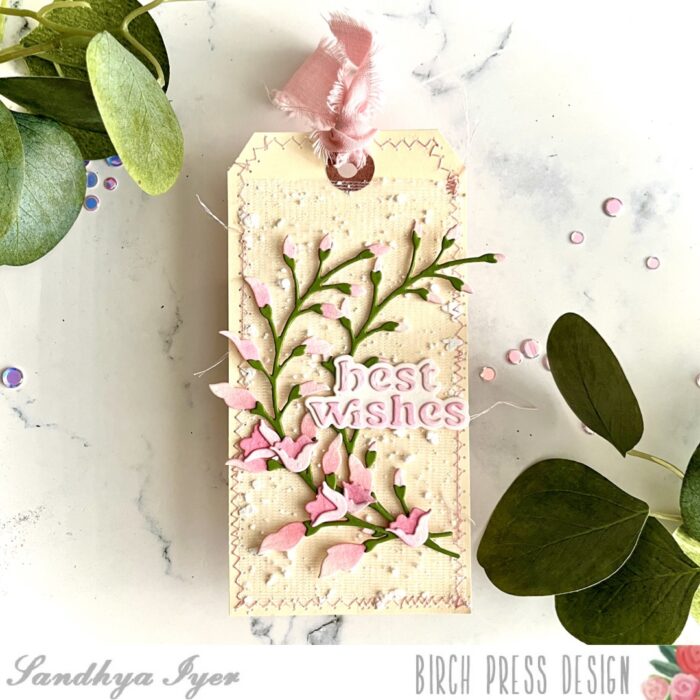
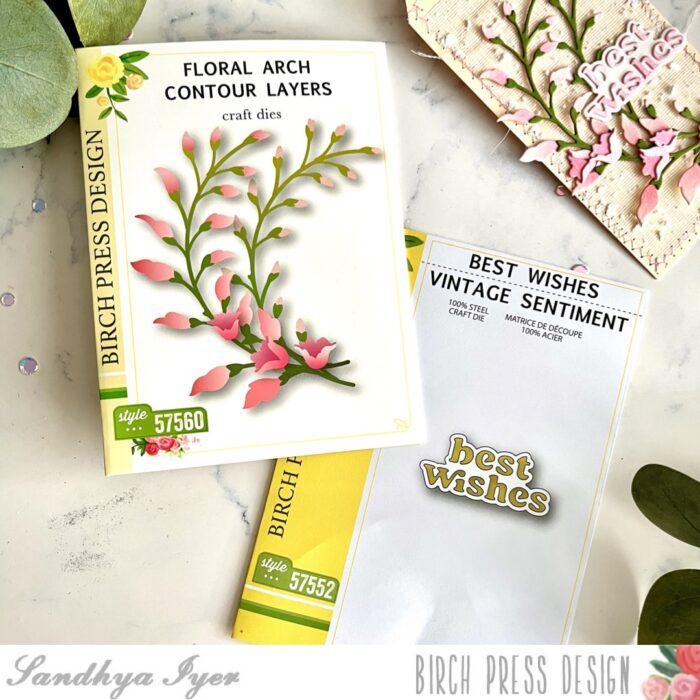
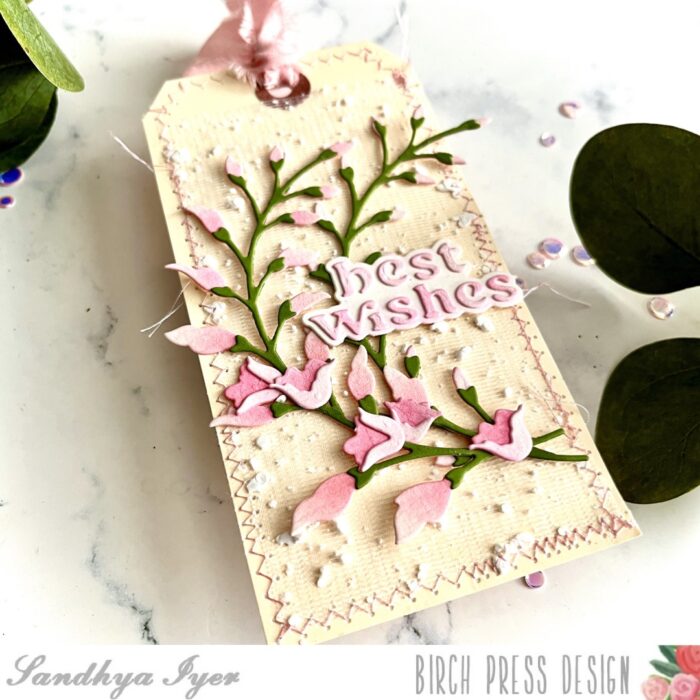
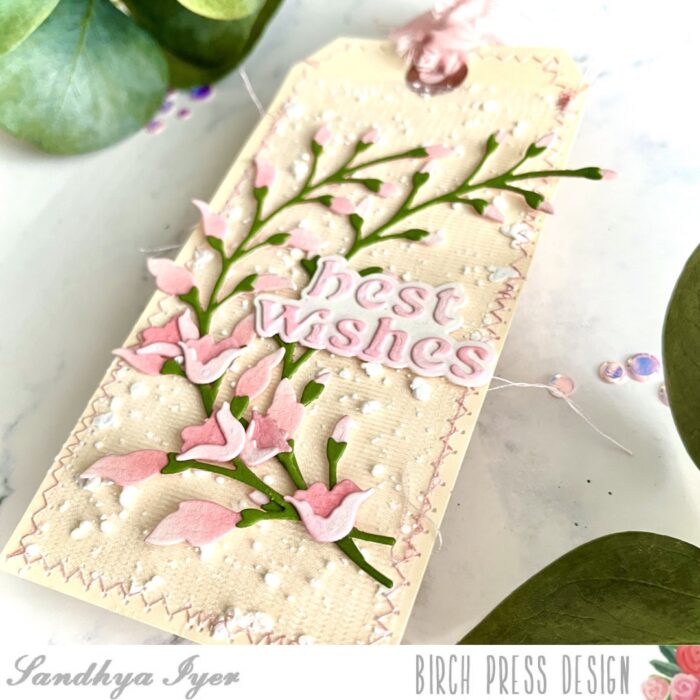
Hello, friends! This is Design Team member, Sandhya Iyer, and today I am sharing a mixed media tag using dies from Birch Press Design. I used the Floral Arch Contour Layers and Best Wishes Vintage sentiment dies for my project today.
I started by die-cutting the layers for the floral arch and the sentiment out of watercolor cardstock. For the stem layer, I used green cardstock. Next, I pulled out dye inks in shades of pinks and inked up the floral layers and the letters in the sentiment.
Next, I trimmed a piece of snow tulle fabric to create a background for my die-cut layers. I used a manila tag as the base and sewed the fabric to the tag. I did a mix of zig-zag and straight stitches to amp up the mixed-media effect.
Next, I adhered the die-cut floral arches and the sentiment to the tag. Finally, I finished off with a piece of linen ribbon to tie the top of the tag.
This brings us to the end of today’s post. Thank you so much for stopping by and I hope you have fun crafting today!
Supplies:
Supplies
Peace and Joy Greetings | by Sandhya Iyer
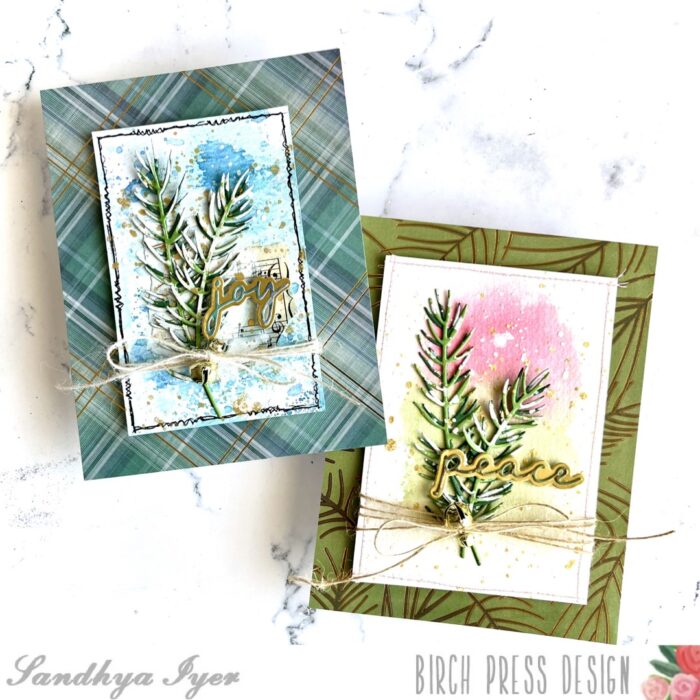
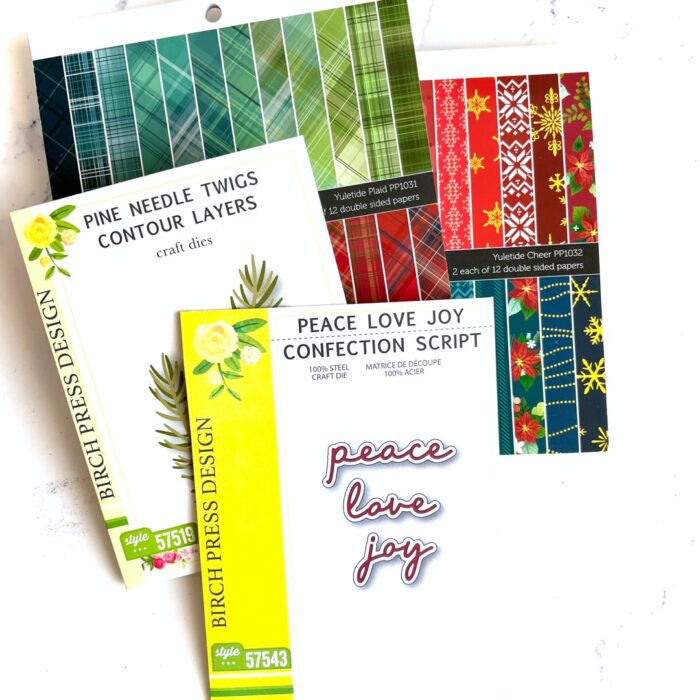
Hello, friends! This is Sandhya, sharing a pair of holiday cards featuring the latest holiday collection dies from Birch Press Design. I made my cards by pairing the gorgeous Yuletide Cheer and Yuletide Plaid pattern papers with the Pine Needle Twigs Contour Layers. For my sentiment, I used the Peace Love Joy Confection Script dies.
I started with the gorgeous foiled pattern papers from the Yuletide Cheer and Yuletide plaid 6X6 paper packs. I trimmed it down to make 4.25″ X 5.5″ panels for my 2 cards. I also used the same pattern papers to die cut the sentiments and with gold shadows.
Next, I die-cut the pine needles out of 2 shades of green cardstock and assembled 4 layered needles. I picked up 2 pieces of watercolor cardstock and ink smooshed with Distress inks to create a couple of interesting backgrounds for the die-cut needles.
For the blue panel, I used a black marker to draw stitched details and adhered some music paper and pattern paper to create a mixed media effect. For the pink and green panel I actually stitched around the panel and adhered the pine needles. Next, I used white gouache to splatter on both panels and some snow like effect on the pine needles. I also added some gold splatters.
Then I added the sentiment die-cuts and tied it all together with jute twine. I found some jingle bells in my stash and added them to the bow to add a tinkle to my cards. Finally, I attached the panels to the card bases to complete my holiday cards. This brings us to the end of today’s post. I hope this inspires you to get crafty today!
Supplies:
Warm Wishes | by Sandhya Iyer
Hello, friends! This is Design Team member, Sandhya Iyer, and today I am sharing a holiday card featuring the latest collection of holiday dies from Birch Press Design. I used the Classic Poinsettia Contour Layers, Holly Sprig Contour Layers and Warm Wishes Confection Script dies to make my holiday-themed card.
I started by die-cutting the layers for the poinsettia and holly sprig out of watercolor cardstock. Next, I pulled out dye inks in shades of peachy corals and red and inked up the layers. I used mossy green shades for the leafy foliage.
Next, I assembled the poinsettia flower and holly sprig and set them aside. Then, I trimmed a watercolor panel to be a bit smaller than an A2 card base and worked on my background. I used Tim Holtz mica sprays to create a shimmery blue effect. Then I arranged the die-cut foliage to the bottom left of the card panel. I also used glossy accents on a few berries and the poinsettia center for more drama.
Finally, I used the ‘warm wishes’ confection sentiment die to create an elegant sentiment die-cut. I adhered the panel to a red A2 card base and finished with a generous white splatter.
This brings us to the end of today’s post. Thank you so much for stopping by and I hope you have fun crafting today!
Supplies:
Hello Starlight Butterfly | by Crystal Komara
Hello friends! I hope your summer is going well and you are enjoying some beautiful hot and sunny days and cool ice cream summer nights! This is Design Team member Crystal Komara here today sharing a monochomatic purple and gold card using the Starlight Butterfly Layering dies.
Card details:
The base of this A2 sized card is made from 80 lb. Neenah Solar White smooth cardstock. I cut a 5 1/4 x 4″ piece of purple carsdtock and mounted that behind a sheet of purple gold foil paper from the Glimmering Gladiola cardstock paper pack from Memory Box Co. (Memory Box is a sister-company of Birch Press Design).
I placed a 4″ x 3″ piece of vellum directly over the gold foil paper to “tone down” the pattern in the center of the card where I planned on adding the butterfly and sentiment.
Using the Starlight Butterfly Layering Dies, I die cut Layer A (the top layer) from gold glitter cardstock, Layer B from a light purple cardstock and Layer C from a dark purple cardstock. I adhered all there layers together with a fine-tip liquid glue before adhering the butterfly to the card.
Using the Hello Honey Script die, I die cut the bottom layer from dark purple cardstock and the top layer from gold glitter cardstock. I adhered the two layers together with a fine-tip liquid glue before adhering the sentiment to the card.
I hope you have enjoyed this glittery card. Thanks for visiting and have a wonderfully creative day!
Supplies
Supplies
Supplies
Sending Hugs & Smiles | by Crystal Komara
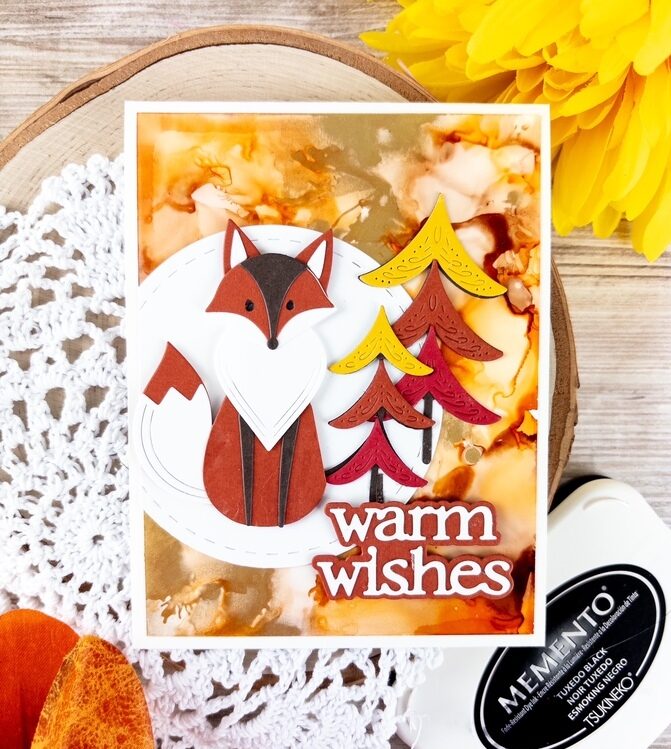
Hello crafty readers! This is Design Team member Crystal Komara here today sharing a cheerful and uplifting slimline card made using the Eloquent Butterfly Layering set:
I chose to create a slimline card because these butterflies are decent sized and I wanted to add multiples of them to this card. Because I used a black cardstock base, I also wanted lots of color from the butterflies to really stand out against the dark base.
The base of this slimline card measures 8 1/2 ” x 3 1/2″. It fits inside a regular #10 business sized envelope.
I hope you have enjoyed this cheerful and uplifting card! Thanks for visiting and have a wonderfully creative day!
Supplies
H-E-L-L-O | by Crystal Komara
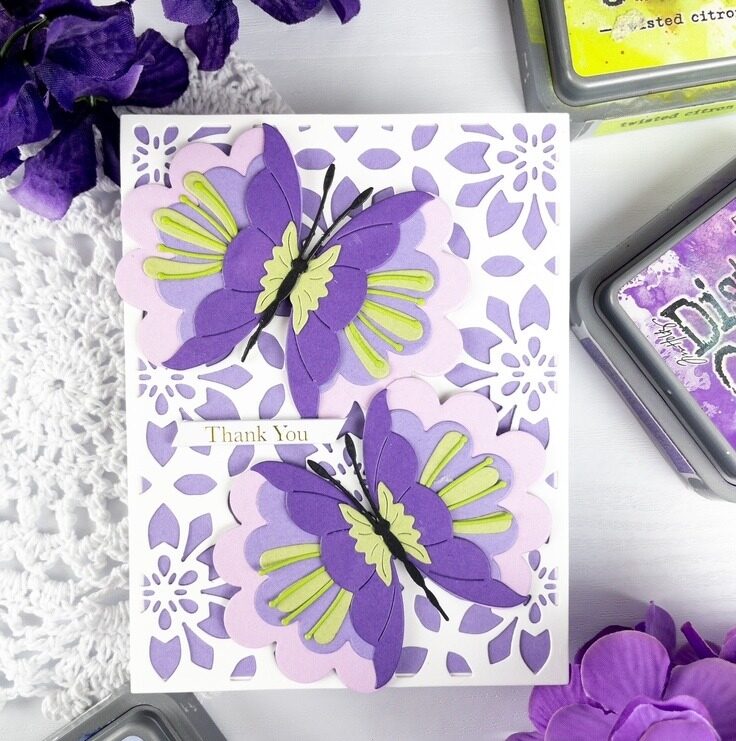
H-e-l-l-o readers and happy June! This card will welcome you to summer many times over in an array of rainbow colors! This is DT member Crystal Komara here with you today sharing this fun clean and simple (CAS) card using the Jumbo Lingo Hello die and two single white curved leaf branches.
Card details:
The base of this A2 sized card is made from 80 lb. Neenah Solar White Smooth cardstock. Using the Jumbo Lingo Hello die, I die cut the sentiment many times from a variety of cardstock colors. To keep it simple, I die cut all the shadow bases from color cardstock and the thinner top layer all from white cardstock. I then arranged the “hello’s” in a pattern that seemed pleasing to my eye, while also not accidentally spelling out a bad word!
Using the Contempto Greetings Stamp set, I stamped the hello circle in Versamark ink on black cardstock and then heat embossed it using white embossing powder. I used the coordinating die to die cut the sentient out. I adhered the sentiment to the center of the card using 3M foam adhesive to pop it up. I then die cut two white leaves using the Curved Leaf Branch and tucked them underneath the sentiment. Easy and colorful!
I like how this card turned out, it’s fun for summer with those rainbow colors and what a cheerful way to greet anyone. Thanks for visiting and have a wonderfully creative day!
Supplies
Happy Birthday Vintage Sentiments with Florals |By, Natasha Vacca
Hello Crafty friends, it is Design Team Member Natasha Vacca here today. Today I am sharing the beautiful new Happy Birthday Vintage Sentiment die set. I paired this with the beautiful Anemone Bunches 3D embossing folder from Memory Box. So let’s get started!
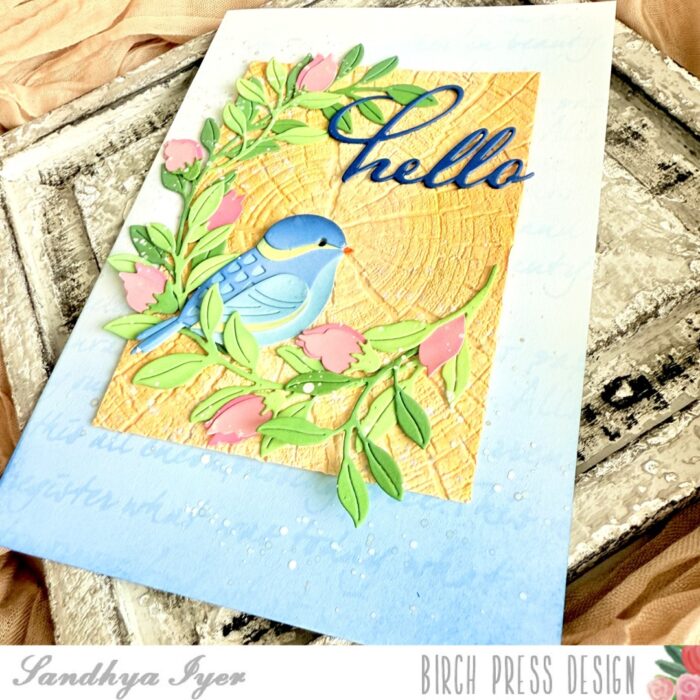
I started by creating the floral card panel using the beautiful Anemone Bunches 3D embossing folder. I ran the folder with a piece of Hammermill cardstock through my die cutting machine. Once the paper was dry embossed I started to ink the floral background card panel. I used a combination of Distress Oxide Inks, as well as some Dye Inks to color the florals, leaves, as well as the background.
I continued to color the dry embossed background, until I had the colors and texture I was looking for. Once the background was complete, I trimmed the panel using my deckle trimmer. I then added more distressing using my distress tool and then inked the edges with Vintage Photo Distress Ink.
Next I added splatters to the card panel using gouache from my stash. Once the splatters were dry, I adhered the panel to a top folding card base. Next I die the the sentiment – Happy Birthday Vintage Sentiment. I die cut the shadow layer using white cardstock. I then inked the shadow layer using Distress Oxide Ink. Next I die cut the Happy Birthday sentiment 3 times using a green cardstock from my stash. Before I die cut the 3rd layer, I heat embossed the panel, then die cut the sentiment from the embossed panel. I then adhered the letters together from the Happy Birthday sentiment and added the sentiment to my card front.
I had a lot of fun creating today’s card and I hope you enjoyed it! I will be back soon!
Supplies
Supplies