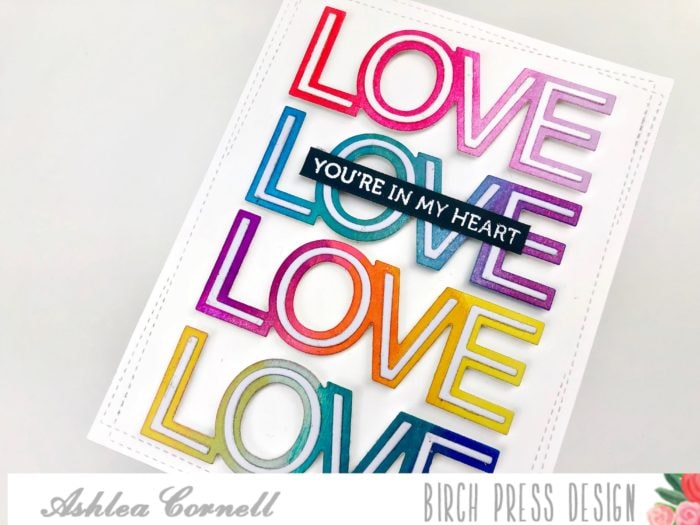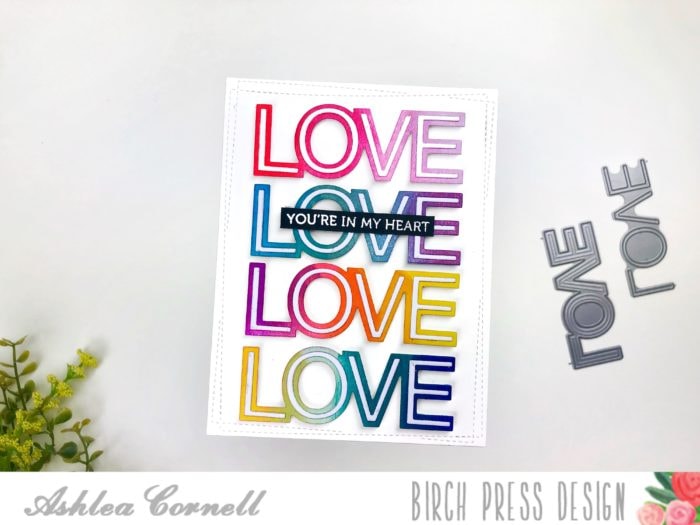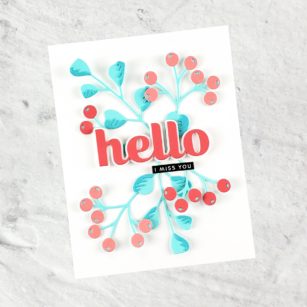
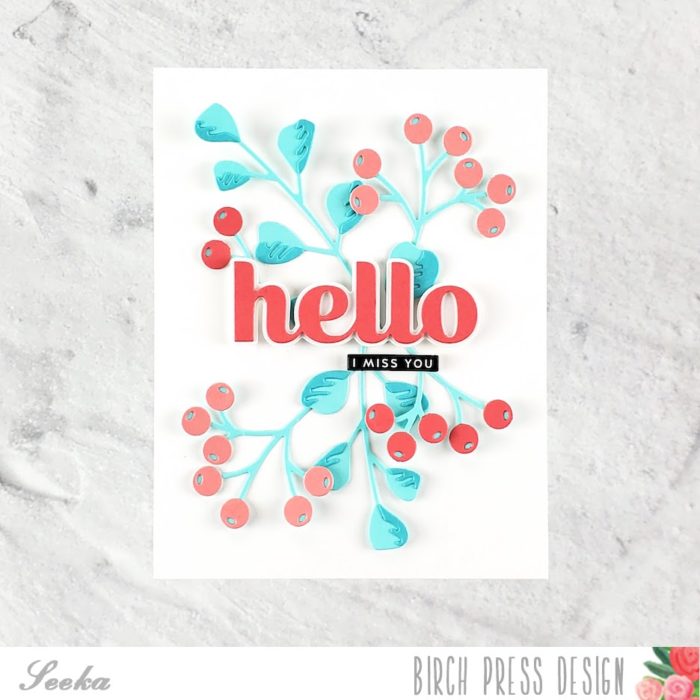
Hello and welcome! Seeka here and today and I’m sharing another clean and simple card featuring the Eucalyptus Stem and Berries Contour Layers die set.
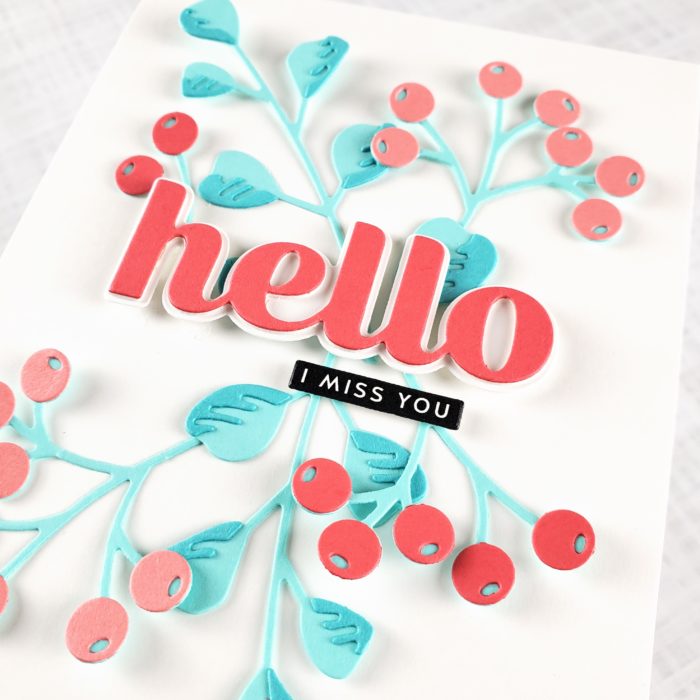
For this card I went with pink and red berries and aqua leaves. I started by die cutting the leaves and branches from two colors of aqua cardstock. I glued the darker detail layers of each leaf onto the lighter base layer. Then I cut berries from pink and red cardstock and glued them to their stems.
Next, I created the sentiment using the Big Hello Sugar Script die set. I cut the detail layer from red cardstock and the shadow layer from white cardstock.
To assemble the card, I glued the base of the leafy stems to a 4.25″ x 5.5″ panel of white cardstock and then I used foam tape to pop up some of the leaves and berries. I also used foam tape to adhere the die-cut sentiment as well as a smaller sentiment from my stash. I trimmed any stem ends that were peeking out from behind the sentiment and then to finish, I adhered the card front to a card base.
Thank you so much for visiting!

Supplies