
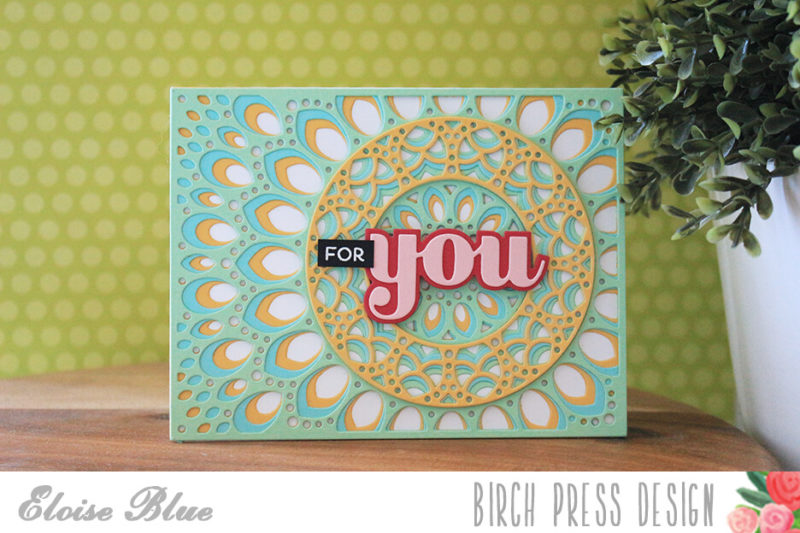
Hi friends, Eloise here and today I’ll be using the Grace Layer Set to create my main focal background along with the Big You Sugar Script Dies and Sending Love stamp set to create a simple For You card.
To begin my card today, I started off with die cutting my background. I cut the Layer A from Mint Cardstock, Layer B from Blue/Aqua Cardstock and Layer C from Yellow. Then I repeated the same steps for just the middle of the die, but in reverse, so Layer A was cut from Yellow. Now that all my layers were cut, I removed all the inner pieces and glued the layers together with liquid glue. I set acrylic blocks on top of them to ensure they stuck together well.
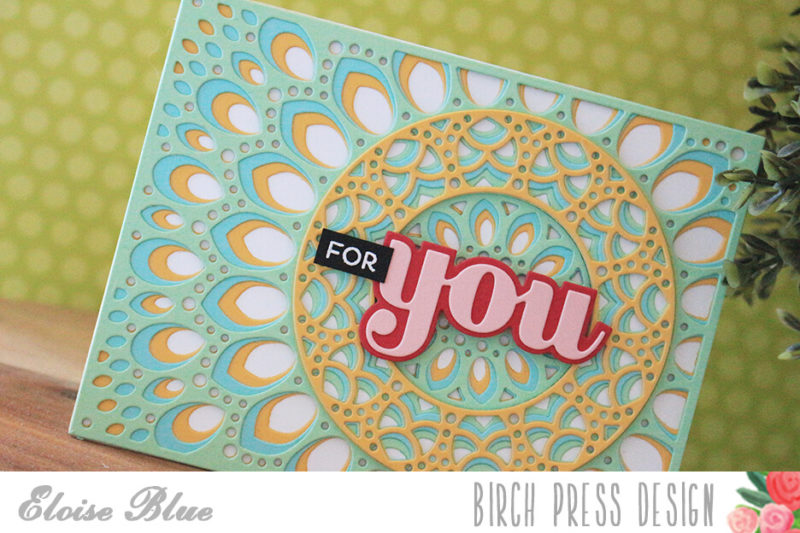
Now that all my pieces were adhered together, I used the Mandala Circle Base and cut it from some white cardstock. Then using the larger circle piece, that looks like a donut; I adhered my yellow top layer on it, since I wanted to pop it up later and have the white behind it. While I had my die cutting machine out, I also cut the ‘You‘ sentiment from light and darker pink cardstock. I then adhered them together and my card was ready to complete.
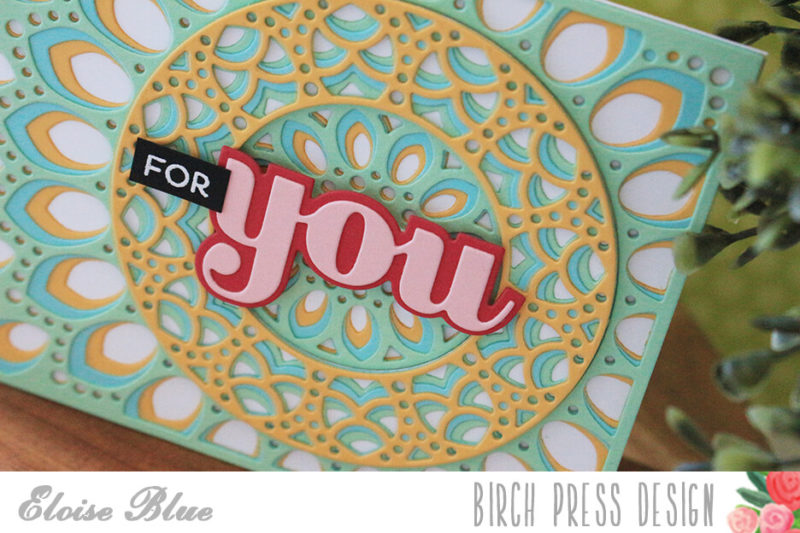
I adhered my main focal panel flat onto my card base with more liquid glue, then added foam tape onto the back of the next circle and inlayed that in . Then lastly I added the smallest circle in the middle of the popped up circle. For my sentiment, I added foam tape onto the back of the ‘You‘ sentiment and then adhered it into the centre of my popped up circle.
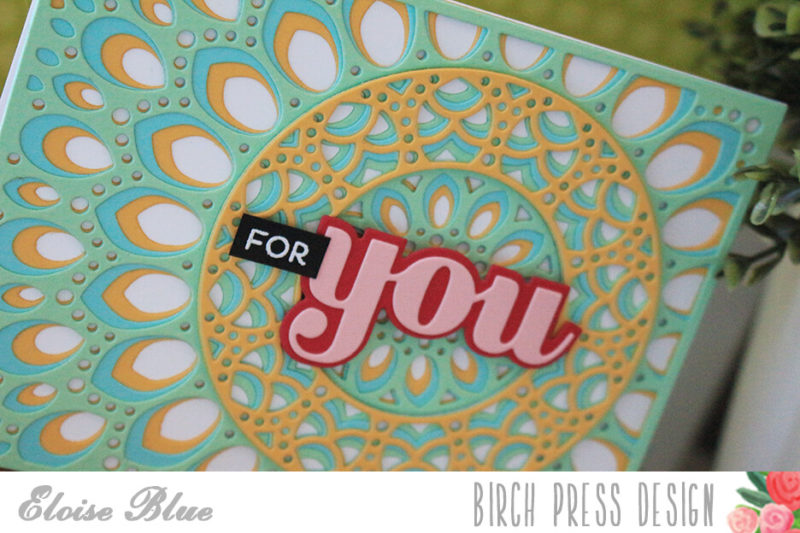
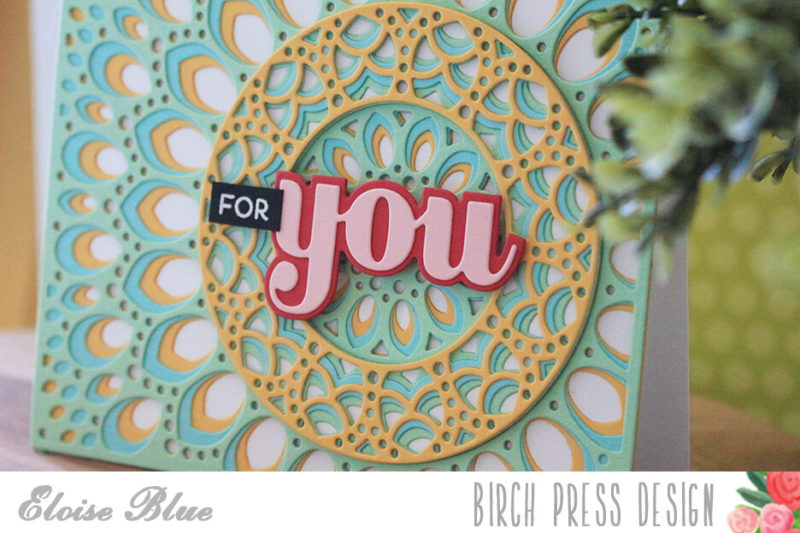
To finish off my card, I used the Sending Love stamp set and white heat embossed the ‘For’ word onto a thin strip of black cardstock. I popped that up on more foam tape and adhered it into place. So that finished up my card for today I hope you enjoyed and got inspired.
Linked down below is the video for you to watch, if you would like too.
Thanks so much for stopping by and I’ll catch you all next time.

Supplies


Comments
One response to “For You | By Eloise Blue”
These dies create so much wow factor on cards. Love the colours you’ve used.