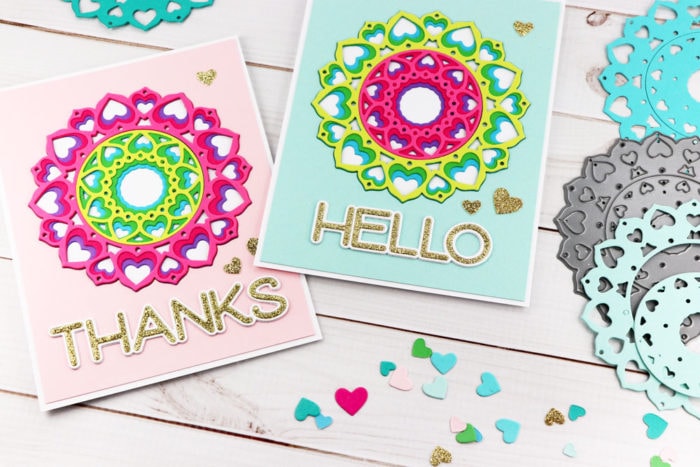
 Thanks for stopping by! I hope you’re having a great day! Today I’m playing with the new Adora Layer set! I love the versatility and many different looks you can achieve with this die set.
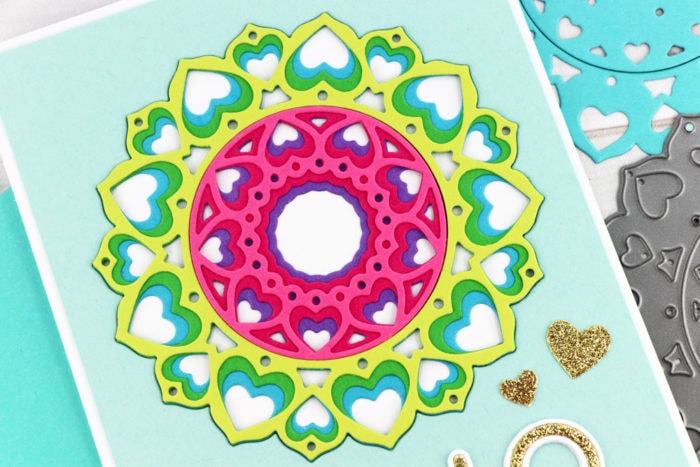
 You can change the look by stacking the colors of the layers, but you can also remove the center circle design too!
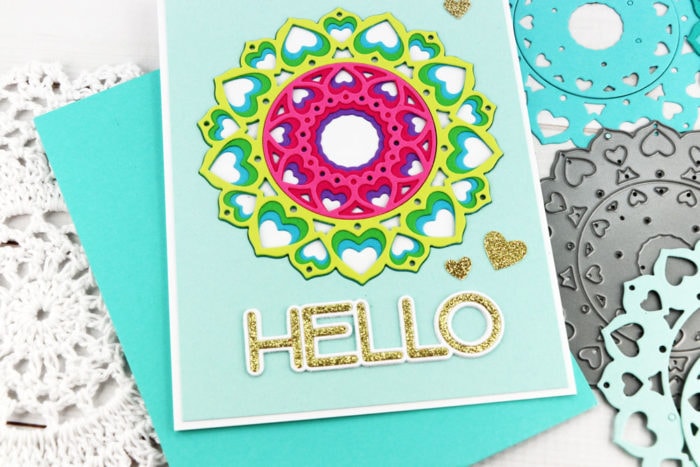
 I started by cutting a colored card stock panel slightly smaller than my card base. Next I die cut the Adora die from the panel before adhering it to the card base. This creates a clean window to insert the die into.
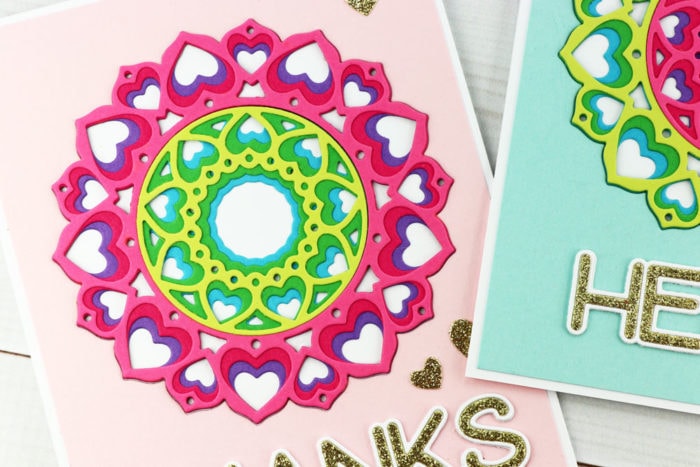 I adhered the layer C die into the open negative space and then adhered the Layers B and A over it creating a neat stack. Make sure you insert the center circle as you go – don’t save them for last. The dies are easier to assemble one layer at a time, vs. inserting the assembled circle stack in the center later.
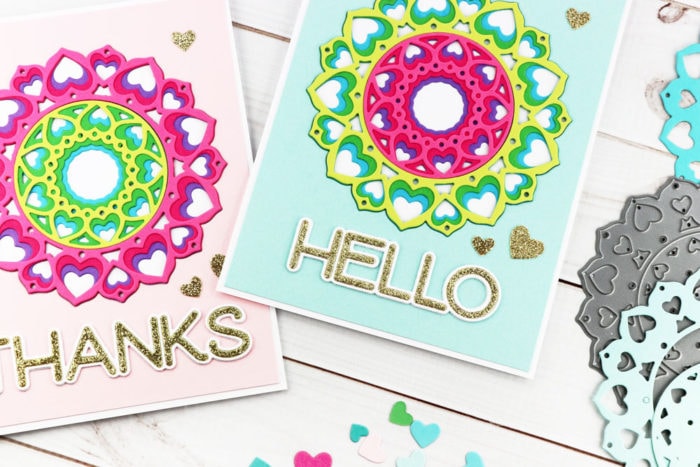
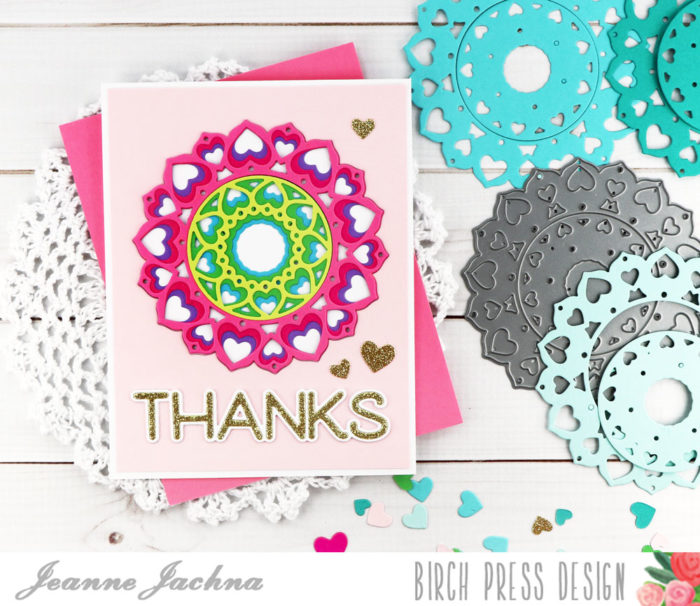 I added a Big Lingo Type Thanks and a few gold glitter hearts as accents. I cut the hearts with the Adora dies.
 I cut each die layer twice with a total of 6 different colors of card stock and then just swapped the centers to add more interest. Who doesn’t love a rainbow of color?
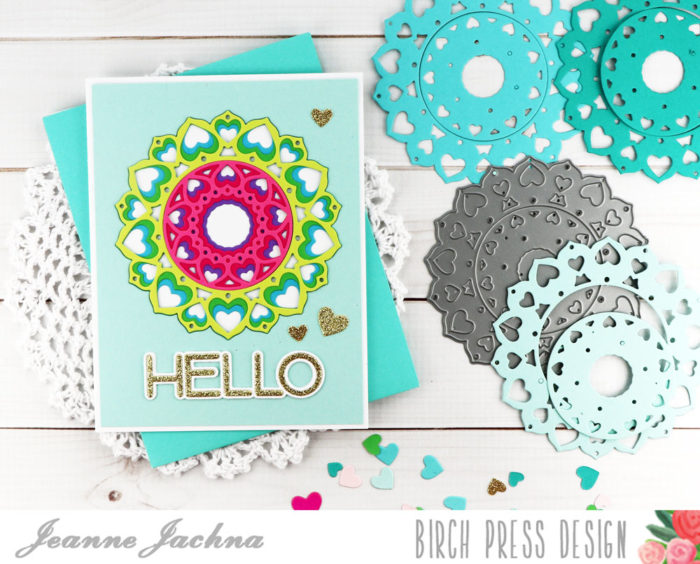 The new Lingo Type word dies are easy to work with.. each set includes a background die as well as an outline word die. The center of the letters on the outline die are removeable so you can use them on other projects or to create personalized messages if you like.
 You’re going to love the many ways and fun different looks you’ll achieve with these beautiful stackable dies!
 Finished Size 4.25 x 5.5″
Supplies


Comments
3 responses to “Versatile Adora Layer Set
by Jeanne Jachna”
Jeanne, what a bright cheerful card. The die cut looks like it has been crocheted rather than paper. Great inspiration to buy the die. Thank you for sharing your talents.
Great collection of cards, Jeanne!
Soo bright & cheerful!