
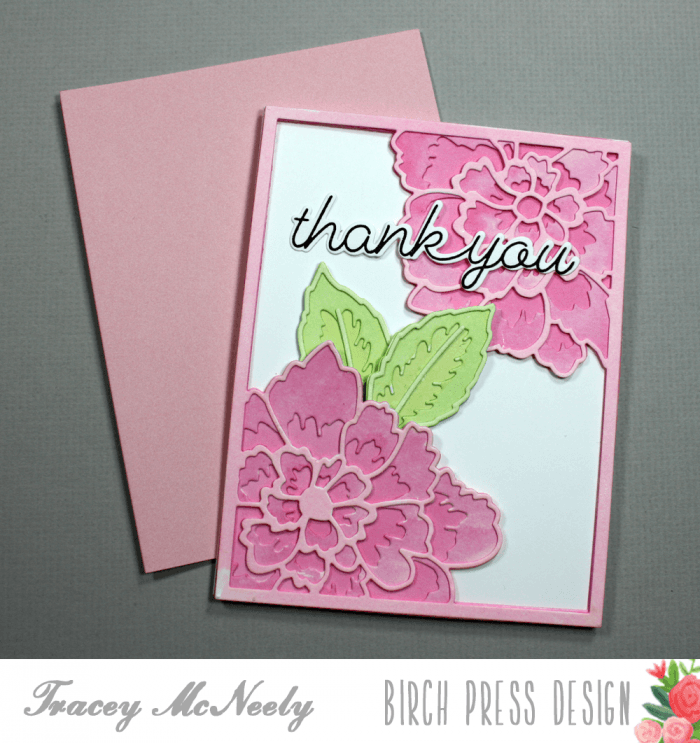
Have you had a chance to use the new Peony Blooms Stackable Dies yet? Watercolouring has become my new favourite colouring medium to use in crafting. Today I am going to use Peerless Watercolors in dilute washes for the layers of my peonies to create a monochromatic flower with lots of dimension.
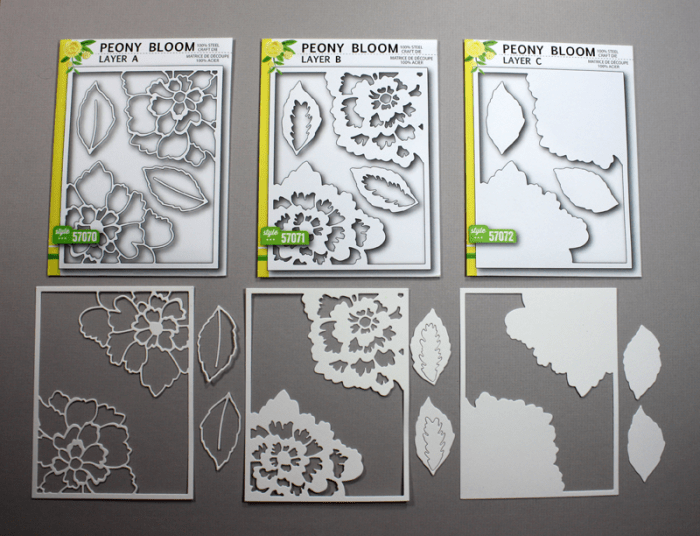
To begin I cut one each of the Peony Blooms Stackable dies–Layer A, Layer B and Layer C using 140 lb cold press watercolour paper.
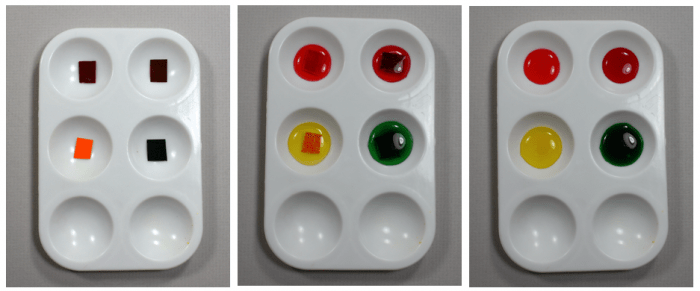
I started by cutting small pieces of the watercolor films from the Peerless Watercolor book that I was going to use for the flower and foliage. I colours I used were Royal Scarlet, Royal Crimson, Carnation Pink, Light Green and Brilliant Yellow. Put each piece of cut film into a different tray of a watercolour palette. Add a small bit of water to each of the trays to dissolve the colour from the film and tint the water, then remove the film from the trays with a pair of tweezers. ETA: Carnation Pink was added to the palette after photographing.
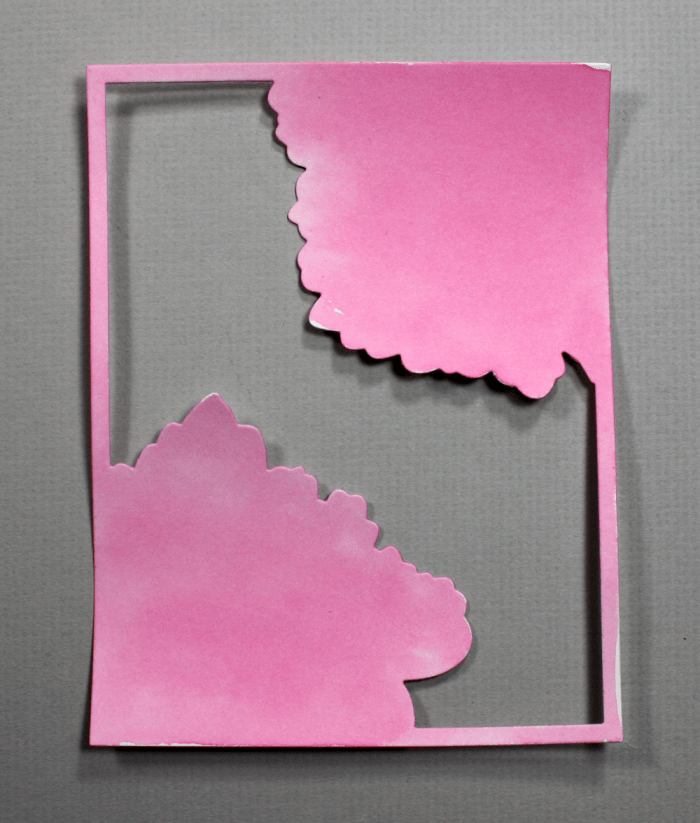
Starting with Layer C I applied a generous amount of water to the die cut flower and then I painted the flower with the full strength of my dilute Royal Scarlet wash. I set it aside to dry.
Next I did the same with Layer B using the Royal Crimson dilute. After the first layer of colour dried a bit I went back and added some darker highlights to the edges of the flower in the same colour but directly from the film in the book. I set that layer aside to dry.
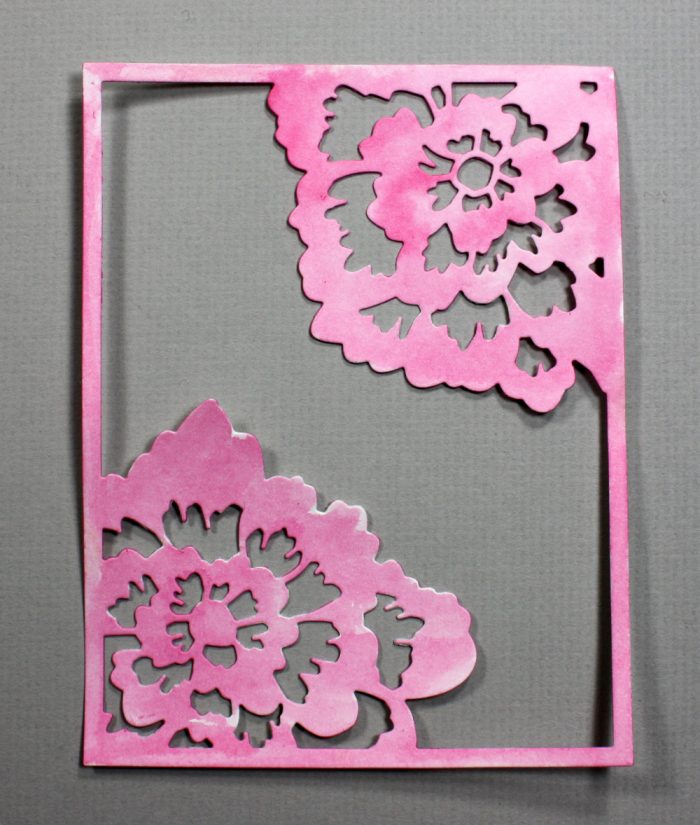
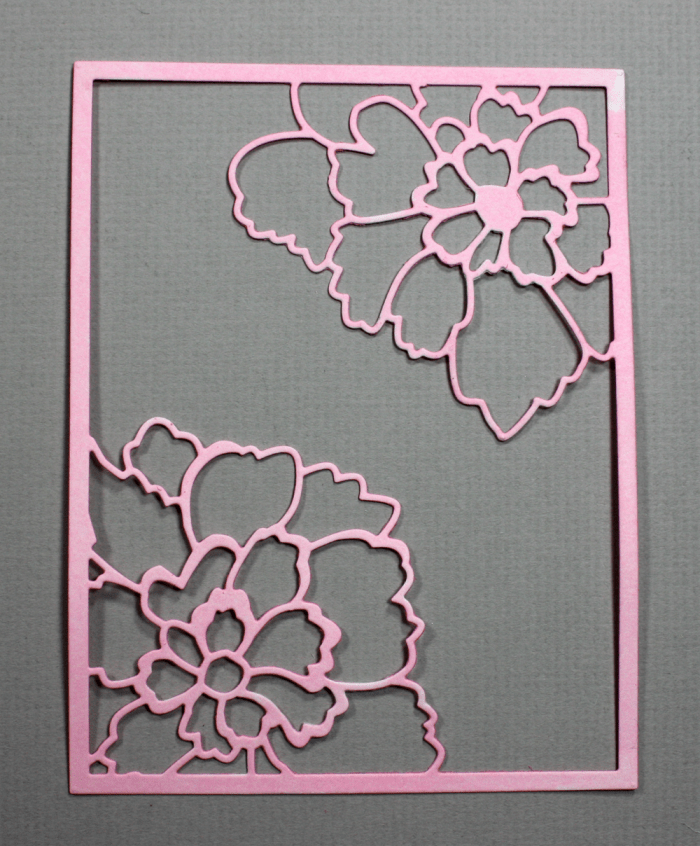
For Layer A I painted the Carnation Pink dilute directly to the dry die cut and then set it aside to dry.
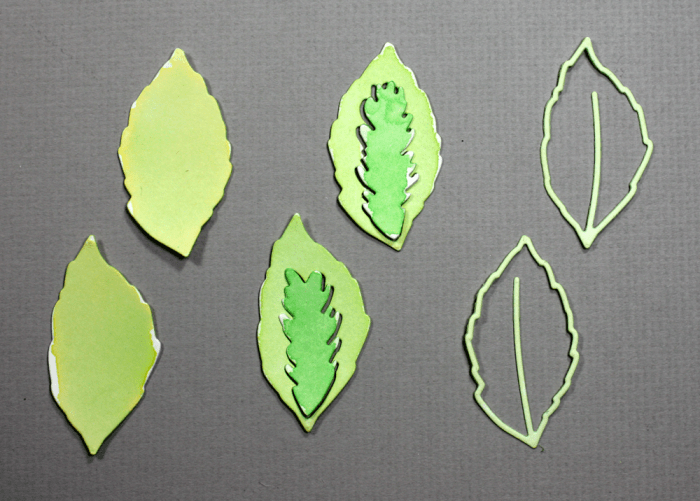
For the leaves I painted Layer C in Brilliant Yellow and added Light Green to the centre. For the leaves in Layer B I mixed some of the Brilliant Yellow and Light Green together in last available palette in my tray to make a yellow/green then I painted the Layer B leaves with it. I added more water to the custom yellow/green dilute to lighten the colour a bit more and painted the last leaves from Layer A.
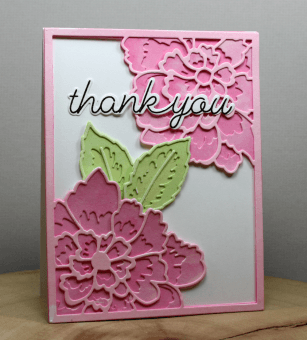
Once all papers were dry I assembled the Peony and leaves onto a white card base, isn’t the dimension achieved from the monochromtic watercolouring amazing? Finally the thank you sentiment from Dragonfly Greeting clear stamp set was die cut using the die from the Dragonfly Greetings die set and adhered to the card.
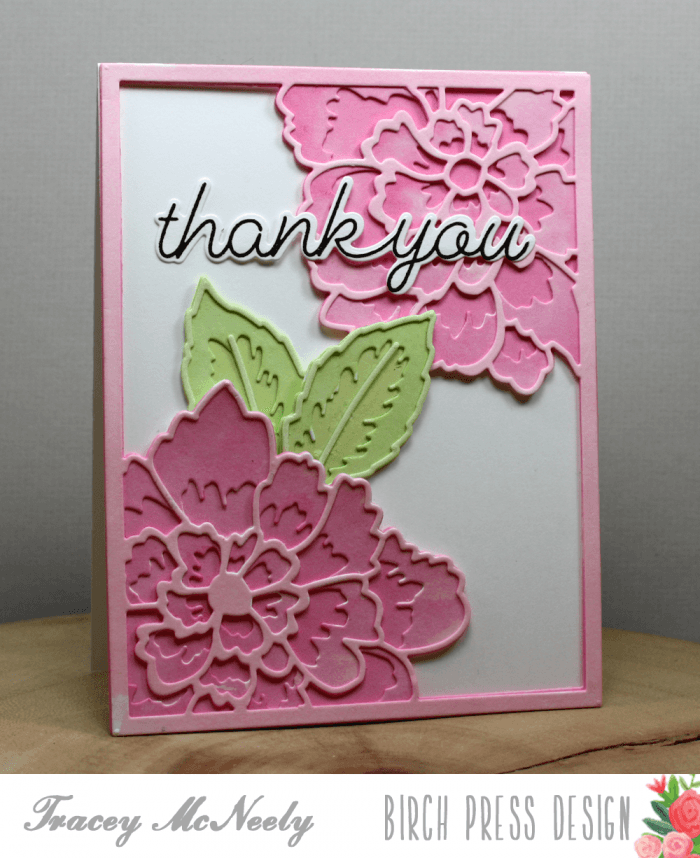
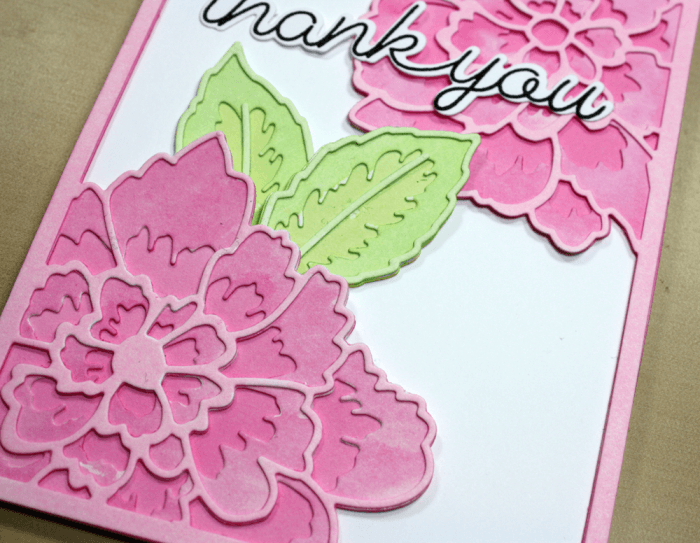
I hope you enjoyed today’s tutorial on watercolouring in a monochromatic colour scheme and see how well it works with the lovely detailed dies from Birch Press Design. See you again next Tuesday for more Design Team inspiration.



Comments
3 responses to “Peony Blooms Thank You | by Tracey McNeely”
Thanks for the inspiration on how to use watercolor sheets in a different way! Such a beautiful card!
Thank you Rosali! That was the first time I used them in that way, it’s fun to read the directions once in a while.
This really IS beautiful Tracey. I just received Layer A today (the one that I won), I am going to try some water colouring behind it to see what I can come up with. Can’t wait…