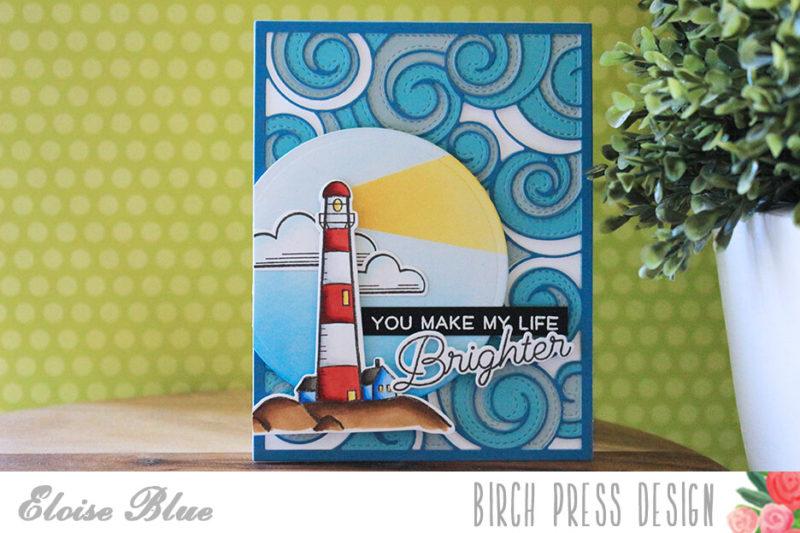
Hi friends, Eloise here and today I’ll be making a masculine themed card that would be perfect for a Birthday, Valentine’s or even Father’s Day. These new ‘seaside’ items are absolutely perfect for masculine themed cards, products are hard to come by for males and these products are just amazing for that. I’ll be using the new Let Your Light Shine stamp set, along with the Waves Plate Layer Set Dies for my background.
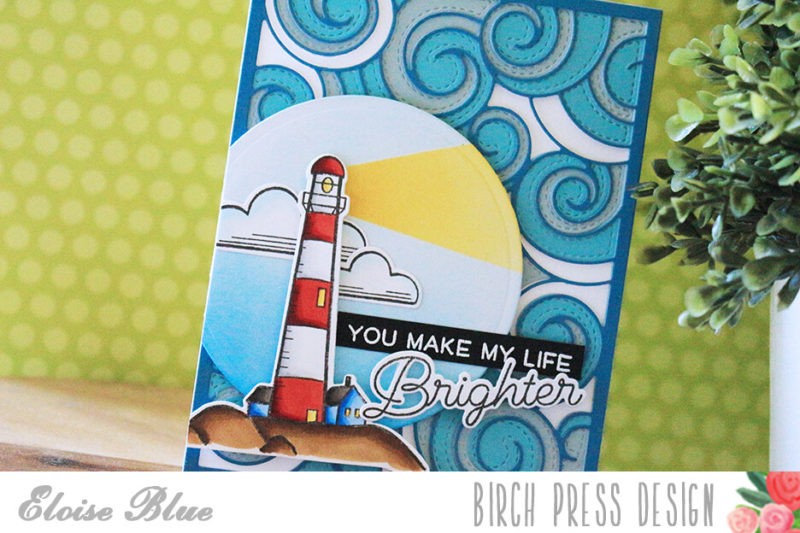
To begin my card today, I pulled three shades of blue cardstock from my stash, and cut each layer from the Waves Plate Layer Set Dies from one of the shades of blue cardstock. I used Layer A from the darkest, Layer B from the mid-tone and Layer C from the lightest. Once they were all die cut out, I added liquid glue on each of the backgrounds and adhered them together. I set them off to the side with something heavy on top to make sure they dried nice and flat.
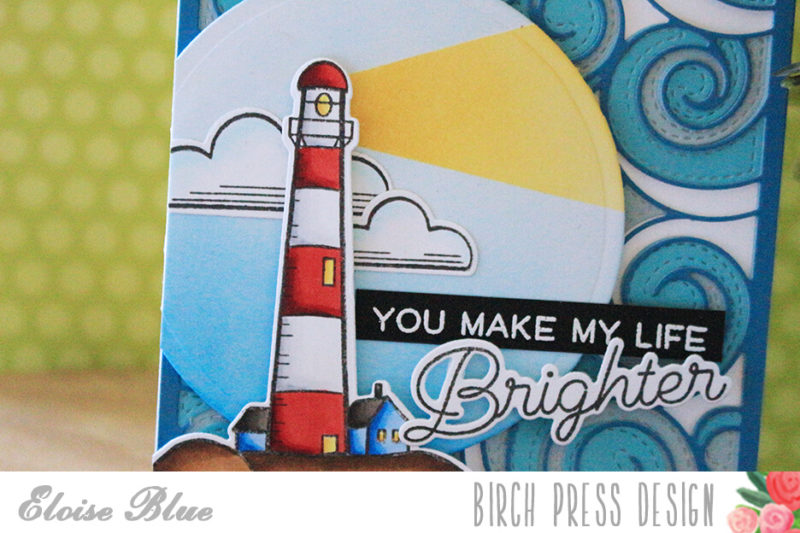
While I was waiting for my background to be ready. I stamped some of the images from Let Your Light Shine onto some white cardstock. I used some Copic Markers to colour my images in, then used the coordinating dies to cut them out. While I was at it, I also stamped and die cut the ‘Brighter’ word from the same set.
(Copics Used: R24, R29, R89 / C00, C0, C1 / Y11, Y13, Y35 / B0000, B000, 0 / B21, B24, B26 / W3, W5, W7 / E55, E57, E59)
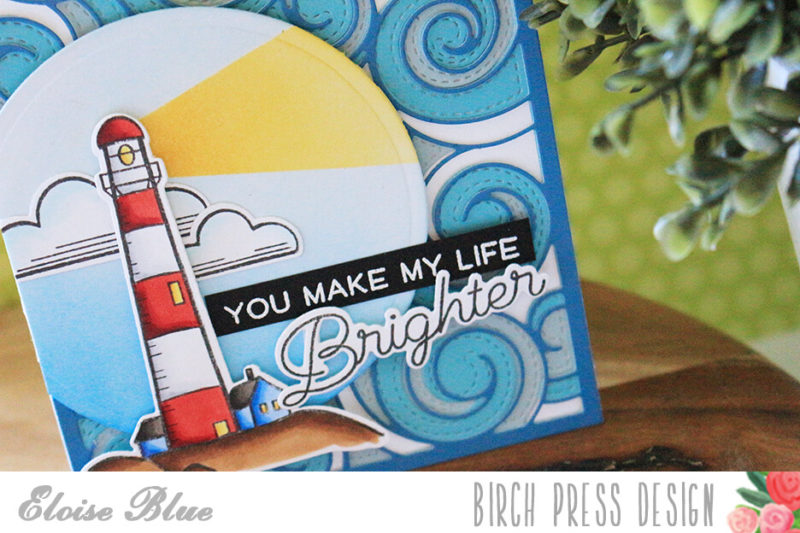
Next, I used a circle die to cut out some watercolour cardstock, then I used a piece of post it tape and cut out a sort of triangle shape, but instead of the sharp point at the end, I made it flat. I made sure to keep both bits of the mask, as I’m going to ink blend over them. I first took the negative mask, laid it over the top of my circle and ink blended some Fossilised Amber and Squeezed Lemonade Distress Ink inside. Once that was blended, I removed the mask and placed over the positive mask. Then, used some Tumbled Glass and Salty Ocean Distress Ink to ink blend the sky. Once I was done, I removed the mask and set it off to the side.
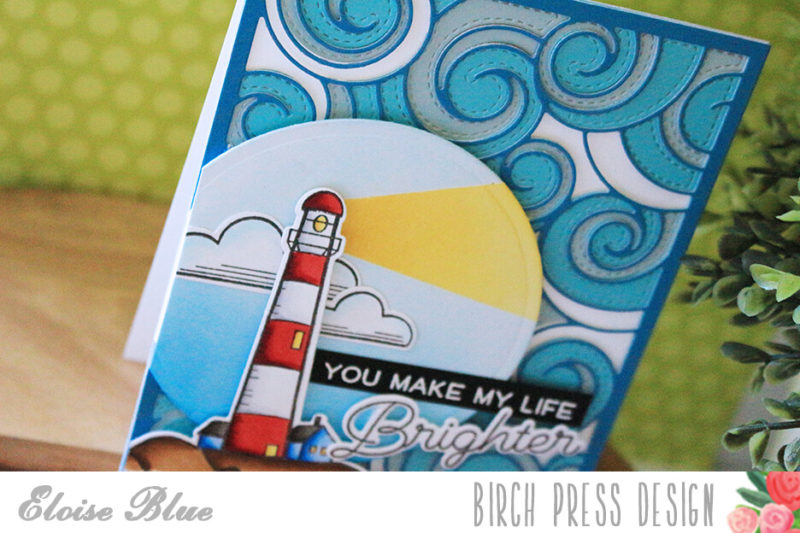
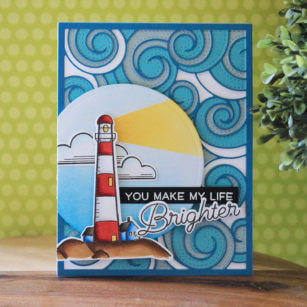
Now I had all my elements to complete my card, I started to assemble. I added some fun foam onto the back of my circle element, and adhered it down onto my waves background off to the left hand side of my card. Then, I used some runner adhesive to adhere down my clouds, and added foam squares to the back of my lighthouse and adhered that down over lapping the clouds, lining it up with the shining light I ink blended earlier. Once those were adhered down, I decided to white heat emboss the ‘You Make My Life’ sentiment onto a thin strip of black cardstock, then adhered that and the ‘Brighter’ sentiment on with foam tape to my card panel as well. To finish up, I adhered the whole panel onto a white card base and that finished up my card for today.
Thanks so much for stopping by today and I hope you were inspired. The video is linked down below if you would like to watch.
I hope your loving this new release as much as I am – I absolutely can’t wait to use the new Mandala dies as well, they’re incredible and so gorgeous! Thanks for watching and I’ll see you all next time.
Supplies


Comments
3 responses to “You Make My Life Brighter | By Eloise Blue”
Eloise, this card is stunning, I love the wave plates and your colors are beautiful. Thank you for sharing these are definitely on my must have list!
those wave plates are adorable!! Perfect for so many things too. Great color choices.
What an amazing card. Love that background and lighthouse.