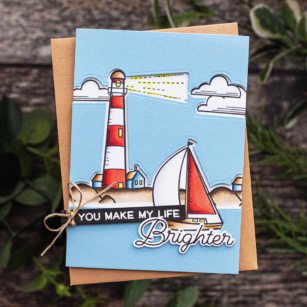
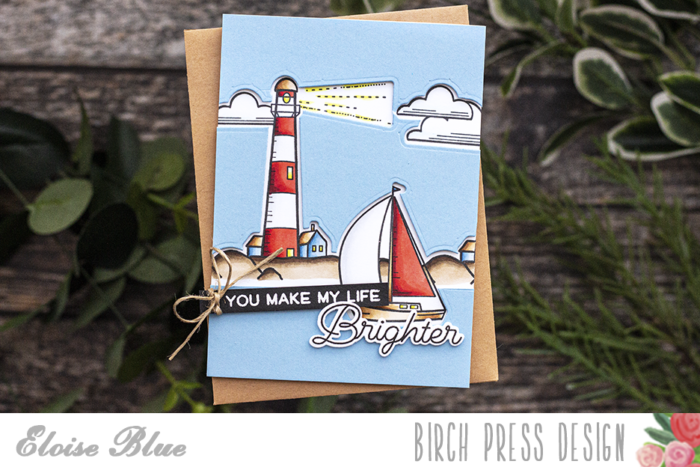
Hello friends, Eloise here and today I have a card using the Let Your Dreams Sail and Let Your Light Shine Stamp Sets. I used the dies to create a front layer and stamped my images to create a one layer scene on the inside.
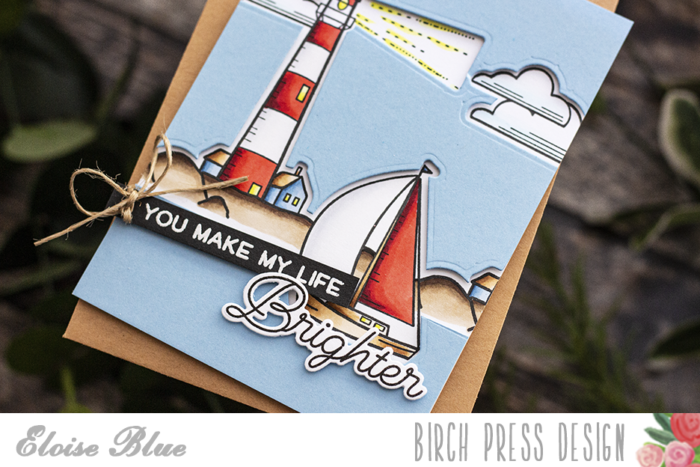
I started off with stamping out my images using a stamping tool. I stamped them onto a white piece and also the blue piece as well. When I was stamping them on the white piece I made sure to create a couple masks to create a one layer effect.
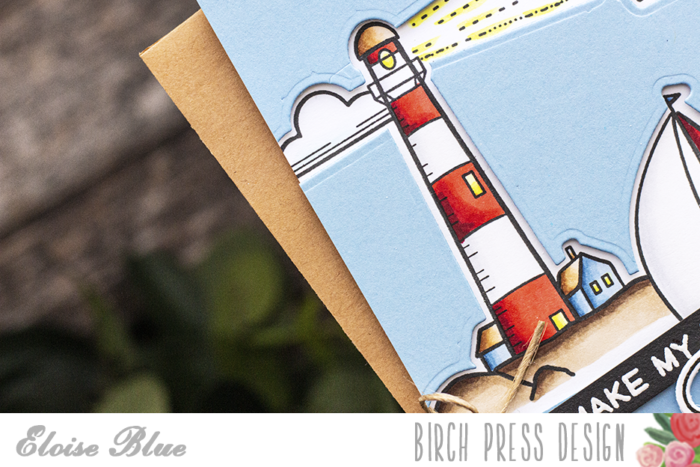
Once all my images were stamped I coloured them in with Copic Markers.
(Copic Markers Used: R14, R24, R27, R89 / C00, C0, C1 / 0 / B91, B93, B95, B97 / E50, E53, E55, E57 / E42, E43, E44, E47 / Y00, Y02, Y04 / B0000, B000)
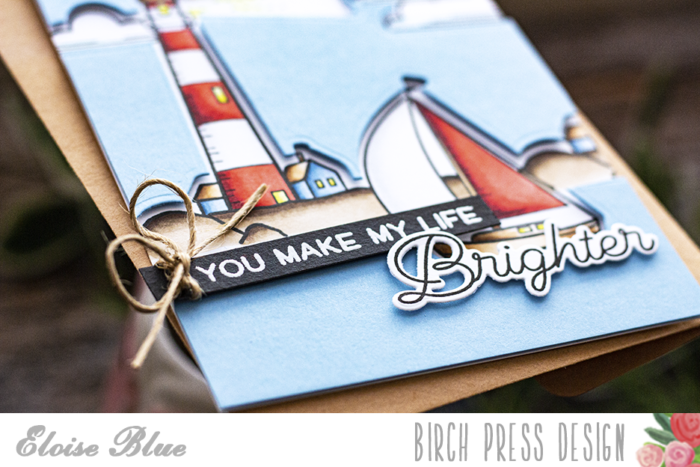
I then went ahead and cut the images from the blue piece and added foam tape to the negative pieces that were left over. I then adhered them around the coloured images on my white piece.
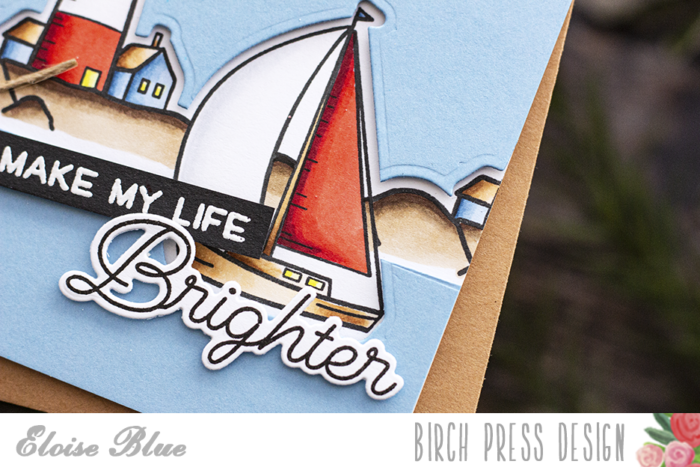
For my sentiment, I white heat embossed the ‘You Make My Life’ onto a thin black strip and then stamped the ‘Brighter’ word onto white and cut it out. I layered them up and added foam tape onto the back and adhered them down into place.
Thanks so much for stopping by today and the video is linked down below if you’d like to watch.
See you next time!

Supplies


