
Hello! Thanks for stopping by today! For this project, I brought the distress paints out and experimented with the weathered metal look.
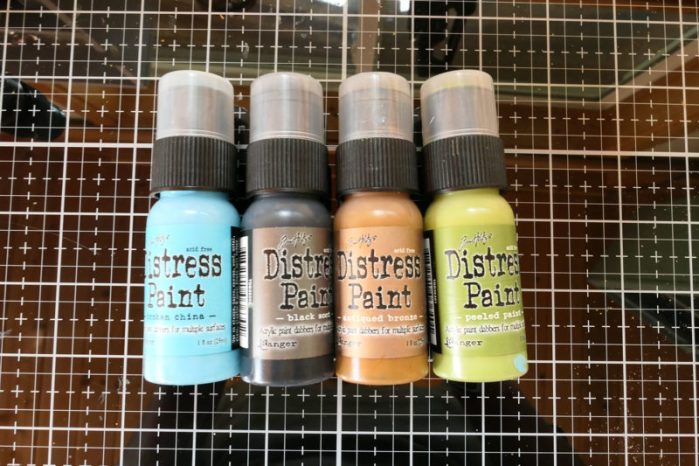
I started off by using black chalkboard paper, since there is a slight matte finish to it. I also tried adding a clear layer of gesso over top of plain black card stock, and that works as well. I simply daubed on random splotches of the blue and green and used my heat gun to get it almost dry. Before completely dry, I wiped some of the paint off, exposing the black underneath. A layer of Antiqued Bronze was added over top, and again let it almost dry (a few areas of wet remained still) and then daubed it off with a rag. Tim Holtz has a great tutorial on making a patina finish, and I just followed his steps. Here are how each layer looked before I put it together:


After I layered them all together, I went in with a very small amount of Black Soot Distress Stain on my rag, just to add some extra black into the lines. There is very little but it adds a nice effect. It looked great before and wasn’t a needed step.

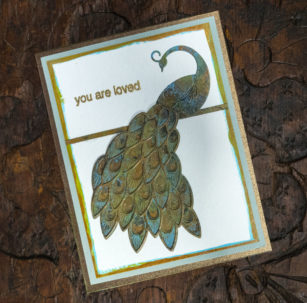
I went around the edge of the white watercolor paper with random strokes of Peeled Paint, Broken China, and Antique Bronze. I wanted it to look like rustic brush strokes.

A thin strip was cut from leftovers for the peacock to be resting on, and also added a sentiment embossed in gold. Notice how the feathers on the body of the peacock are slightly lifted for even more dimension.

I can see this technique applied to so many of these layering sets and even just the peacock body alone would be stunning on a card. It’s easy and so much fun! What do you think? I’d love to see your comments below.
Have a great day, and we’ll see you again soon!

Supplies

Comments
11 responses to “Weathered Regal Peacock
by Jennifer Svare”
What a creative take for a peacock! Awesome work!! 🙂
That peacock is amazing, Jennifer!
Very clever technique yielding beautiful results.
Fabulous peacock! You did an amazing job! And you made it look so easy.
Amazing results!
WOW, that really does look like metal. I will have to try it…
I love reading your comments. Thank you so much for sharing! ~Jennifer
Amazing!!!
Very nice technique to try.
This is so beautiful. Love the layered tail. Hugz
that is one of the best techniques I’ve seen with this die set!