Hello Everyone and Welcome Back!
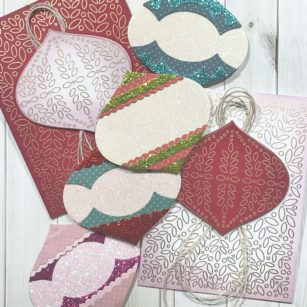
Well I just had to make even more Ornaments! For today we will be focusing on the Ornaments Basics Set and the Ornaments and Label Stamp and Die Set! With just these items we still have endless possibilities!

I started by cutting the Basics set with white card stock! This helped me to see all the choices I had to be able to create my own layers for my ornaments! Once I was ready and had my designs in mind, I dug back into my stash and started my die cutting making my glittery piles!

For the shiny and shimmery elements, I used the memory Box Glitter card stock – both the bright and pastel!
Layering these elements is so easy and takes no time at all to create those perfect ornaments for your tree or as a gift for any special occasion!

The stamp and die set add even more possibilities, and cards too! This is great to be able to get two cards at one time just by switching out the center ornament element! We can even add a sentiment to either design we choose!
How many Christmas Trees will you have in your home now! LOL…
As always, I hope you enjoyed today’s project… and if you want to see more details just click on the video below and see how these projects come together step by step!
Make sure you stay tuned for more wonderful projects coming soon! Have a great day and always remember… Be Creative!

Supplies


