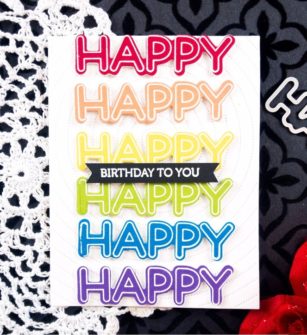
Hello readers and happy Monday! I hope you all did something fun and crafty over the weekend. This is Crystal here with you today sharing a fun rainbow themed card I made using the new “Crystal Lingo” stamp set and coordinating dies. Yes, I’d like to think this new set was named after or even for me (though that’s likely not the case)! : )
Here is a step-by-step tutorial for how to make this card:
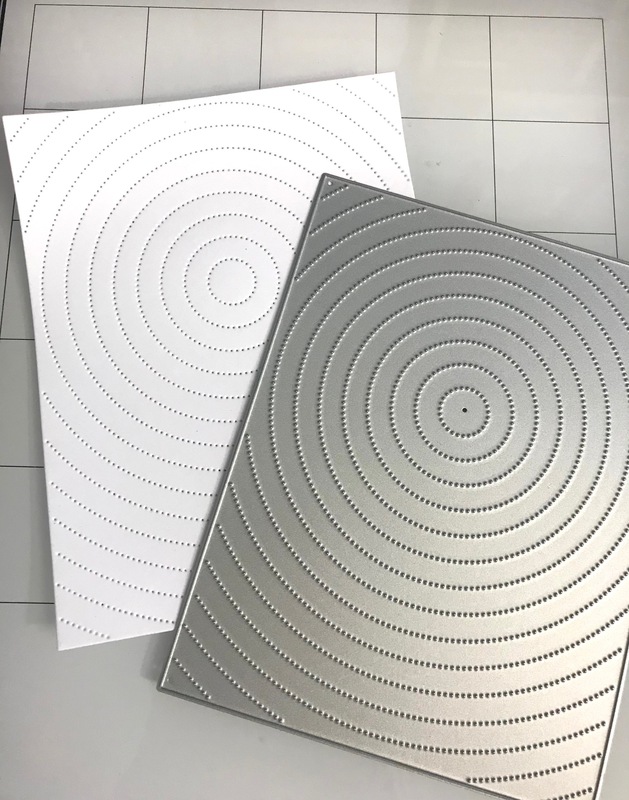
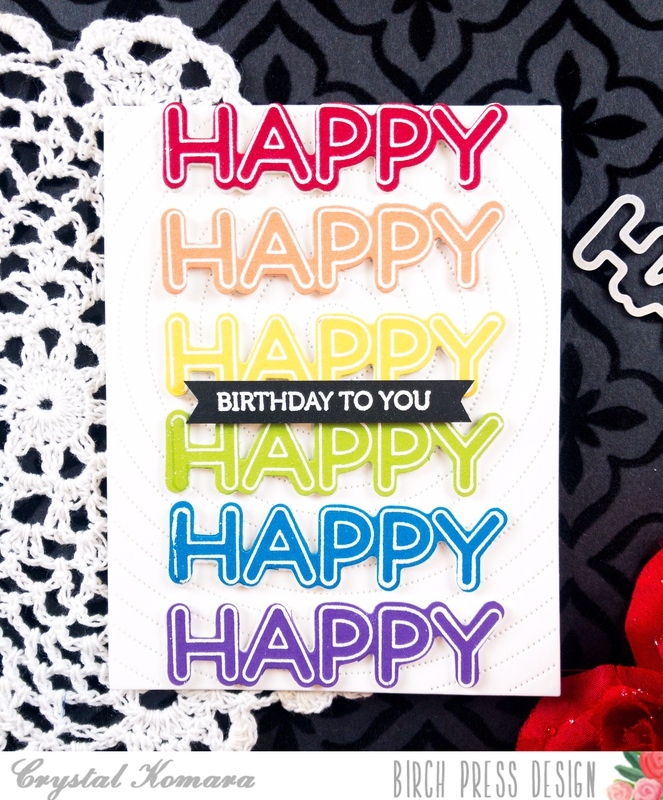
Step 1 – Using the Pinpoint Radial Layering plate, die cut the first layer from white cardstock.
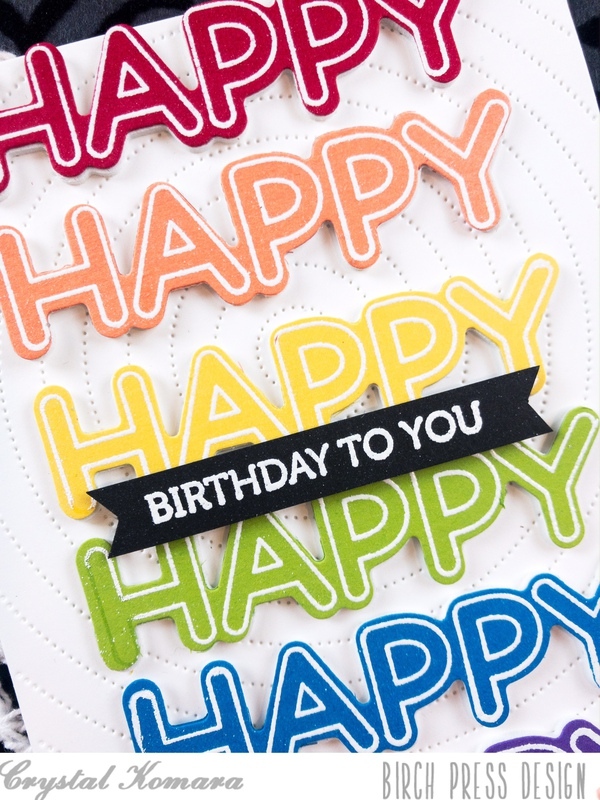
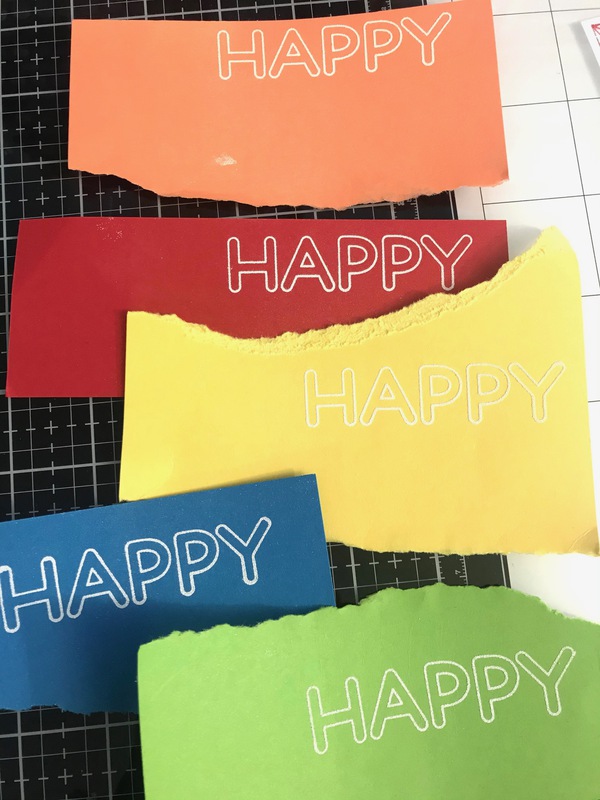
Step 2: Using Versamark ink, stamp the word “HAPPY” from the Crystal Lingo stamp set on scrap pieces of paper in rainbow colors and heat emboss the words with white embossing powder.
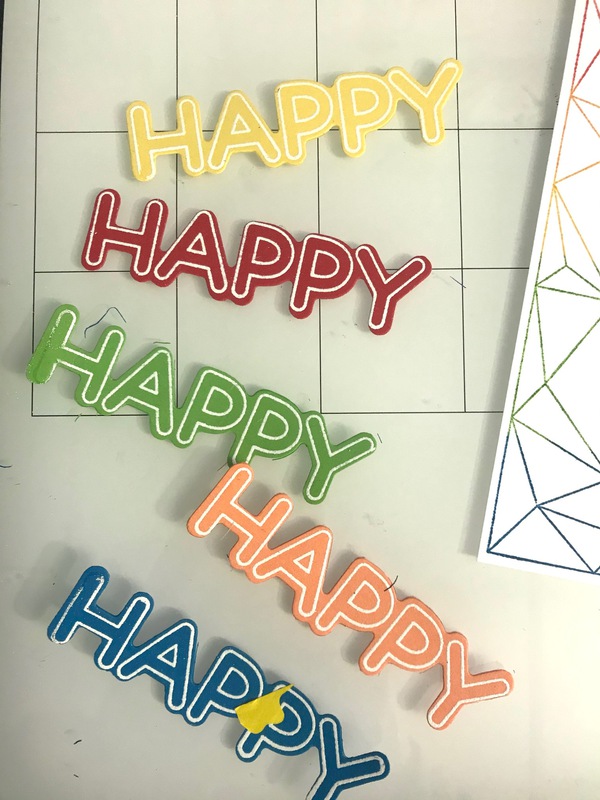
Step 3: Using the coordinating Crystal Lingo dies, die cut the word “HAPPY” multiple times from each rainbow colored piece of cardstock.
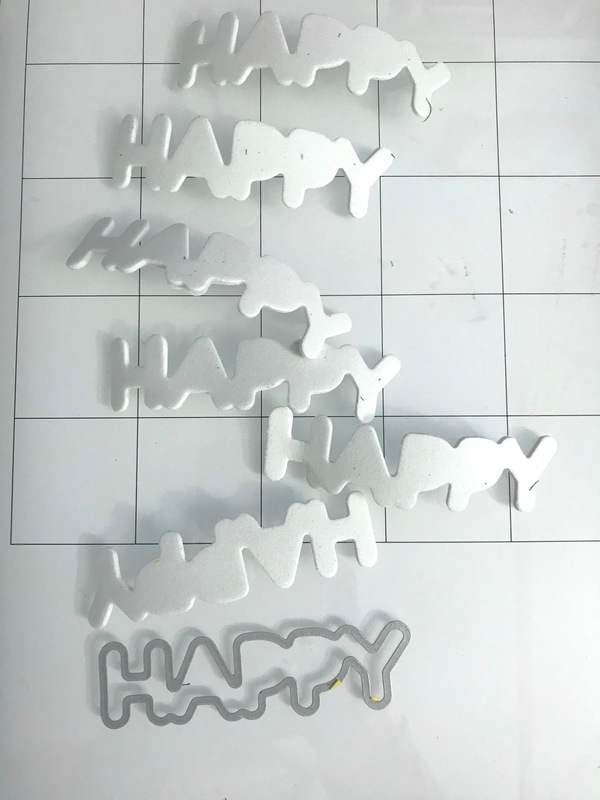
Step 4 (*Optional): I also die cut the word “HAPPY” six times from white adhesive craft foam. This will allow me to pop up my sentiment without having to cut down 3M foam tape to size, or by using little foam pieces of adhesive. It was an added step, but so worth it in the long run!
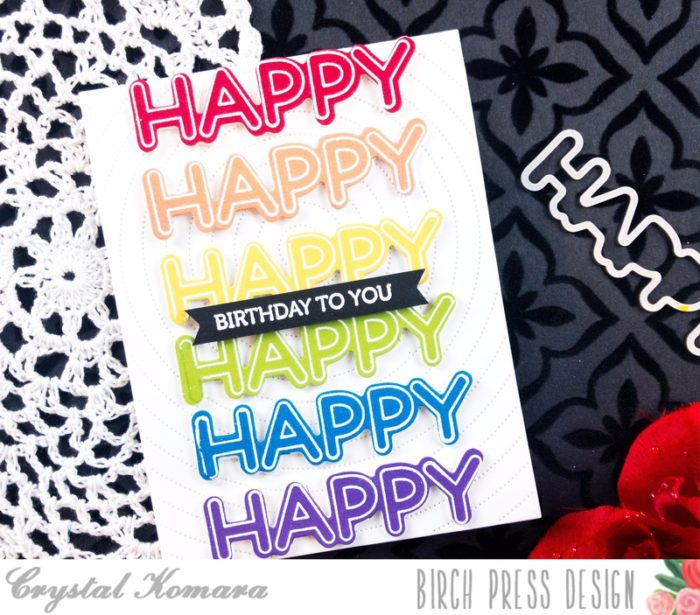
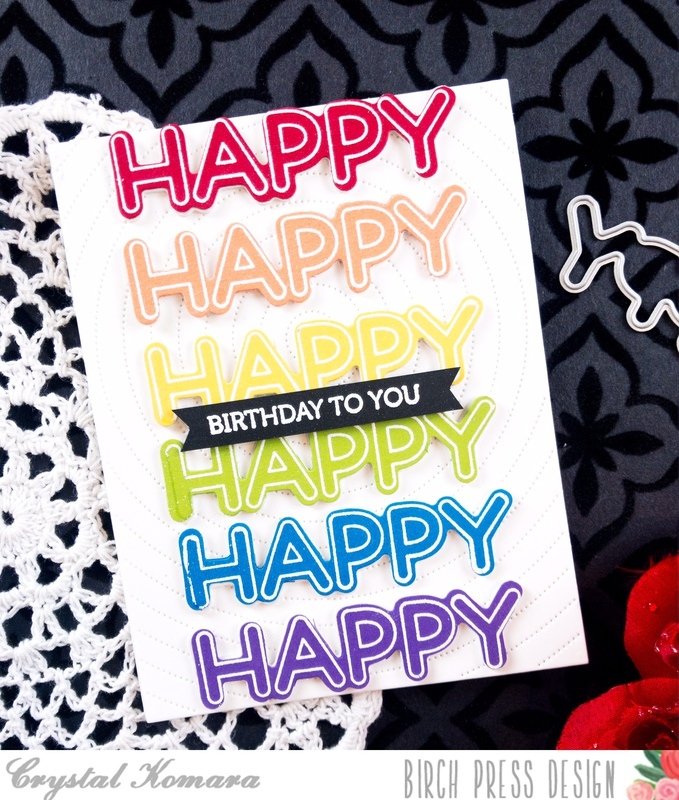
The base of this A2 sized card is an 80 lb. sheet of Neenah Solar White Smooth cardstock. I layered the white cardstock (embossed with the Pinpoint Radial die) directly to the white card base and layered the words “HAPPY” in a rainbow ROYGBIV pattern from tp to bottom. Lastly, I heat embossed the sentiment in white embossing powder on black cardstock and adhered it to the center of the card.
Thanks for visiting and have a wonderfully creative day!