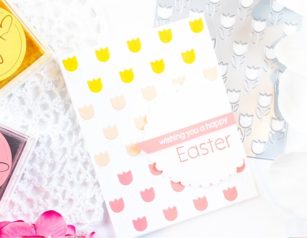
Hello crafty readers and happy Monday! I hope you all had a lovely weekend. Today I am sharing my first spring inspired card using the beautiful new Tulip Fields Layering Plate.
For this A2 sized card, I only used Layer C (or the bottom layer) of the Tulip Layering Plate dies. I love being able to use these dies together as a group of three, or as stand alone dies, so you get more for your money!
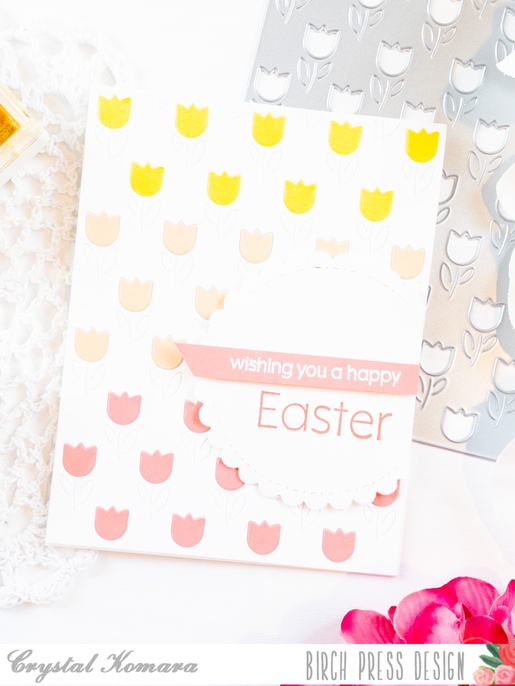
To create this card, first I die cut Layer C from four different color of cardstock – white, peach, yellow and pink.
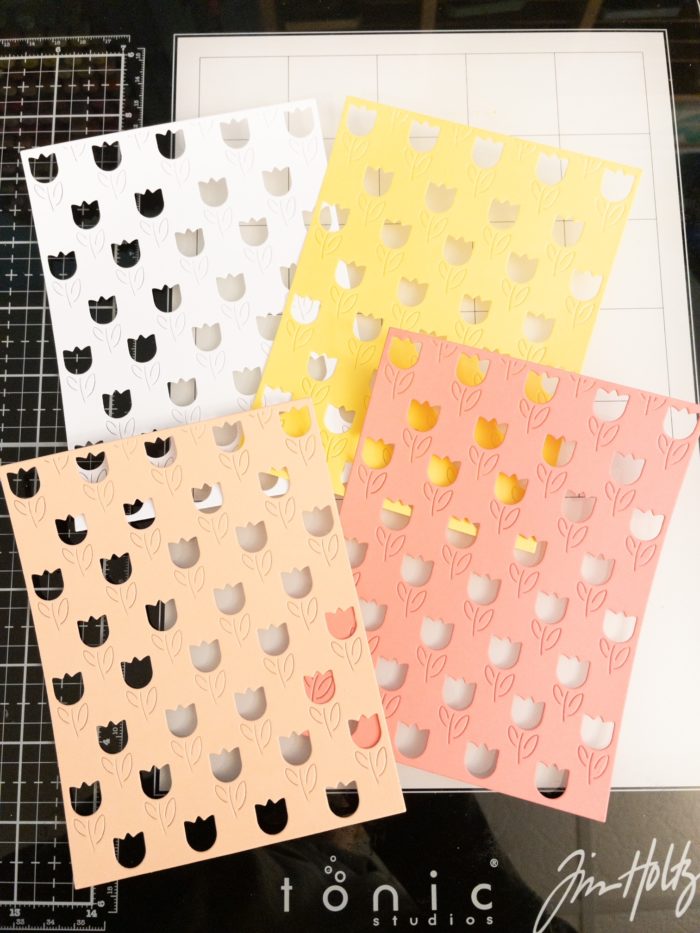
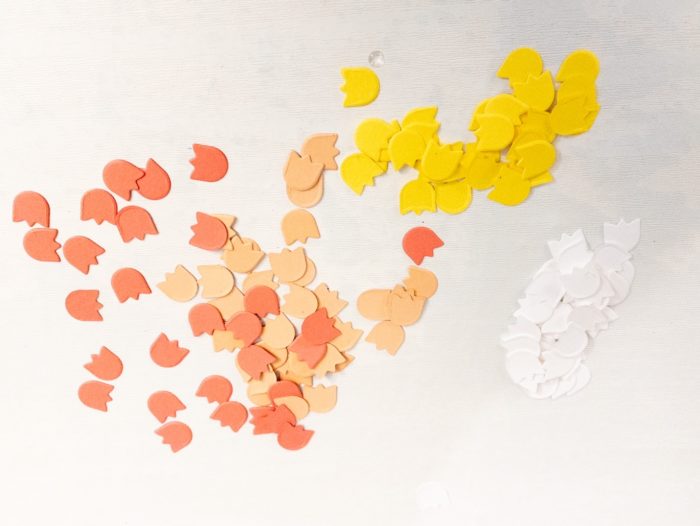
I separated all the little tulip heads by color after running each color cardstock through my Big Shot machine.
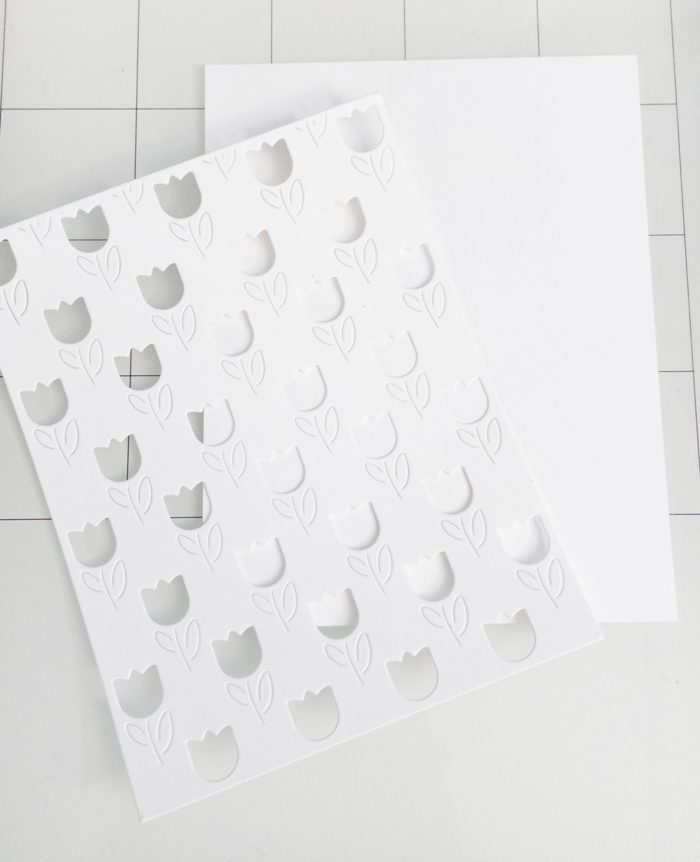
I placed a 5 1/4″ x 4″ piece of white cardstock behind the white Layer C tulip cut cardstock. I lined this paper with Tombow dot adhesive, so that when the tulip paper was placed on top, there were still sticky holes left for me to place each tulip head.
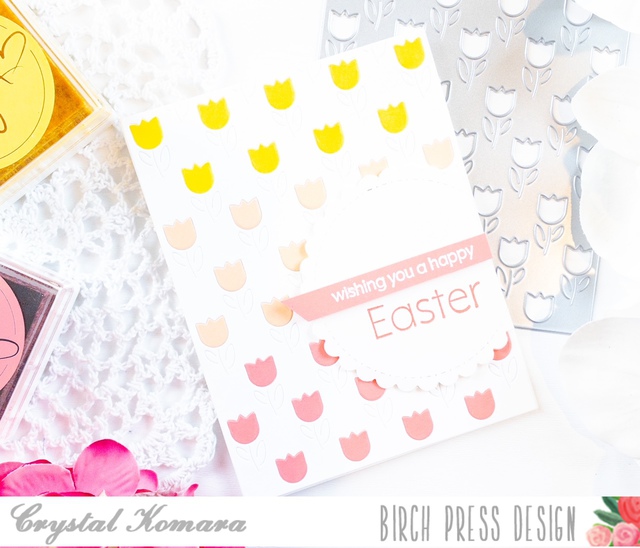
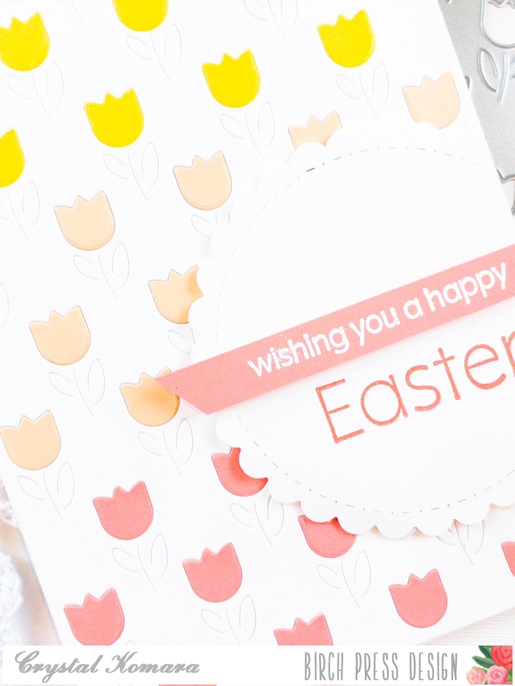
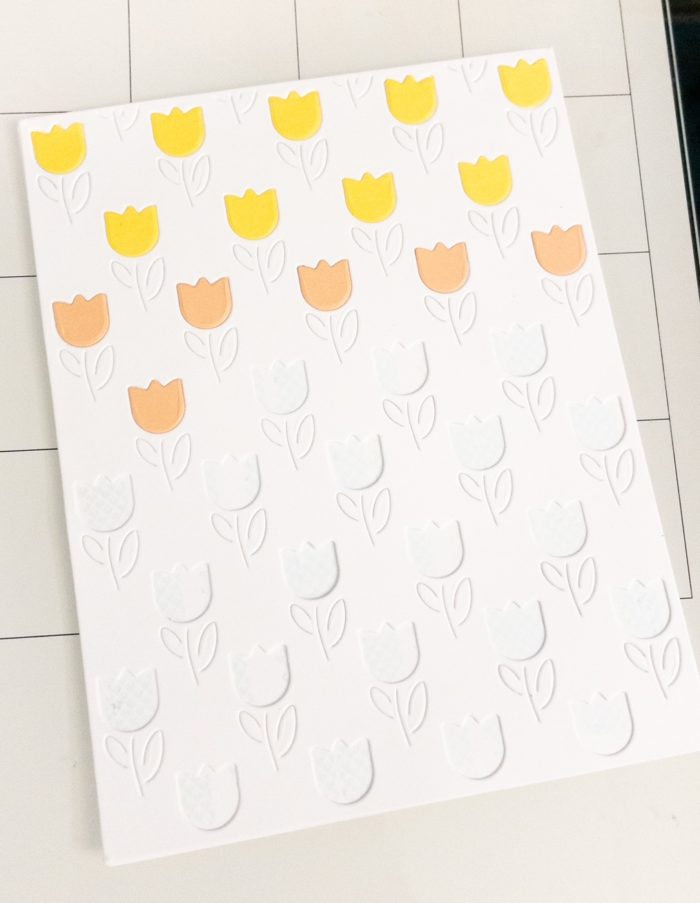
I placed the tulip heads in yellow, peach and pink rows. Yes, I had to place them into position one-by-one, then I added a scalloped circle with a sentiment and voila, all done!

I hope you enjoyed today’s card. Thank you for visiting and have a wonderfully creative day!

Supplies
