Hello Everyone and Welcome Back!
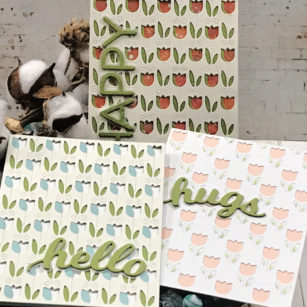
For today, let’s stretch our dies! We will be creating 3 cards using 3 different techniques featuring the Field of Blooms layering die set!
For my supplies I dug into my stash of scraps or card stock and backgrounds and found a couple that were perfect! I also using the new memory box card stock paper pads!
I took care of all my die cutting and set my pieces aside…

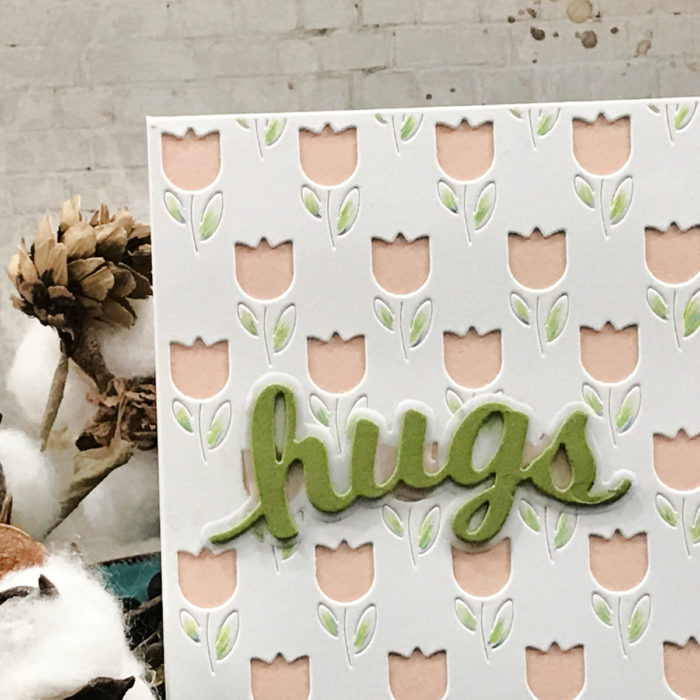
Card 1
For this card I only used the bottom layer of this die set! In this case that is Layer C and cut out the image form a piece of white card stock. I grabbed two colored pencils and had fun just adding some simple accents on the leaves! The panel under the die cut was a color to fill in the tulip part of the die!
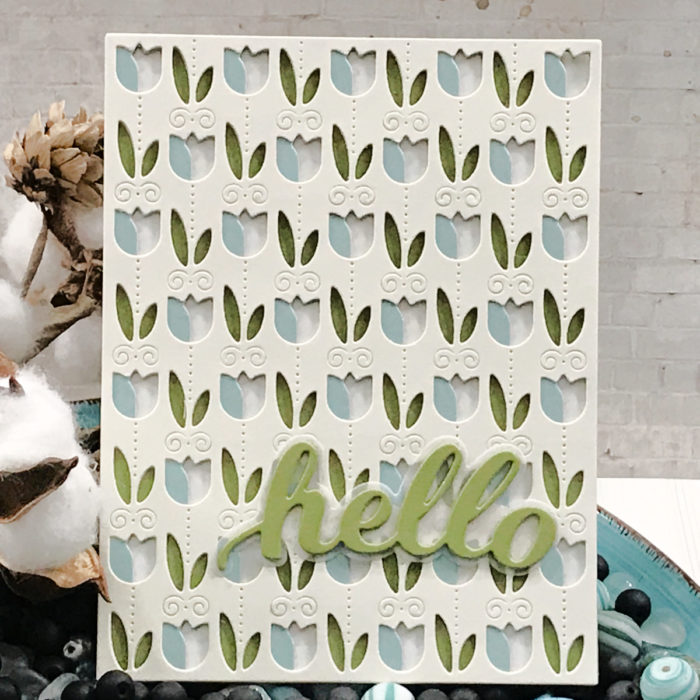
Card 2
Here is used all die cutting panel and chose three different solid card stocks as my colors! Just using simple colors of card stock this panel comes to life with each layer!

Card 3
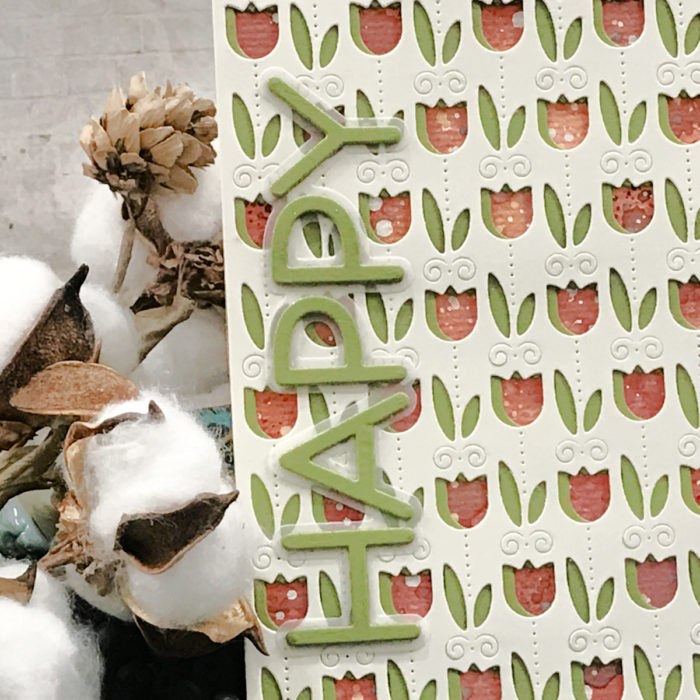
Finally, while digging into my stash of background I found this gorgeous ink smooshed background. I added some splatters and started layering. Now the ink smooshed background was the solid base, no die cutting there. I then layered with Layer B using green card stock and then Layer A using cream card stock. However, when I added the second layer, I shifted it to the right under the top panel!
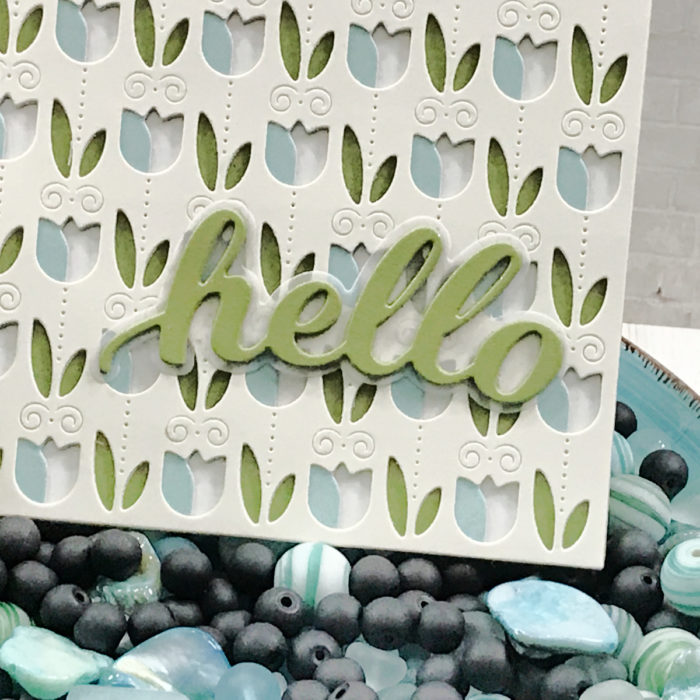
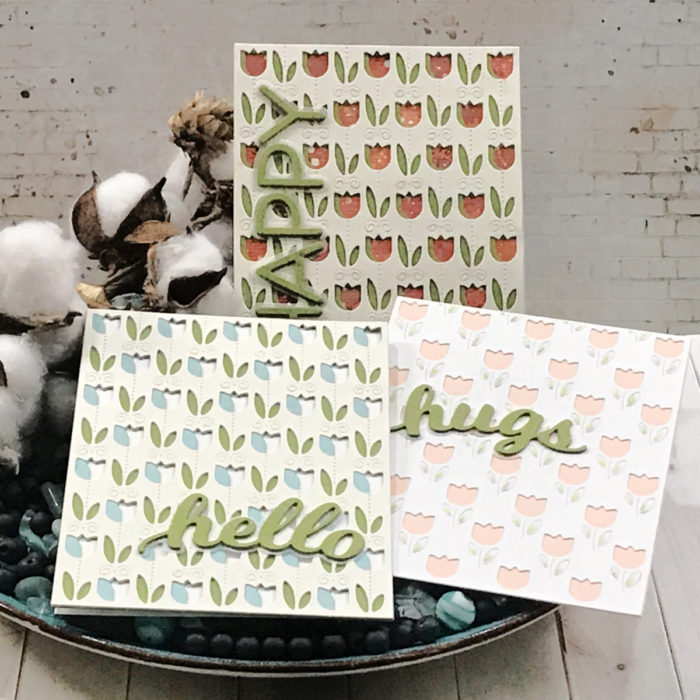
Once all my panels were glued together, I cut all my sentiments using the honey script collection. The sentiments I chose have the cloud background and I cut that out using vellum card stock and cut the sentiment themselves three times to add even more dimension!
As always, I hope you enjoyed today’s project… and if you want to see more details just click on the video below and see how these projects come together step by step!
Make sure you stay tuned for more wonderful projects coming soon! Have a great day and always remember… Be Creative!

Supplies


