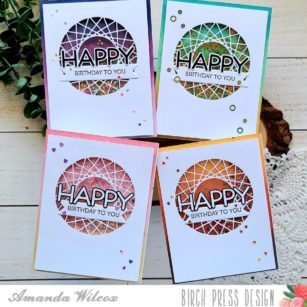
Hi there! It’s Amanda from Twiddler’s Nook back with you today sharing a set of 4 birthday shaker cards.
All of a sudden I needed multiple birthday cards and I thought this was a fun way to get them all finished and ready to go.

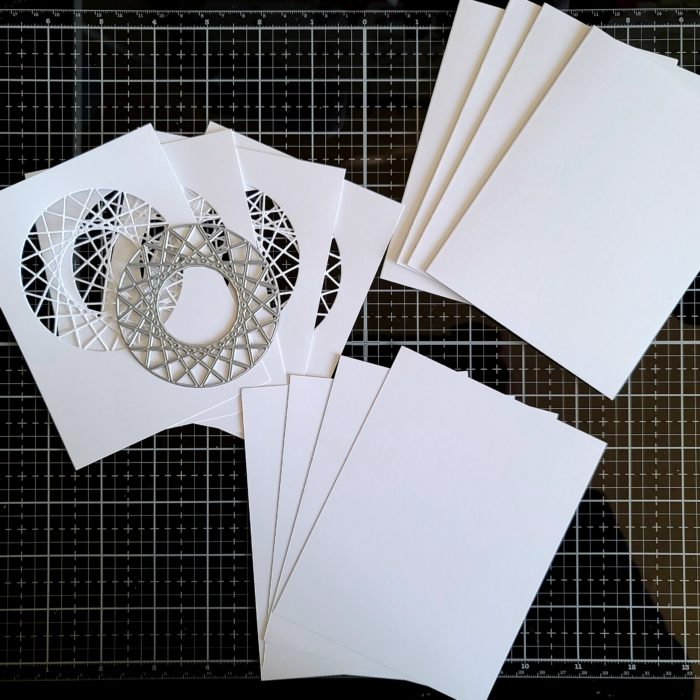
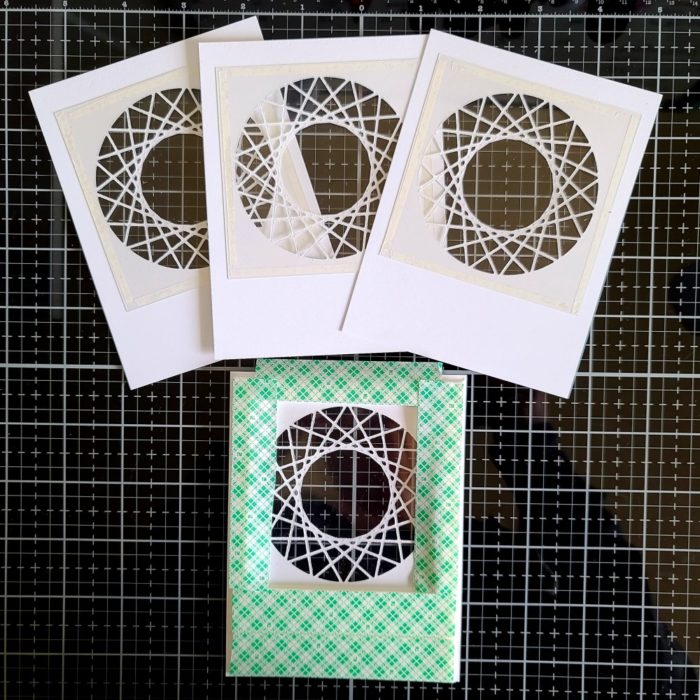
I started things off by cutting all of my pieces at once. We’ve got 4 card bases, 4 card front panels and 4 white pieces measuring 4×5.25 inches with the string art circle collage die cut from the middle top of each panel.
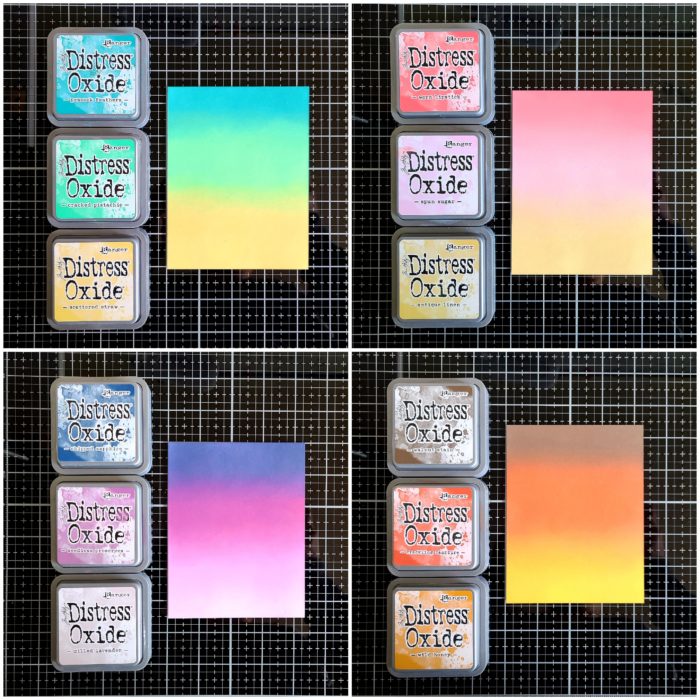
Next, I blended distress oxide inks in different color combinations on each of the card front panels. Here is a little collage photo to show you all the combos in case you’d like to try them out too.
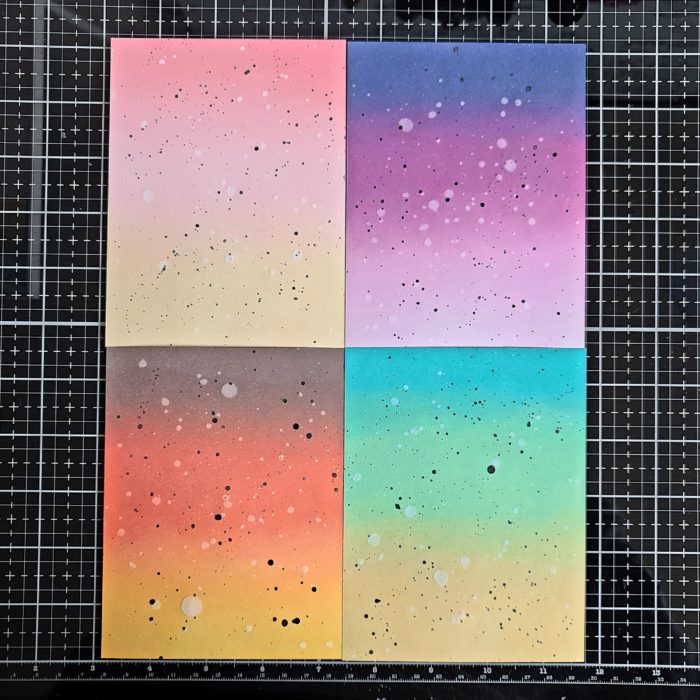
Once they were all finished, I spritzed the panels with water and then flicked some watered down black acrylic paint on them for a little texture.
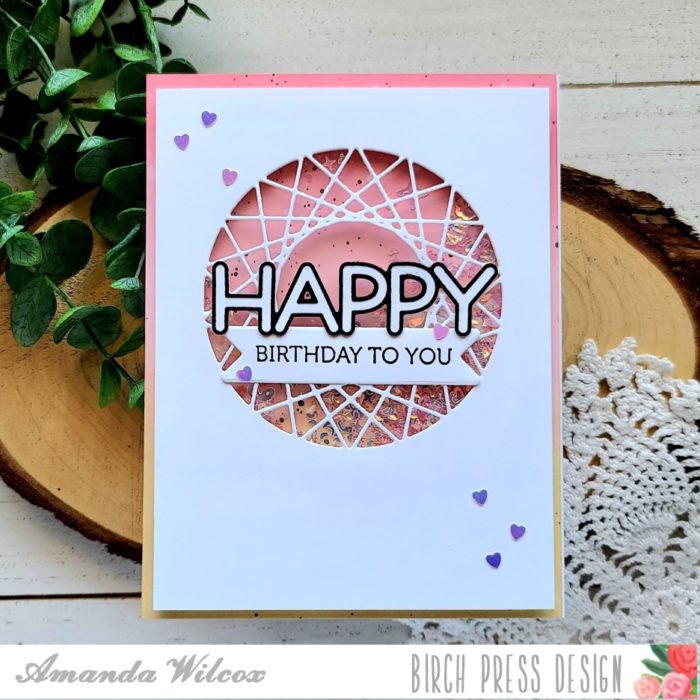
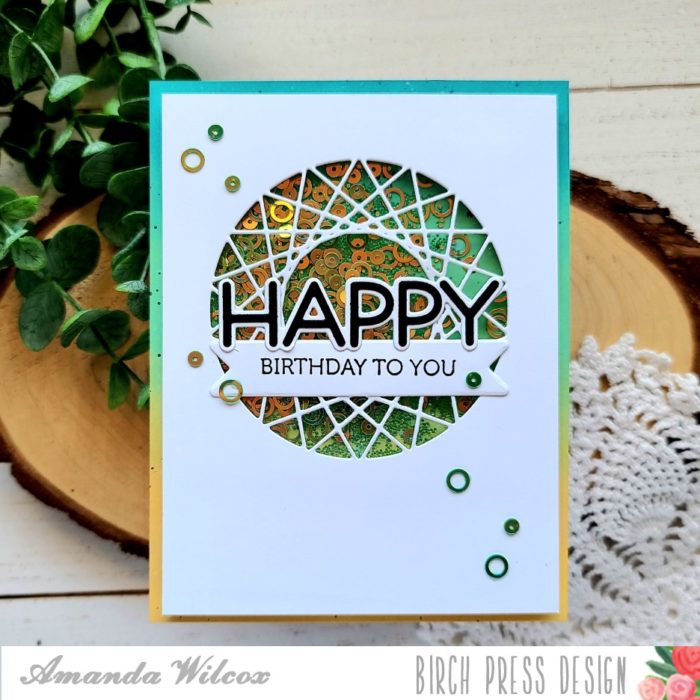
To make these into shaker cards, I added an acetate sheet to the back side of the circle string art collage opening of each panel. Then I added doubled-up foam tape to the back too.
Next, I chose my embellishments and made a little pile in the middle where the opening would be. I removed the release paper and added the string art collage panel to the ink blended panel, sealing the shaker bits inside.
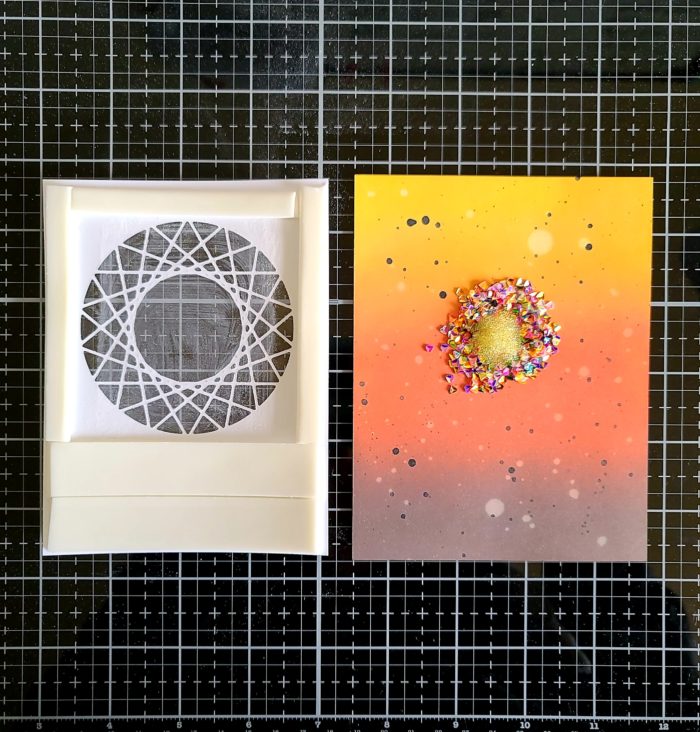
For each card, I chose an embellishment mix and different colored micro beads to help the pieces move around nicely.
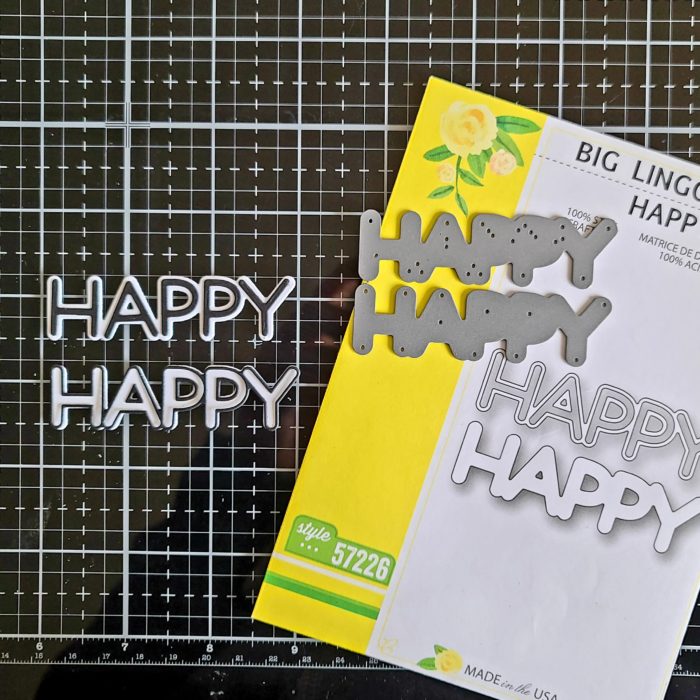
With all of the shaker mechanisms created and sealed up. I used liquid glue to adhere them all to the card bases and moved on to sentiments. For that I chose the Big Lingo Happy die set. You can see here that it can be used two ways – the outline over the shadow or the inside letters on the shadow. You really could use either piece on its own too. It’s a very versatile die. I chose to cut the letters twice and used both versions with white shadows.
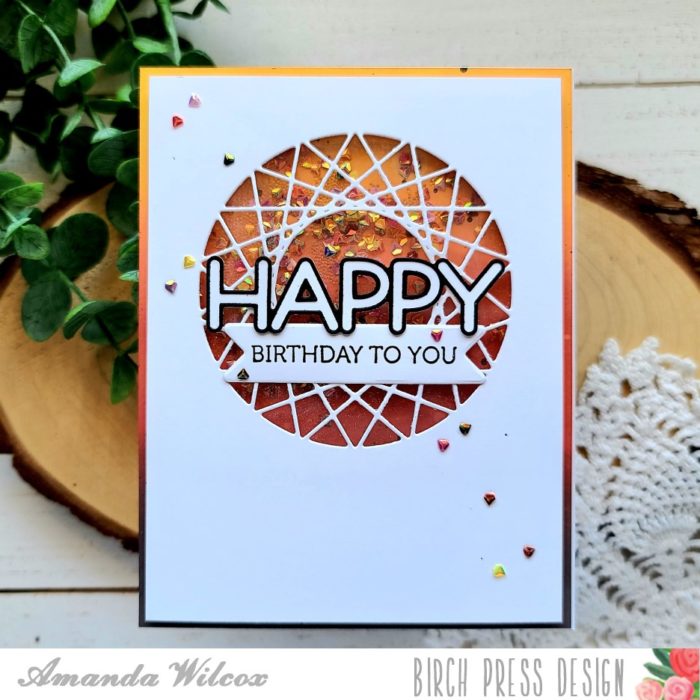
Then I pulled out the Crystal Lingo stamp set and stamped the “birthday to you” part on white cardstock. I die cut these with the banner die in the Christmas Ornament and Labels set.
I used liquid glue to adhere the sentiment pieces together and then to the front of the cards.
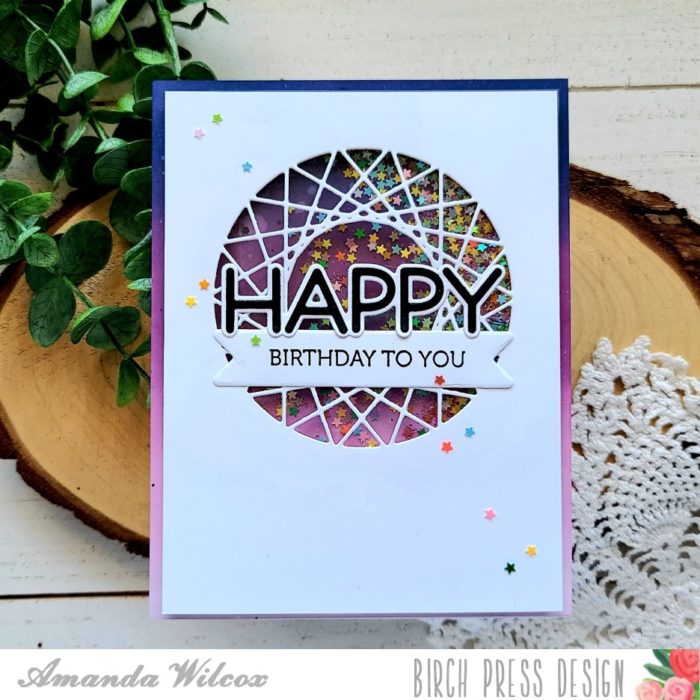
And then to finish things off, I glued a scattering of the shaker bits on the front of the card design to tie things in together.
I really like what this does for the look of the cards. And then, like magic I have 4 birthday cards ready to go!
I hope you found some inspiration to create something wonderful and share it with someone.
I appreciate you sharing your time with me. Have a fabulous day!

Supplies


