Category: Distress Ink

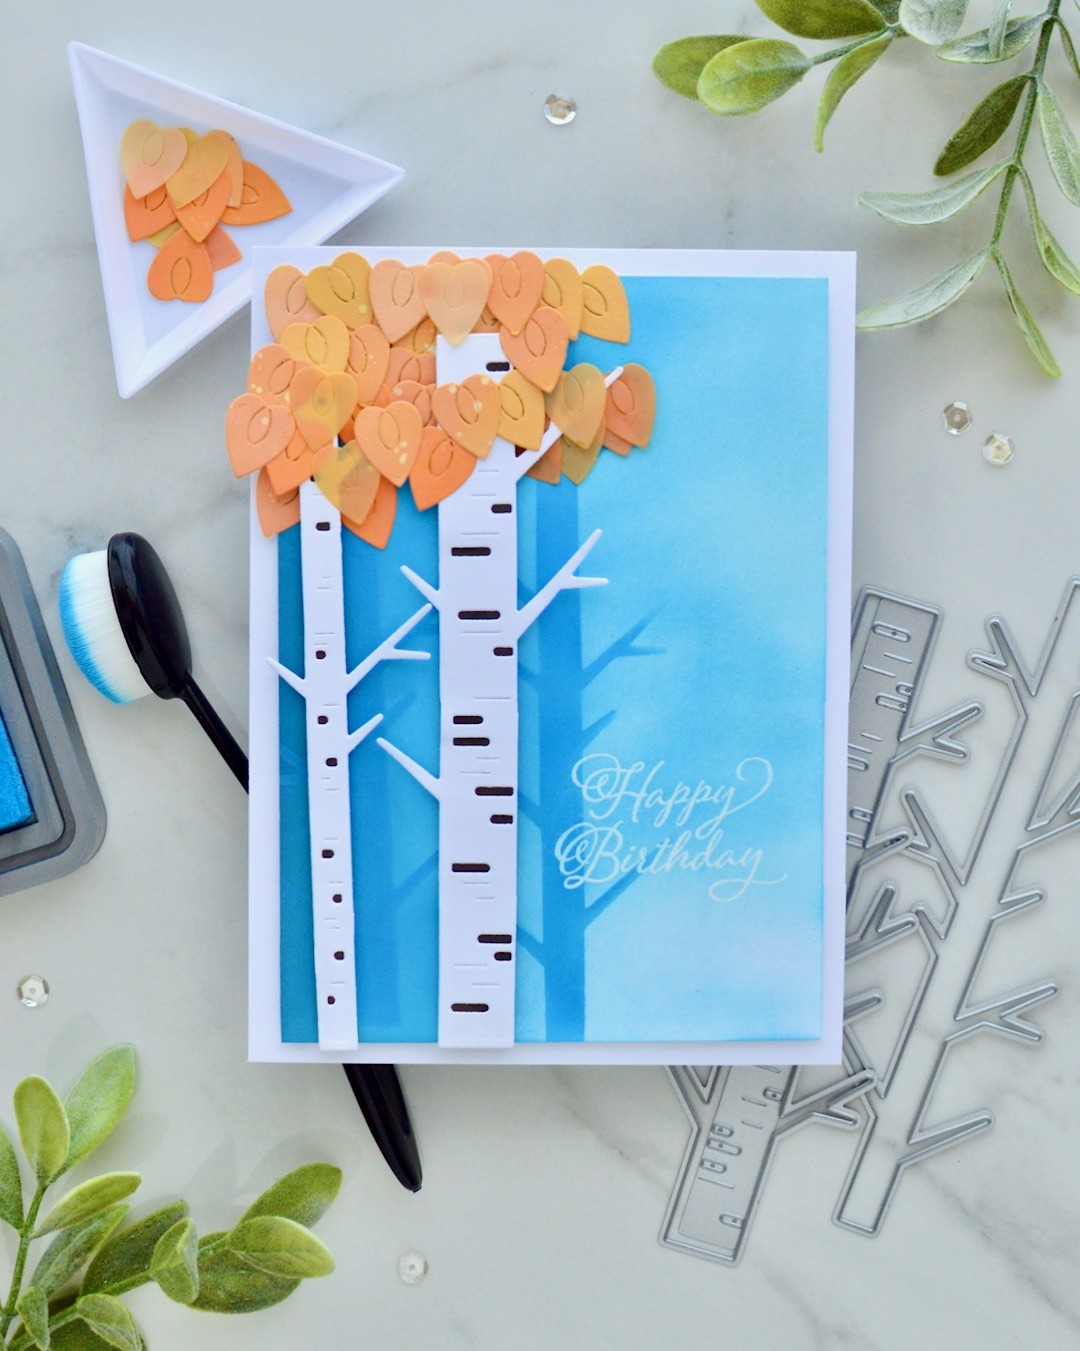
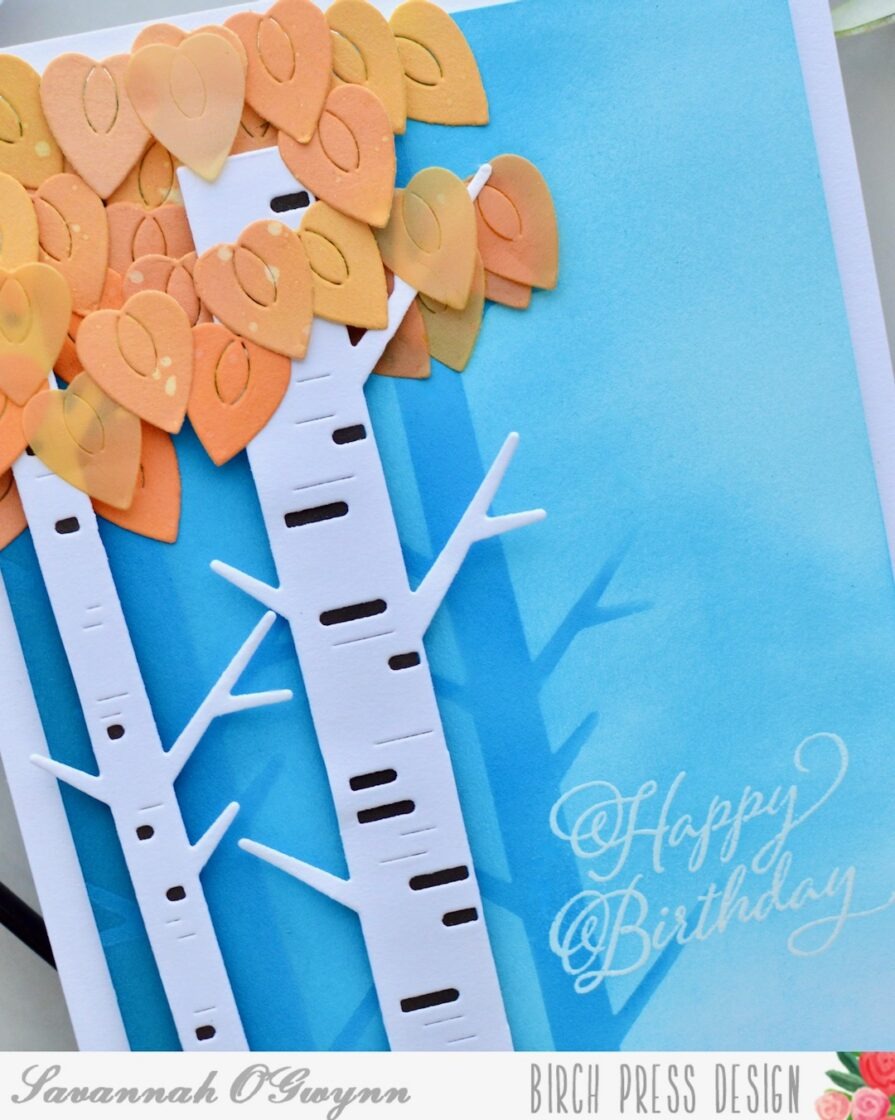
  • Birch Tree Series: Summer  by Savannah O’Gwynn

    Birch Tree Series: Summer
    by Savannah O’Gwynn

    Hello, BPD friends!

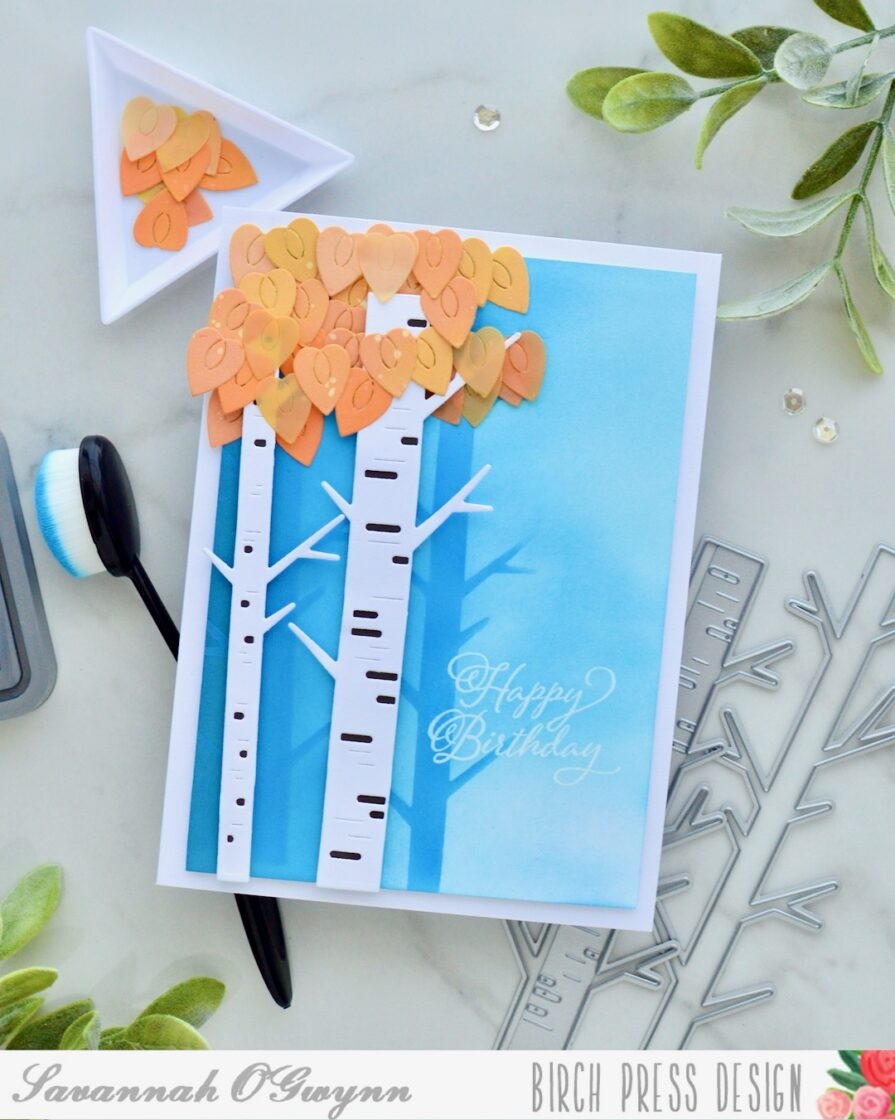
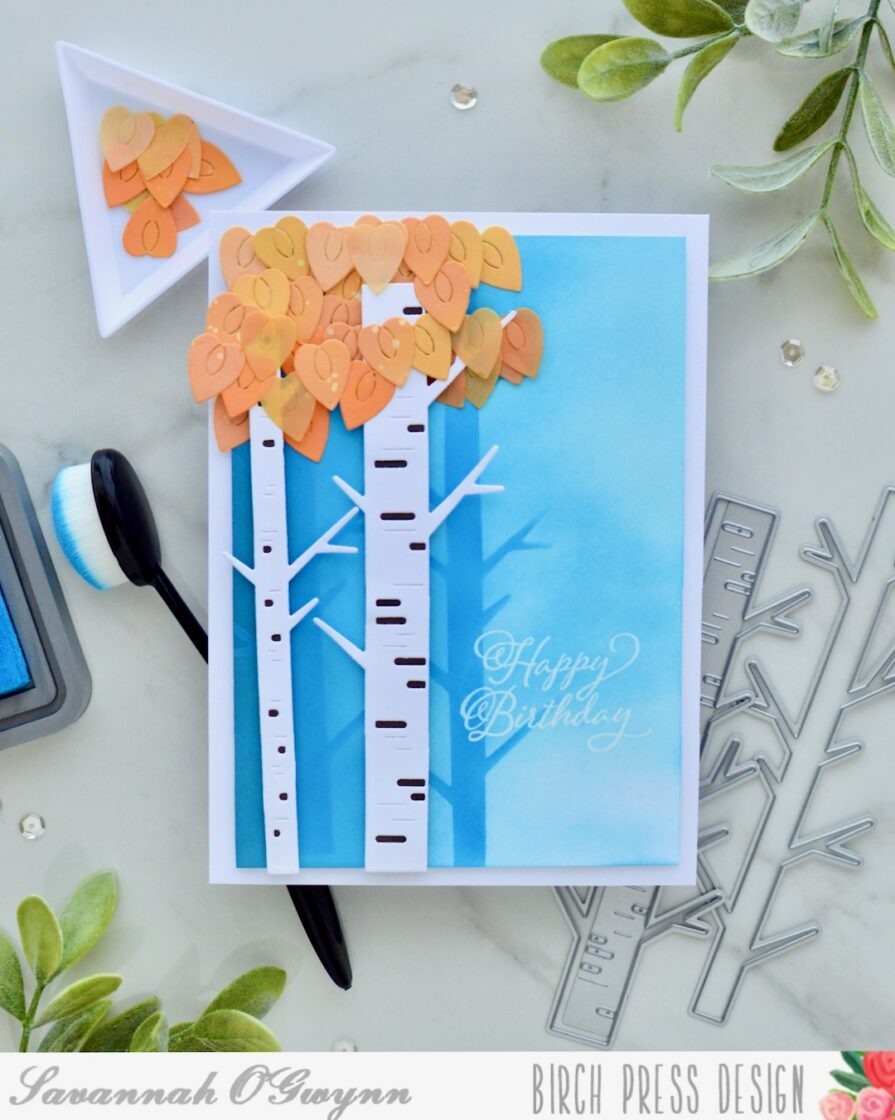
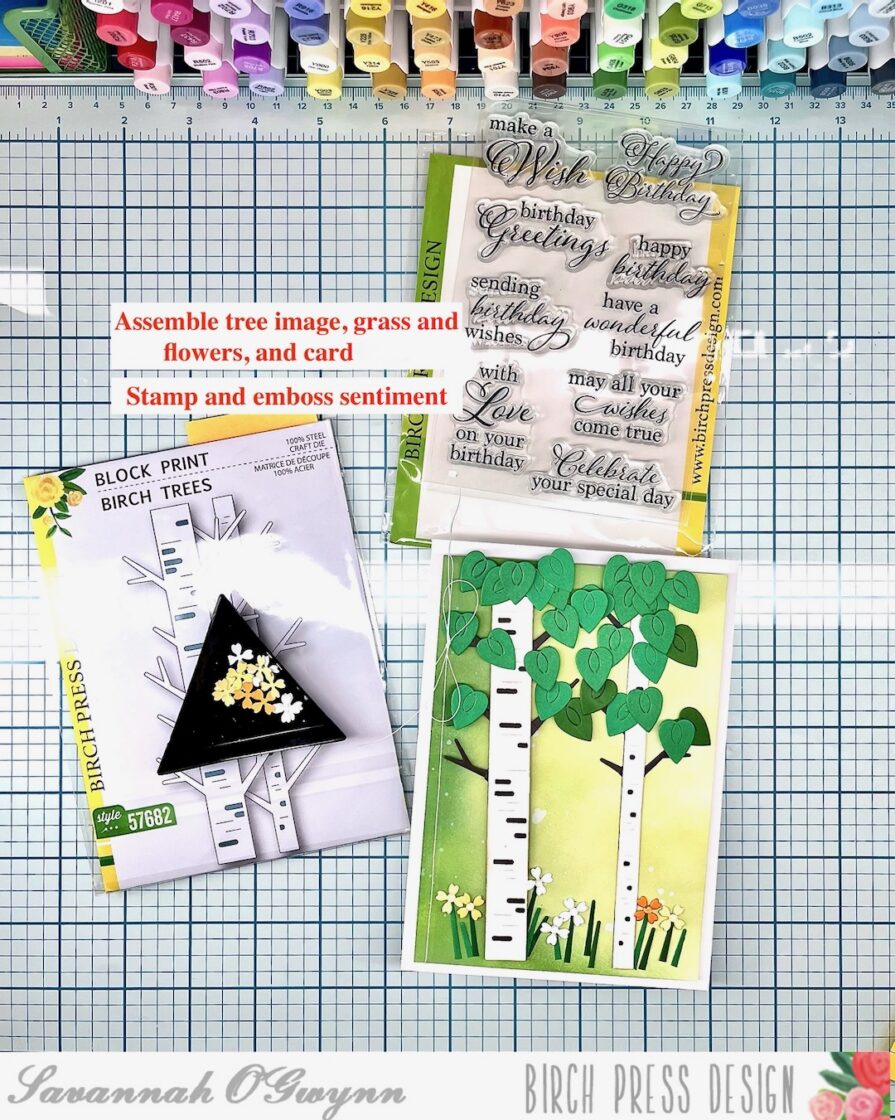
    I’m super excited to be back sharing a NEW series I’m creating using the Block Print Birch Tree dies.

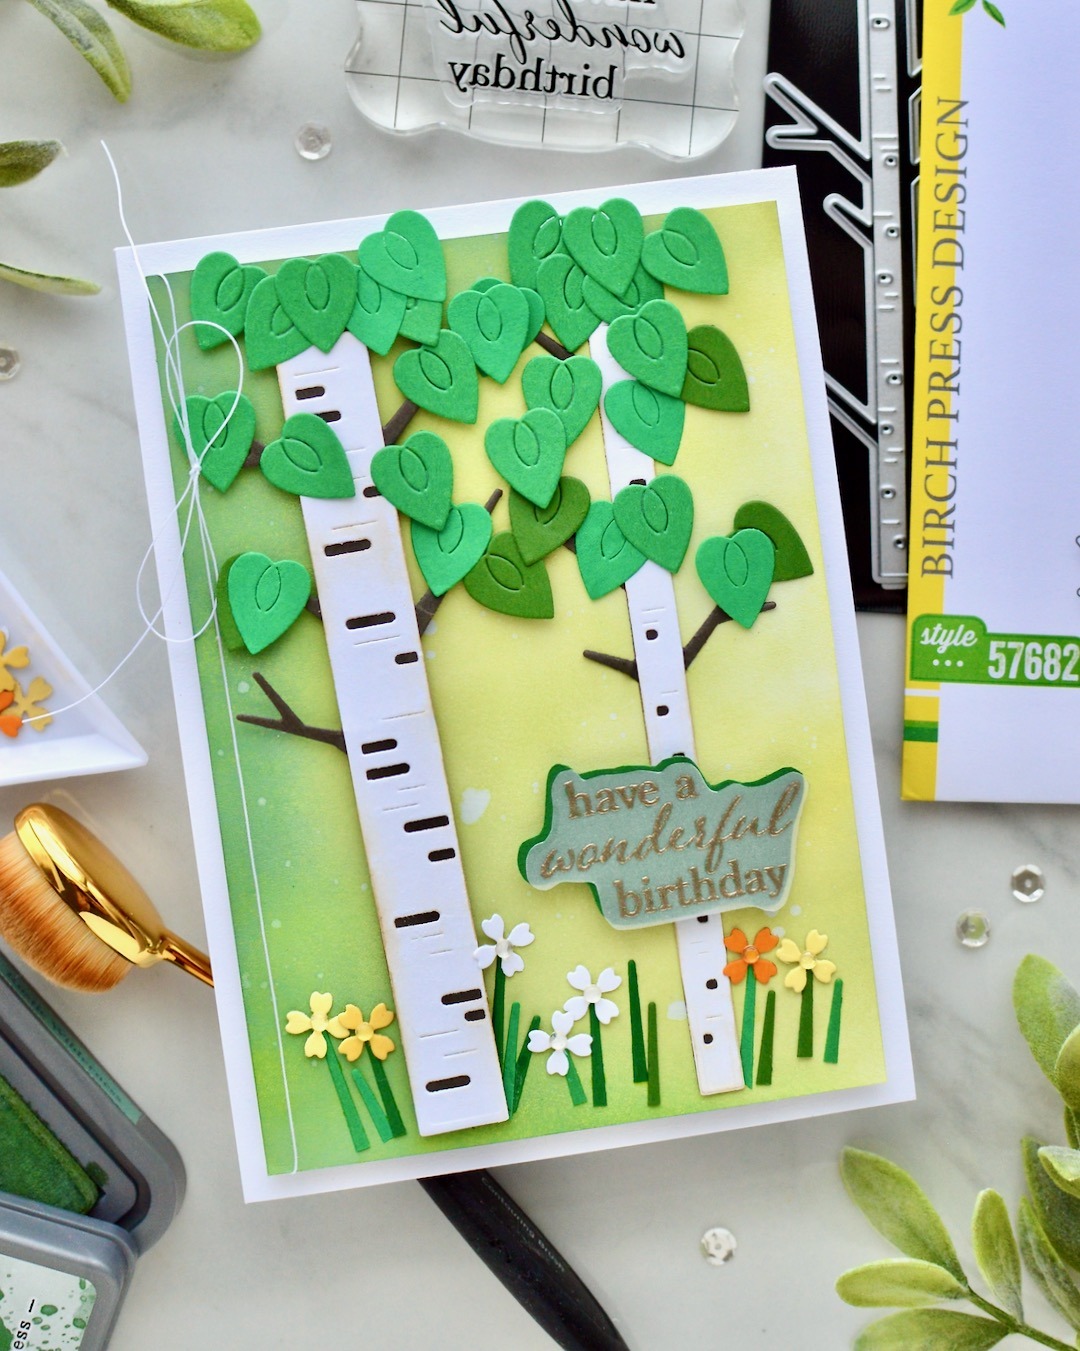
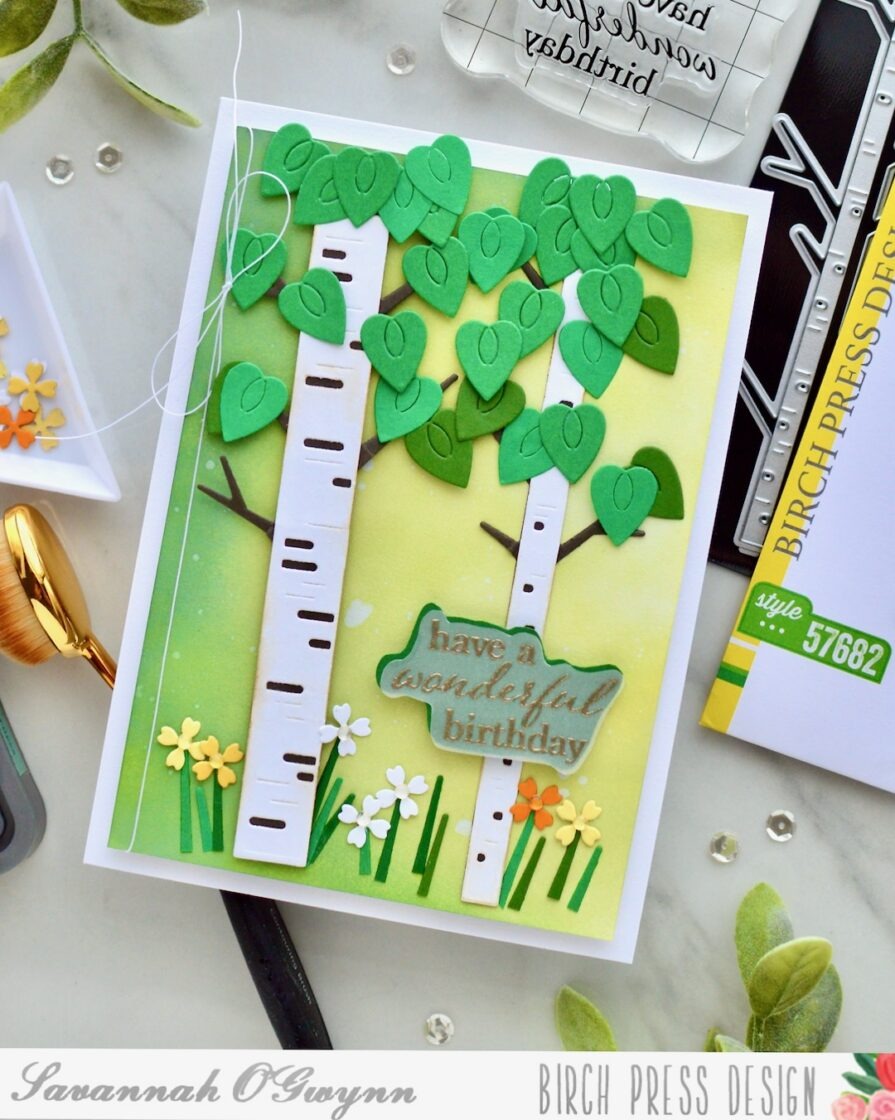
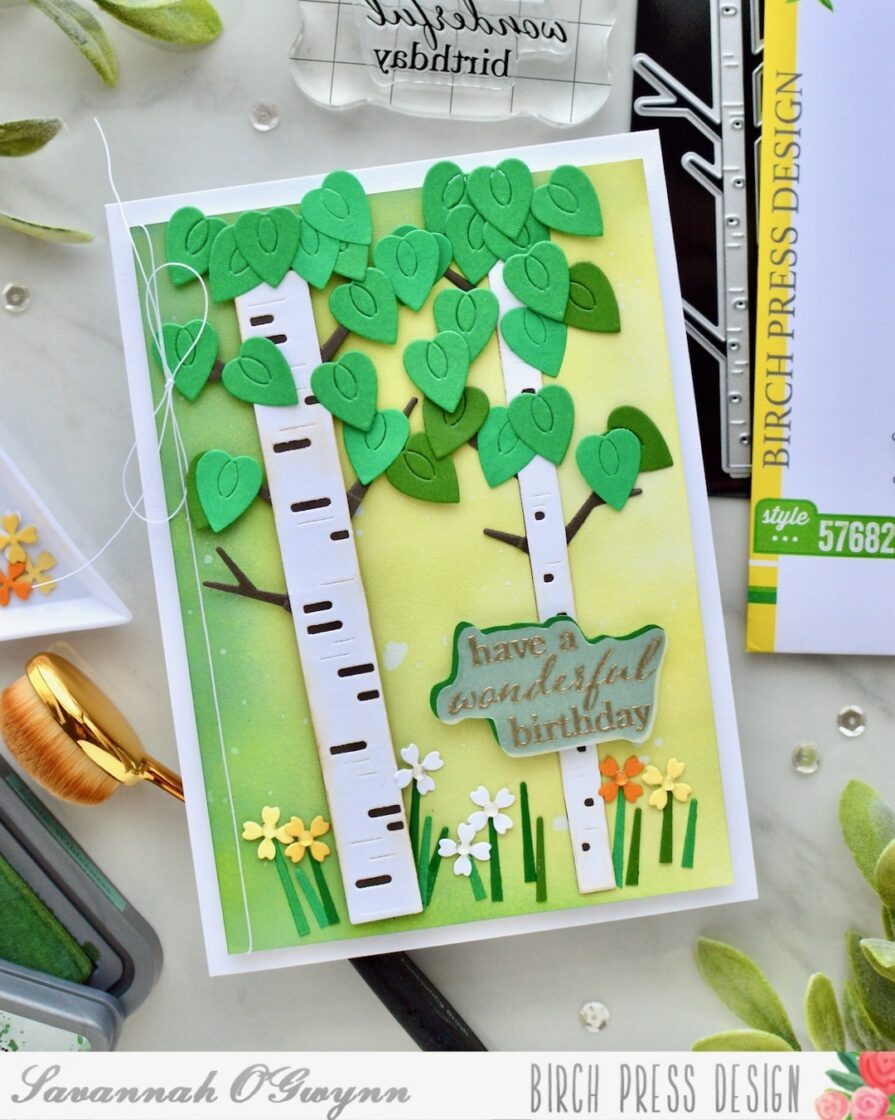
    When I received this die set, I immediately started to think of the tree in different seasons. I knew I wanted to create a series to show my idea! This card design shares the Birch Tree in the summer 🙂

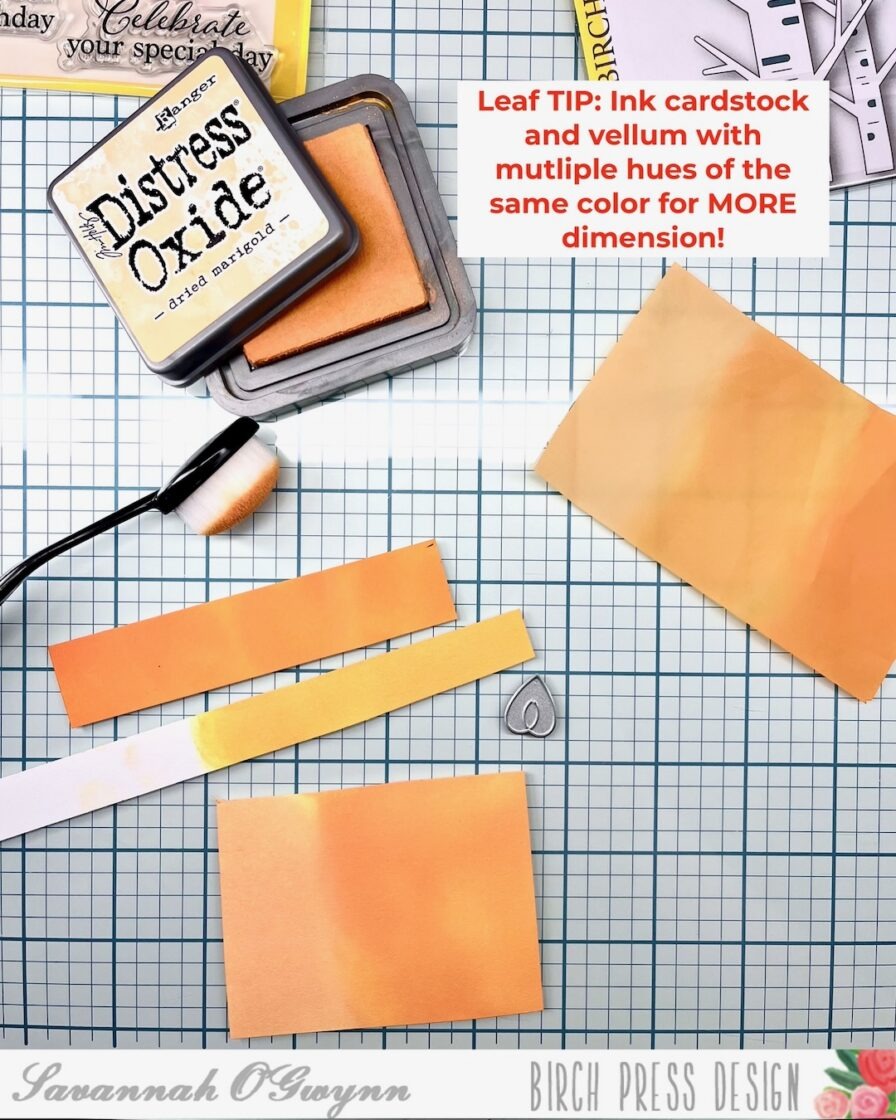
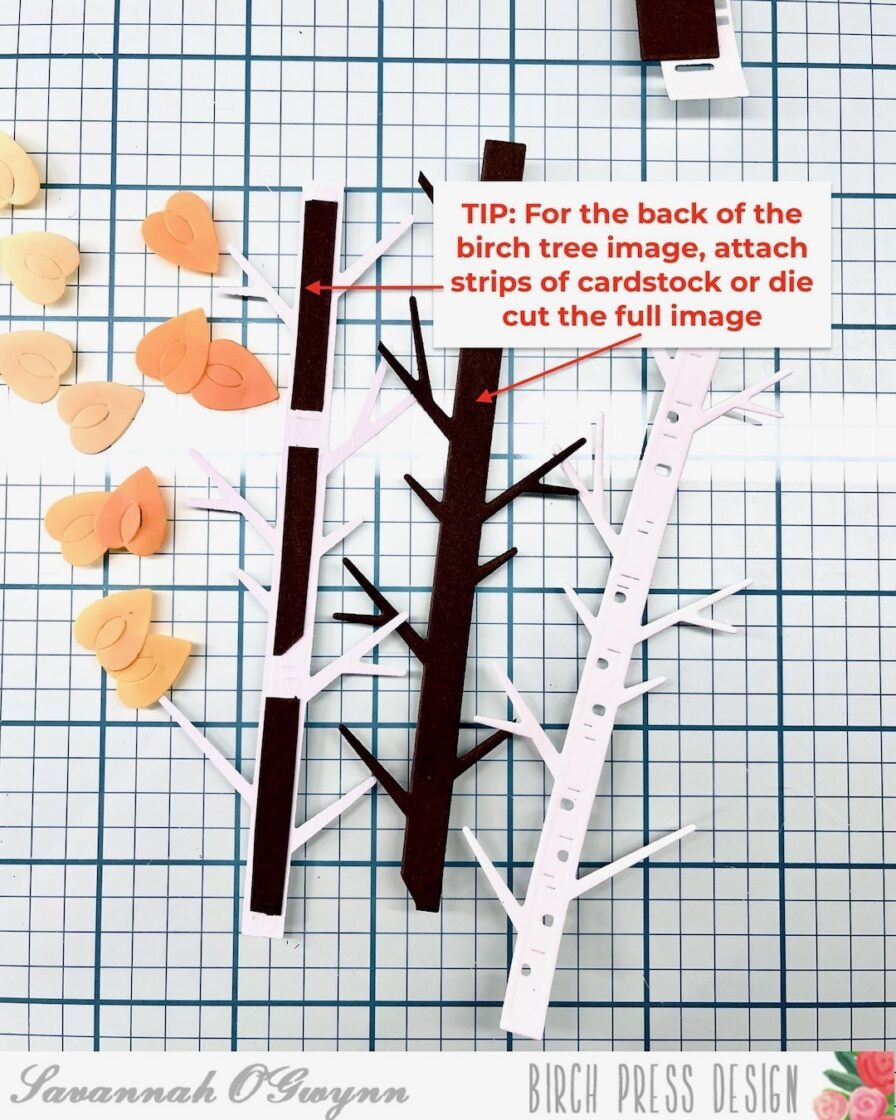
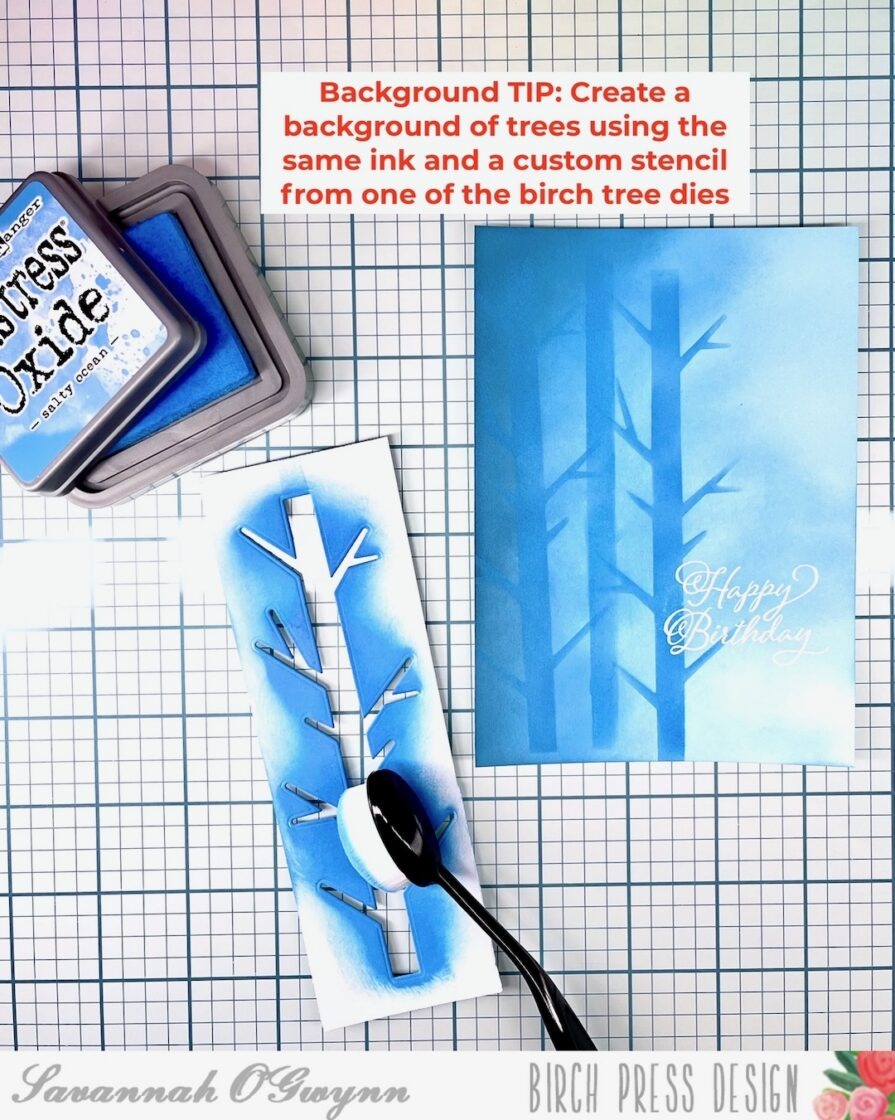
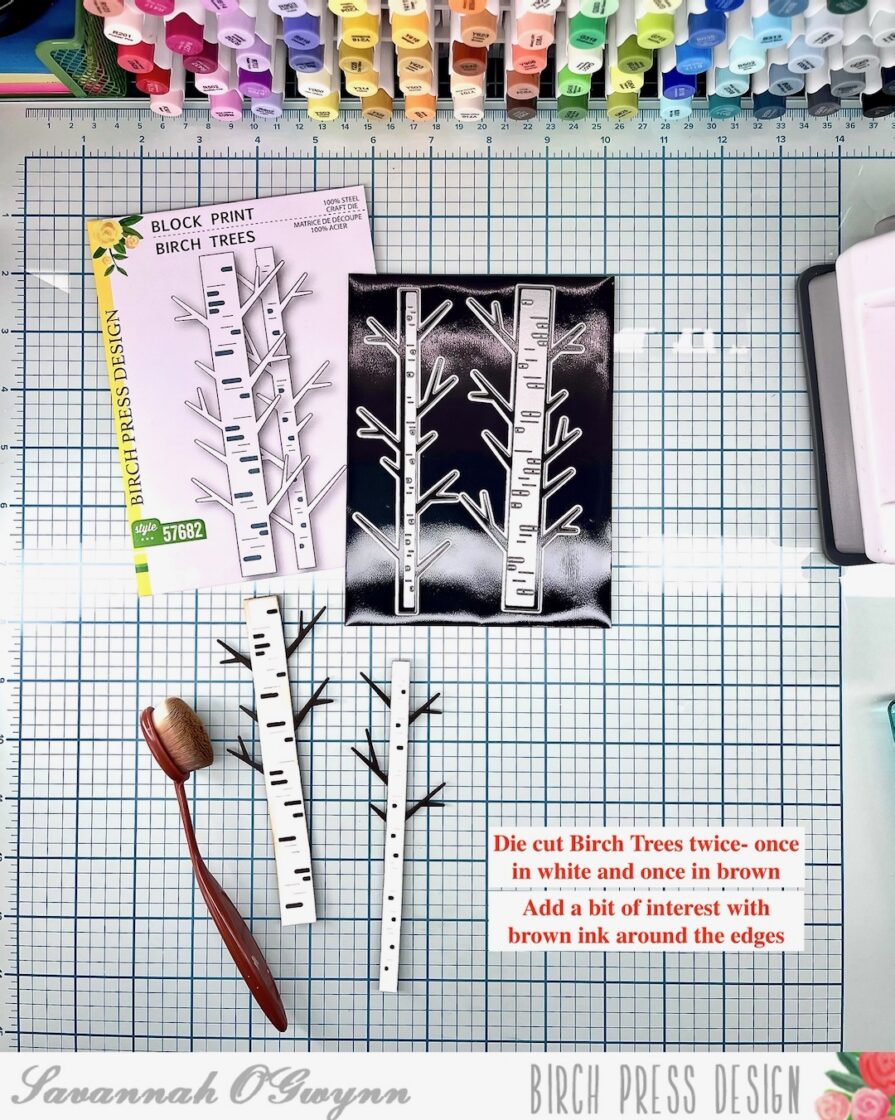
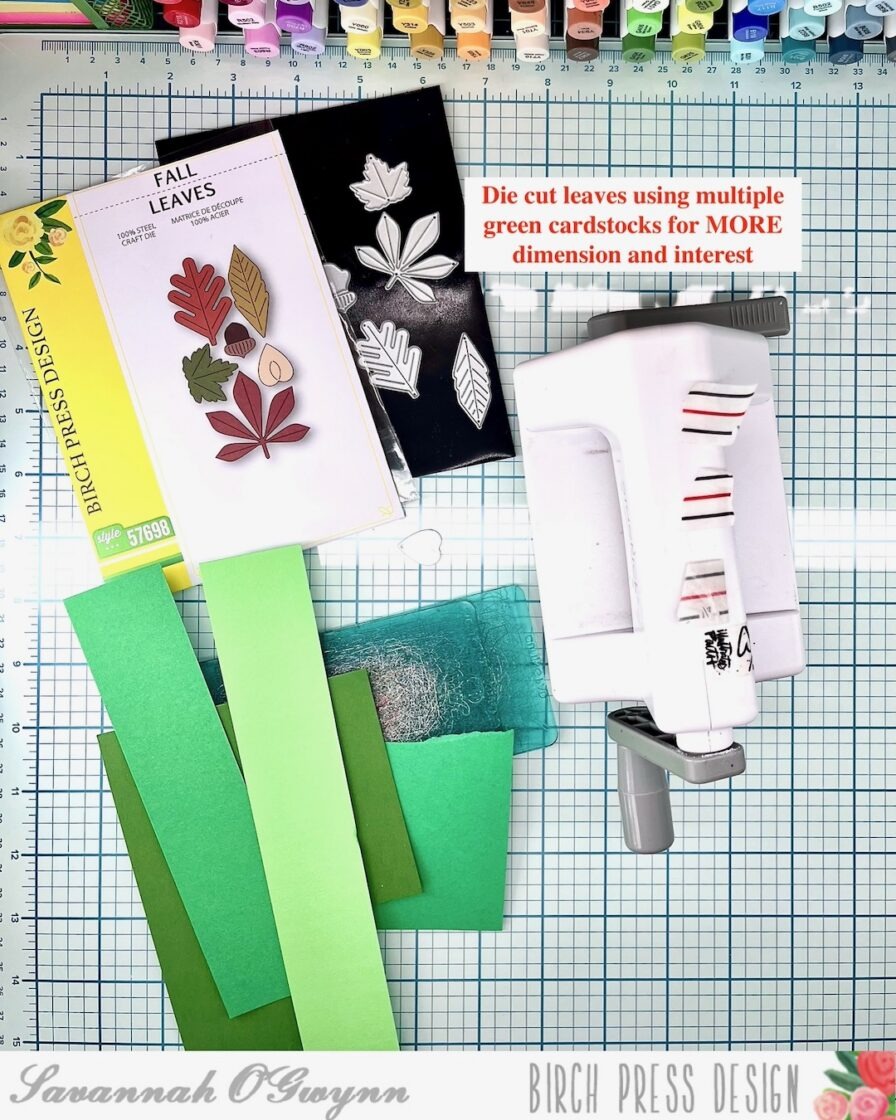
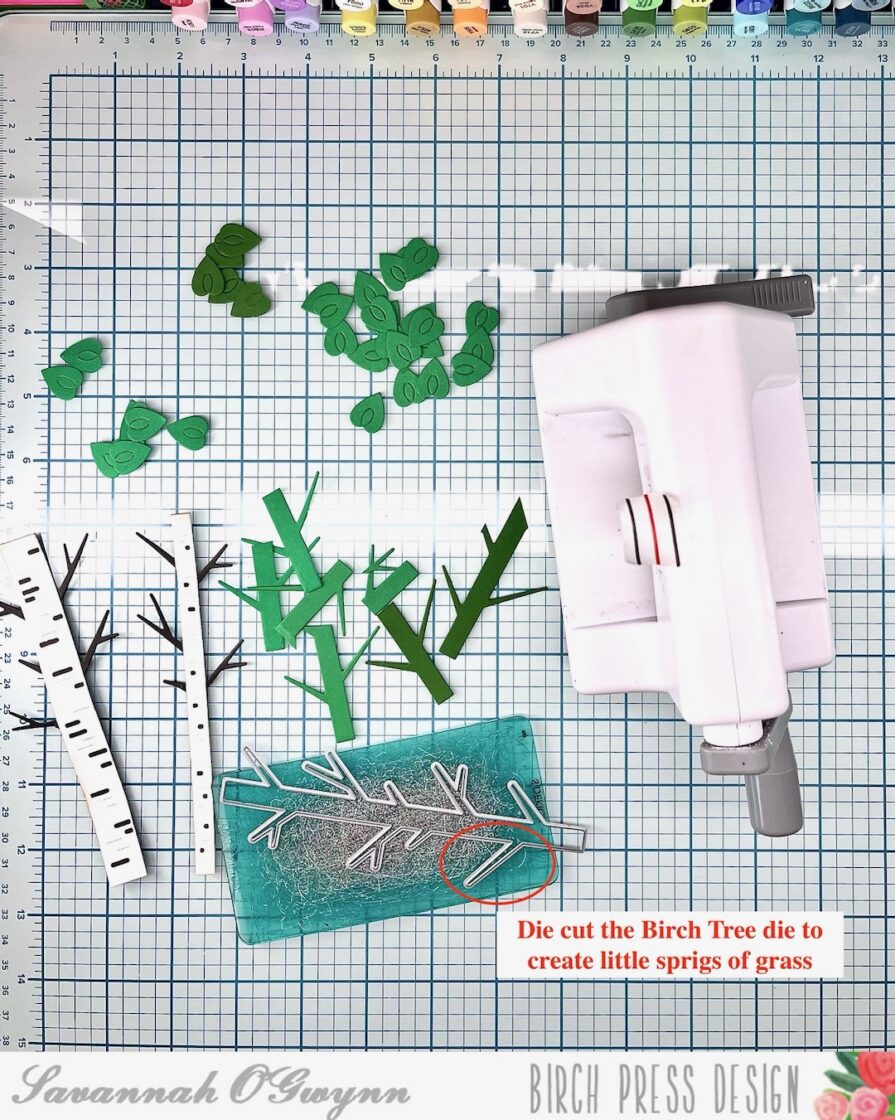
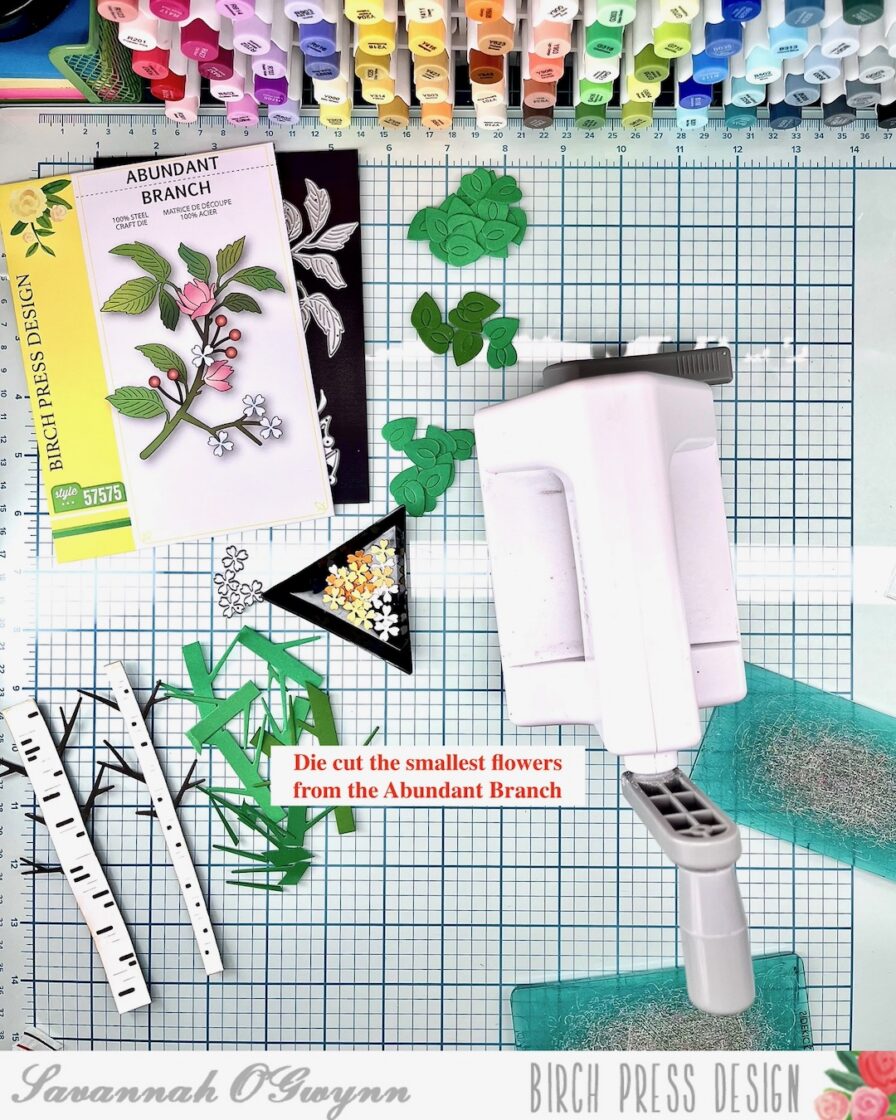
    Here are some tips and tricks that I used to create this card:

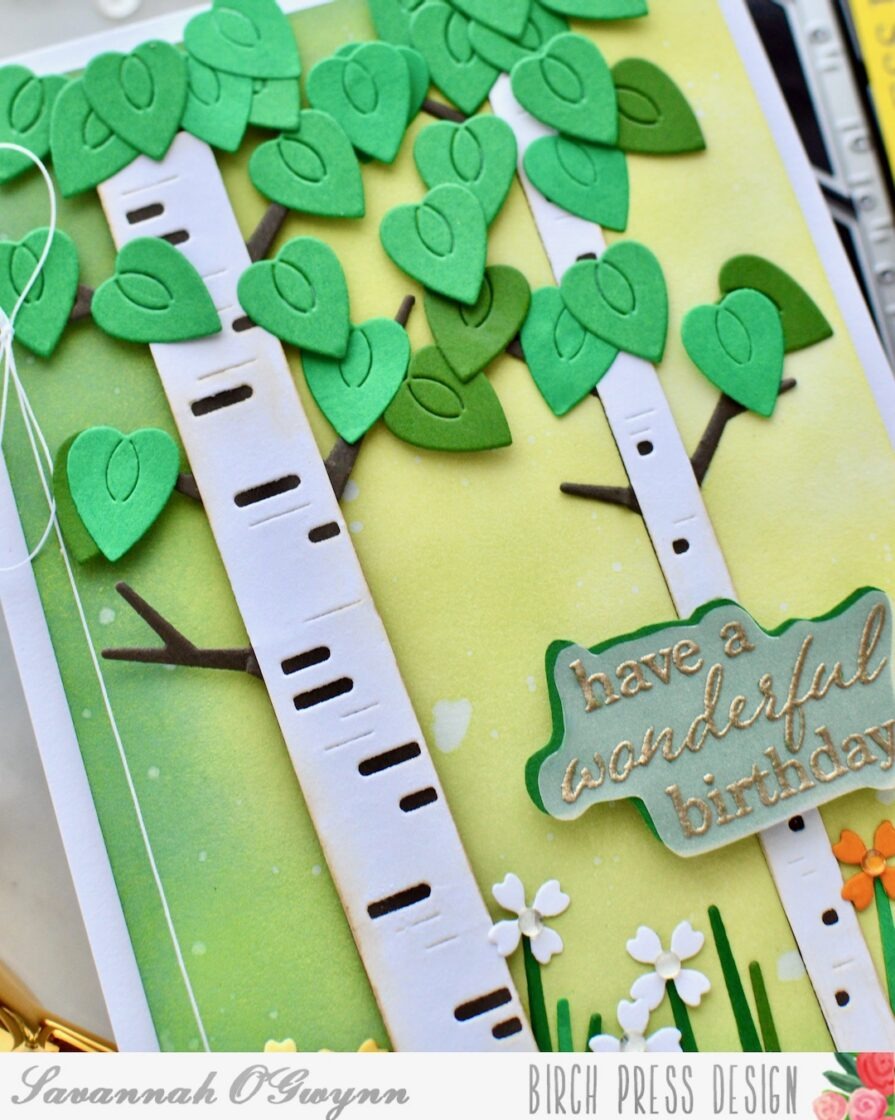
    **I also cut off the branches on the white tree and some of the brown tree. This allowed me to add flowers below the tree 🙂

    **You can actually die cut any or all of the leaves from this Fall Leaves set for your creation! I decided to use only one leaf image- LOL!

    **I stretched my dies again by using the Birch Tree branches for grass images!

    #SAVfact: I love to mix and match my supplies- you can see here that I added the smallest flowers from the Abundant Branch set for my grass/flower images.

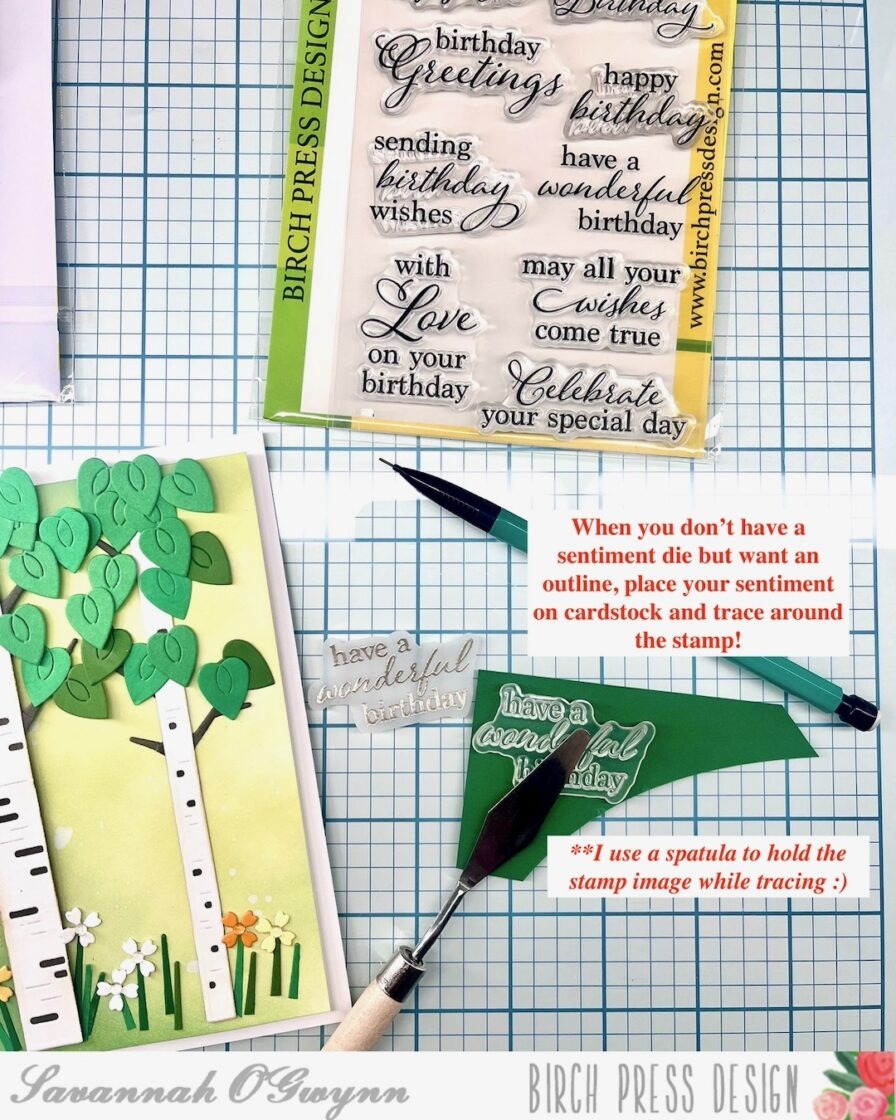
    **I don’t have a die set to match this sentiment set… so I used my stamp image to create an outline 🙂 I use a spatula to hold the image while tracing because when I use my fingers the stamp gets stuck to it! LOL!


    Join me as I continue this Birch Tree series- I honestly think I might even make MORE than just the Birch Tree in different seasons! I’ll keep you posted 🙂 I think it’s going to be FUN trying to make different Birch Tree designs!

    I hope that you are inspired and will join me in making different Birch Tree designs and cards!

    I’ll be back with MORE soon!

    Please remember to share what you create using these tips, tricks, and techniques or if you were inspired by my creation- I’d love to see what you make with this idea! 

    THANKS so much for stopping by! Happy crafting:) 


    HUGS <3 Sav
  • Fuchsia Wishes by Rosemary Dennis

    Fuchsia Wishes
    by Rosemary Dennis

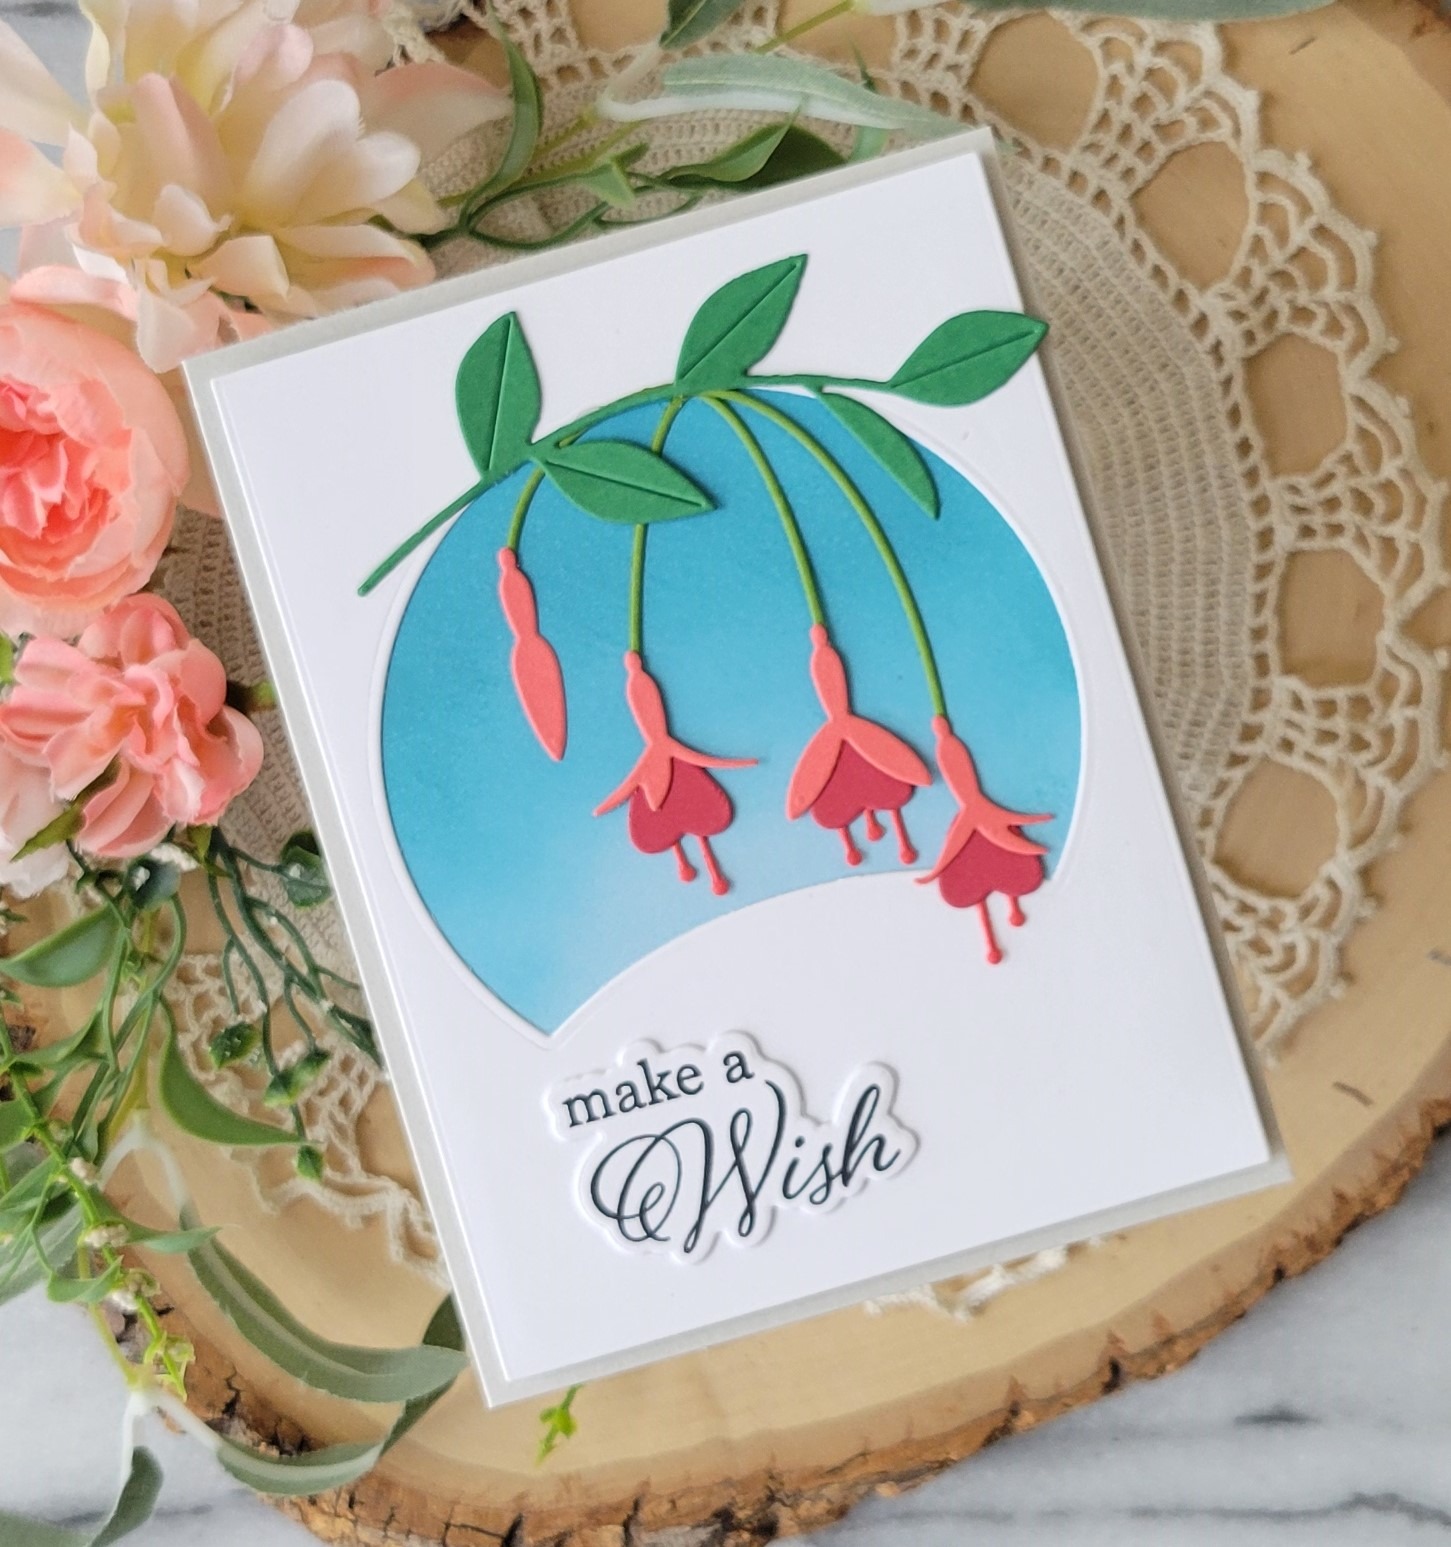
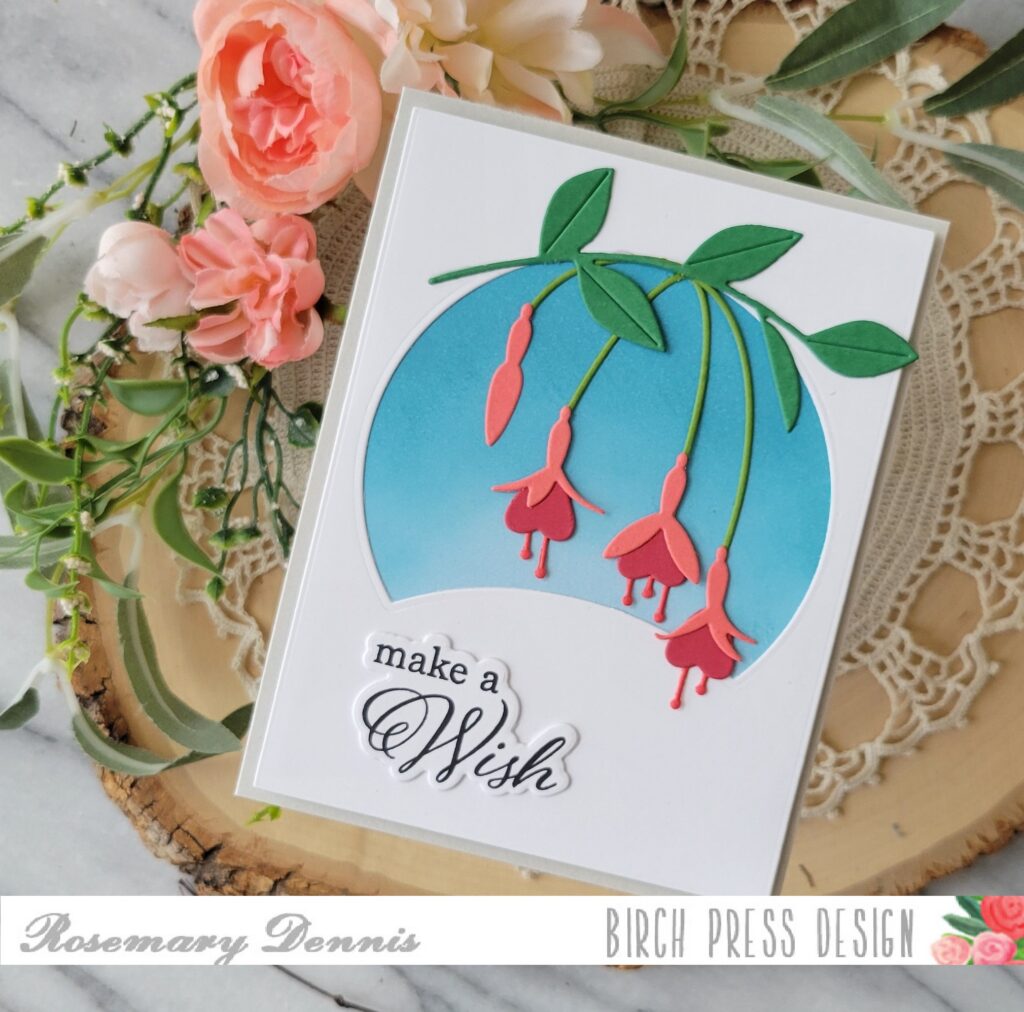
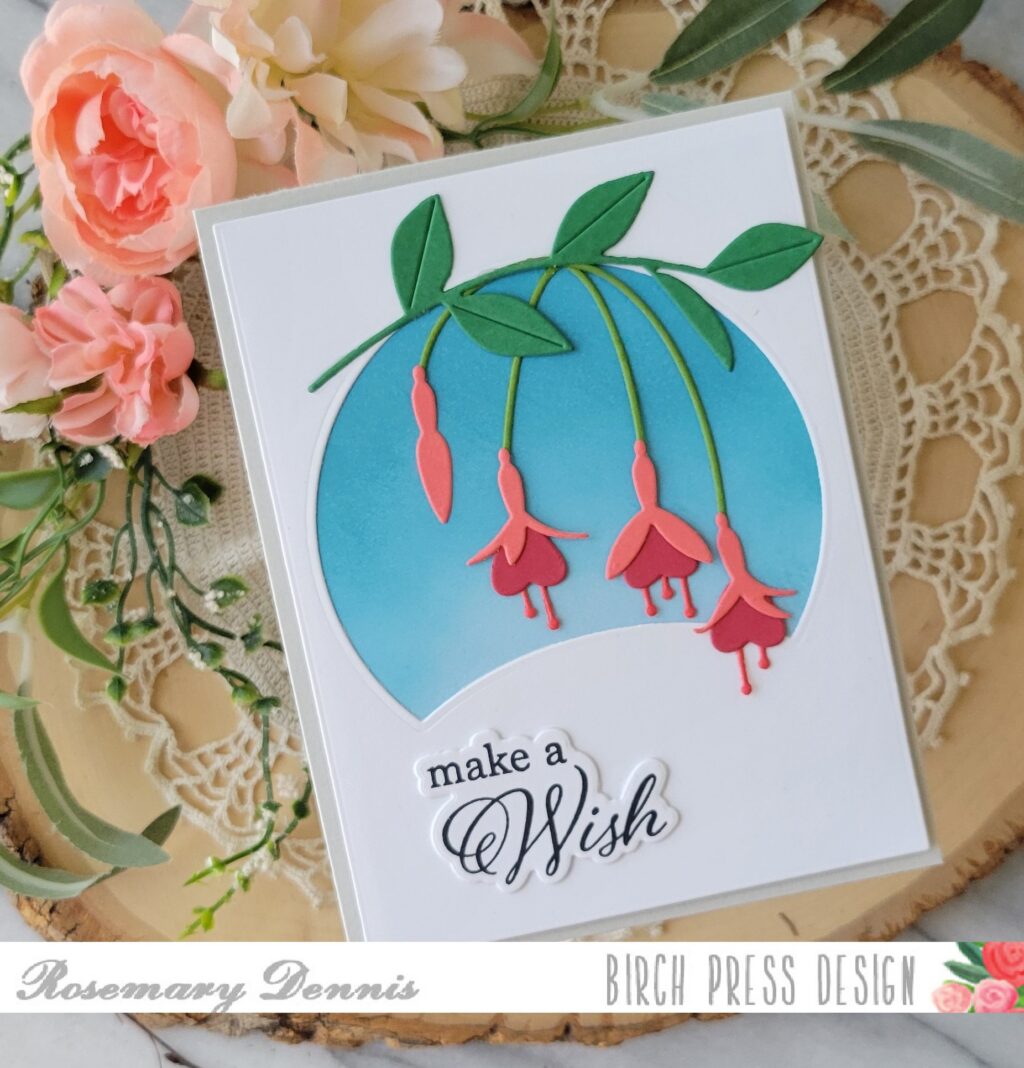
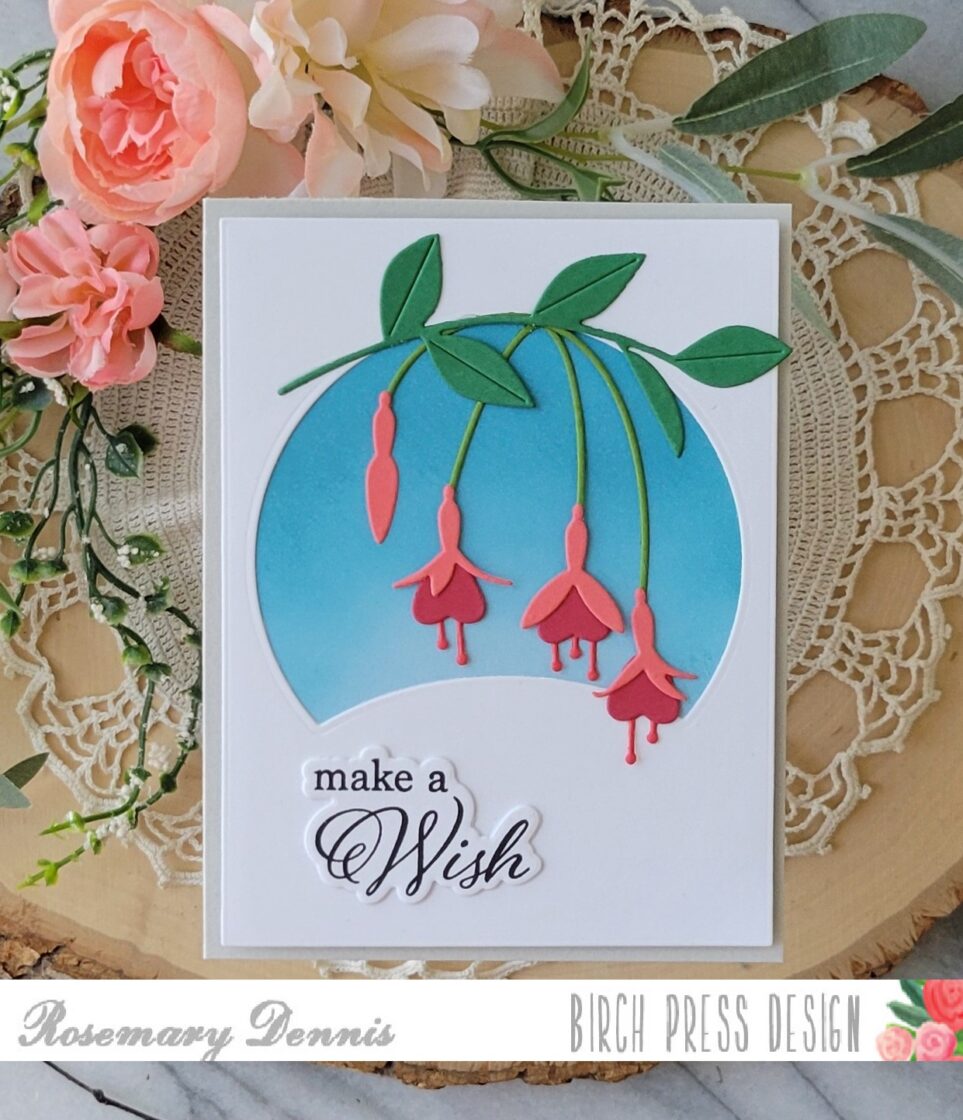
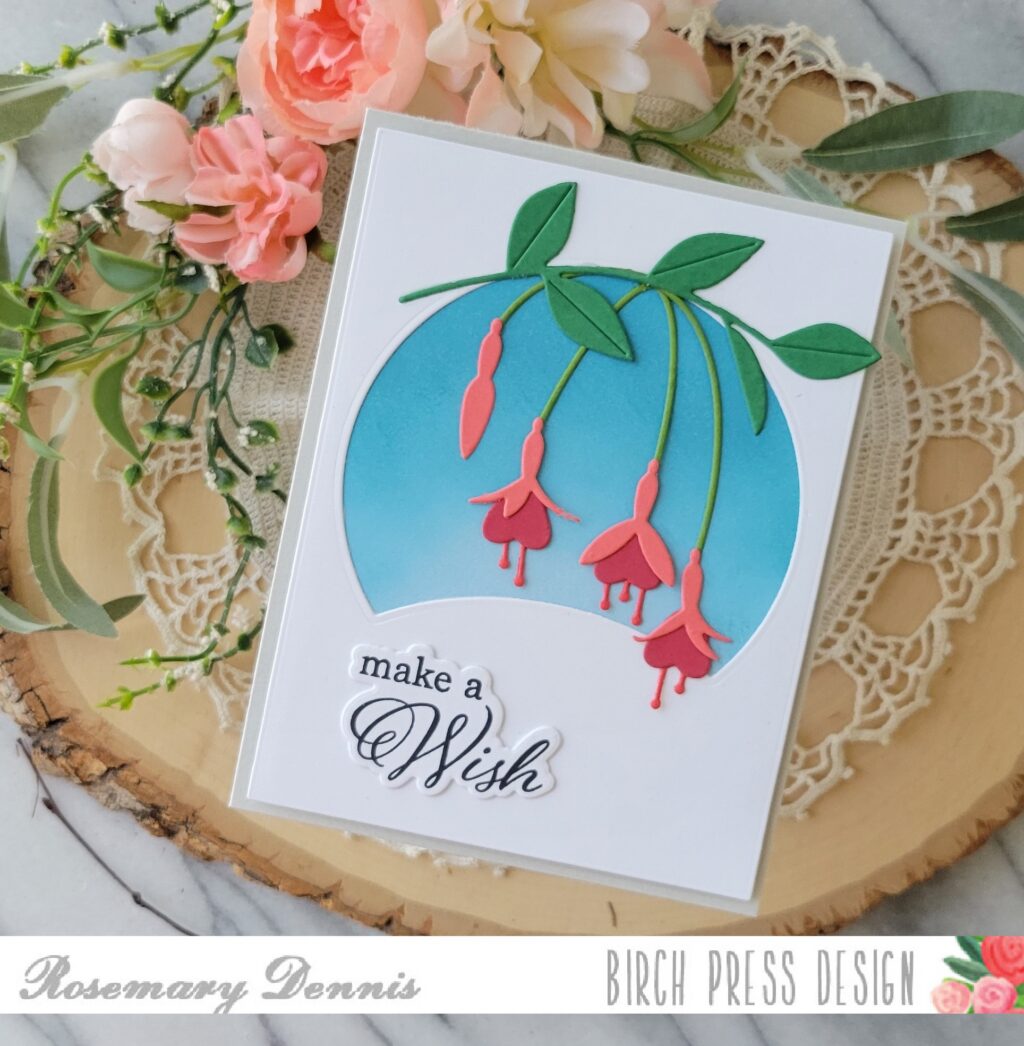
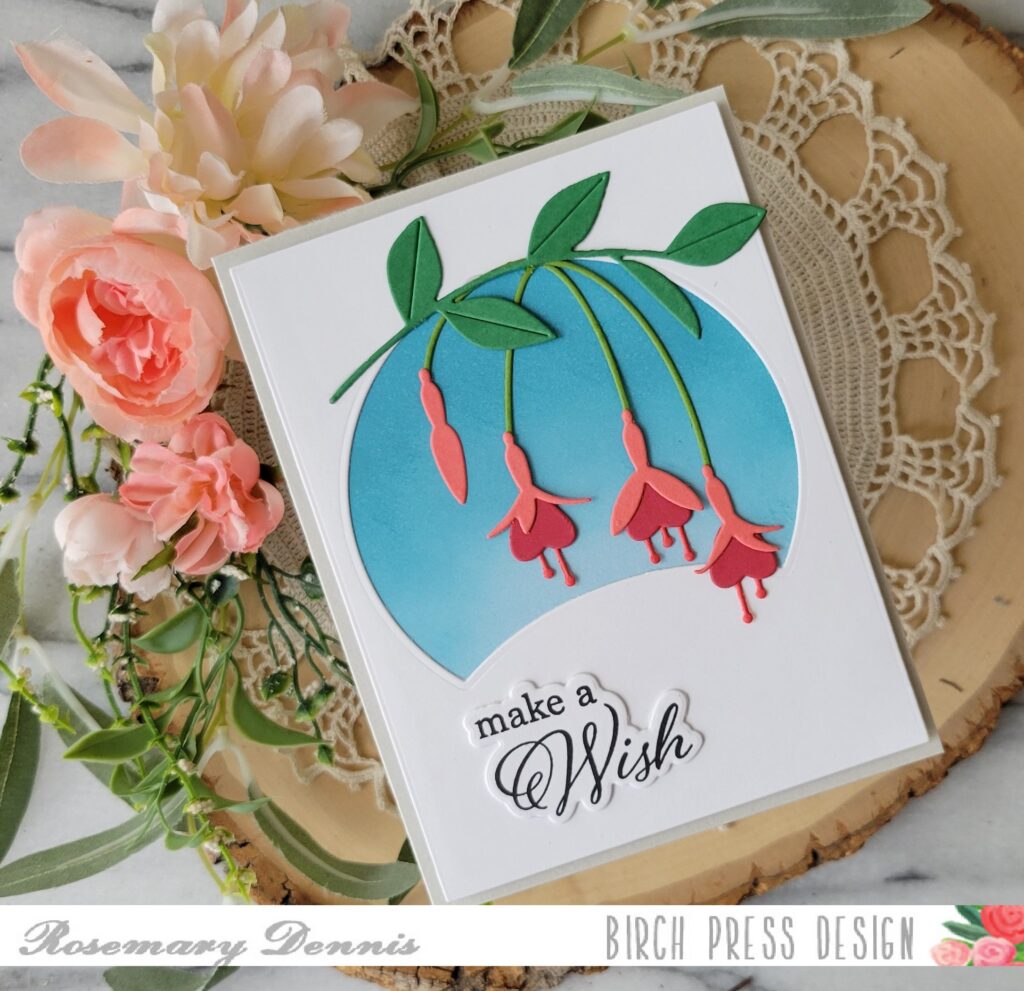
    Hello! Rosemary here on the blog today! Can’t believe we are already into August. Time is flying by, but I’m here today to share a card that has a little bit of a timeless quality to it. I used the lovely Block Print Fuchsia Spray and a modified Block Print Starry Night Scene to create my design. Let’s have a look.

    I went very simple with this card as I wanted the focus on the pretty fuchsia flowers. I die cut a panel of white cardstock with a rectangle die. I then positioned the Starry Night Scene die where I wanted it to be on the panel, die cut it and then trimmed off the trees.

    Another piece of white cardstock was die cut to the same size as the top panel and I ink blended the blue sky using Tumbled Glass and then Broken China.

    Now it was time to make the fuchsia flowers. The leafy branch was die cut from a dark green cardstock from the Memory Box Leafy 6×6 pad and the stems from a lighter green from the same pad. I used pink and two shades of red from the MB Blush to die cut the flowers.

    With all my pieces die cut and assembled it was time to put the card together. I adhered the die cut panel to the ink blended panel using liquid adhesive and then adhered the entire piece to a light gray cardstock base using double sided sticky tape. I used liquid adhesive to adhere the leafy stem at the top of the arch making sure to leave two areas unglued so I could slip the four little stems underneath. I adhered those down and then added the flowers using liquid adhesive, as well.

    I finished off the card with a stamped and die cut sentiment from the Elegant Birthday Sentiments stamp set. I hope you enjoyed today’s card. Thanks for stopping by and have a wonderful day.

  • Fuchsia & Hummingbirdby Rosemary Dennis

    Fuchsia & Hummingbird
    by Rosemary Dennis

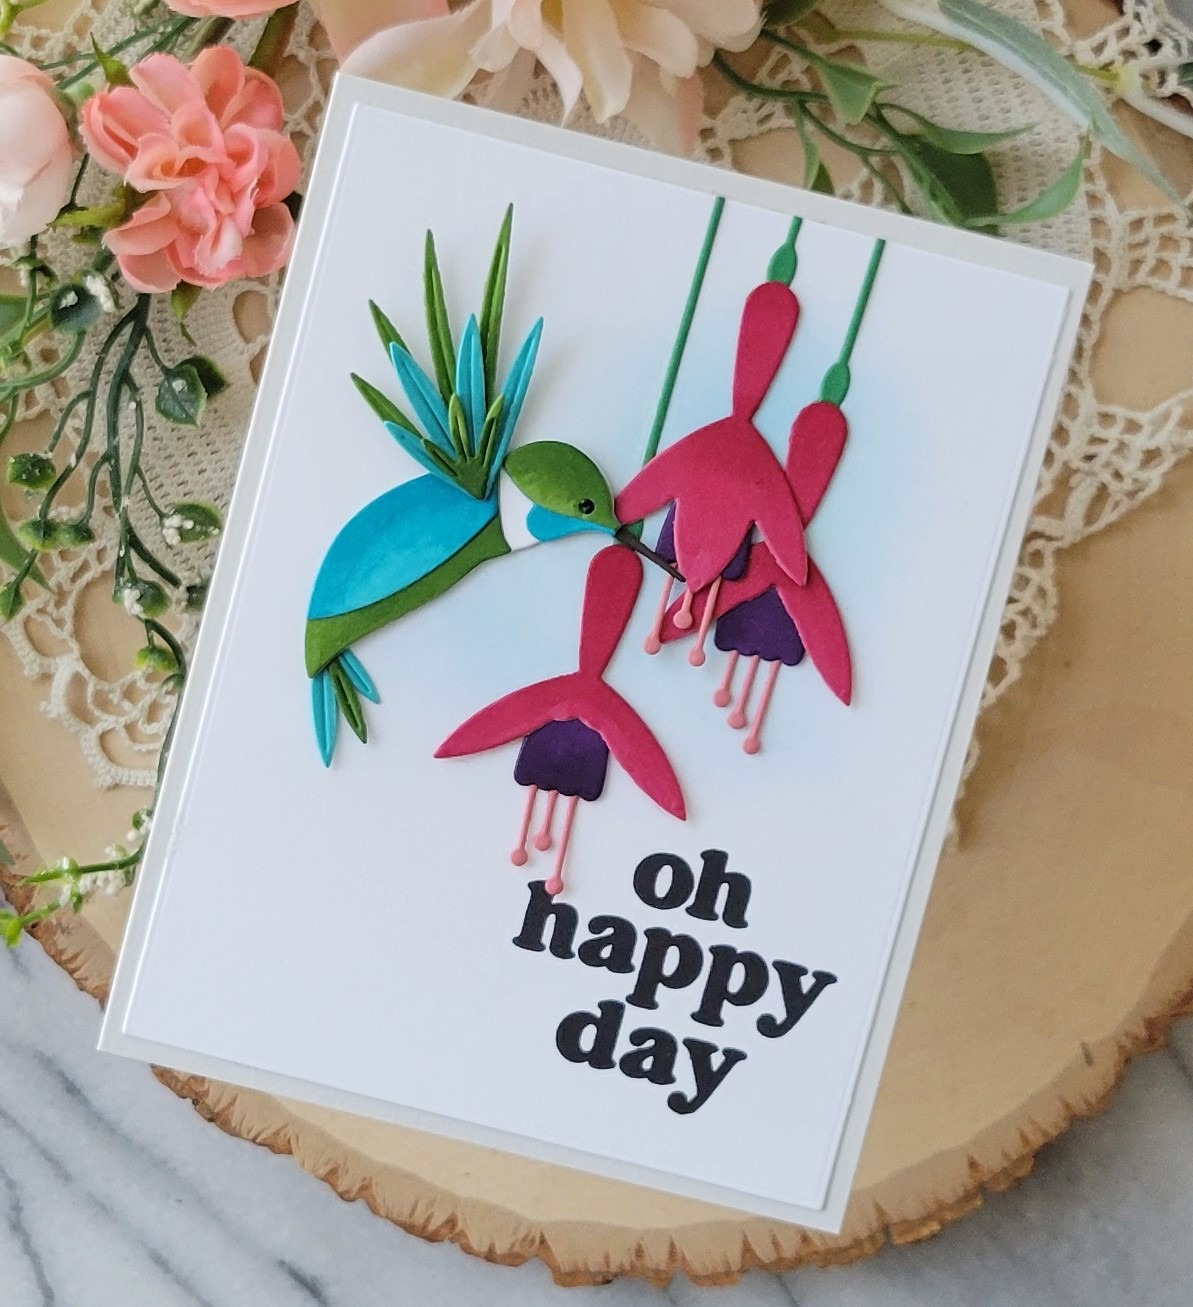
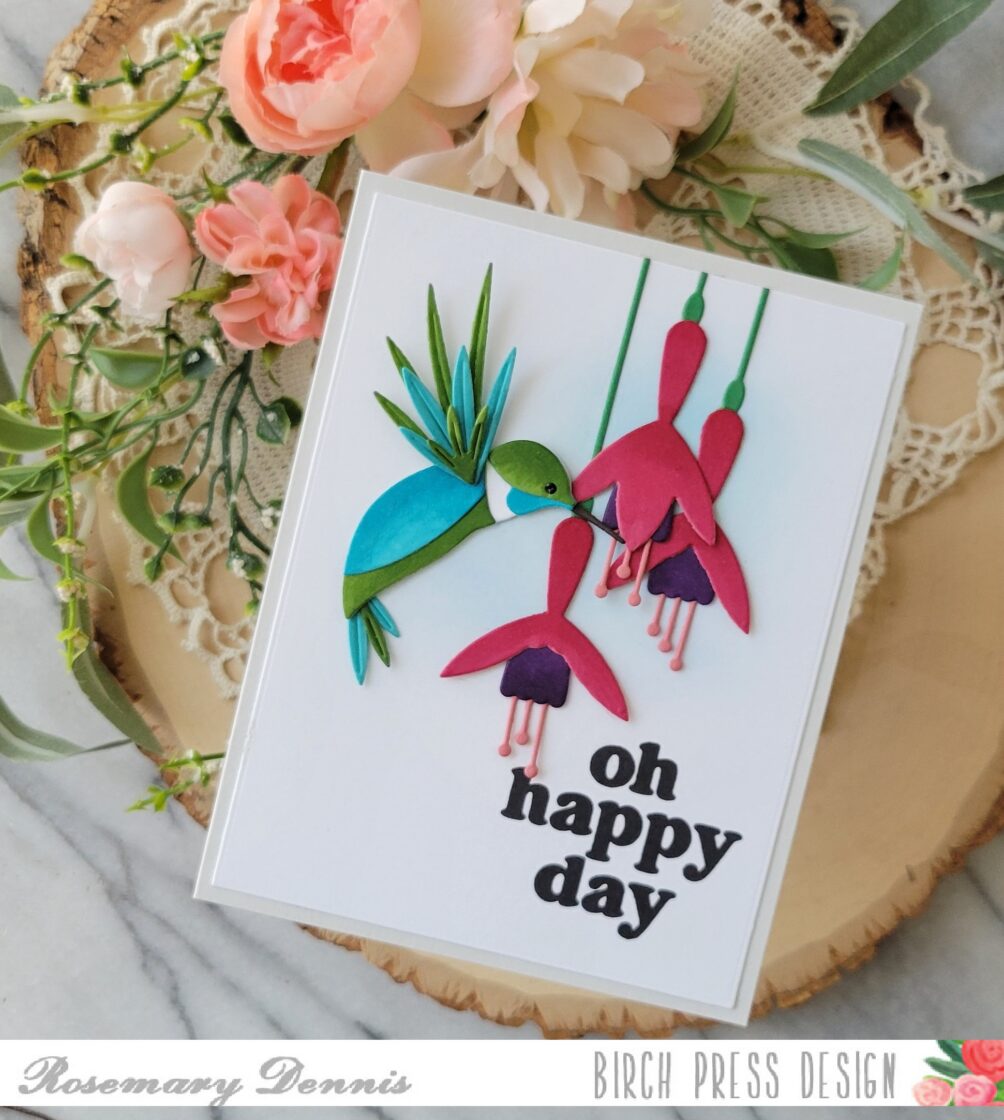
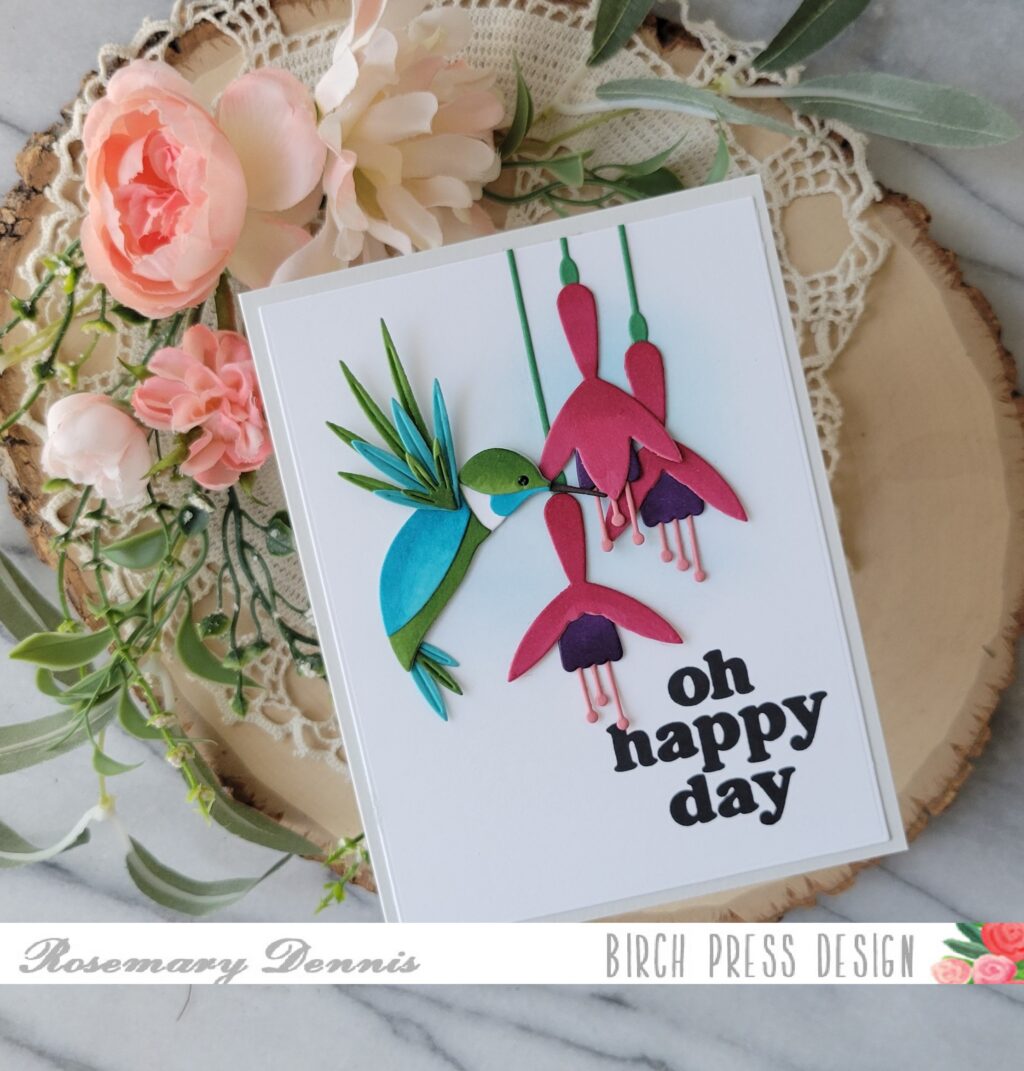
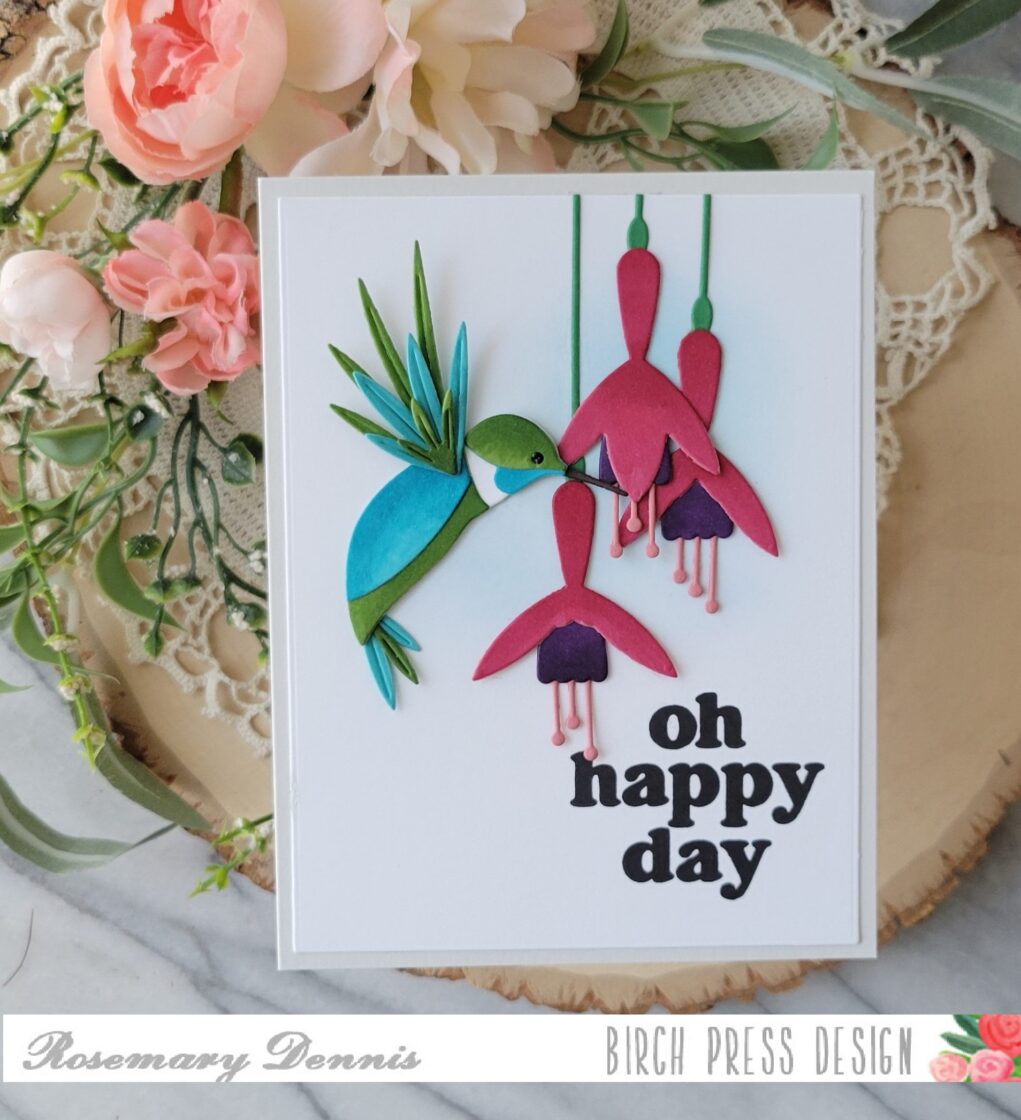
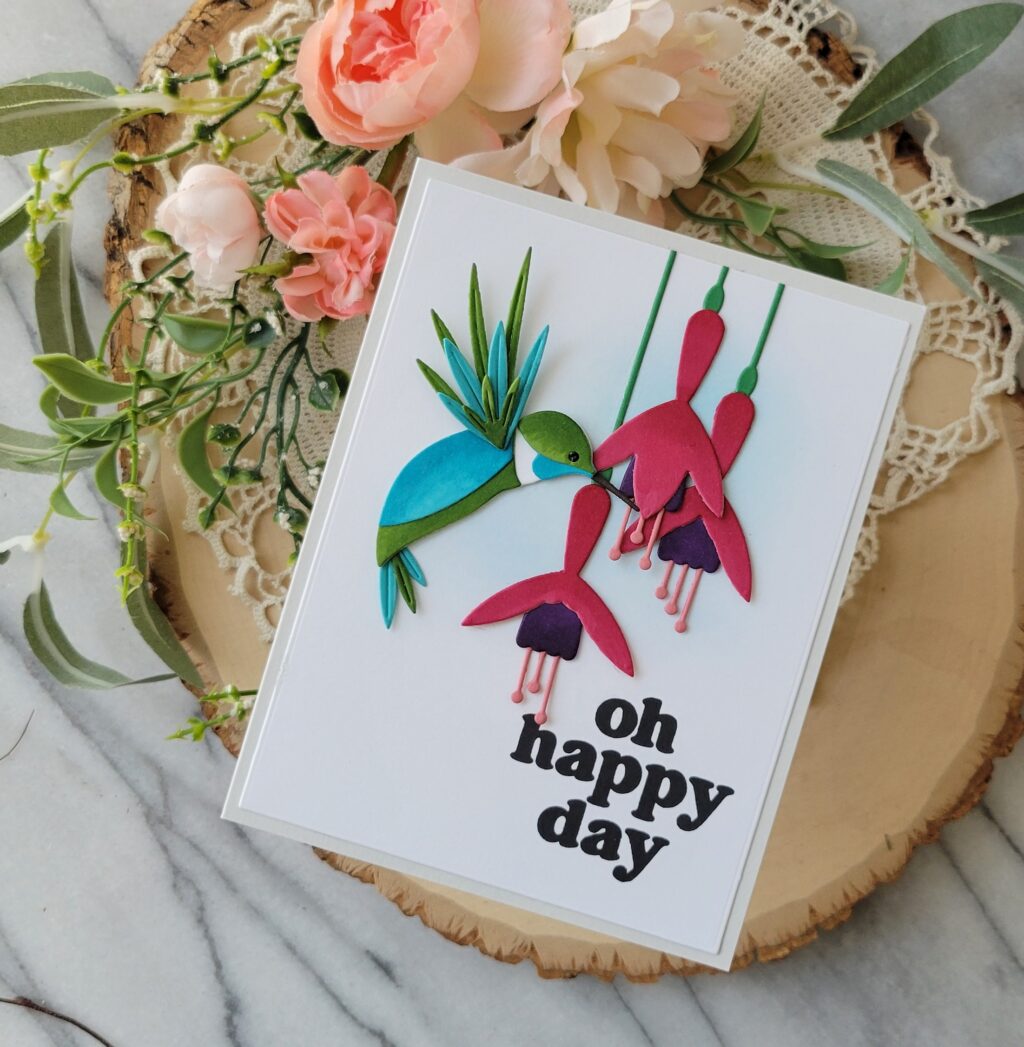
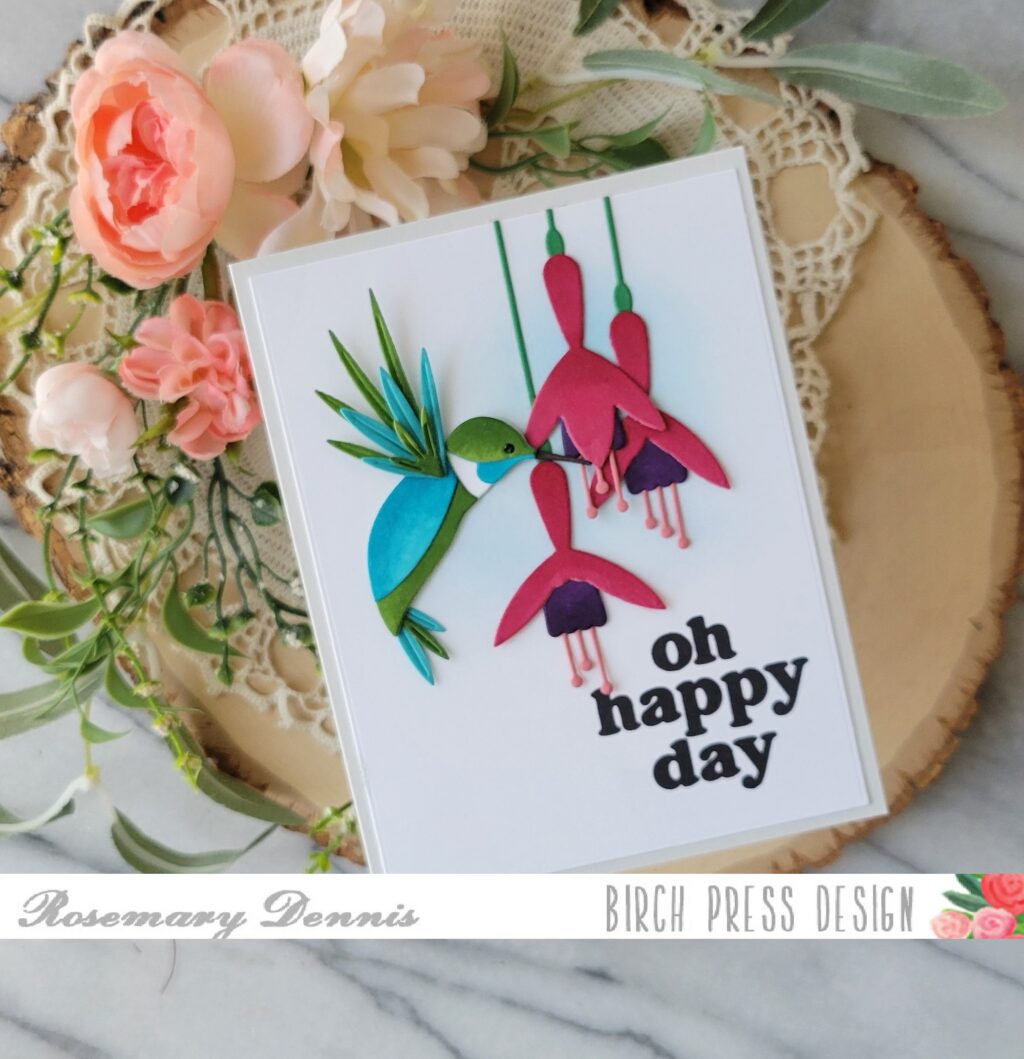
    Hello, hello! Rosemary here on the blog today sharing a card made with the new Block Print Fuchsia Flowers and Block Print Flashy Hummingbird. I love all the hummingbird dies that Birch Press Design has released, but this one just might be my favorite. Fuchsias are one of my favorite flowers and so I was super excited when I saw the new fuchia related dies! Let’s look at what I made.

    Growing up we always had a fuchsia hanging basket on our front porch as both my parents liked fuchsias. I remember being fascinated by the little bell shaped flowers that hung down amongst the green leaves. When I saw the new Block Print fuchsia dies I was in heaven! I went with a similar color palette as the one on the front of the packaging as it is a classic fuchsia color way and still one of my favorites!

    I die cut the majority of the pieces for the hummingbird and fuchsias from colored cardstock. I only used white for the body of the hummingbird that all the other pieces get layered on. I then used Copic markers to color the pieces allowing me to change the colors and provide contrast.

    For the bird I started with a light aqua colored cardstock and then added color using Copics in shades of teal. Additional pieces were cut from a medium green and then shades of green Copics added to deepen the color. The pieces were set aside to dry before glueing together.

    The same process was done for the fuchsia except for the stems and the little stamens that hang down. I let them dry and then adhered together with glue. White cardstock was die cut, stamped with the sentiment from the Vintage Everyday Greetings stamp set and then I added a little bit of distress oxide ink in blue to the area where the fuchsia and hummingbird would be placed. They were then adhered with a combination of thin foam squares and glue. Added the panel to my light gray cardstock base and finished with a tiny dot of black Nuvo jewel drops for the bird’s eye.

    I just love how this turned out. Clean and simple yet a little on the bold side. I hope you enjoyed today’s project. Thanks for taking the time to visit the blog. Have a wonderful day!

  • Jellyfish Cheers by Rosemary Dennis

    Jellyfish Cheers
    by Rosemary Dennis

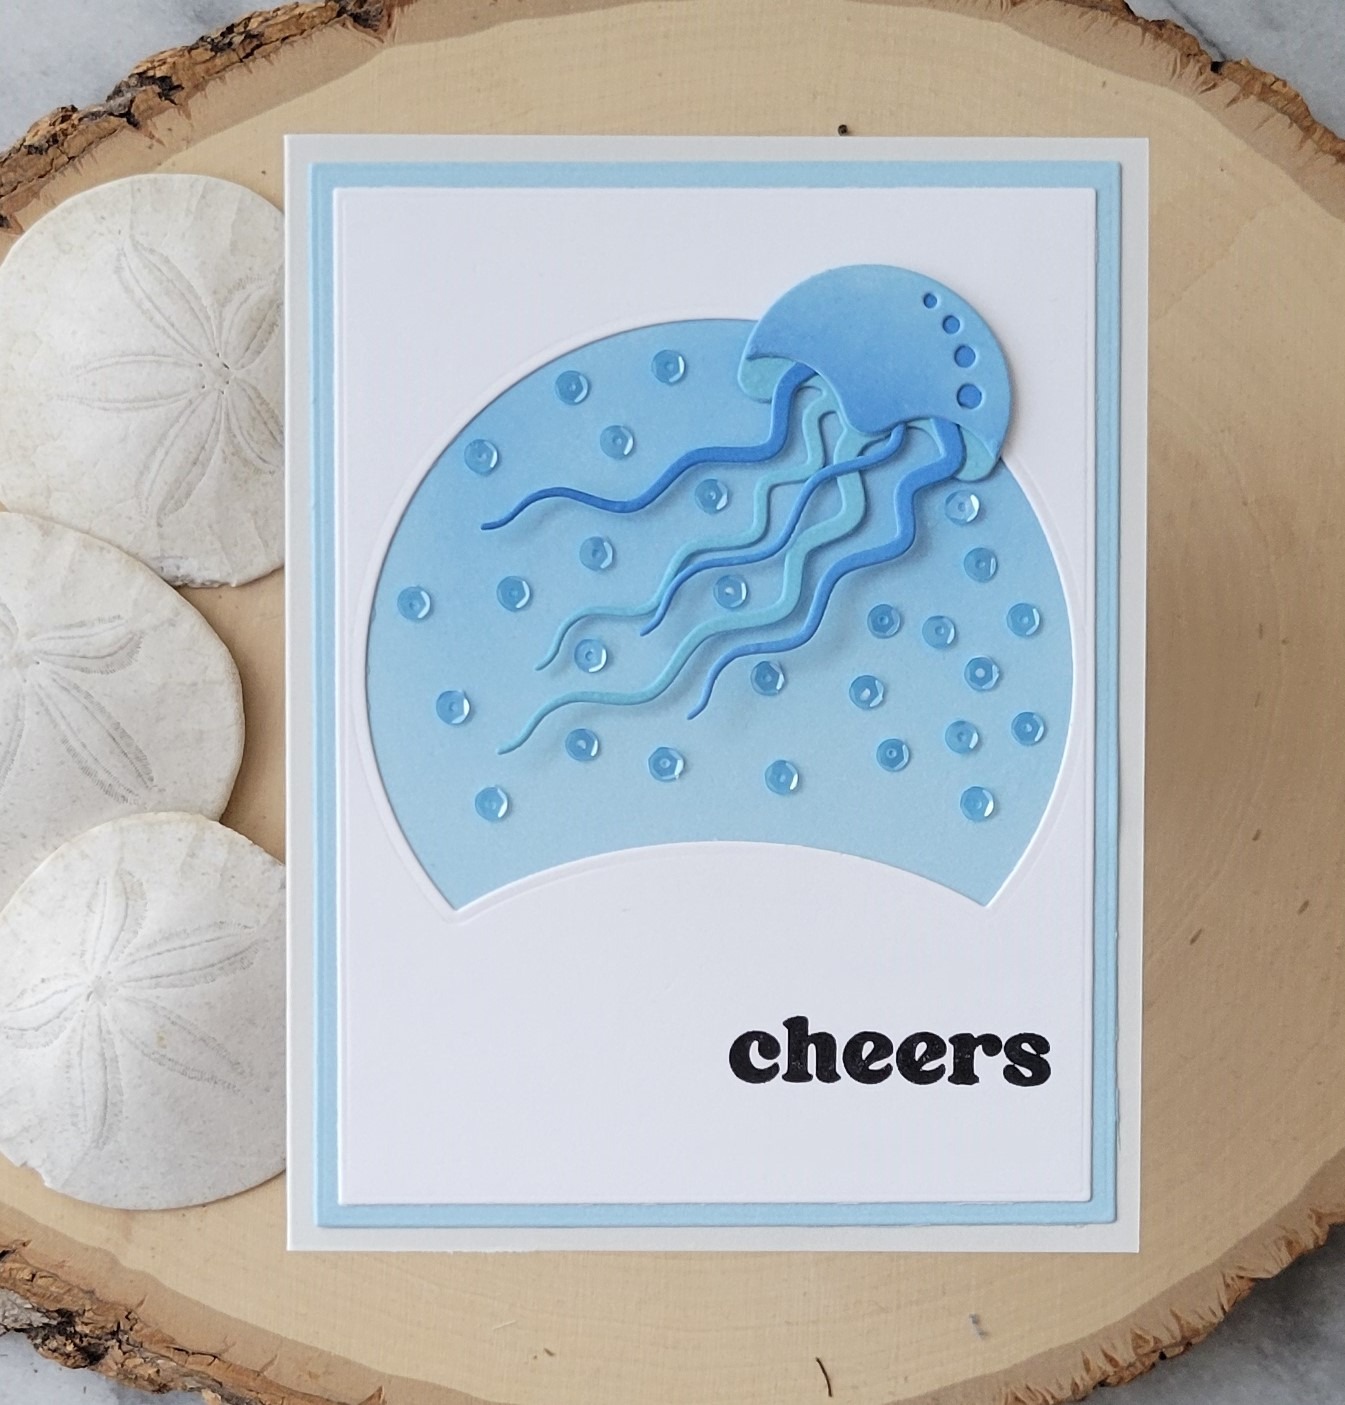
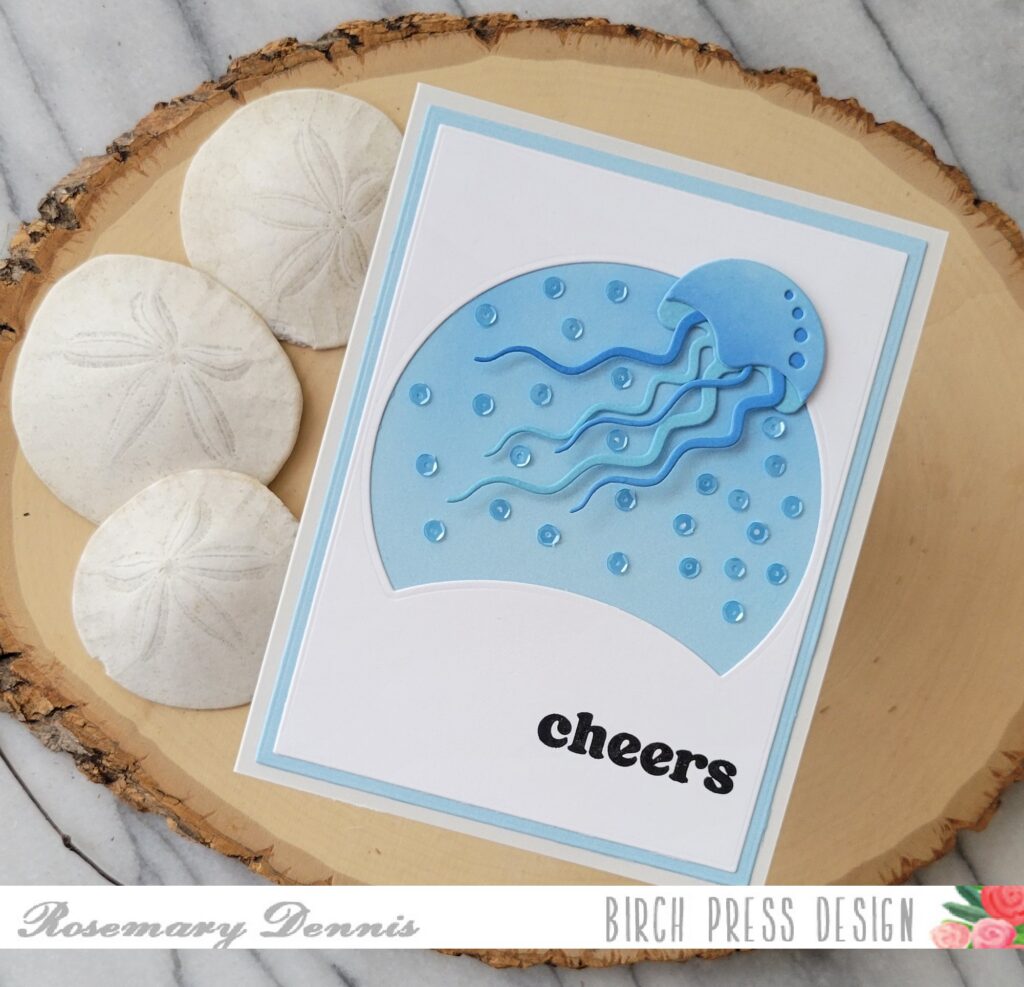
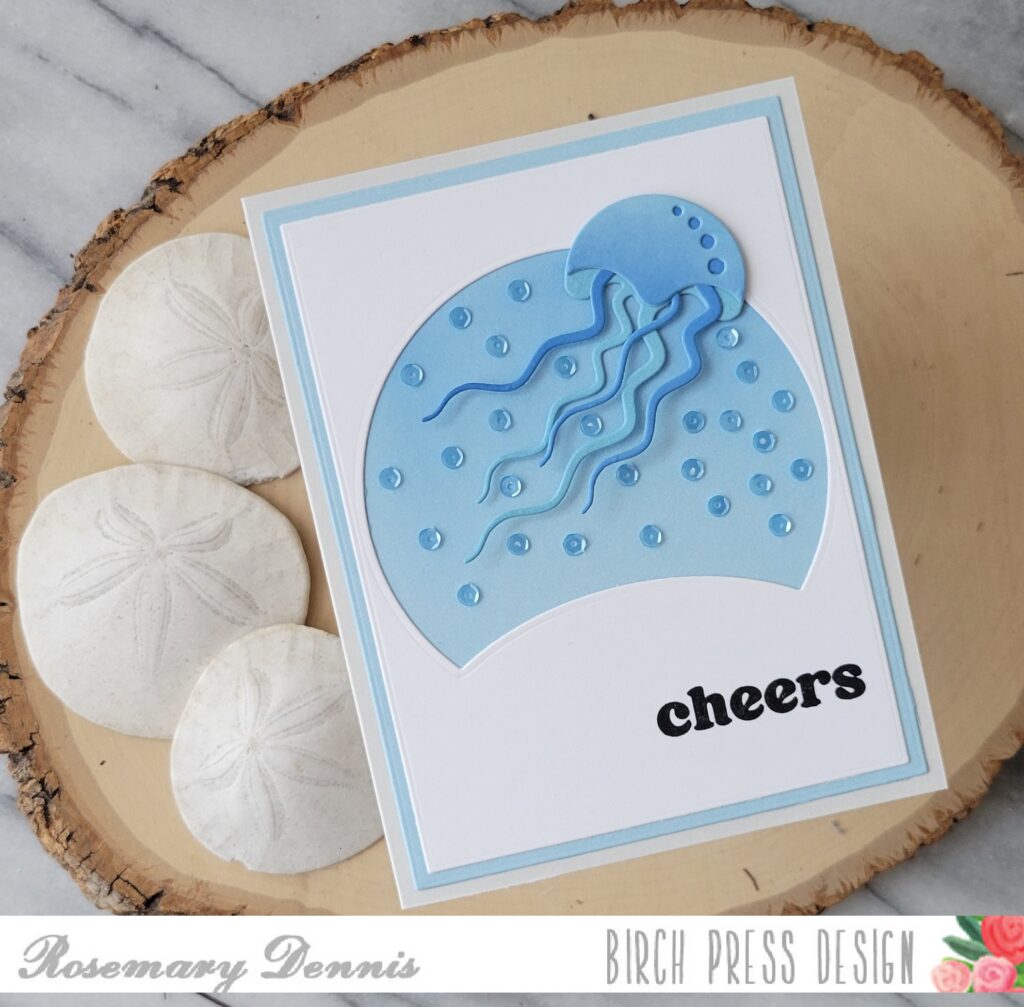
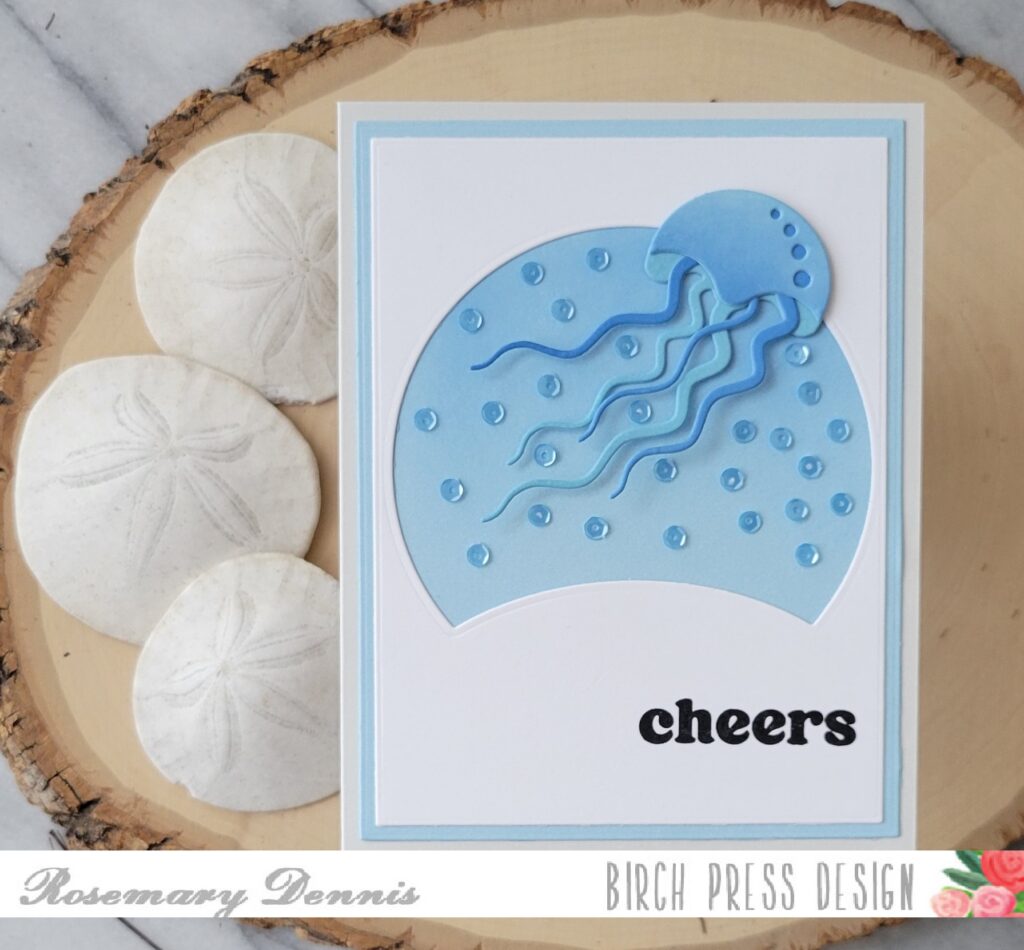
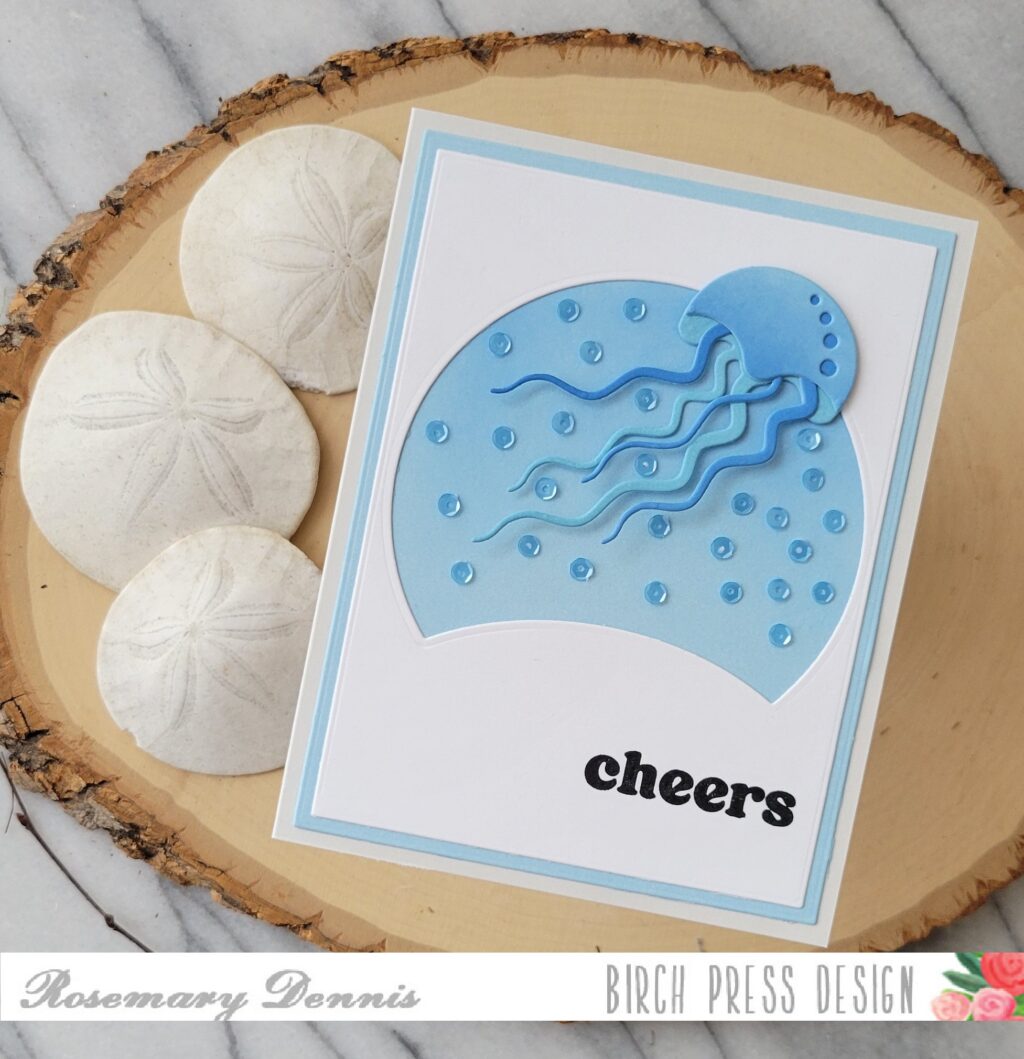
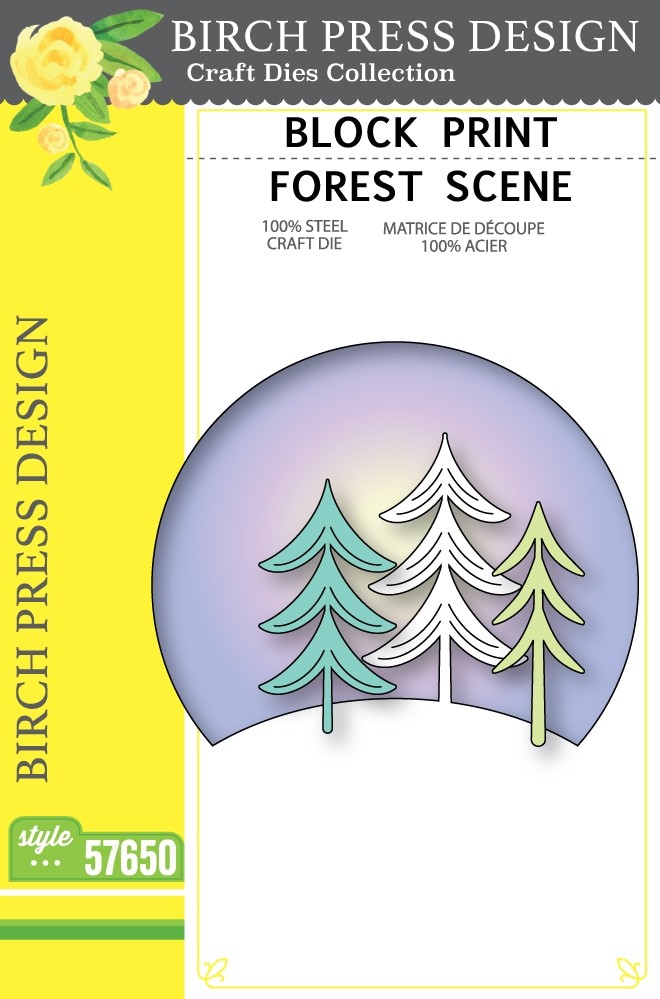
    Hello everyone! Rosemary here on the blog today with a fun card created with the super cool Block Print Floating Jellyfish die set, as well as the Block Print Forest Scene die set. Let’s look at what I made.

    I just love the Block Print Floating Jellyfish and wanted to make another card with it. I also thought it would be fun to use the Block Print Forest Scene die set to help create the background for my jelly.

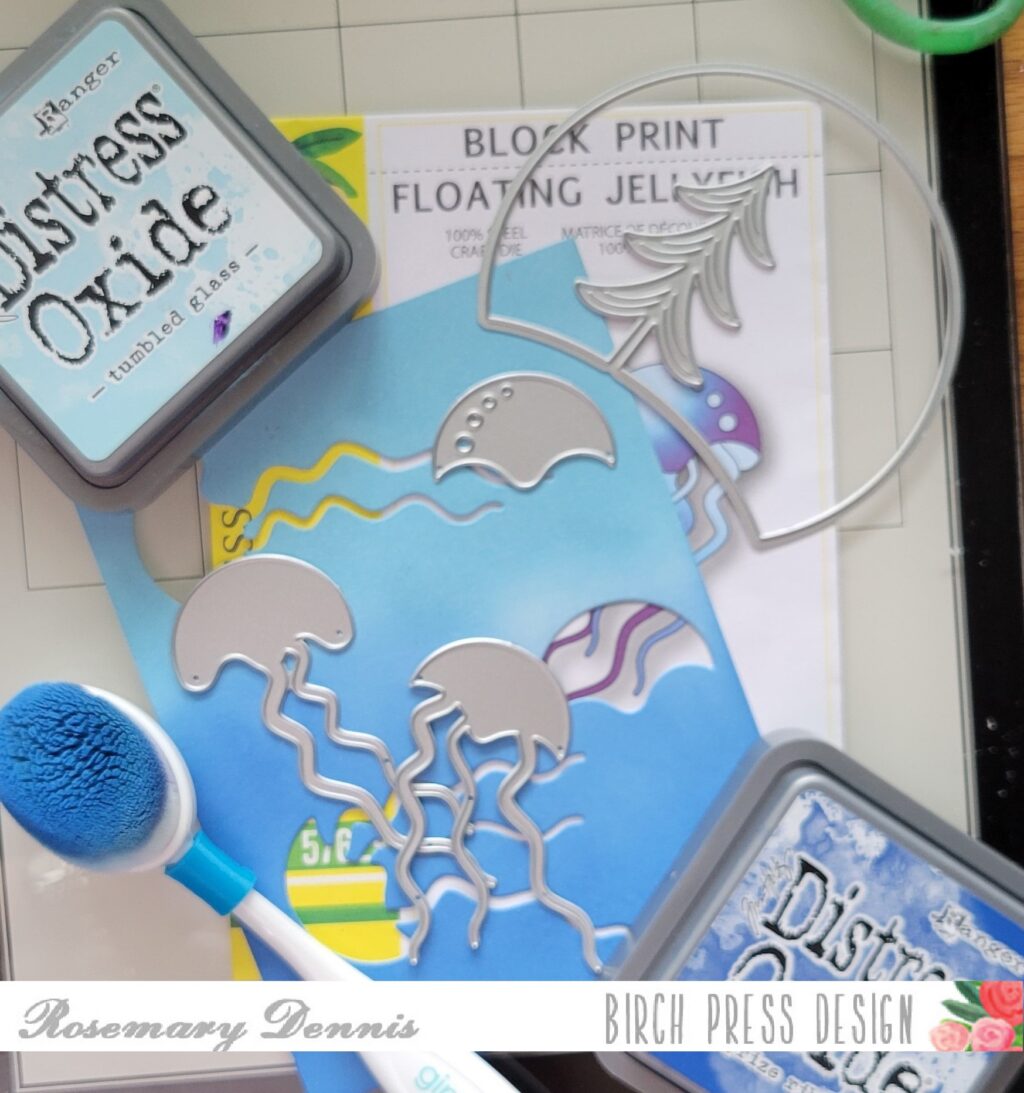
    I started by cutting down a piece of light blue Memory Box cardstock and then ink blending on some distress oxide inks in tumbled glass and prize ribbon. Once that was done I die cut out the pieces and assembled the octopus using glue.

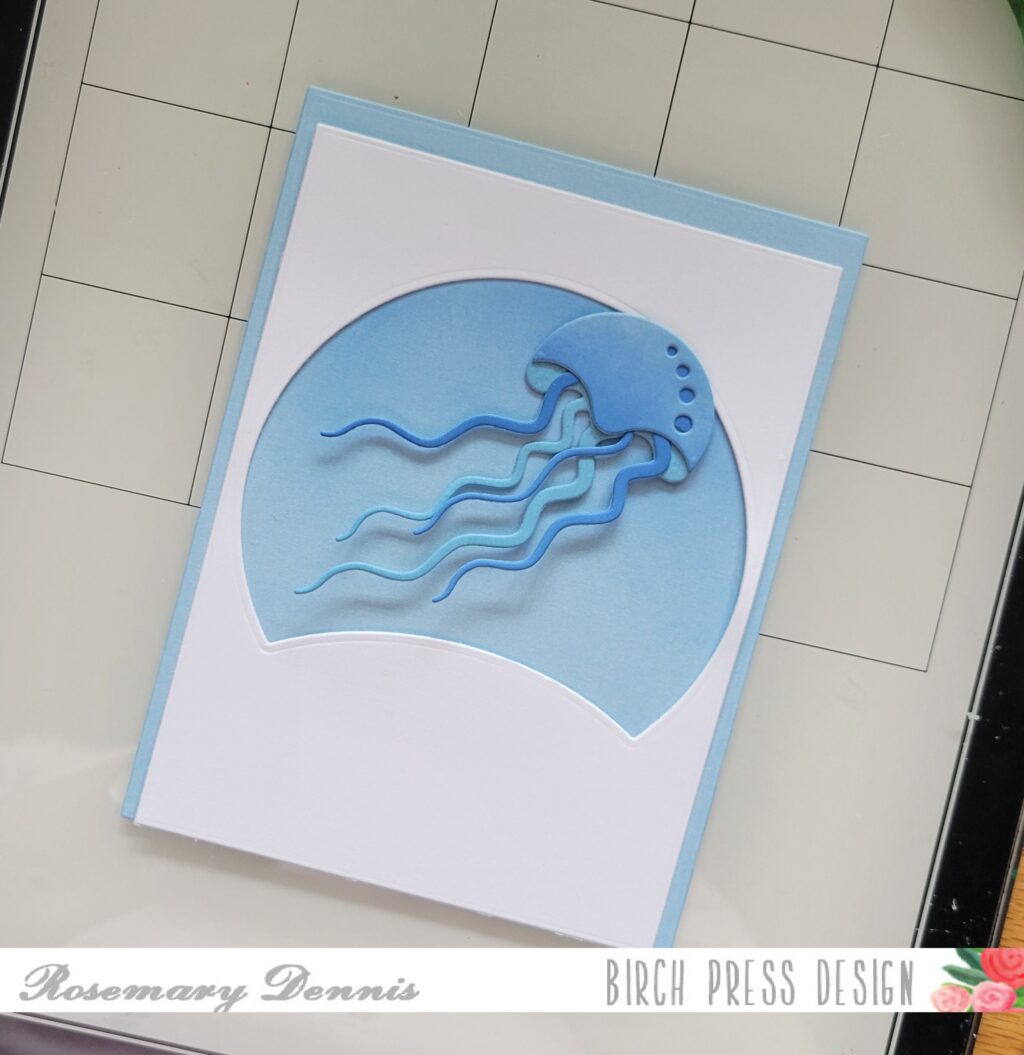
    The I die cut a piece of the same light blue cardstock with a rectangle die that was slightly larger that the rectangle that I would be cutting the Forest Scene from. The Forest Scene was die cut and then I trimmed off the tree.

    Then I added a little bit of ink blending to the top portion of the light blue rectangle that would show through the cut out area. The top piece was then adhered to the light blue rectangle.

    Then I added the panel to a light gray cardstock base, added the jellyfish and lots of small blue sequins to look like bubbles. It was at that point I realized I need to put a sentiment on the panel. Honestly, that happens to me alot because I can get so focused on other elements on the card that I often forget I need to make sure a sentiment fits. Thankfully I had all the open space at the bottom and the sentiment stamped cleanly!

    I love the clean monochromatic look of this card and that really fun jelly! I hope you enjoy my card, too! Thanks for stopping by and have a wonderful day.

  • Birthday Greetingsby Rosemary Dennis

    Birthday Greetings
    by Rosemary Dennis

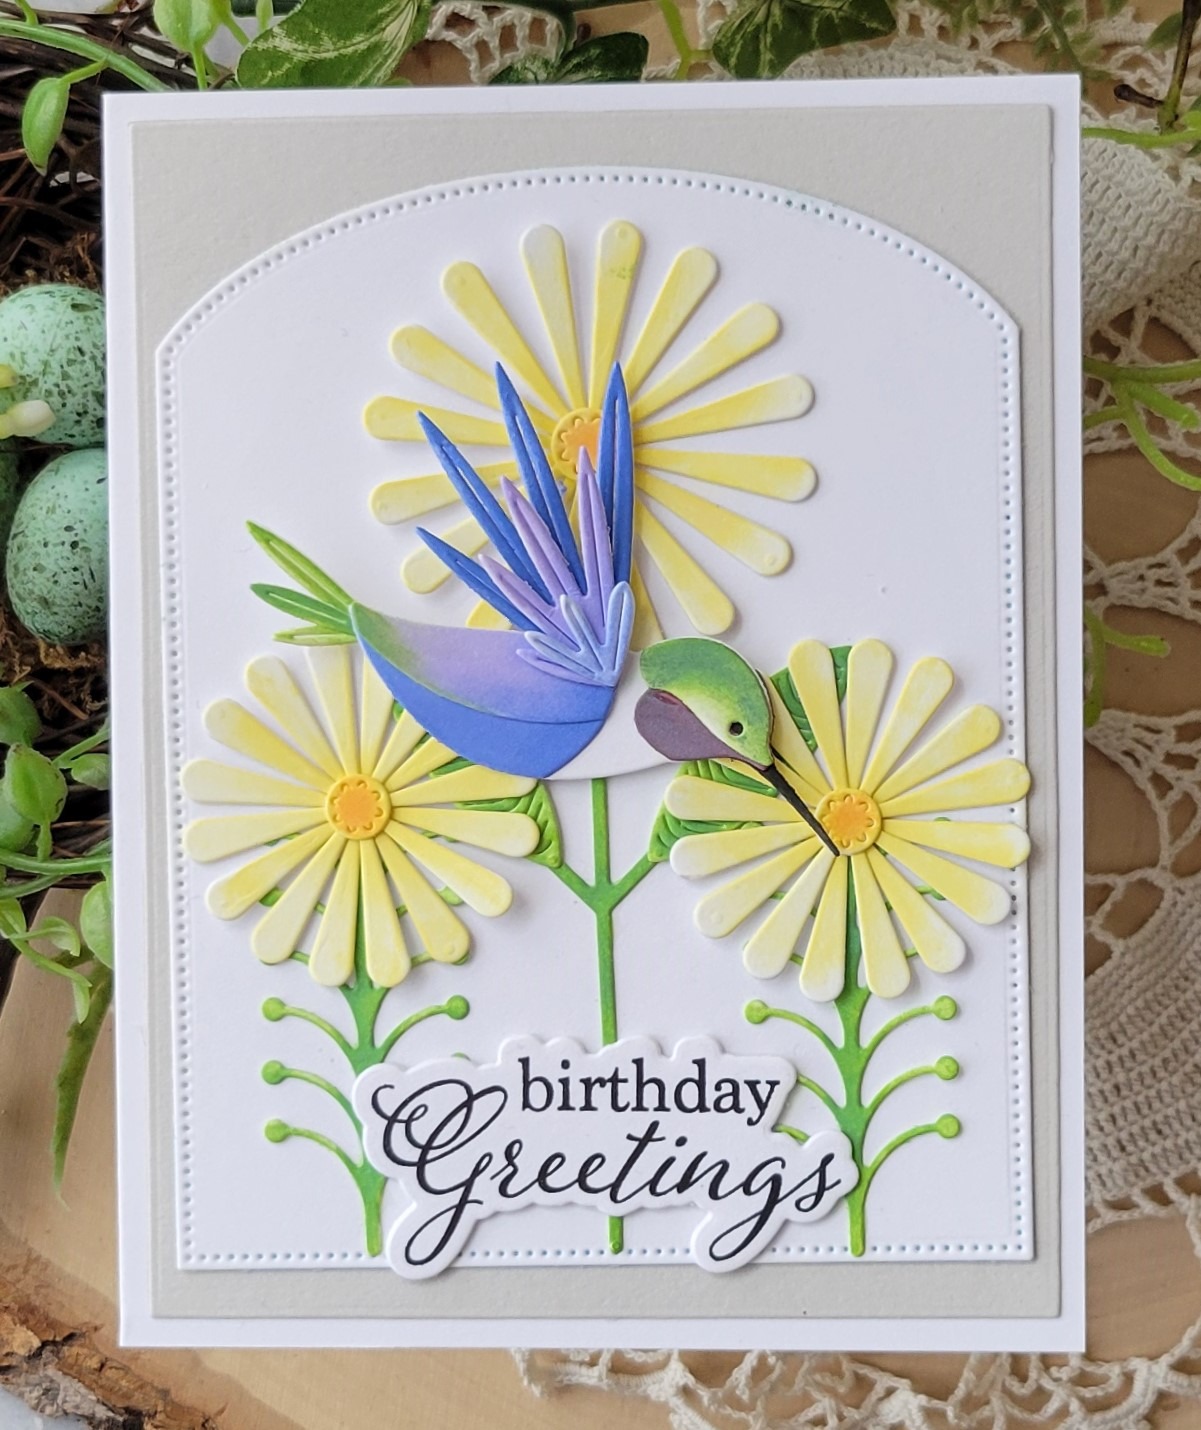
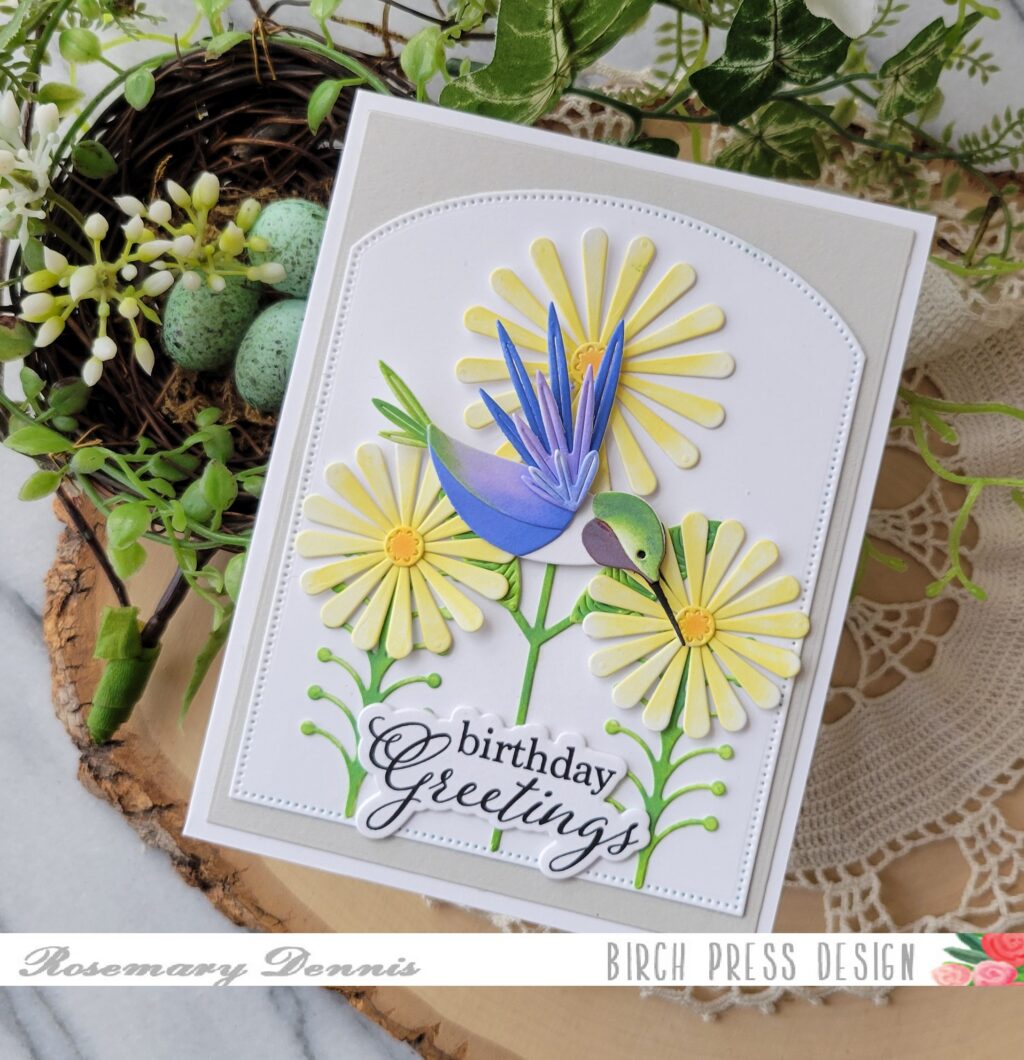
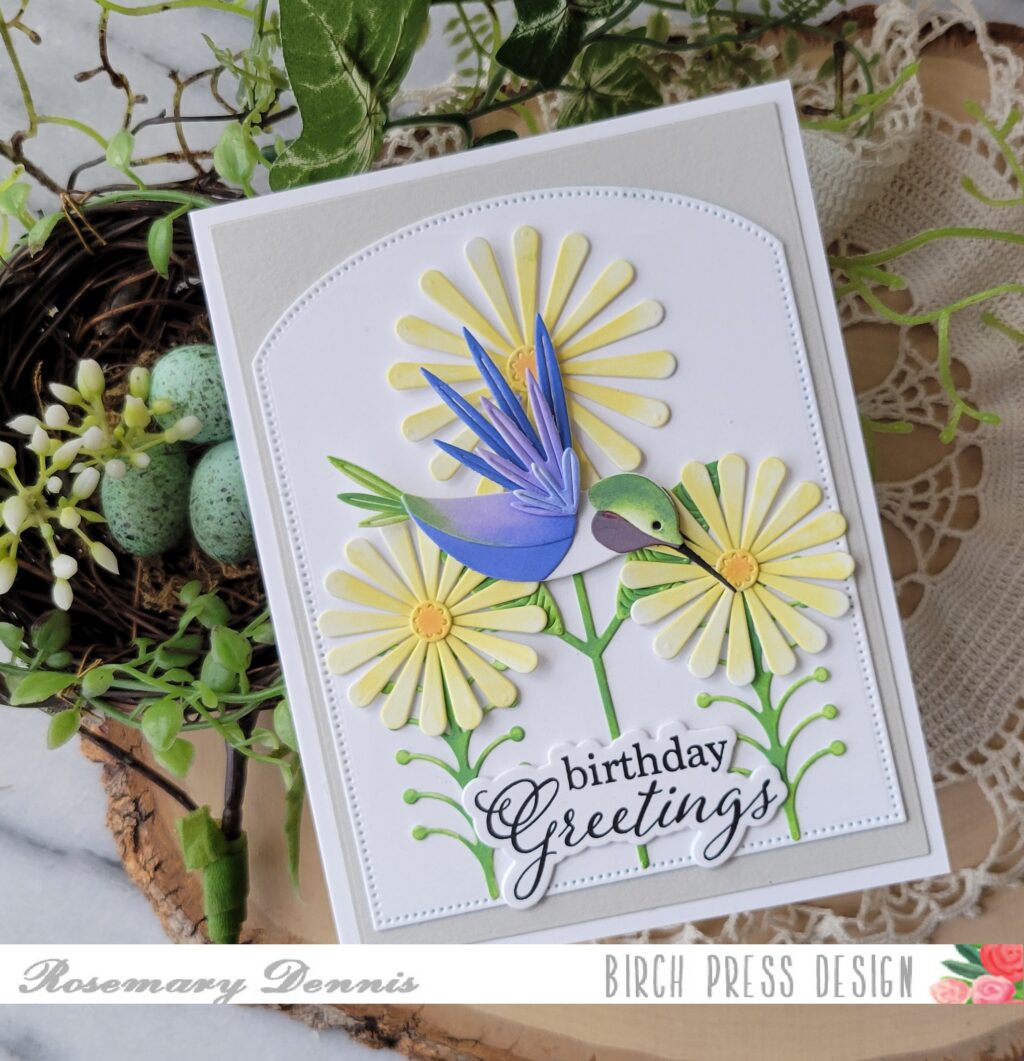
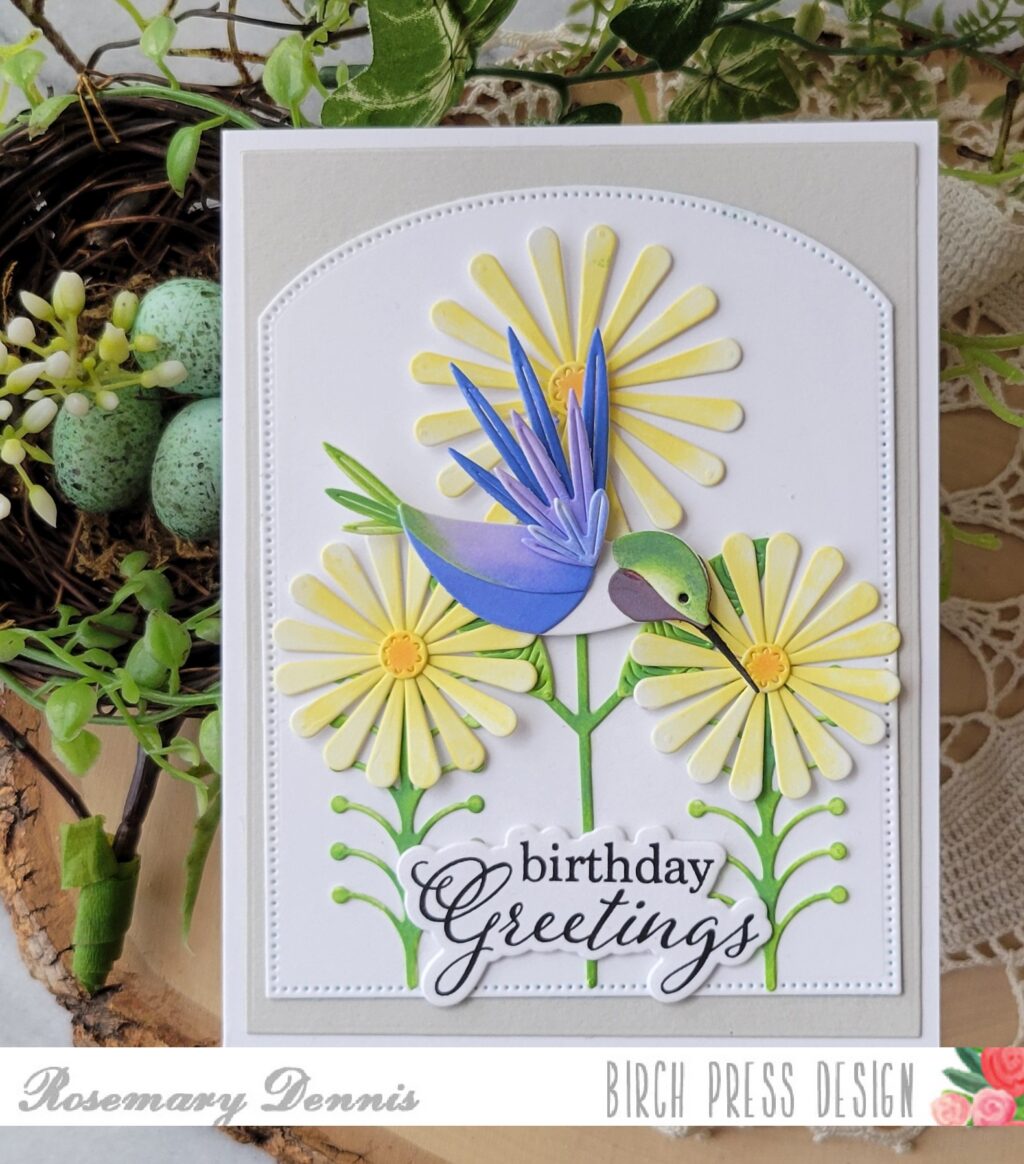
    Hello everyone! February is winding down and I am starting to think of spring even though we really haven’t had much of a winter here in the Pacific Northwest. While there are lots of pretty dies in the newest Birch Press Design release the beautiful Soaring Hummingbird and Daisy Flower dies from the Block Print line caught my eye and I just had to use them first. Let’s look at what I created.

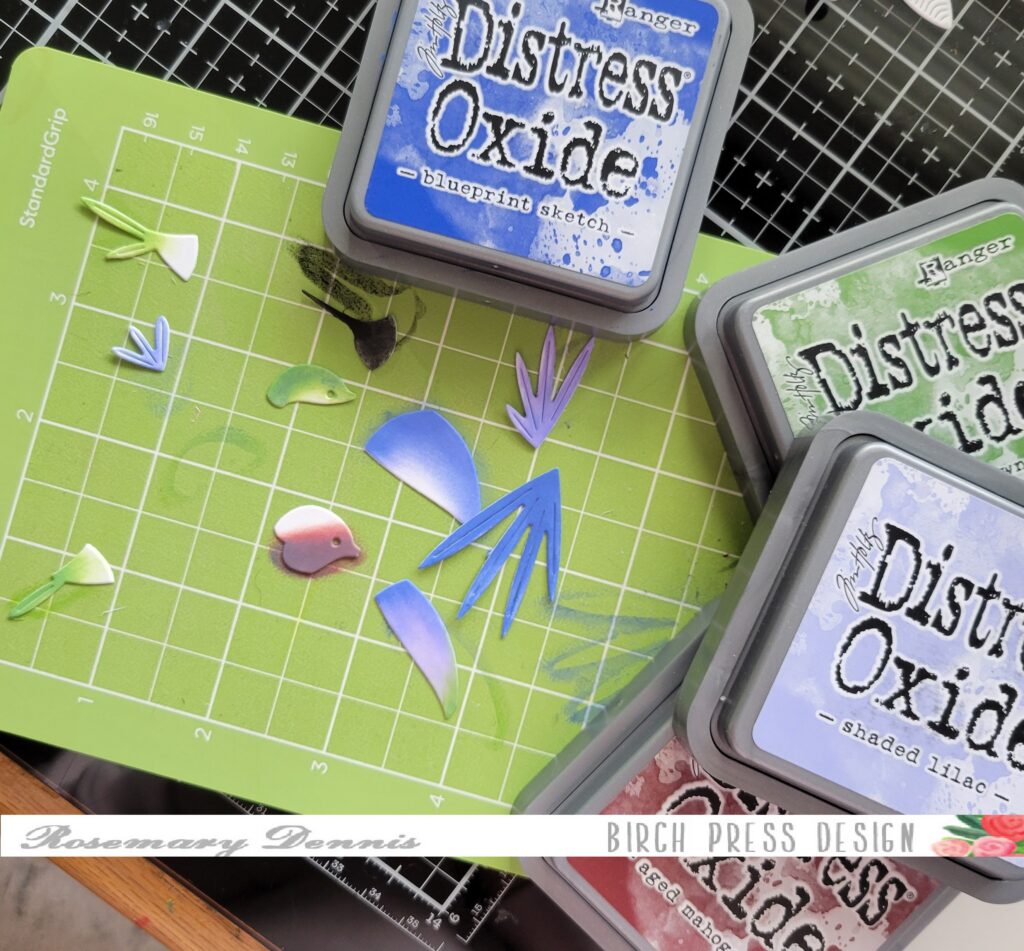
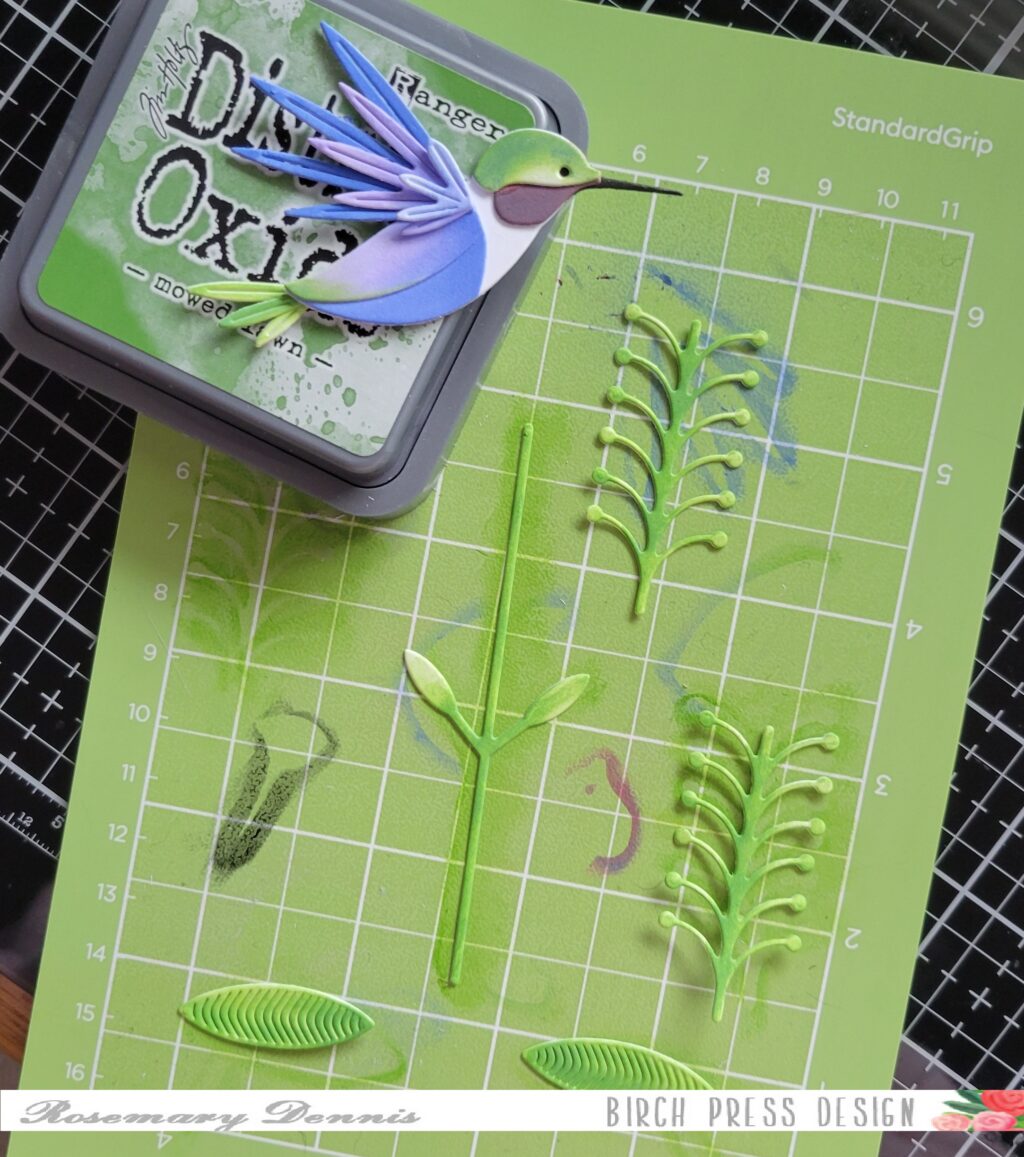
    I love the other hummingbird die set from Birch Press Design (Block Print Hummingbird) and so was delighted to see this new hummingbird die. I started by die cutting all the hummingbird pieces from white cardstock. Initially I was just going to use them to help me determine how the bird went together, but then I decided to use distress oxide ink color the pieces instead of diecutting from colored cardstock which was my original idea. I used small blending brushes to color all the pieces.

    In the photo you can see some of the inks I used as well as the inkblended pieces.

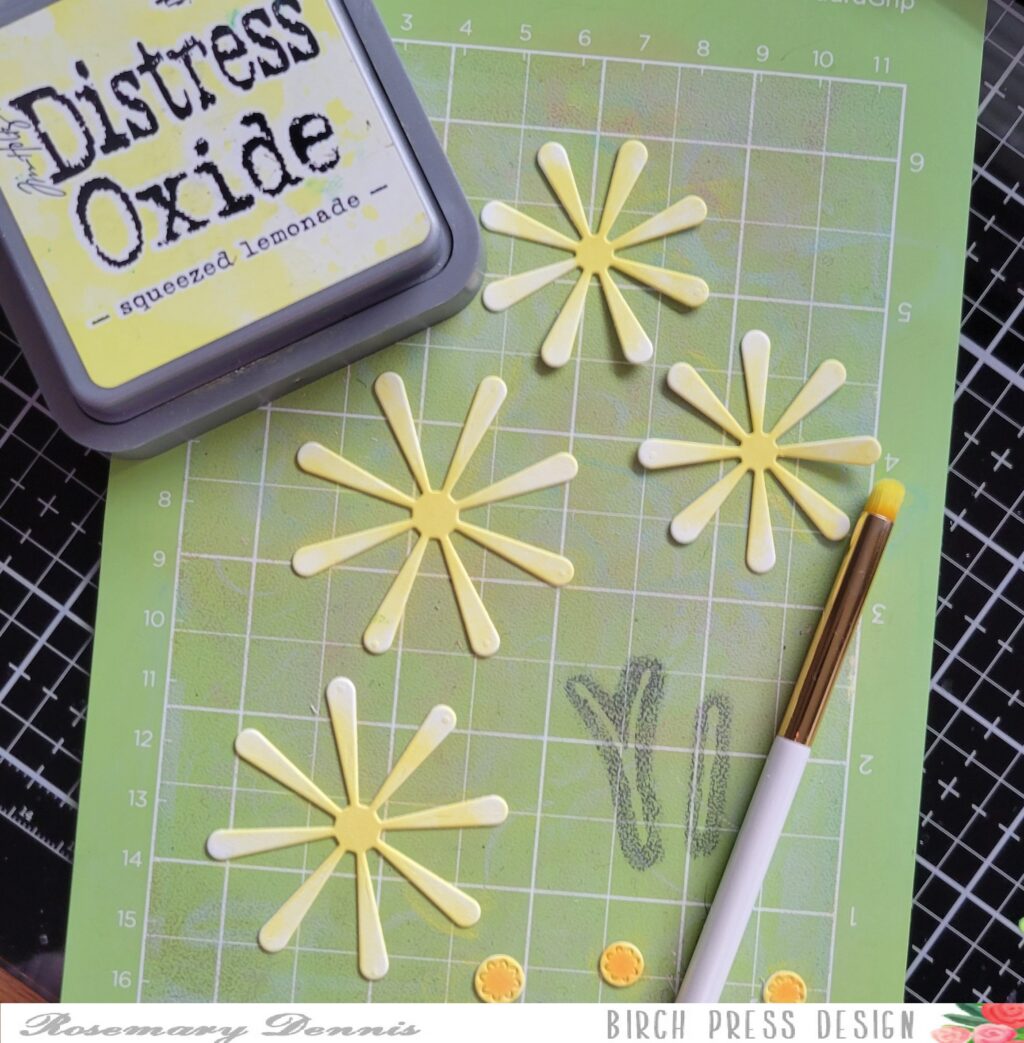
    I die cut the daisies and centers from white cardstock as well. You will need two die cuts per flower to create the daisies on my card. I think it would be fun to die cut a third flower to create an even fuller daisy – like a gerber daisiy. In this photo you can see the small blending brush I used to color the die cuts. My blending isn’t perfect because in real life flowers are perfect, either!

    The bird and the flowers were assembled using liquid adhesive and then set aside to dry.

    Then I die cut the stems and leaves added the inkblending and added the leaves to the tall stem. I die cut white cardstock using a Memory Box Curved Cap Pinpoint Layers die and then layered that onto light gray cardstock that I die cut with a rectangle die.

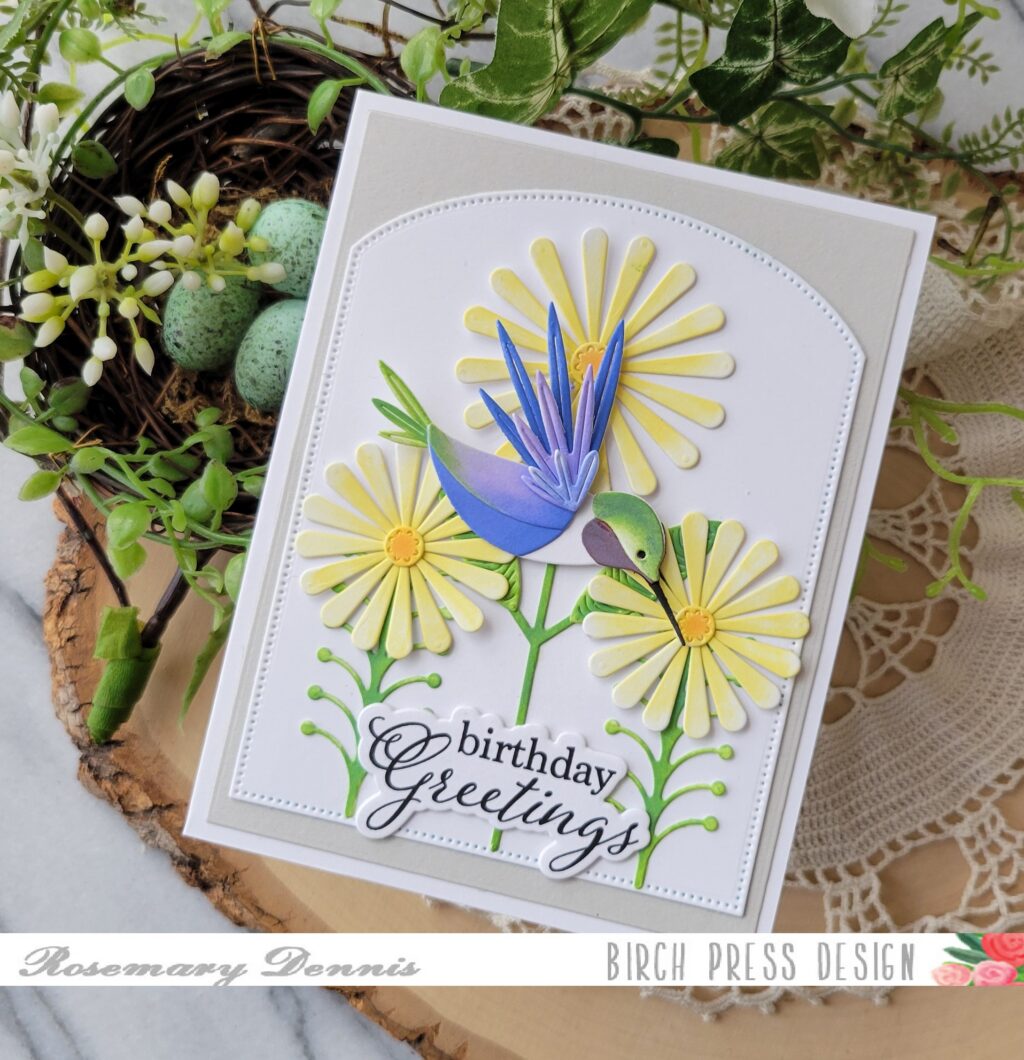
    Now it was time to layer on all elements. I used liquid adhesive to adhere everything to the card front except for the hummingbird. For him I used a combination of liquid adhesive and foam squares. I stamped the greeting from the Elegant Birthday Sentiments stamp set with black ink and die cut it with the matching die. The die was used to die cut two more layers that were adhered behind the stamped sentiment and then adhered to the card with liquid adhesive.

    I really love how this card turned out. It will be going to my sweet mom who will be turning 89 at the end of April. I hope she loves it too!

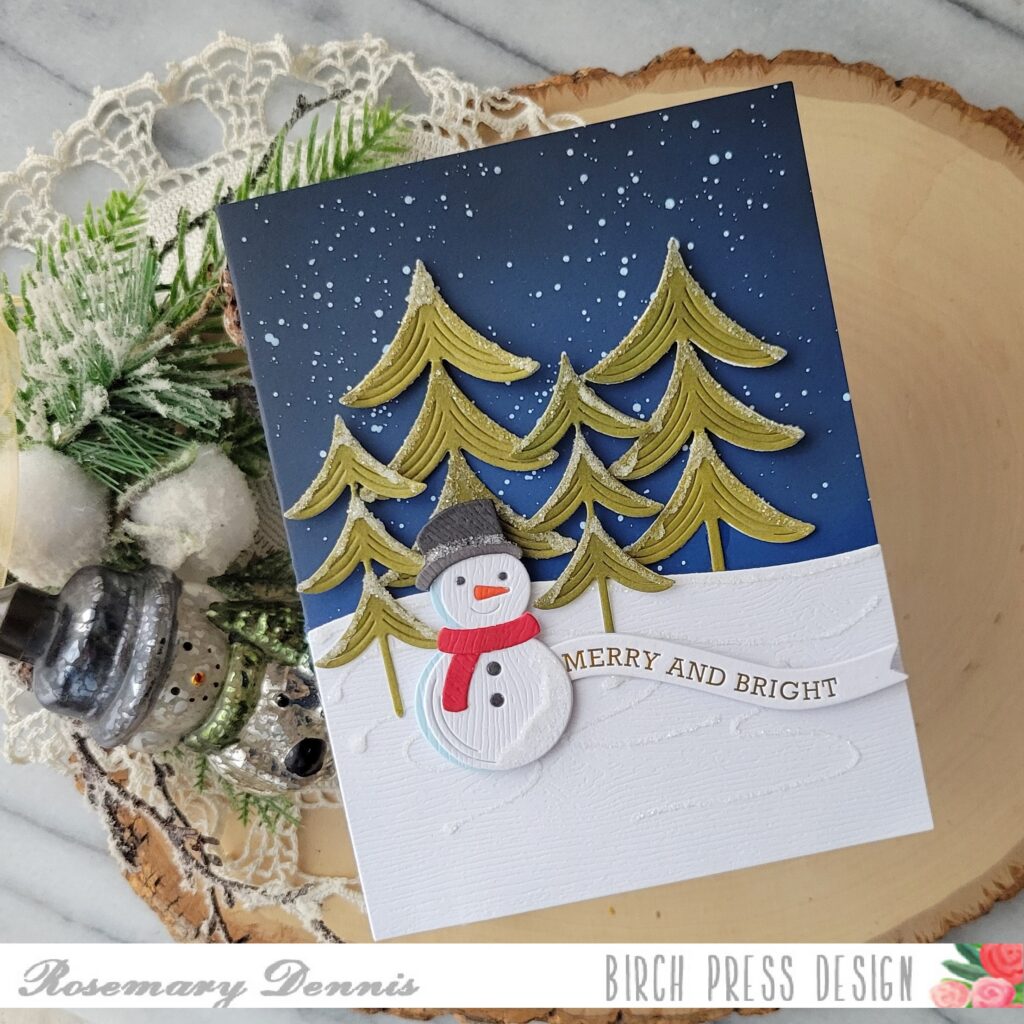
  • Merry & Bright Snowman | by Rosemary Dennis

    Merry & Bright Snowman | by Rosemary Dennis

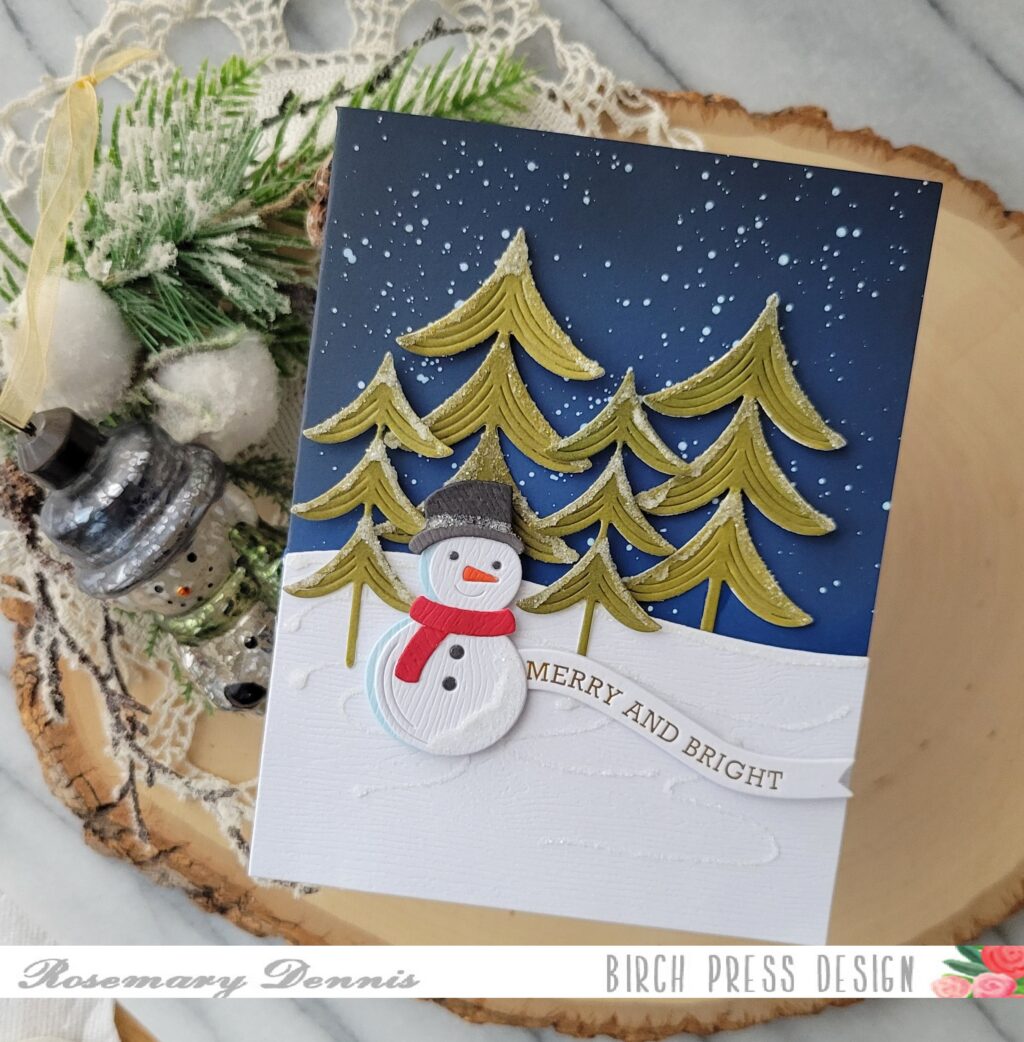
    Hello! I hope everyone in the US had a wonderful Thanksgiving. Can you believe that Christmas is just a few weeks away? I can’t! I’m still making Christmas cards. Today I’m sharing one that I made using the new Block Print Debonair Snowman and Block Print Evergreen Trees die sets. Let’s have a look at what I made.

    Since I really loved the look of die cutting the big snowman from woodgrain cardstock I thought it would also be fun to do the same with the Block Print Debonair Snowman. I love how he turned out!

    I also die cut the snow hill (using the Wavy Hillside) from the woodgrain cardstock. I added some glitter to the hillside using swirls of glue and Rock Candy glitter. I die cut all the pieces of the snowman from the woodgrain cardstock and then colored certain pieces with Copic Markers. When you are die cutting all the pieces make sure you keep track of the tiny eyes, nose and buttons so you can insert them back into the snowman once he is assembled.

    The Block Print Evergreen Trees are a fun die set. There are the main tree dies and then layering dies. That means you can have two different looks. For my trees I decided to use just the base layer. I cut them from smooth white cardstock and then colored them with a Copic marker. I let the pieces sit for a little bit and the frosted them with glue and Rock Candy glitter.

    Now it was time to get the card base ready. For this I started with a card base I made from dark blue cardstock. I then inked up the top and sides with Chipped Sapphire and Black Soot distress oxide ink. Once the ink blending complete I placed the card base in my splatter box and splattered on white paint for the look of snow. I let it dry for a bit and then built my little scene. I finished with a Memory Box banner tab.

    I just love how my little scene turned out. The Debonair Snowman has to be one of my favorites from this release! He is just too darn cute. I hope you enjoyed today’s project. Thanks for stopping by and have a wonderful day!

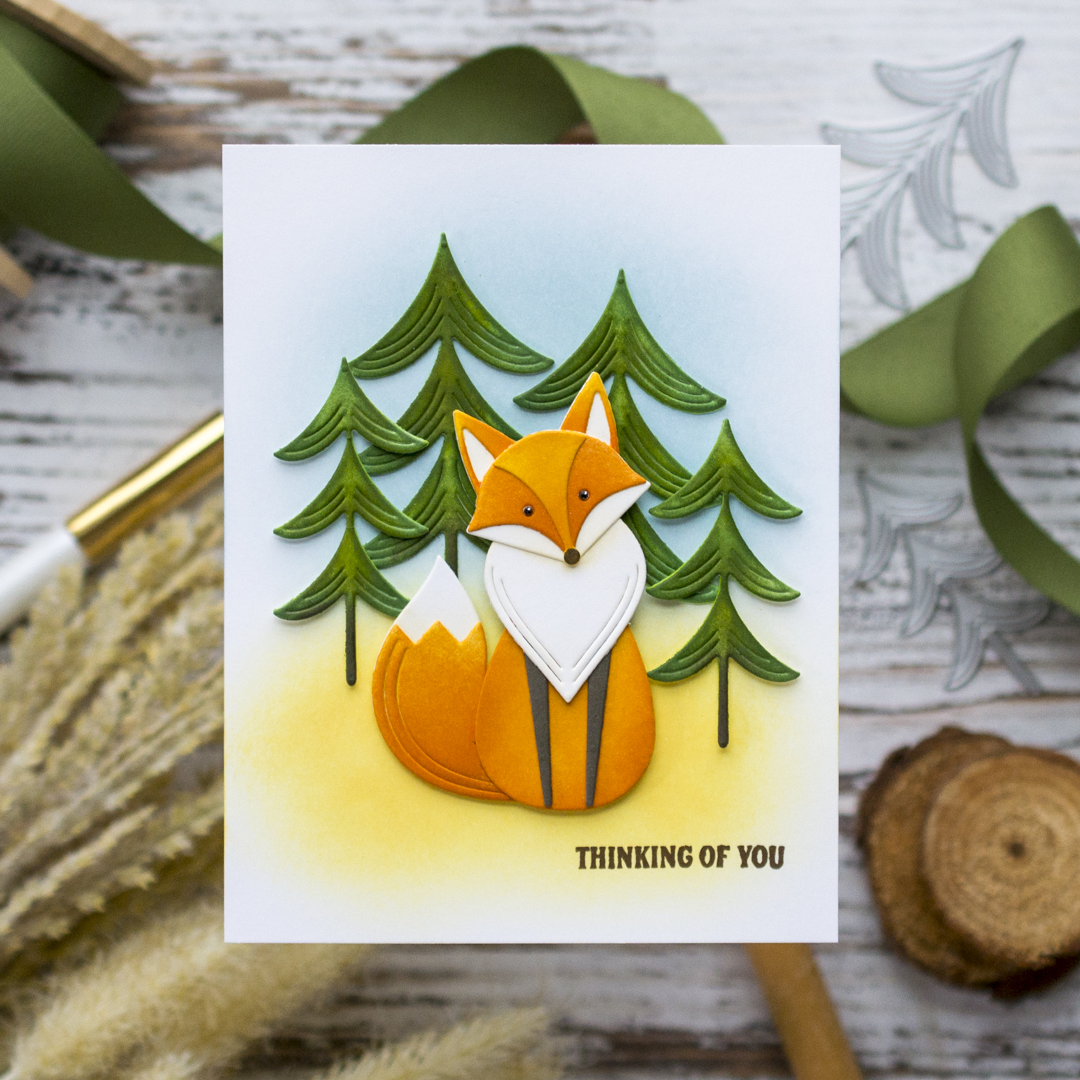
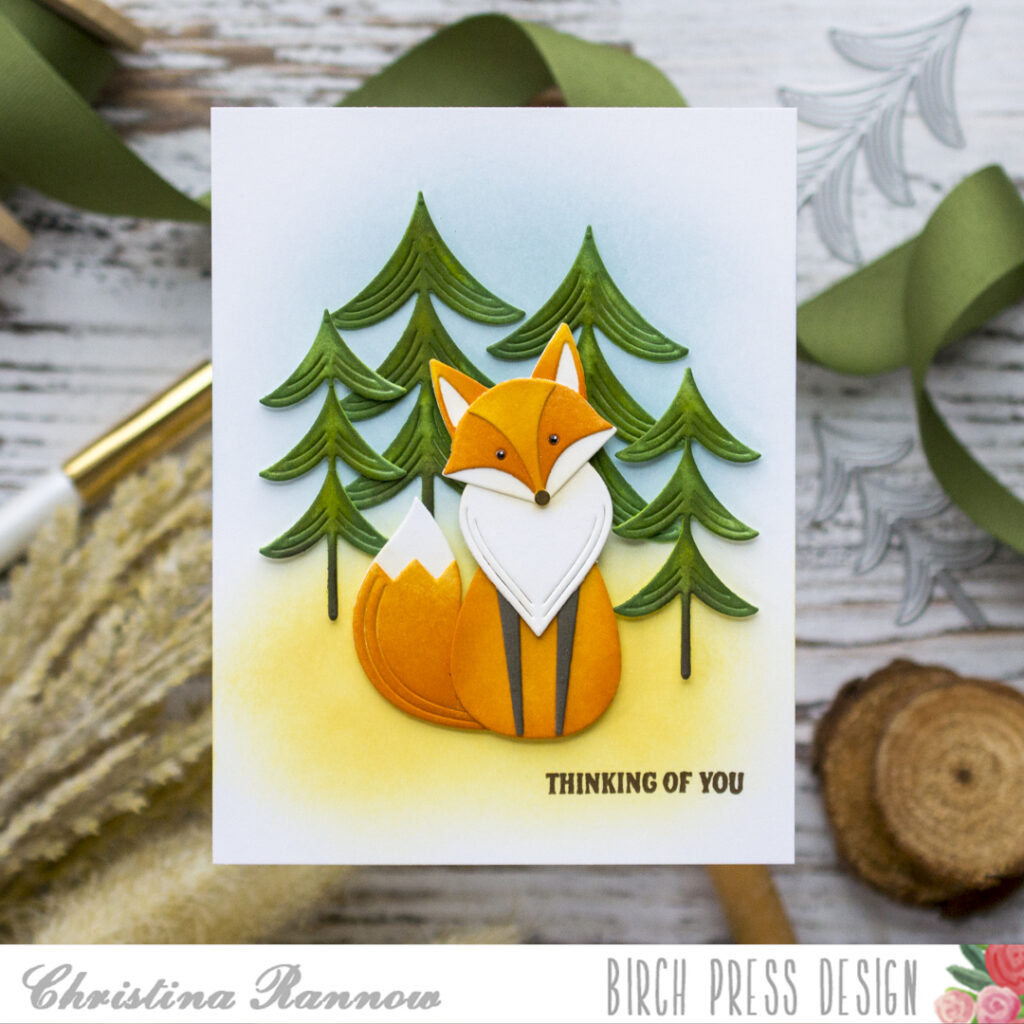
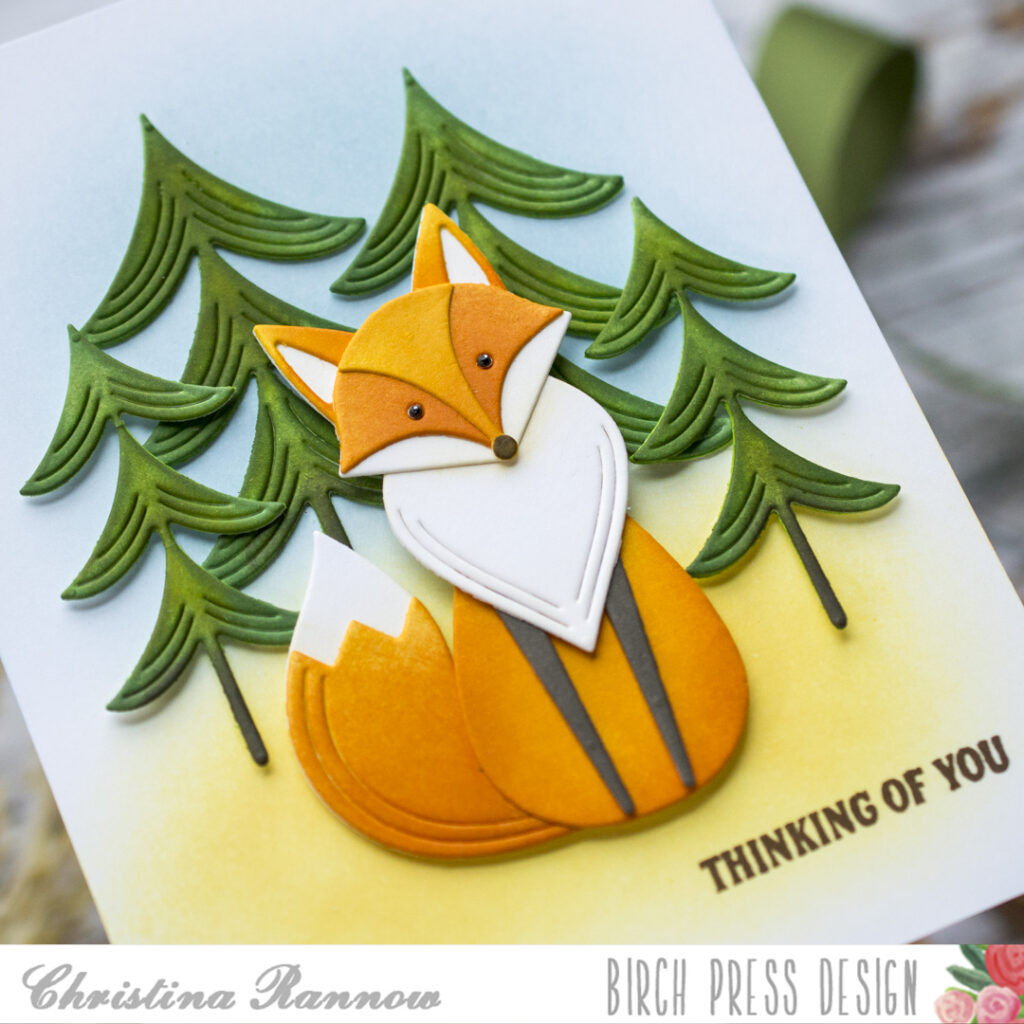
  • Autumn Fox | by Christina Rannow

    Autumn Fox | by Christina Rannow

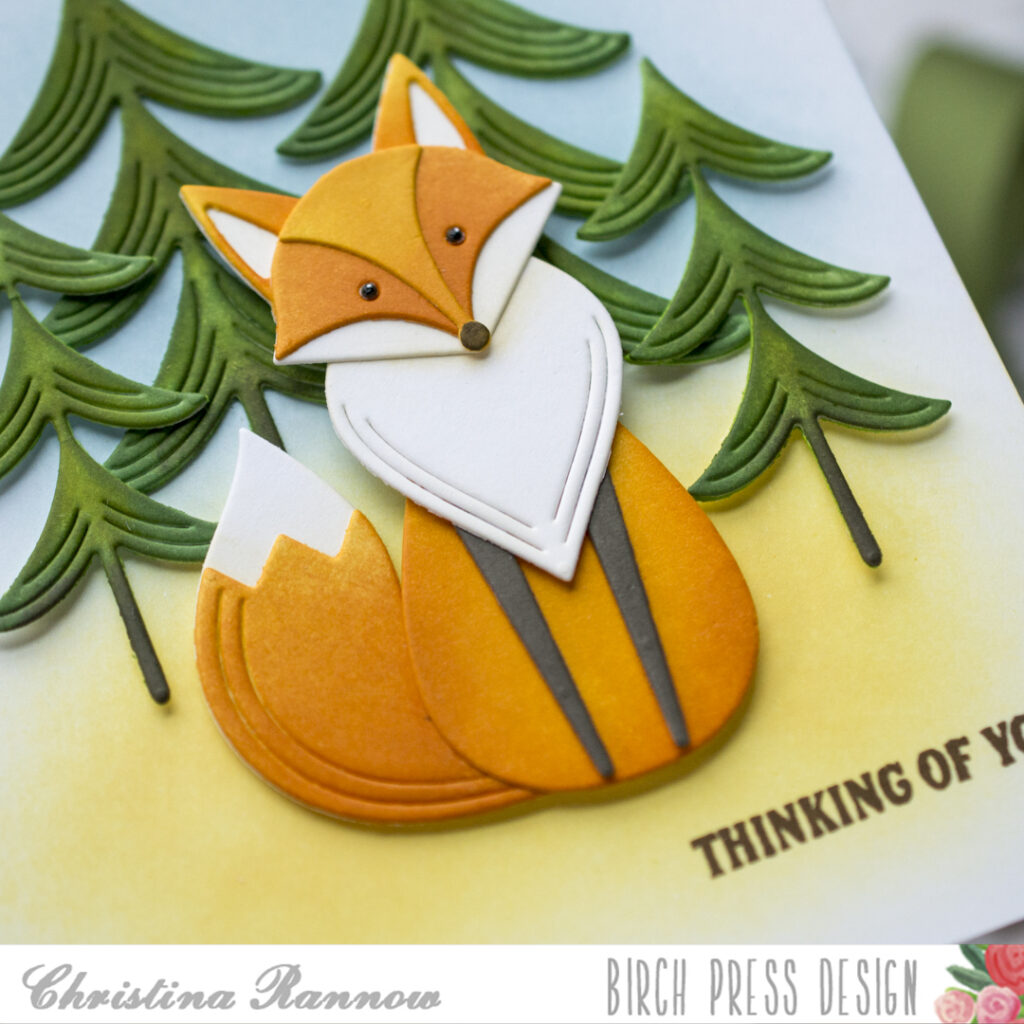
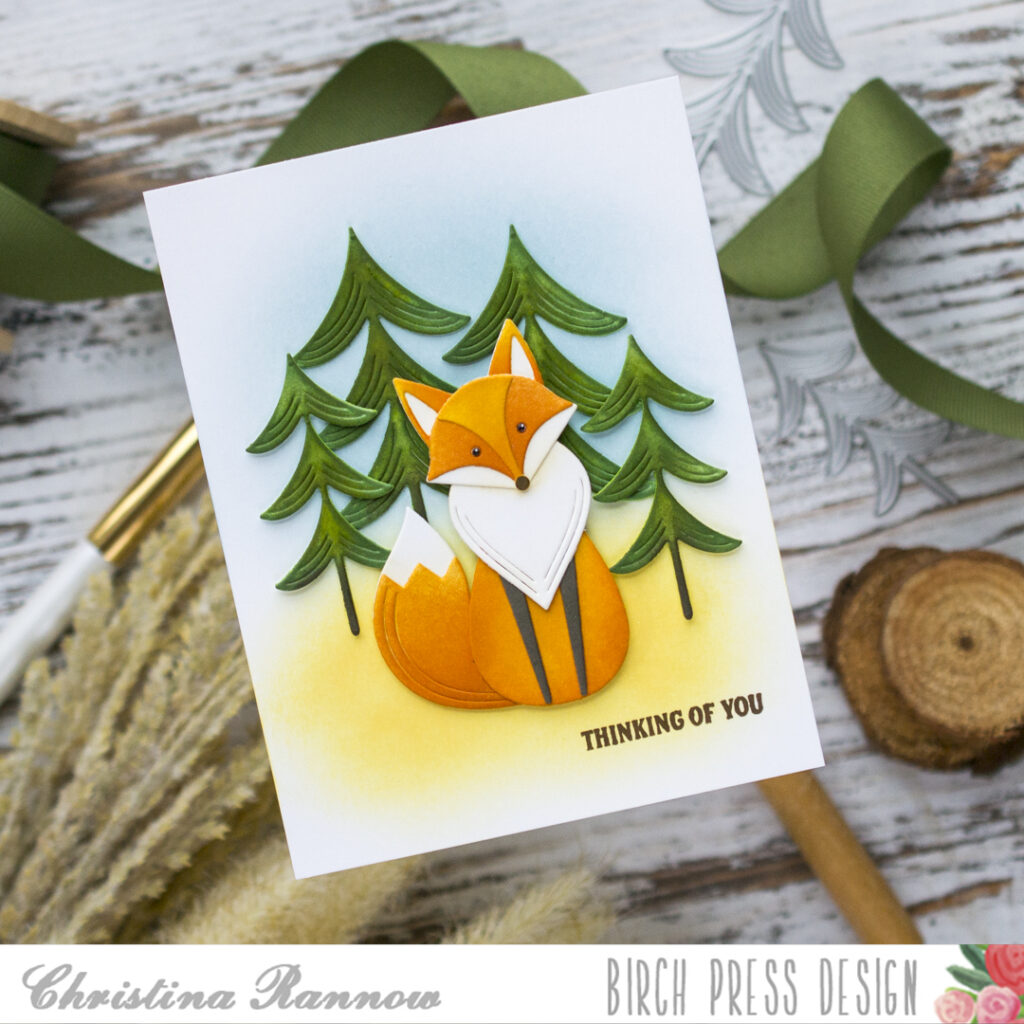
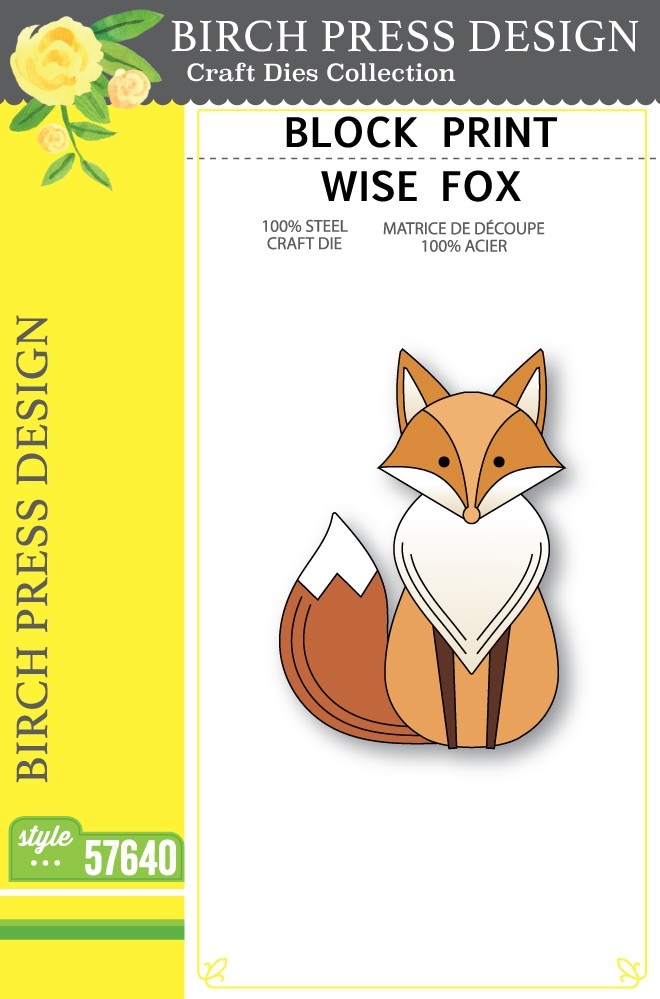
    Hello! Christina here to share a warm and cozy card featuring products from the new Block Print Christmas release. This release is full of festive winter and holiday-themed die sets, but they can easily be reimagined for other seasons or occasions. I did just that by creating this autumn card featuring the new Wise Fox die set. He’s the focal point of this card design, and I have him nestled in a vibrant forest of Evergreen Trees. Let’s take a closer look at how this card came together. 

    I started by die-cutting the pieces for the Wise Fox from white cardstock. Then I used Wild Honey, Rusty Hinge, Scorched Timber, and Antique Linen Distress Inks to ink each piece before assembling them to create this cute critter.  

    Next, I die-cut the Evergreen Trees and inked them with a combination of Mowed Lawn, Rustic Wilderness, Forest Moss, and Scorched Timber Distress Inks. I chose to use just the base pieces of the Evergreen Trees and not the decorative layering pieces for this project. 

    With my die-cutting and inking done, my next step was to create a soft background for my autumn scene. I softly blended Speckled Egg Distress Ink on the top half of a white A2 cardstock panel and Scattered Straw on the bottom half. Then I stamped a sentiment with brown ink in the lower right corner of my background panel. 

    Lastly, I arranged the Evergreen Trees and the Wise Fox on my background using a combination of glue and thin foam squares. The finishing touch was to add some highlights to the eyes with a white gel pen. 

    Thank you so much for checking out my warm and cozy autumn card featuring products from the Block Print Christmas release. Happy crafting!

    Supplies

  • Majestic Whale | by Rosemary Dennis

    Majestic Whale | by Rosemary Dennis

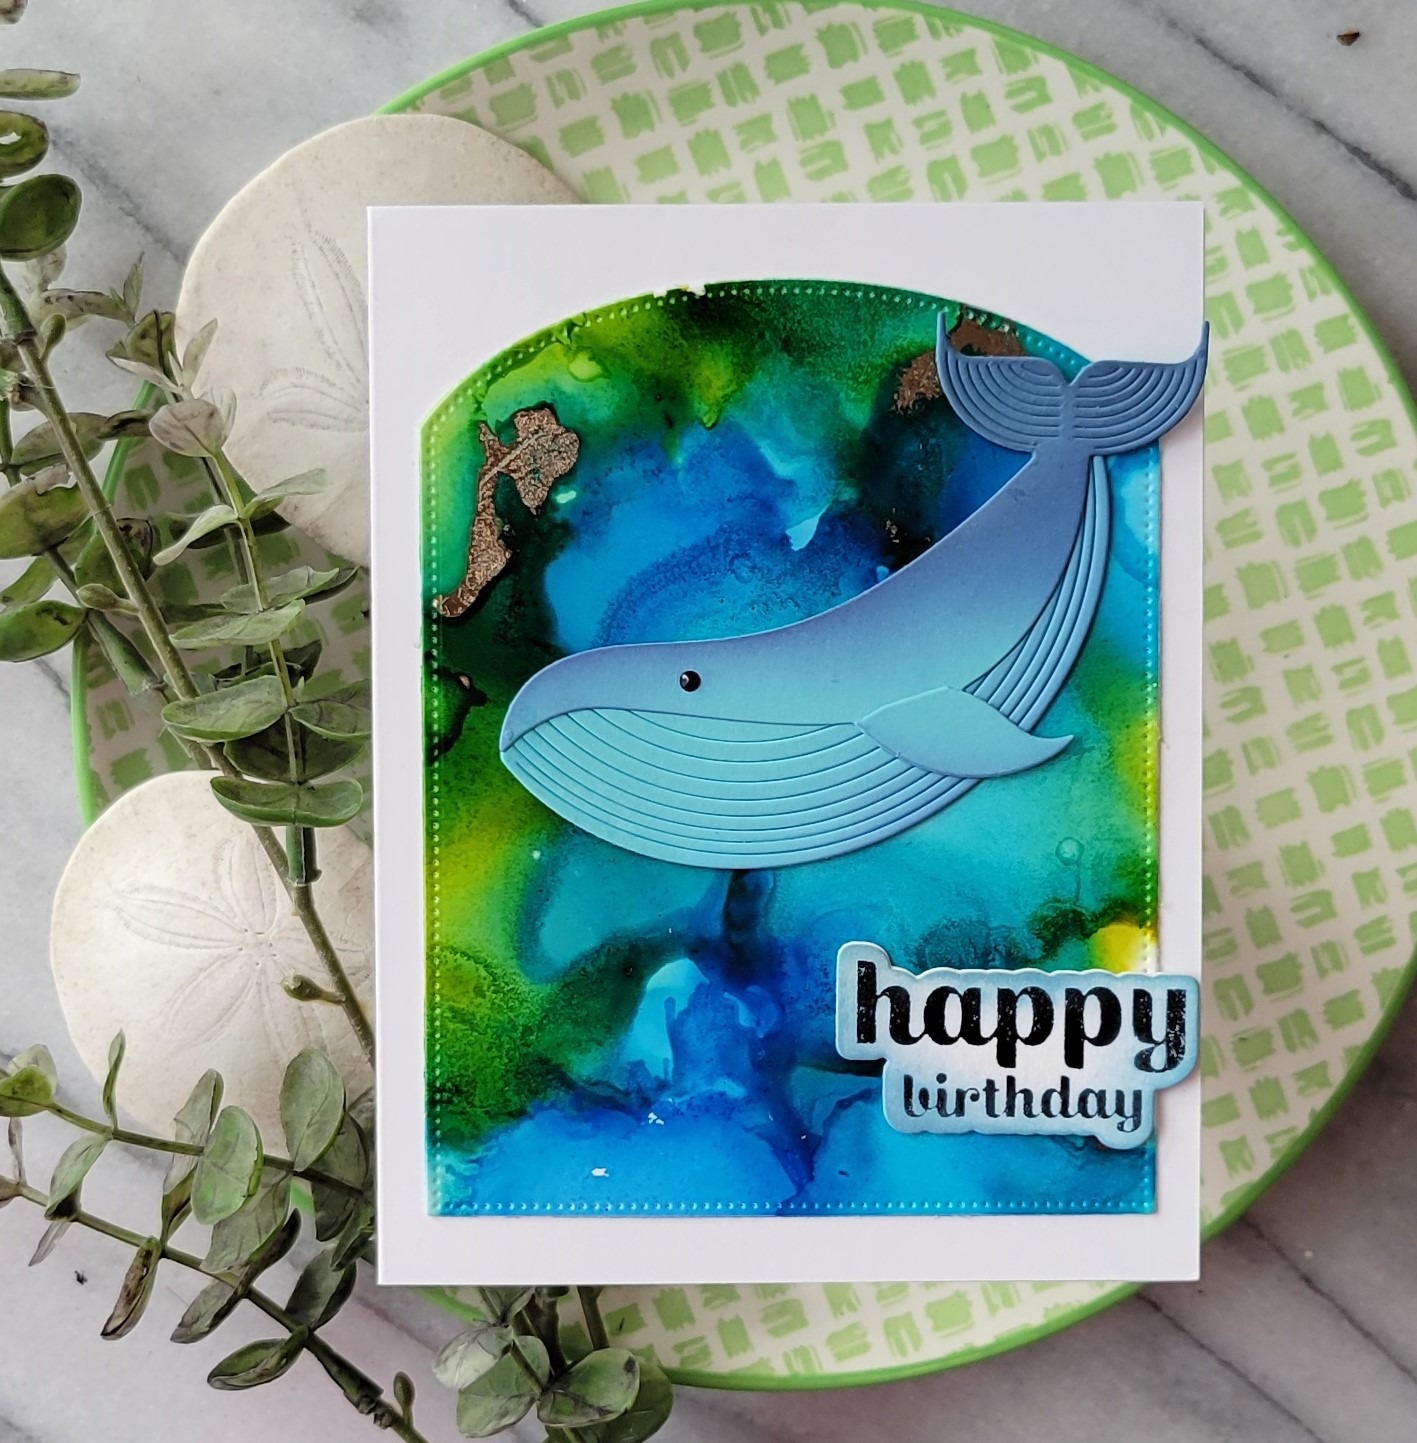
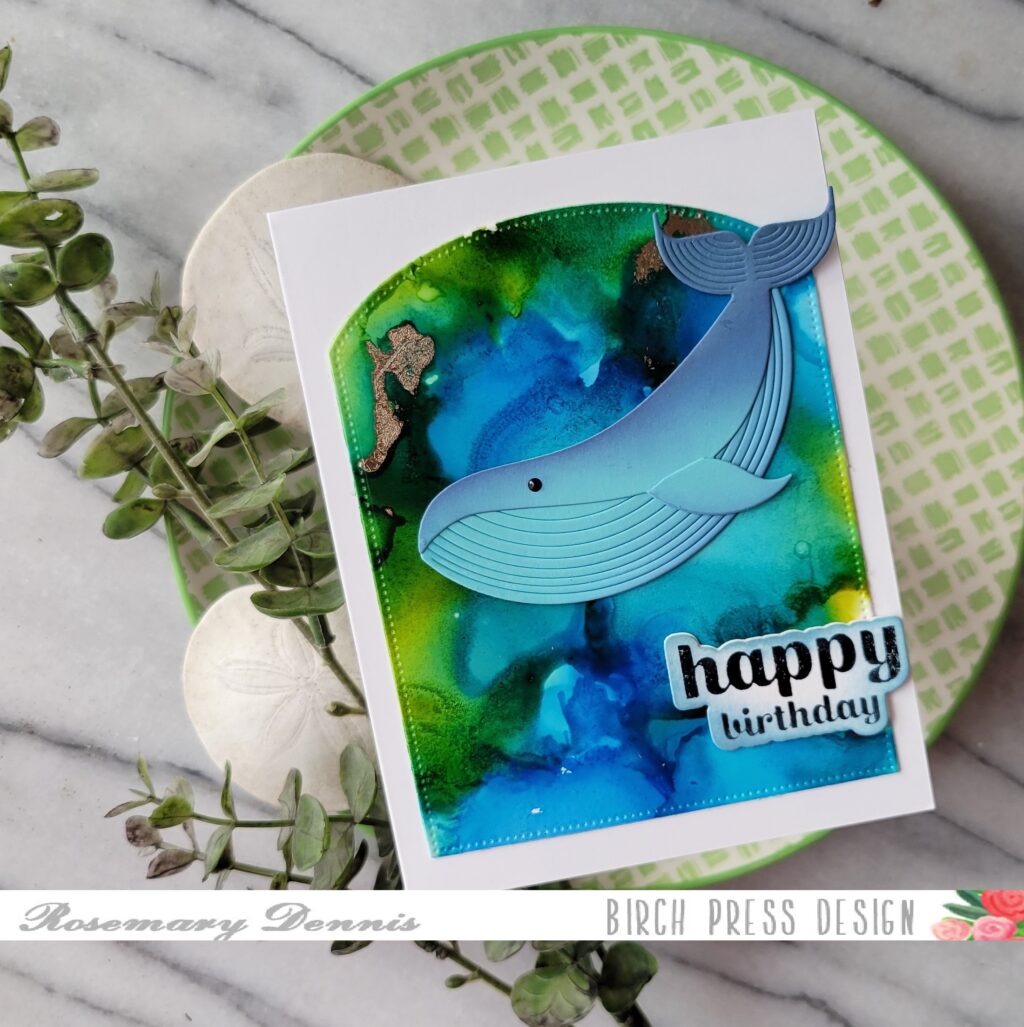
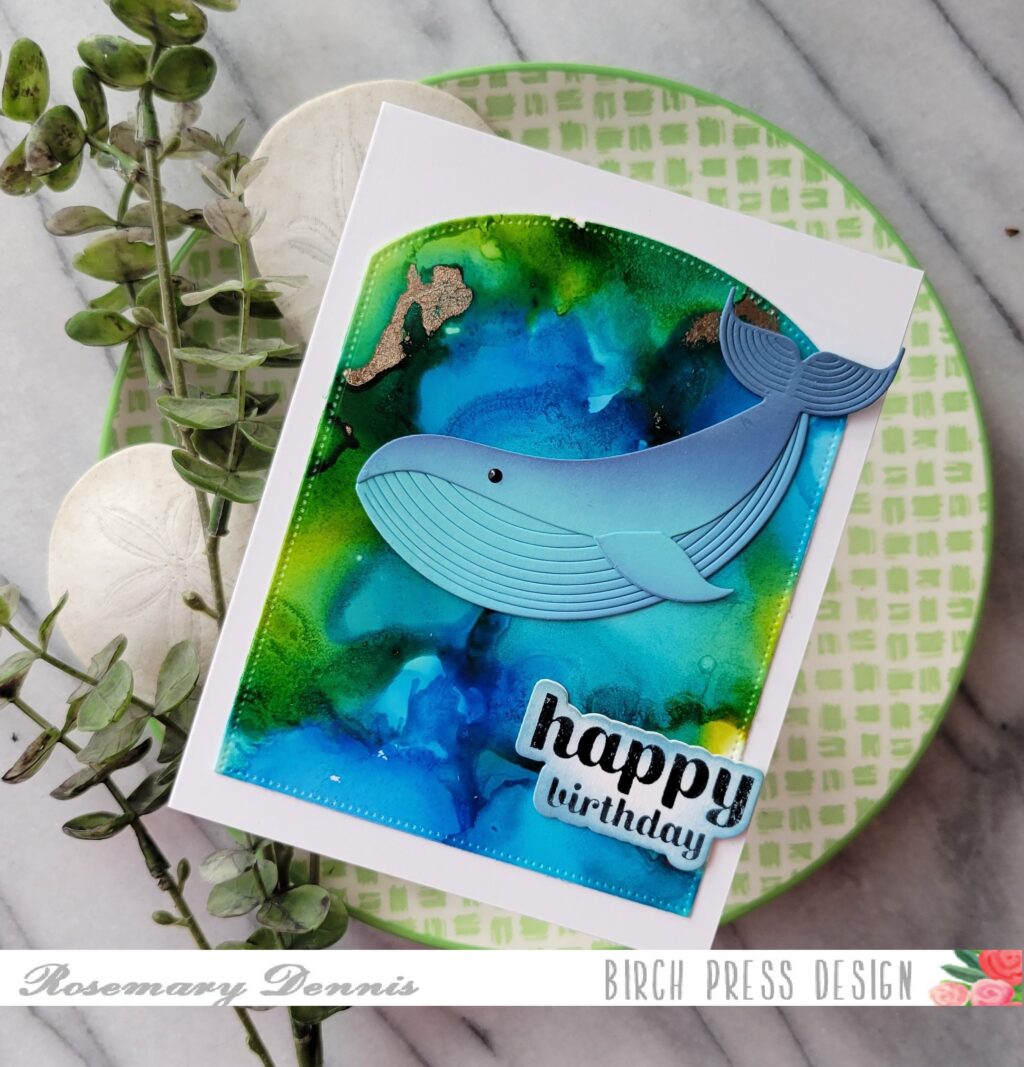
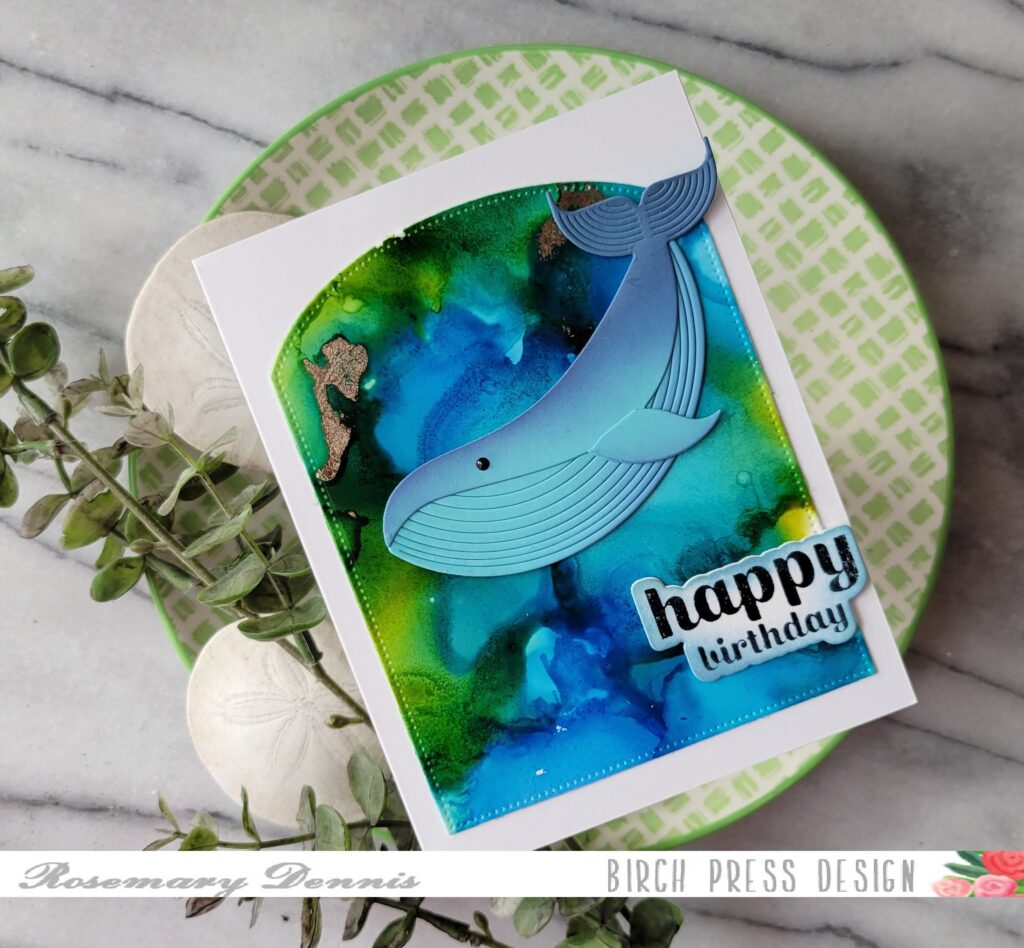
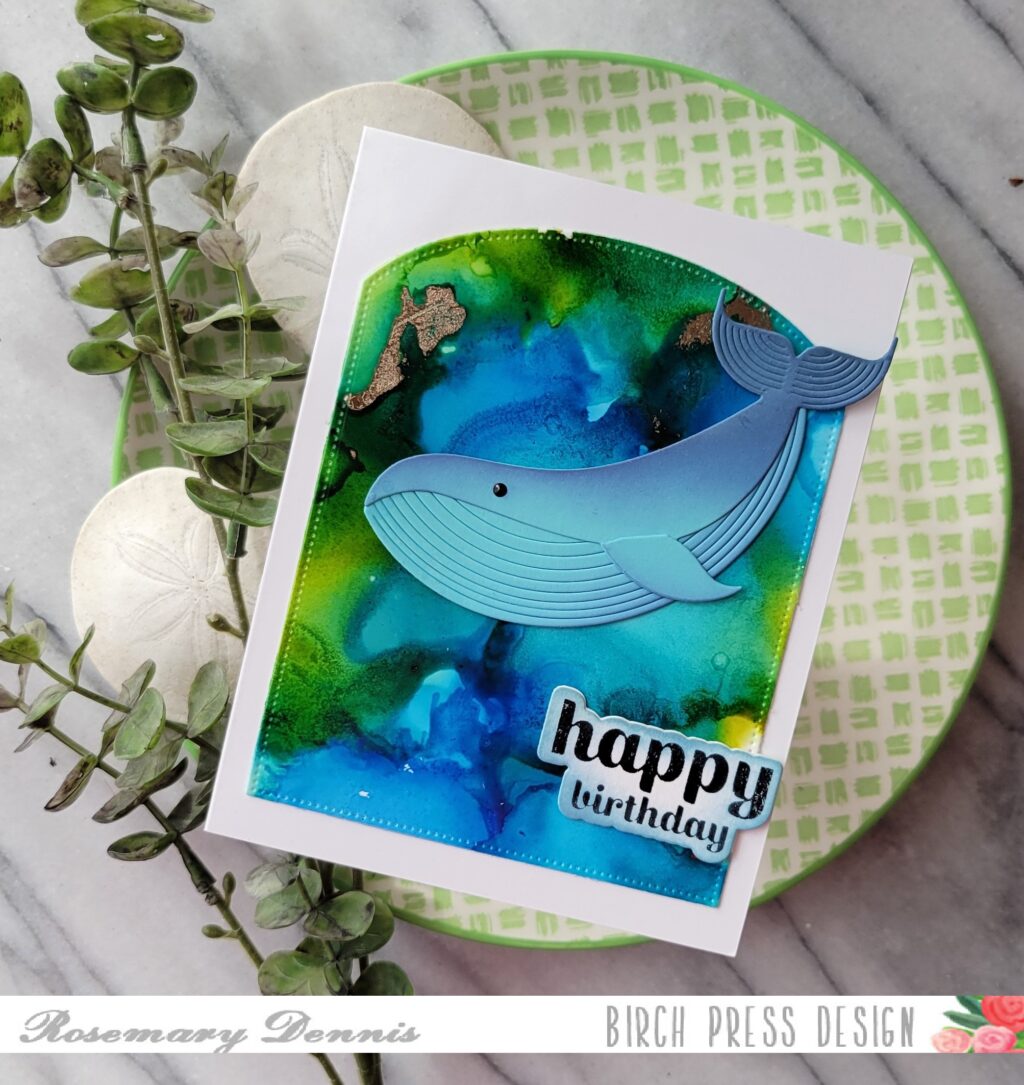
    Hello, Rosemary here on the blog today sharing a birthday card that I created using the Majestic Whale die set. Let’s have a look at what I made.

    Ever start making a project and then decide halfway through that you don’t like it and go in a completely different direction? Well, that was me, lol! I had a completely different color scheme/idea for my card using different dies and for whatever reason I couldn’t make it work.

    As I was working on the first idea I decided to create an alcohol ink background to see if that would help my initial idea work. Loved the background I created, but it didn’t go with the other colors and fish I was using. Then I thought of the Majestic Whale die set. I hadn’t used that set yet so set aside the other fish and idea to start fresh.

    I die cut the whale from a light blue Memory Box cardstock and then added distress oxide ink in Chipped Sapphire ink to darken up tail and top portion of the whale. I added a little bit to the belly and fin, as well. Then I adhered everything together. Before the alcohol ink had completely dried I added a little touch of gold using a foil sheet in rose gold. Then I die cut the background using a Memory Box arched rectangle die.

    I adhered everything to the card front using glue and then added the sentiment that I hot foiled using the Sugar Script Sentiments 2 hot foil set. I added a little bit of ink to the edges so that it blended in with the background. Well, that is it for me. Thanks for stopping by and have a wonderful day!

  • Dancing Crabs | by Christina Rannow

    Dancing Crabs | by Christina Rannow

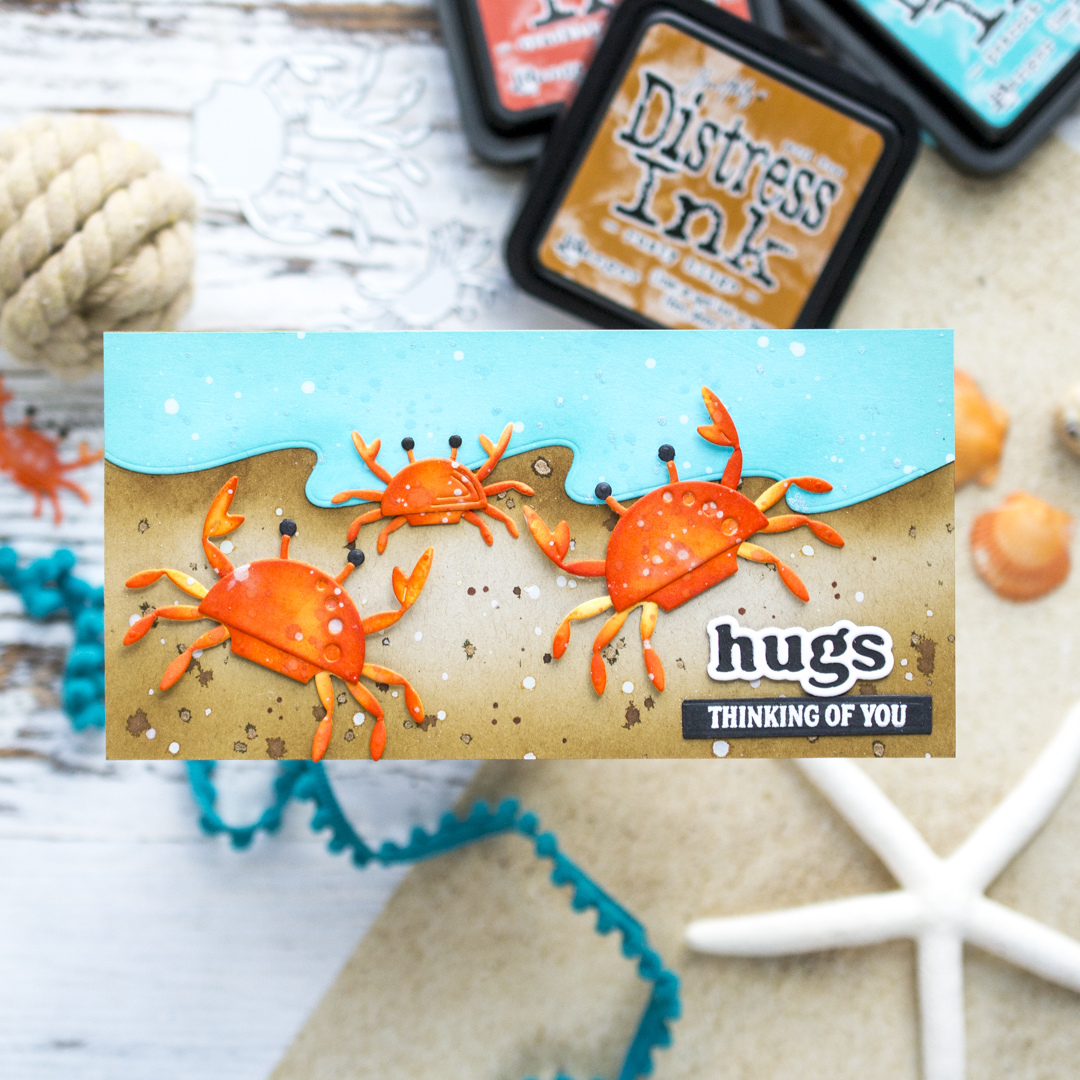
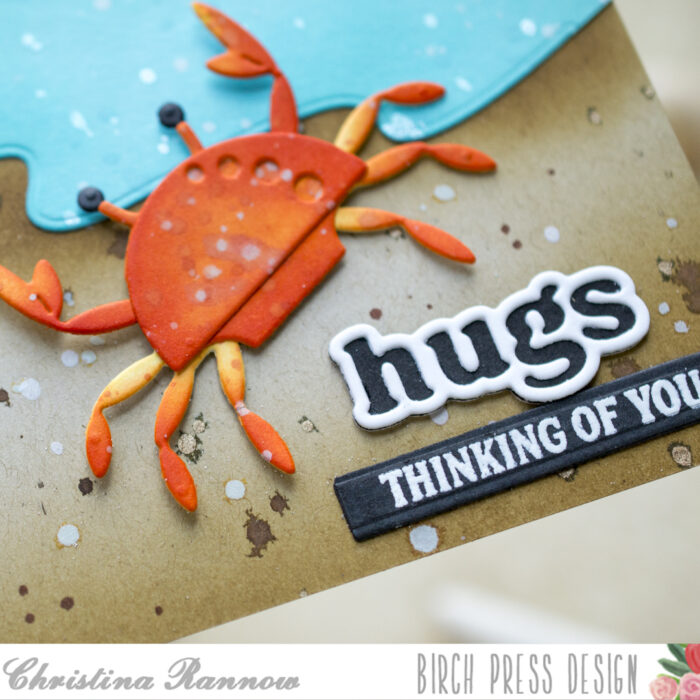
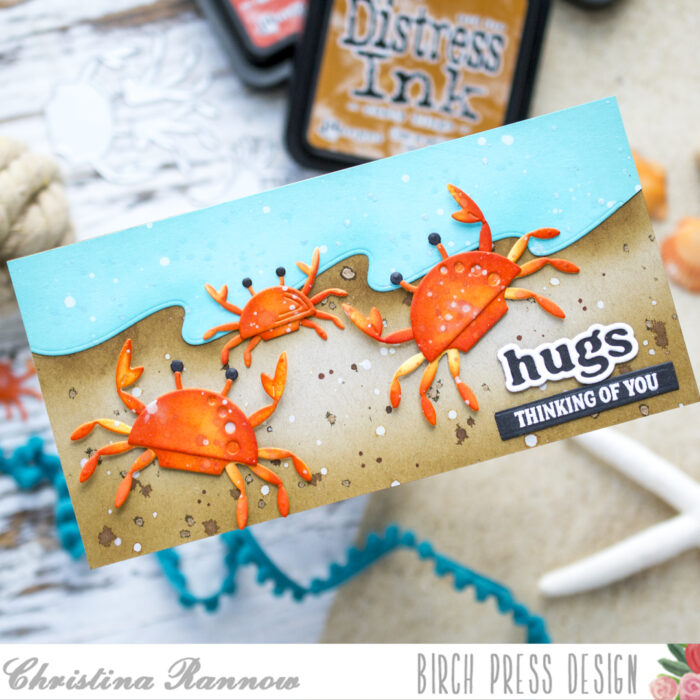
    Hello! Christina here to share one last ocean-themed card with you before we move into some festive holiday cardmaking. For this project, I created a mini slimline card using the Block Print Dancing Crabs dies. These little guys are clawing around on a simple beach background full of sparkle and splatter. Let’s dive into this fun beach scene!

    To start, I trimmed a piece of kraft cardstock to fit my mini slimline card base. The bases I use measure 6 ½ x 3 ⅛ inches, so that’s what I started with. Then I used a simple wave border to die-cut the water from Pool Party cardstock. Next, I pulled out my Distress Inks to blend in some shadows around the edges of both pieces. I also added some ink to the kraft cardstock where the water border will be. After blending in the ink, I also splattered both pieces with more of the Distress Inks as well as some sparkly Mica Stains in coordinating colors and white splatter medium. After a short dry time, I attached the water border to the kraft cardstock and moved on to die-cutting the Dancing Crabs.

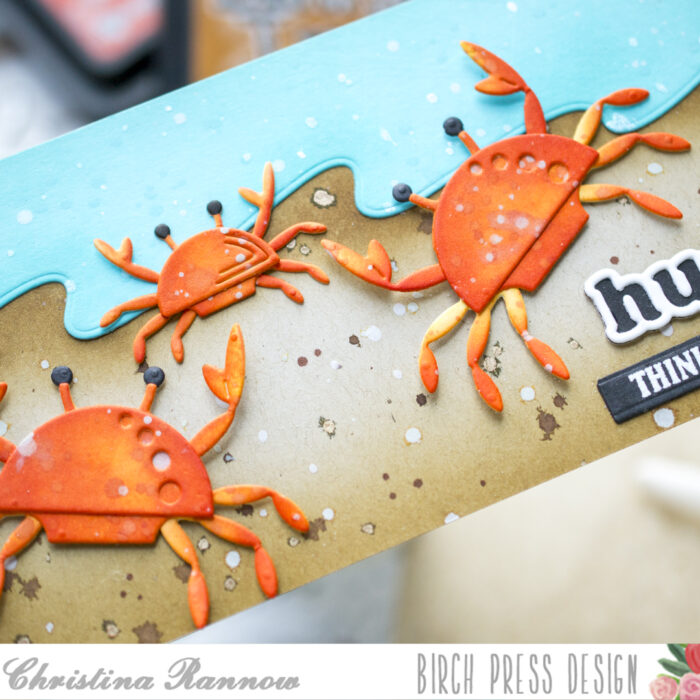
    I die-cut the crab pieces from white cardstock and then ink blended each piece with multiple colors before also splattering them with more of the same ink colors. This will bring these little guys to life by adding depth and texture to the pieces. After assembling the crabs, I attached them to my card front with foam squares. 

    I finished my card design by adding a Hugs Vintage Sentiment diecut and a heat-embossed sub-sentiment using the Poppy Stamps Sentimental Banners set.

    Thank you for checking out my mini slimline card featuring a fun beach scene I created using the Block Print Dancing Crabs die set. See you again soon!

  • Under the Sea | by Rosemary Dennis

    Under the Sea | by Rosemary Dennis

    Hello! Hope your September is off to a great start. Today I’m sharing a card that was inspired by a seahorse exhibit that used to be at the Point Defiance Zoo and Aquarium located in Tacoma, Washington where I live. I used the new Block Print Proud Seahorse die set, as well as two other sets from the current release.

    The exhibit had several tanks with different species of seahorses with the final and biggest tank exhibiting one of the largest species. It was so fun to watch them swimming around in the water or clinging to strands of kelp. I started by die cutting all the pieces for my seahorse and the fish that would be inside my “aquarium”. I used just a few colors of distress oxide ink to color the seahorse and fish. I did alot of mixing and matching to create colors.

    Once I had all the pieces inked up and they were dry I assembled my seahorse and fish. The Sea Kelp and Mini Fish die set is fast becoming one of my most used set from the release. It is so versatile! I thought I needed a little bit bigger fish for my scene so I used the Block Prink Ocean Fish because it was just the right size. Then it was time to play around with the layout. Once I had that figured out I took a photo so I could recreate it.

    Now it was time to create my background. I inked up the bottom with Antique Linen distress oxide ink for my “sand” and Tumbled Glass and Mermaid Lagoon distress oxide inks for the water. I also used the Light Ray Stencil set to create the filter sunlight look. Now it was time to put together my scene.

    Using the photo as my guide I adhered everything in place using liquid adhesive. When I was done with adhereing everything to my background I added the panel to a white cardstock base using strong double sided adhesive. Small dot of Nuvo jewel drops in black were added to the fish and seahorse for the eyes. The sentiment is from the older Rainbow Days Lingo stamp set. I stamped it on white cardstock with black ink, die cut it with a label die and then inked it up with ink left on my blending brush.

    I hope you enjoyed today’s card. I had so much fun creating it! I also wanted to let you know that Birch Press Design is sponsoring the Die Cut Divas challenge this month. You can find all the details on the challenge and how to win here. Thanks so much for stopping by and have a wonderful day.