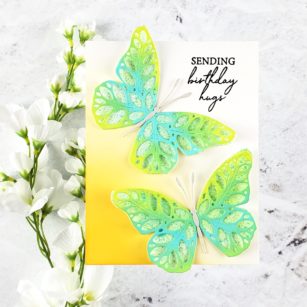
Hello! Seeka here and today I’m sharing a bright and summery birthday card featuring the new Eloquent Butterfly layer die.
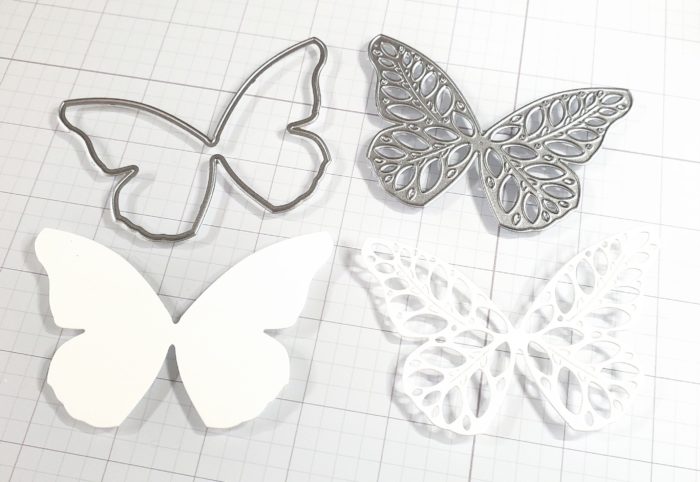
I started off by using the Eloquent Butterfly Layer A die and the base butterfly layer from the Butterfly Basics die set to cut a set of wings for each of two butterflies.
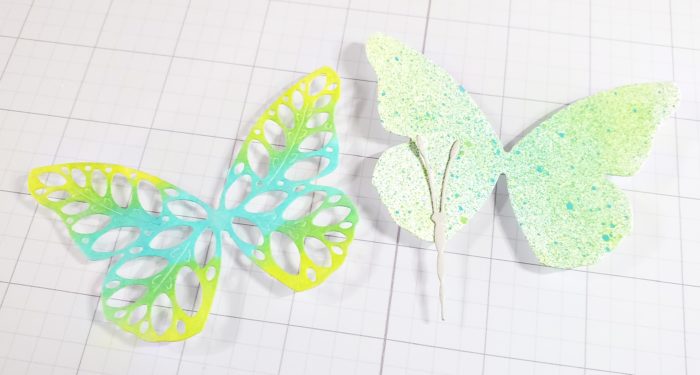
Next, I sprayed the two base layers with Salvaged Patina and Twisted Citron Distress Oxide Sprays. Using foam blending tools, I sponged on color from the coordinating ink pads onto the the two detail layers.
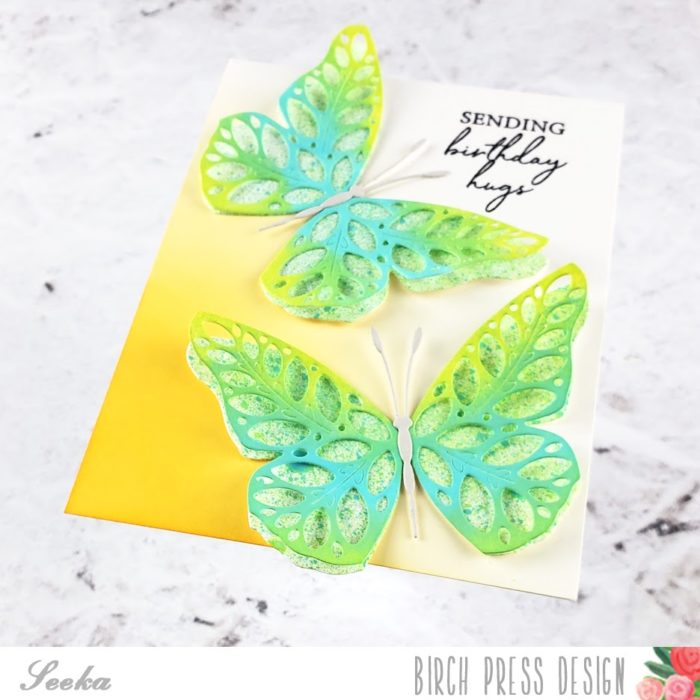
Then, I cut two butterfly bodies from light gray cardstock using a die from the same Butterfly Basics die set.
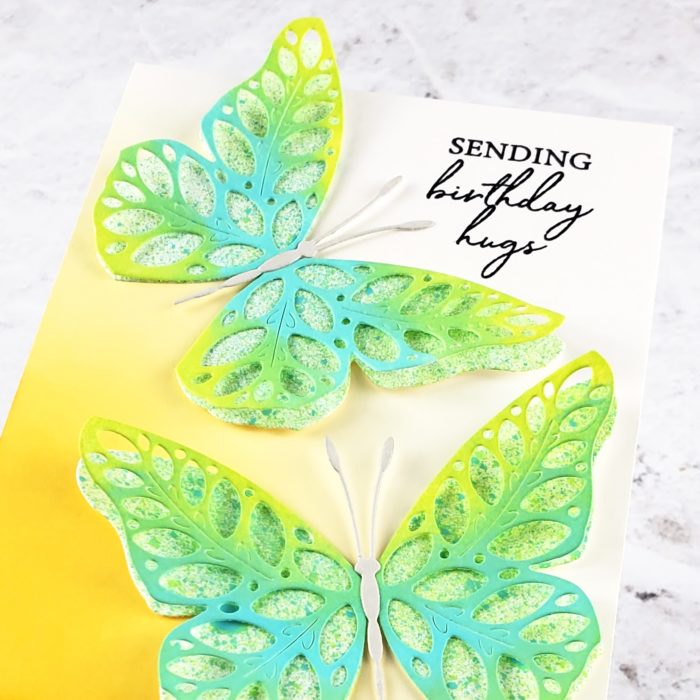
I assembled each of the butterflies using glue dots to adhere the wing layers together (this allows the layers to separate from each other, for dimension), and liquid glue to adhere the body.
For the background, I used a blending brush to blend a yellow/orange dye ink onto a 4.25″ x 5.5″ panel of white cardstock. I concentrated the color at the bottom left of the panel and let it fade to white as I neared the top right. At the top right, I stamped a sentiment from the Classic Sentimental Wreath stamp set.
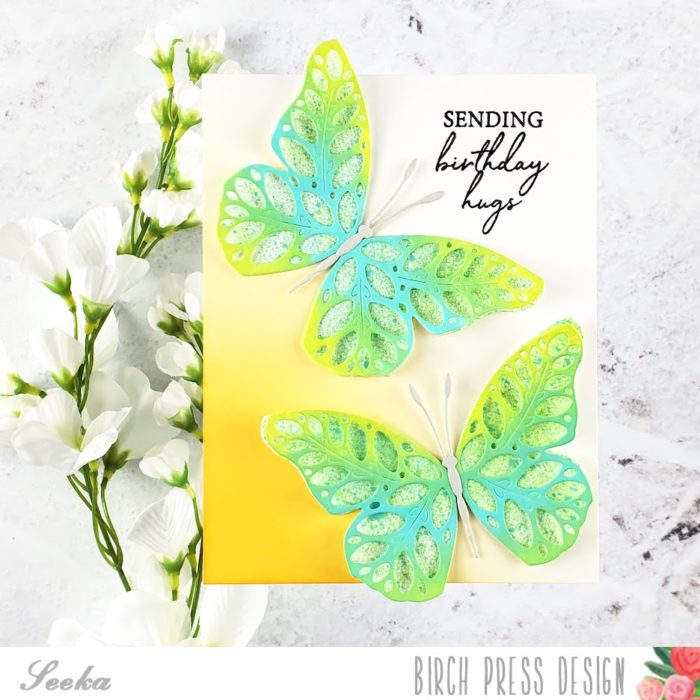
To assemble the card, I adhered the butterflies with just a couple of glue dots and then adhered the card front to a card base.
Thank you so much for visiting!

Supplies


