Hello Everyone and Welcome Back!
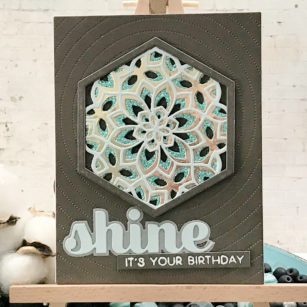
For today’s project let’s create a simple birthday card having fun with color!
For my colors I paged through the 6×6 Memory Box Solid Card Stock, Polished Foil and Glitter Cardstock Pads and prepared them for die cutting. Once all my die cutting was completed, I used my liquid glue to adhere all my layers, this also includes my sentiment! Set those aside to dry.
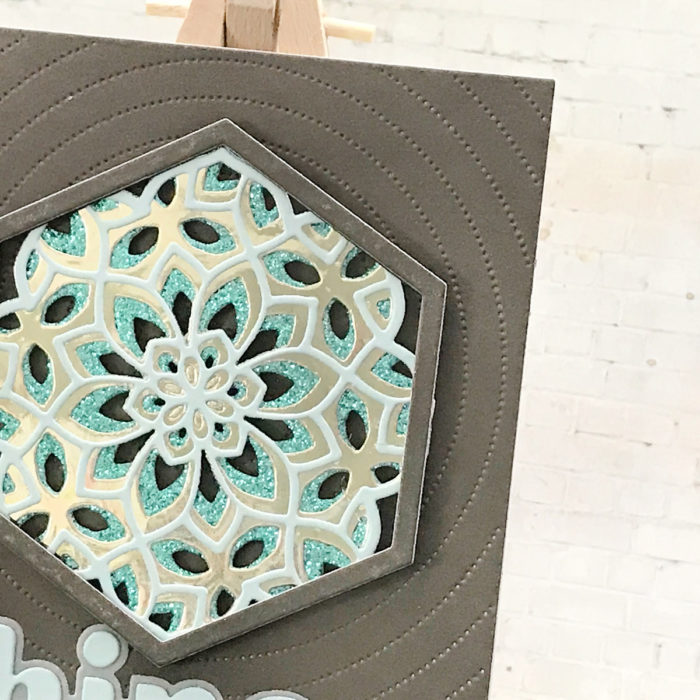
I also used a die from the hexagon lid set as a frame around my focal image. This frame is the perfect size to fit over the layered image with only a small amount to cut away around the frame image!
Time to get our card together and celebrate the Birthday!
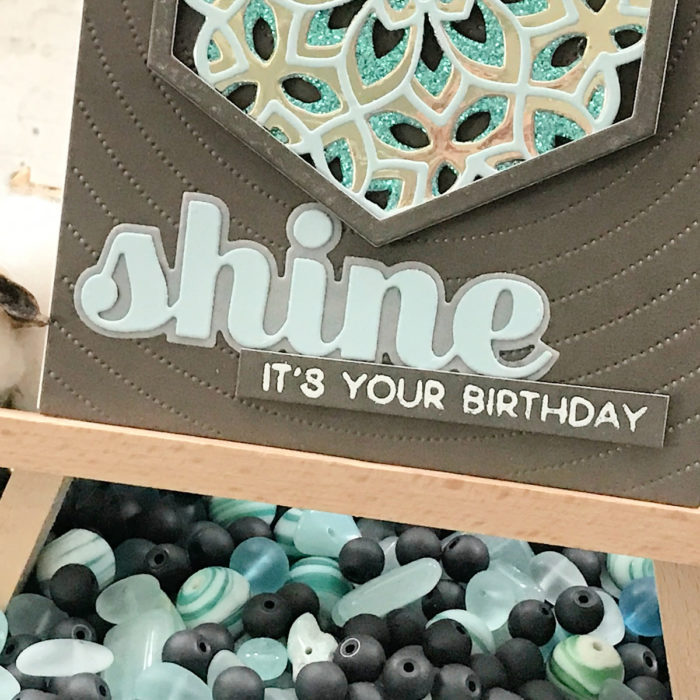
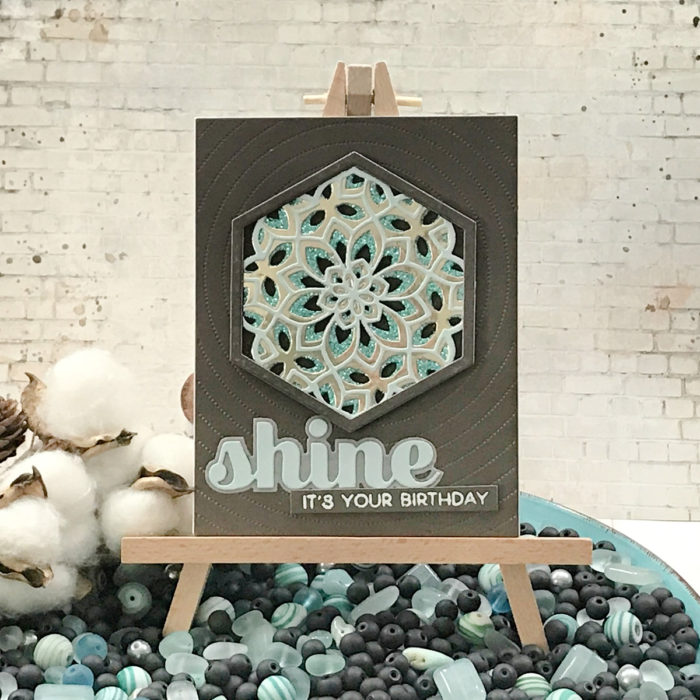
I grabbed my background panel featuring the Radial Pinpoint. I placed my focal point at the center of the circles and added my sentiment just below. By using shades of aqua and brown, it is perfect to add to your masculine card collection!

As always, I hope you enjoyed today’s project… and if you want to see more details just click on the video below and see how these projects come together step by step!
Make sure you stay tuned for more wonderful projects coming soon! Have a great day and always remember… Be Creative!

Supplies


