Hello Everyone and Welcome Back!
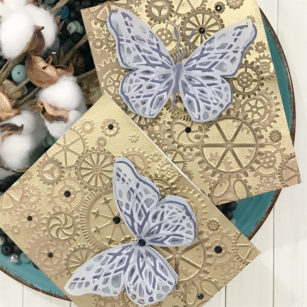
For today’s project I am making more butterflies featuring the Butterfly Basic and Starlight Layering Die Set! Our butterflies will sit on top of a steampunk background to give our cards a masculine look!
As always, let’s get our die cutting done and set those pieces aside. For my butterflies I chose the Stormy Blue 6 x 6 cardstock paper pad by Memory Box.
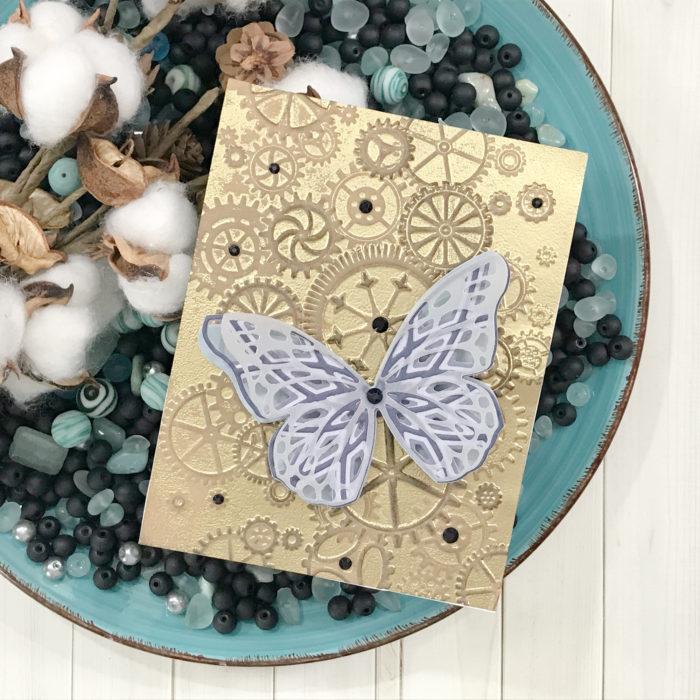
When creating my background, I used my clear ink inside of the embossing folder and made sure I placed the ink on the side of the folder that creates the impression into the paper. Now before I place my paper into the folder, I very lightly mist the paper on each side so the fibers don’t break but rather bend. We will get great texture from the embossing folder!

I added my gold embossing powder onto my panel and heat set making sure all the powder is melted onto my card stock.
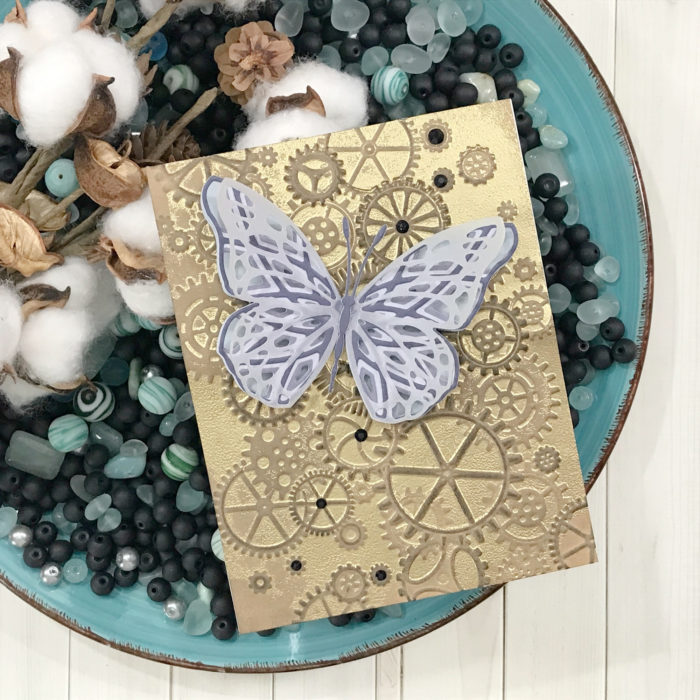
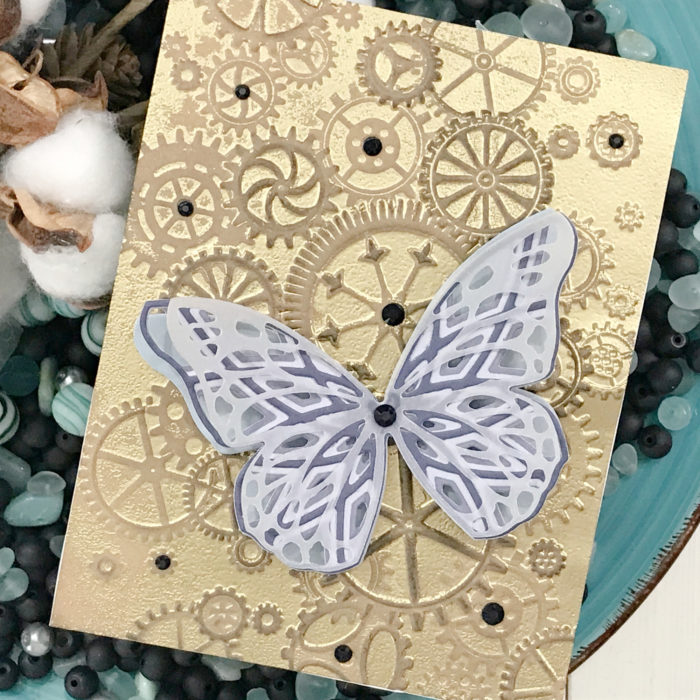
Next, I layer my butterflies using the solid die cut base and the top layer form the butterfly basics die set and of course the layered die set! I used my liquid adhesive when placing my layers together at the center to ensure they have a strong bond!
I created my standard A2 size card base and placed my embossed panel down first and then added my butterfly off center for each of my cards.
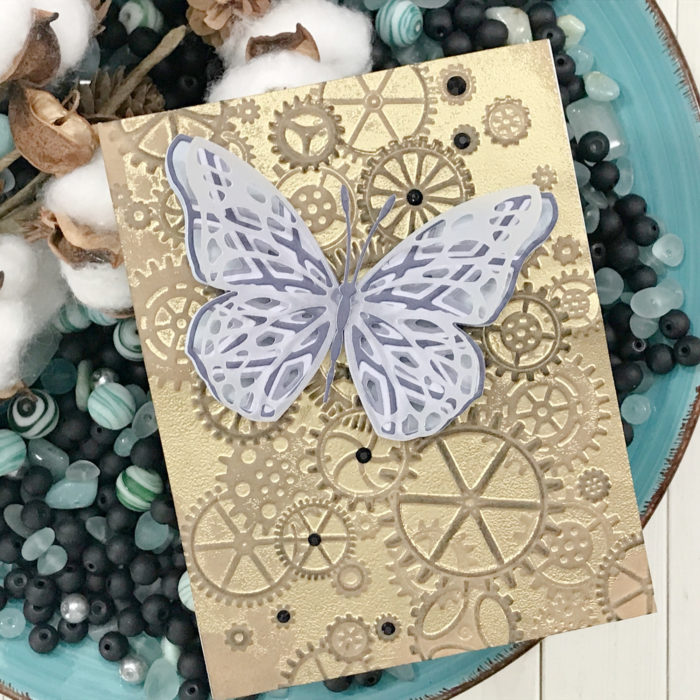
Of course, we have to add a little bling, so black gems completed the look!
As always, I hope you enjoyed today’s project… and if you want to see more details just click on the video below and see how these projects come together step by step!
Make sure you stay tuned for more wonderful projects coming soon! Have a great day and always remember… Be Creative!

Supplies


