Hello Everyone and Welcome Back!
Today’s project is well out of the box! We have all these beautiful stamps and dies in our stash. Let’s put them on our wall and create a beautiful home decoration! So for this project I created a Shaker Wall Hanging! It’s going to be tough to shake it though, LOL…
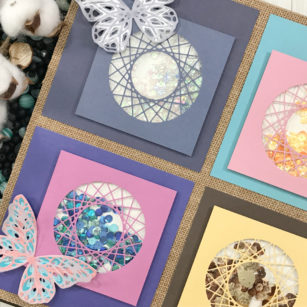
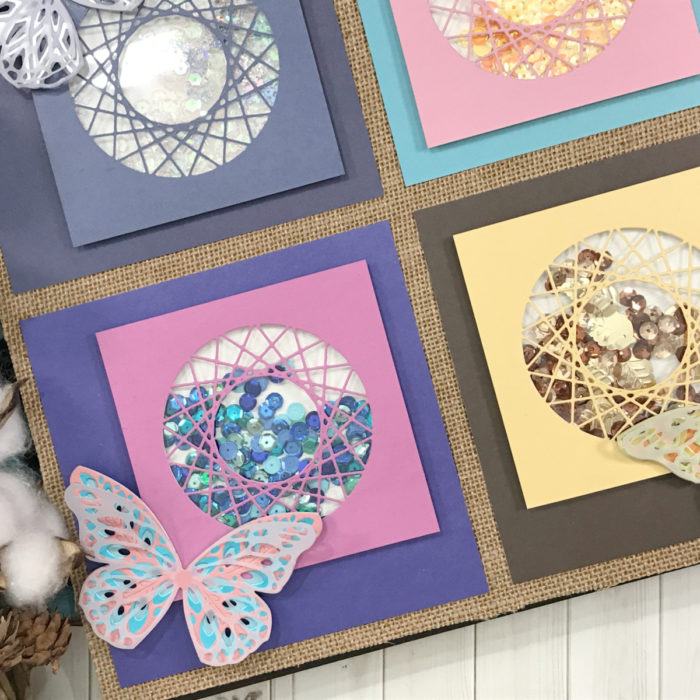
I decided to use a 12 x 12 piece of chip board and immediately saw the four seasons of the year!
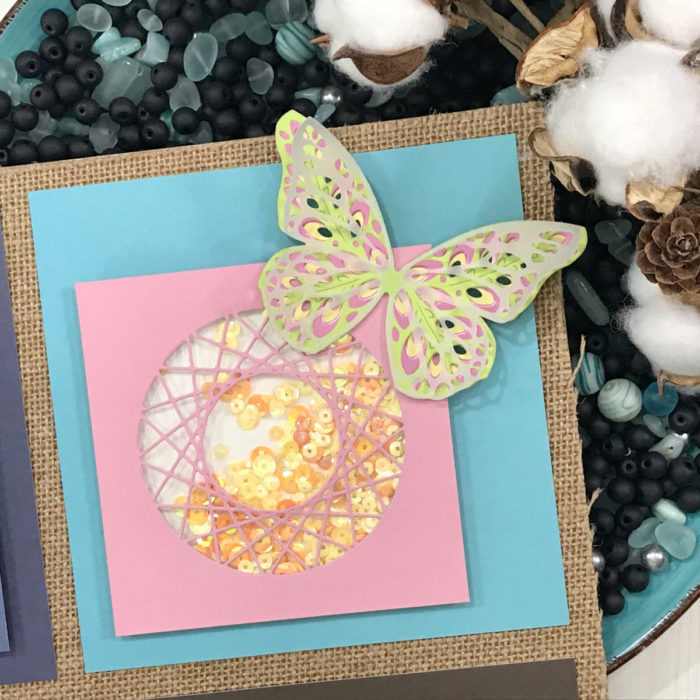
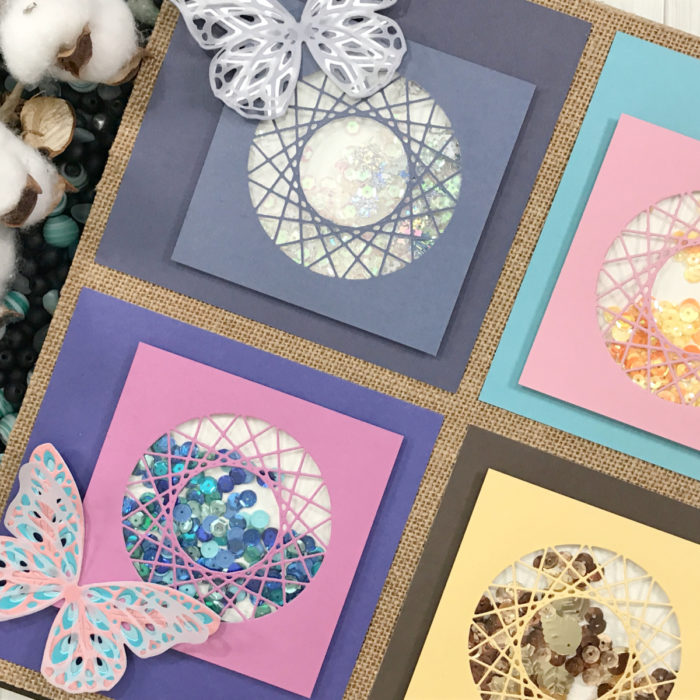
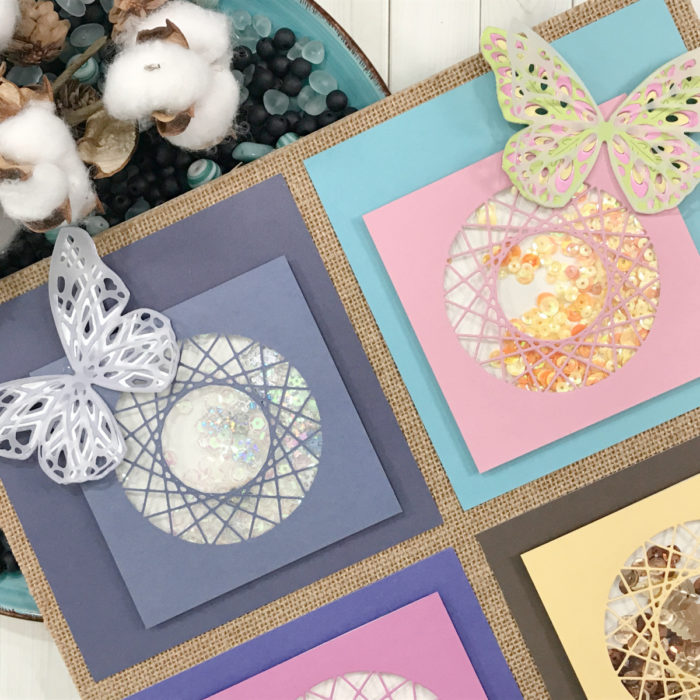
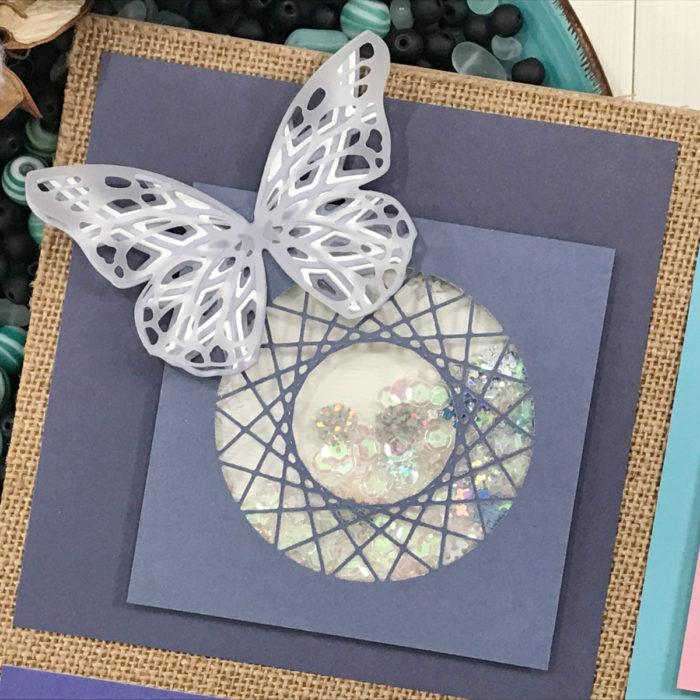
As always, let’s get our die cutting done and set those pieces aside. I dug into all those beautiful 6 x 6 Card Stock Pads by Memory Box and started choosing my layers! I did all my die cutting first and layers all the butterflies together using liquid adhesive! To give the butterflies dimension I used the last layer with vellum to add dimension and texture.
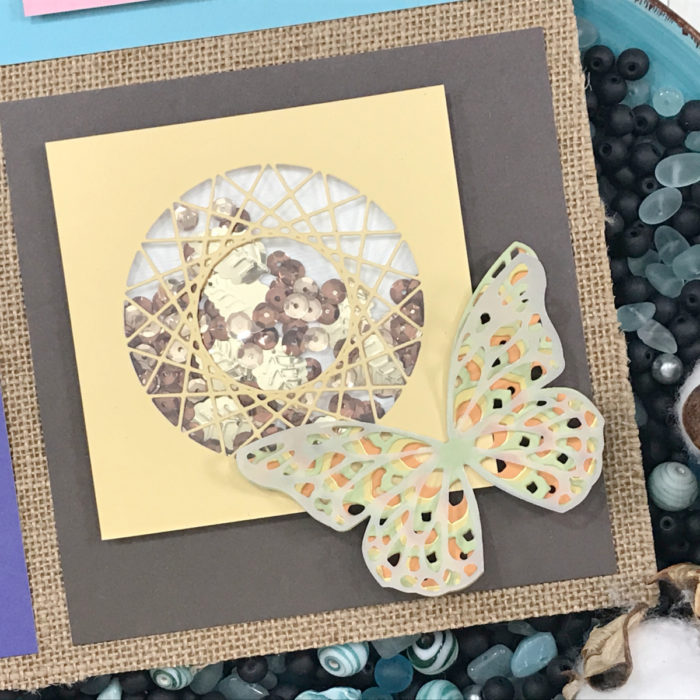
As my butterflies were drying I choice my four smaller panels cut to 5 1/2 in x 5 1/2 in and used the Strong Circle Art Panel die and added clear acetate to the back of each opening. I used my double-sided foam tape to raise this panel up and added a lot of shaker bits to the center. I then placed my back panel onto of the double-sided foam tape to secure the sequins inside the opening.
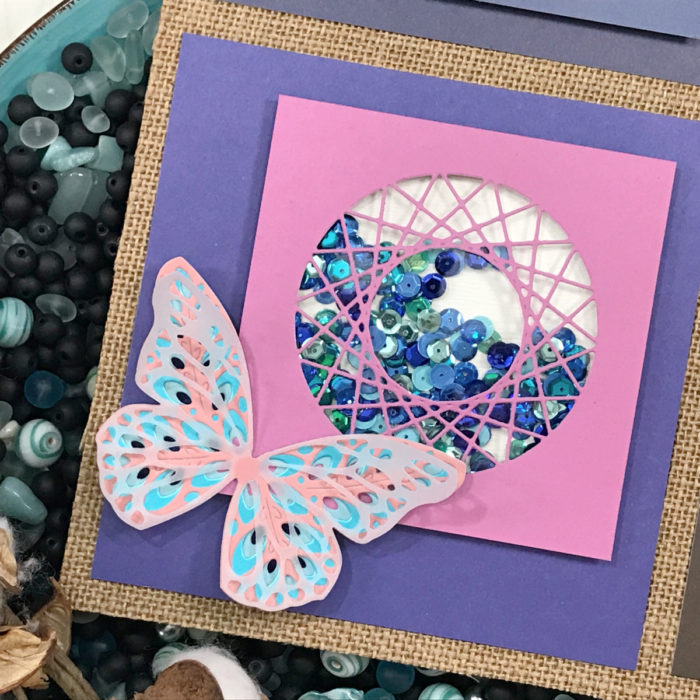
Once my panels were created, I set them on top of my chipboard background and added my butterflies to each on their respective season. There you have it, a beautiful wall hanging for any room in your house or a perfect gift!
As always, I hope you enjoyed today’s project… and if you want to see more details just click on the video below and see how these projects come together step by step!
Make sure you stay tuned for more wonderful projects coming soon! Have a great day and always remember… Be Creative!

Supplies


