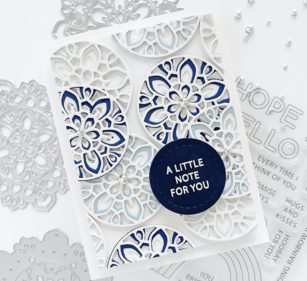
Hello friends, and welcome back! Dee here and today, I am sharing this intricate card that I created with the Tranquility layer die set! For this card, I decided to use a single color in three different shades for an elegant and sophisticated feel. I hope that you like what I came up with! Let’s begin!
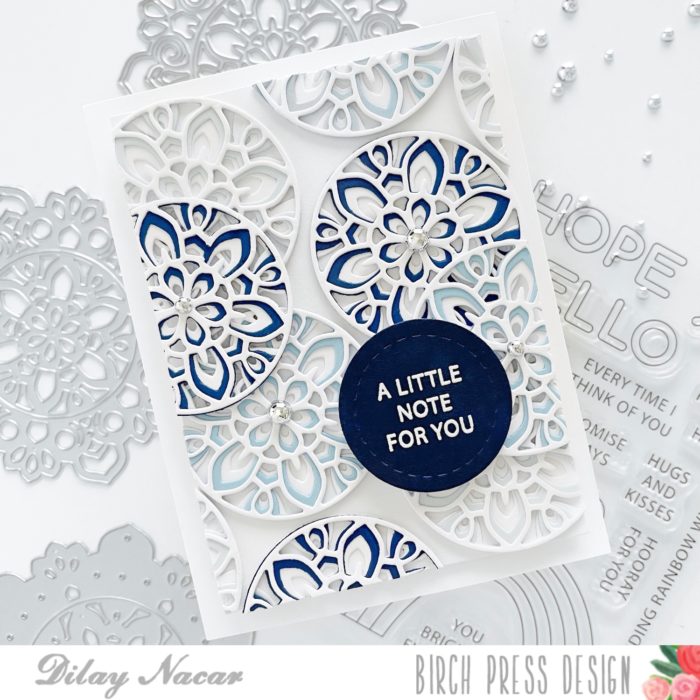
First, I die cut the center circle of the Tranquility die (saving the outer layers for a future project), cutting layers A and C in white and layer B in all three shades of blue. I then adhered the layers together with each combination containing a blue middle layer.
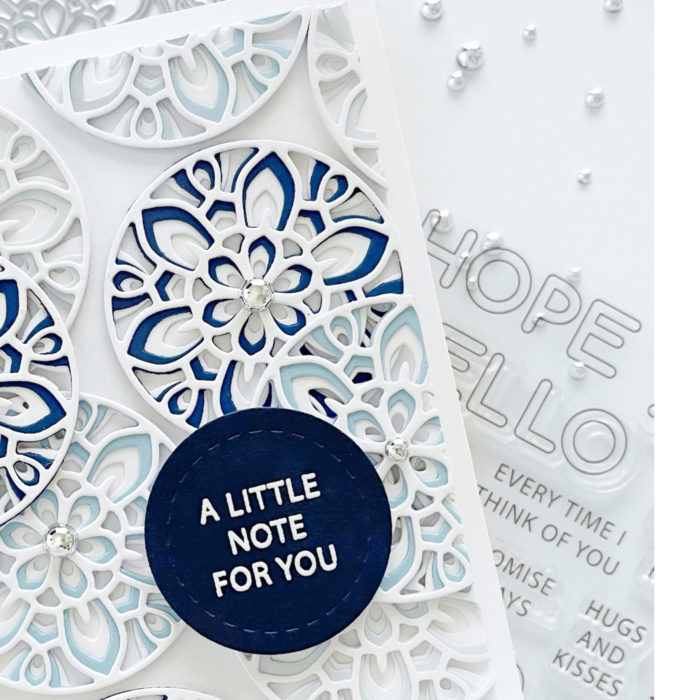
Next, I cut a piece of white cardstock down to 3.75” x 4” and adhered the circles to it in a random pattern, and trimmed off the excess, using those pieces to fill in any gaps. I heat embossed a sentiment from the Rainbow Days stamp set and die cut it with a circle die (from my stash), and adhered it to the card with foam tape.
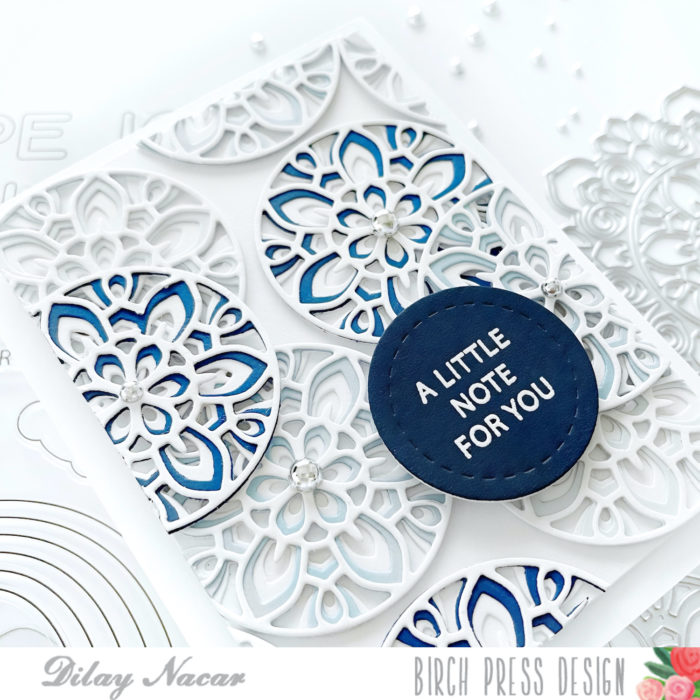
To finish, I added silver metallic pearls to the center of each of the circles for some extra shine and mounted the card onto an A2-sized top-folding base.
Thank you so much for stopping by, crafty friends!


