Hello Everyone and Welcome Back!
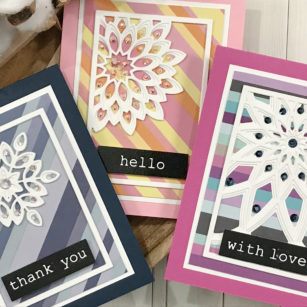
Today’s project uses up some of those scraps that we just cannot seem to part with! By cutting them in different widths and creating our background it is the perfect backdrop for our Mini Frame Layer Dies!
I pulled out my bag of scraps from the Memory Box 6×6 card stock paper pads and had a great time cutting them into strips of different widths and also matched them up into color themes!
Once completed I started on my die cutting of the mini frames and only used white card stock. These will easily become our focal point! I used my liquid adhesive to layer my dies cuts and matched them up to the colors mixed together for each background.
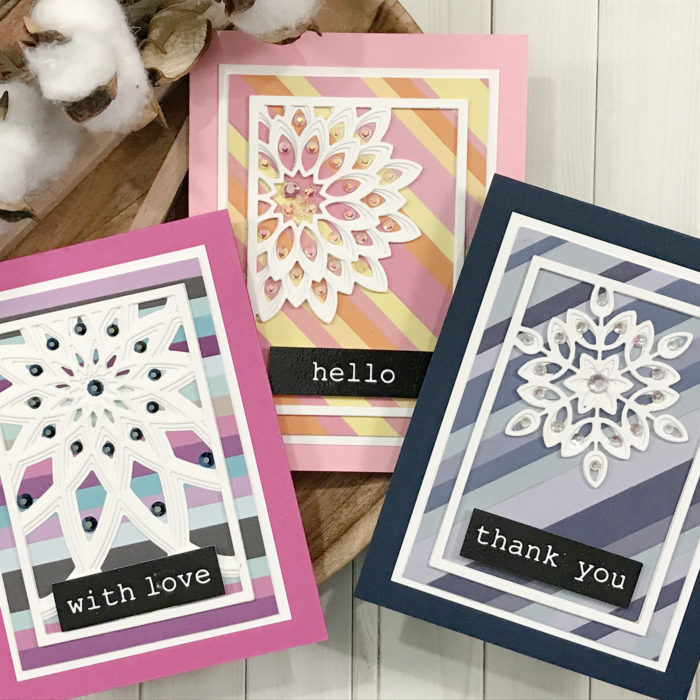
I cut my striped panels down to 3 ¼ in x 4 ½ in and added a white matt measuring 3 ½ in x 4 ½ in to each one. These were then placed onto of a standard A2 size top folding card base measuring 4 ¼ in x 5 ½ in.
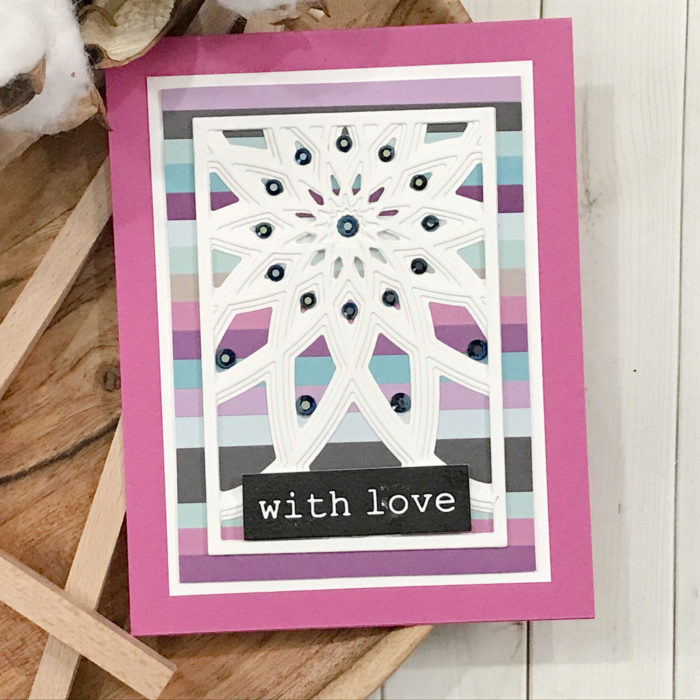
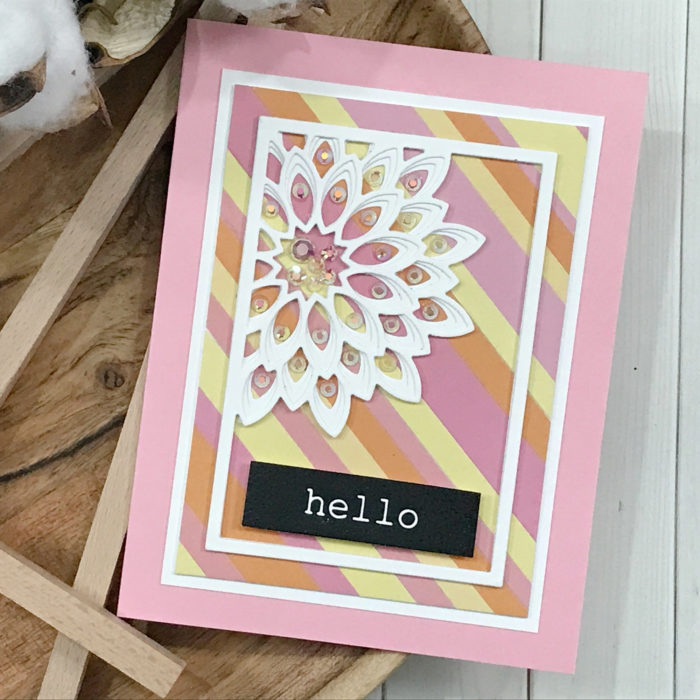
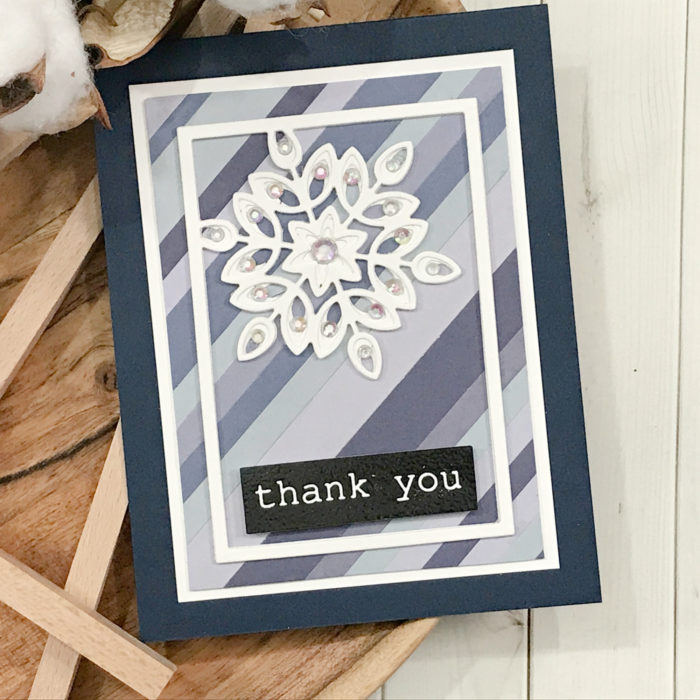
I added my layered panels to each striped panel making sure they were centered. This actually creates an illusion to the eye that your striped panels were inlayed into the die cut image!
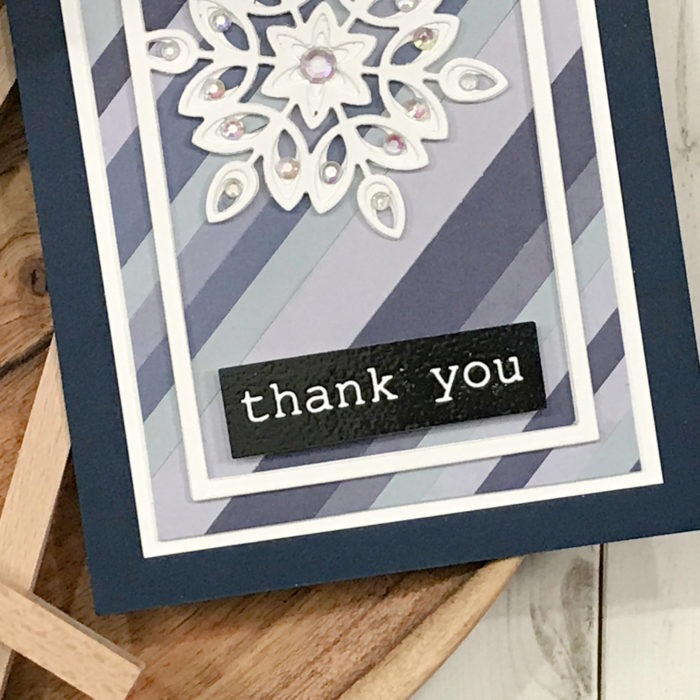
I heat embossed my sentiments and popped up using double sided foam squares placing them down towards the bottom of each image.
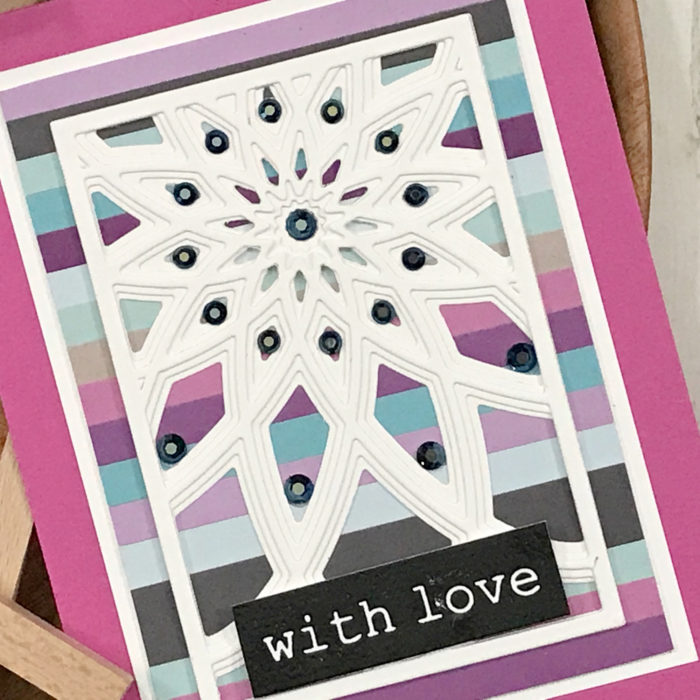
The bling came to town and added jewels to each image accenting the colors used for the card stock strips.
As always, I hope you enjoyed today’s project… and if you want to see more details just click on the video below and see how these projects come together step by step!
Make sure you stay tuned for more wonderful projects coming soon! Have a great day and always remember… Be Creative!

Supplies


