
Hello everyone and welcome back to the Birch Press Design blog! April here sharing a clean and simple birthday card that was easy to pull together. I am also sharing a diecut inlay technique that I tried for the first time, so keep on reading!

So one of my favorite things about layering dies is how easy they make it to quickly pull together a card, and the Flora Plate Layering Die set does not disappoint. I think most of us would love to always be able to spend hours crafting, but that is not usually the case because distractions…er, I mean very important obligations happen — it’s called life right?!
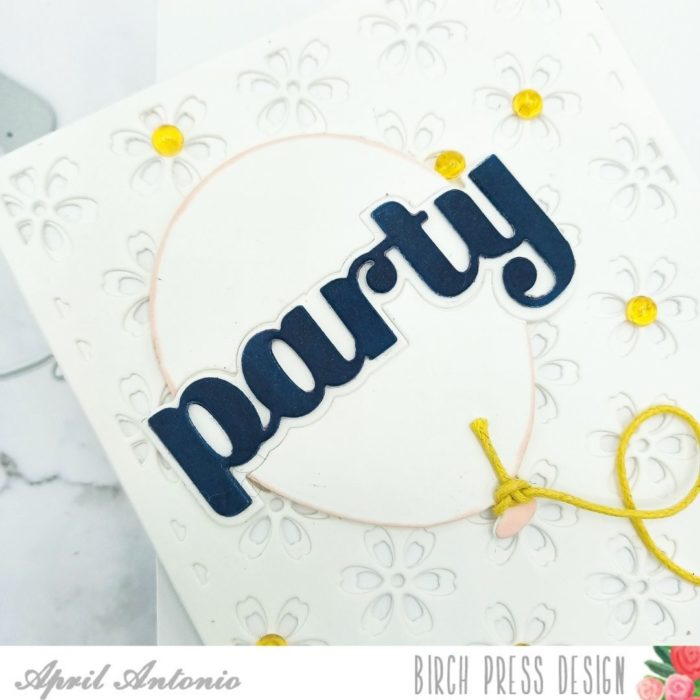
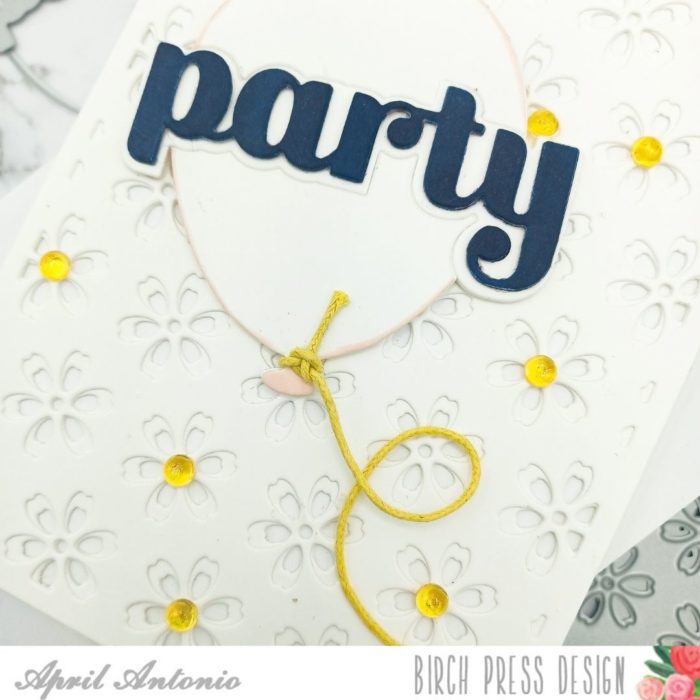
For this card, I cut layers B and C of the Flora Plate set from heavyweight white cardstock and glued them together. Then I grabbed both the Floral Ballon Layer C and the word ‘party’ from the Let’s Party Sugar Script letter die set. Importantly, this set has the word ‘party’ and it’s shadow — I grabbed both the word and the shadow.
Now here is the cool diecut inlay technique I used—
- I die cut the balloon twice from white cardstock. I will use one layer as a backer.
- I then took the shadow of the word ‘party’, laid it into the center of one of the balloon pieces and die cut straight into the balloon.
- I cut the shadow of ‘party’ twice more from a piece of white cardstock, then cut the actual word ‘party’ a few times from heavy weight cardstock.
- For assembly I put the balloon that had ‘party’ in the center on top of the backer balloon piece. Then I inlayed the shadow of ‘party’ right into the center of the balloon thus completing the diecut inlay part. Also, to give the entire piece more stability I added the shadow behind the backer balloon and lined it up with the shadow on top. This is not needed — I just wanted to give a little more stabilty to my diecut piece.
- Lastly, I put the word ‘party’ on top of the shadow after stacking it a few times and inking it up with navy ink.
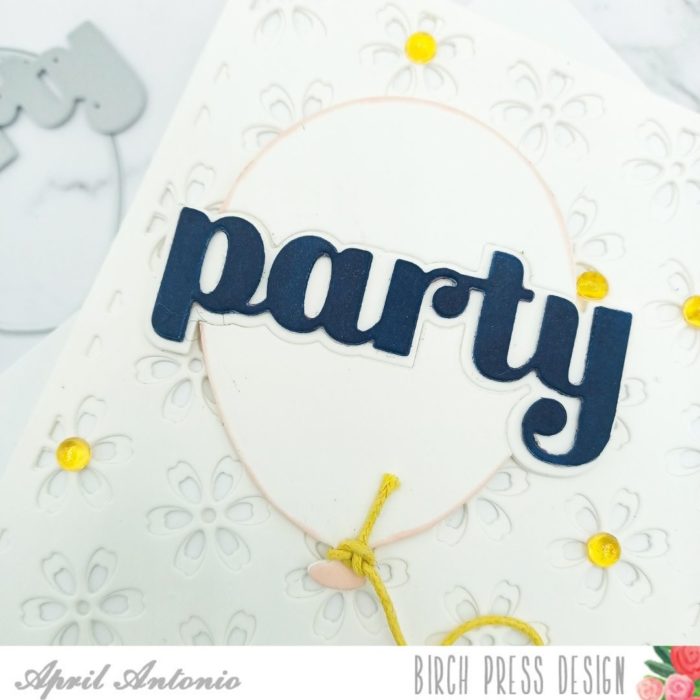
I love how this look turned out. I usually will diecut inlay into the background of a card, but have not did this into another diecut and I like it. I did ink the edges of the top ballon with a light pink ink.
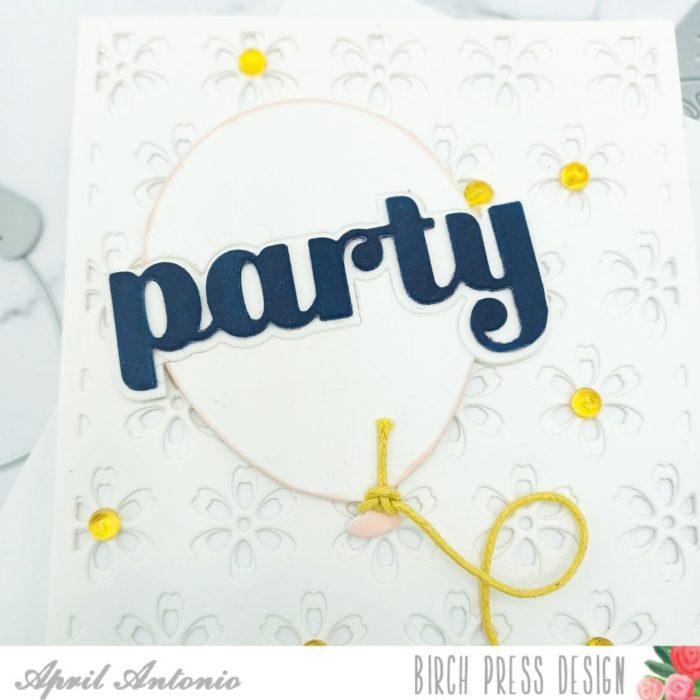
To finish the card off I tied some yellow twine around the balloon, curled it, and secured the curl with liquid glue. Lastly, I added some much needed bling from the Memory Box Autumn Fairy Crystals set to brighten the entire card.
That is it for today’s post! I hope this post has inspired you to stretch your supplies by finding creative ways to use them together..and that you will find this diecut inlay on a diecut technique fun and helpful!

Supplies


