
Hello crafty friends! I am excited to be back on the blog today to share a project using some of the newly released supplies.
For today’s project I decided to use the new Prime Peony die set. It creates a beautifully, realistic looking peony. The set comes with both large and small peony pieces, including the petals, stamen (center part) and stem/leaves. I started by cutting the large peony die from white cardstock multiple times.
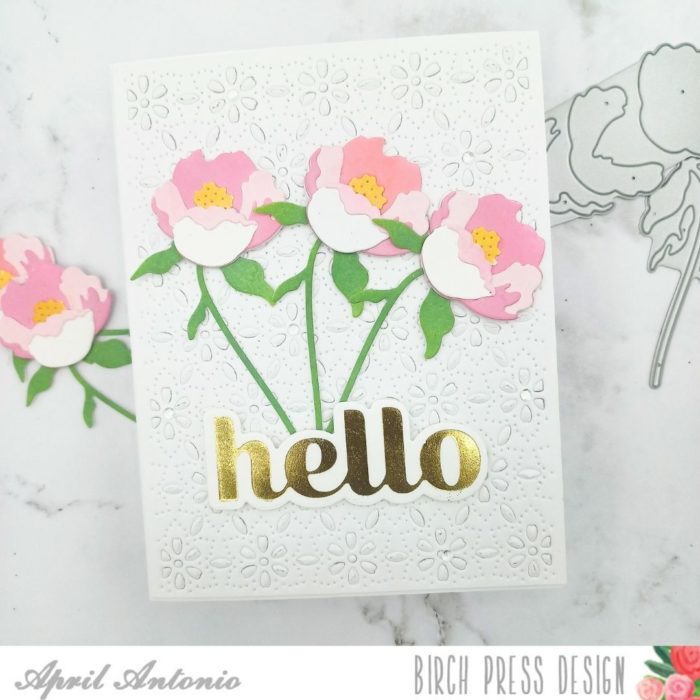
I then used detail blending brushes and Distress Oxide inks to quickly ink blend each piece as I desired, using the booklet that comes with the die set as a guide.
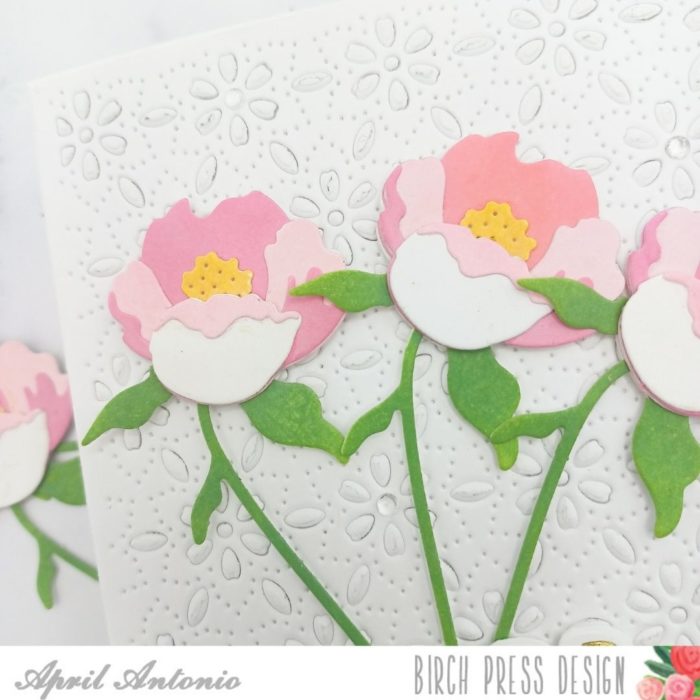
After I ink blended each piece, I assembled the flowers assembly line style. I did leave off the dimension on the leaves, and will save those small pieces for a future project. I think my favorite part of making this card was when I assembled the flowers because each additional layer makes them look more and more realistic.
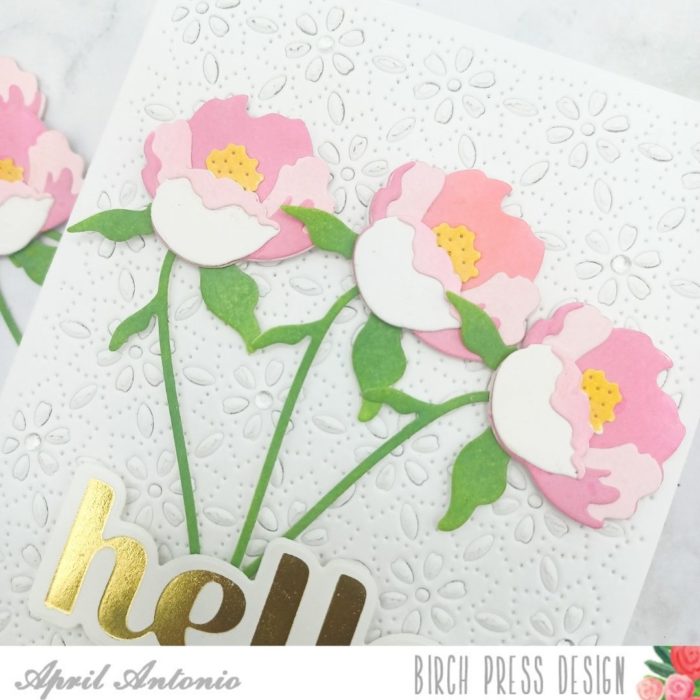
Next I dry embossed Layer C from the Flora Plate Layer set from heavy weight cardstock. To dry emboss I used my typical die cut plates, but placed an embossing mat underneath the die so it would not fully cut into paper.
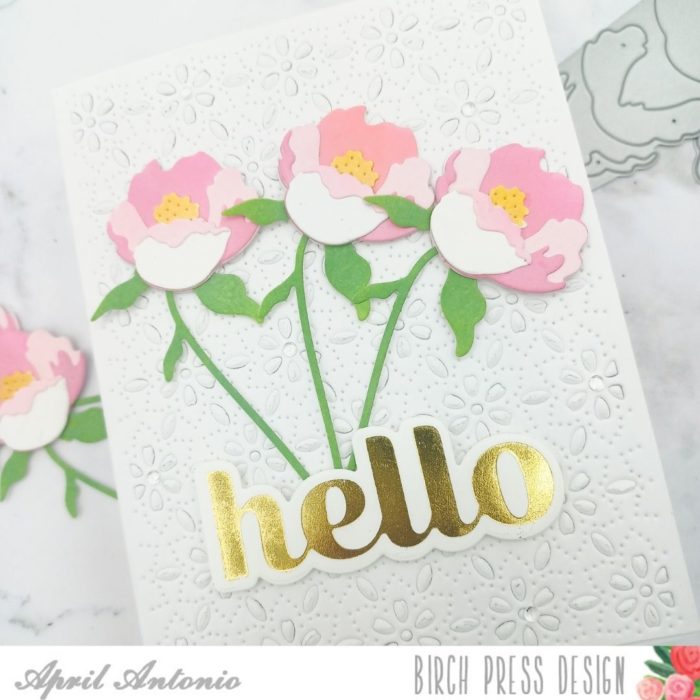
I glued the panel down to an A2 white card base, and arranged three of the assembled flowers into the middle of the card, making sure the stems gathered together at the bottom.
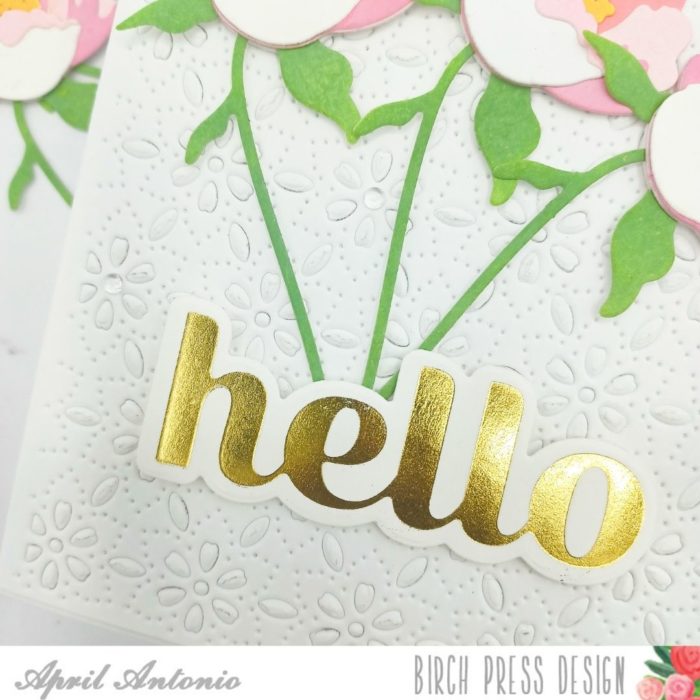
I then adhered the hello created using the NEW Sugar Script hot foil die. I popped this up with foam tape to give it similar dimension to the flowers.
My final touch was to add a few of the clear Fair Drops across the card in no particular order.
The new hot foil sentiment together with the 3D looking flowers adds such beautiful dimension to the card. I really like how it came together and looks simple yet detailed at the same time.
Thank you for joining me today and I hope this post has inspired you not only check out the new Birch Press hot foil designs, but to go craft some more!

Supplies


