Category: Flowers

  • Fuchsia & Hummingbirdby Rosemary Dennis

    Fuchsia & Hummingbird
    by Rosemary Dennis

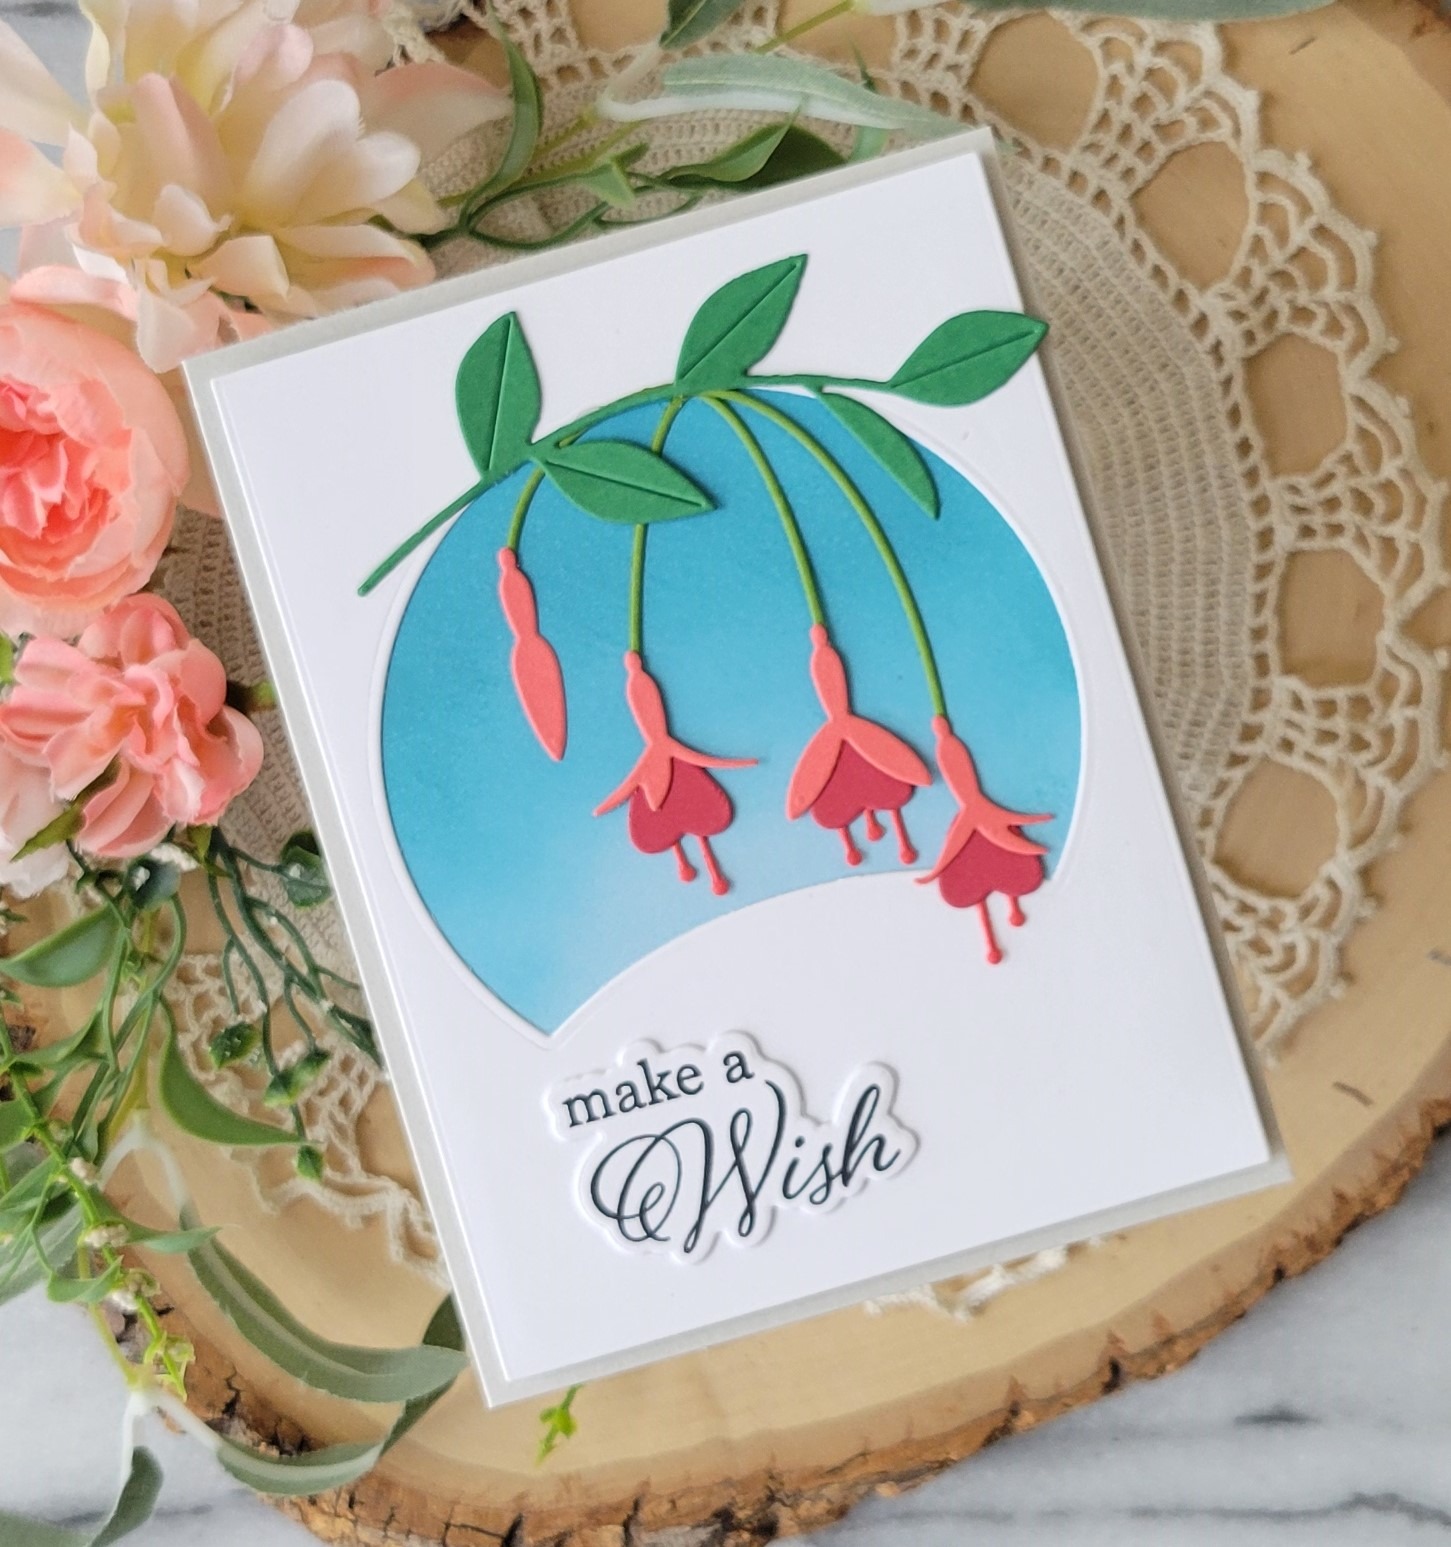
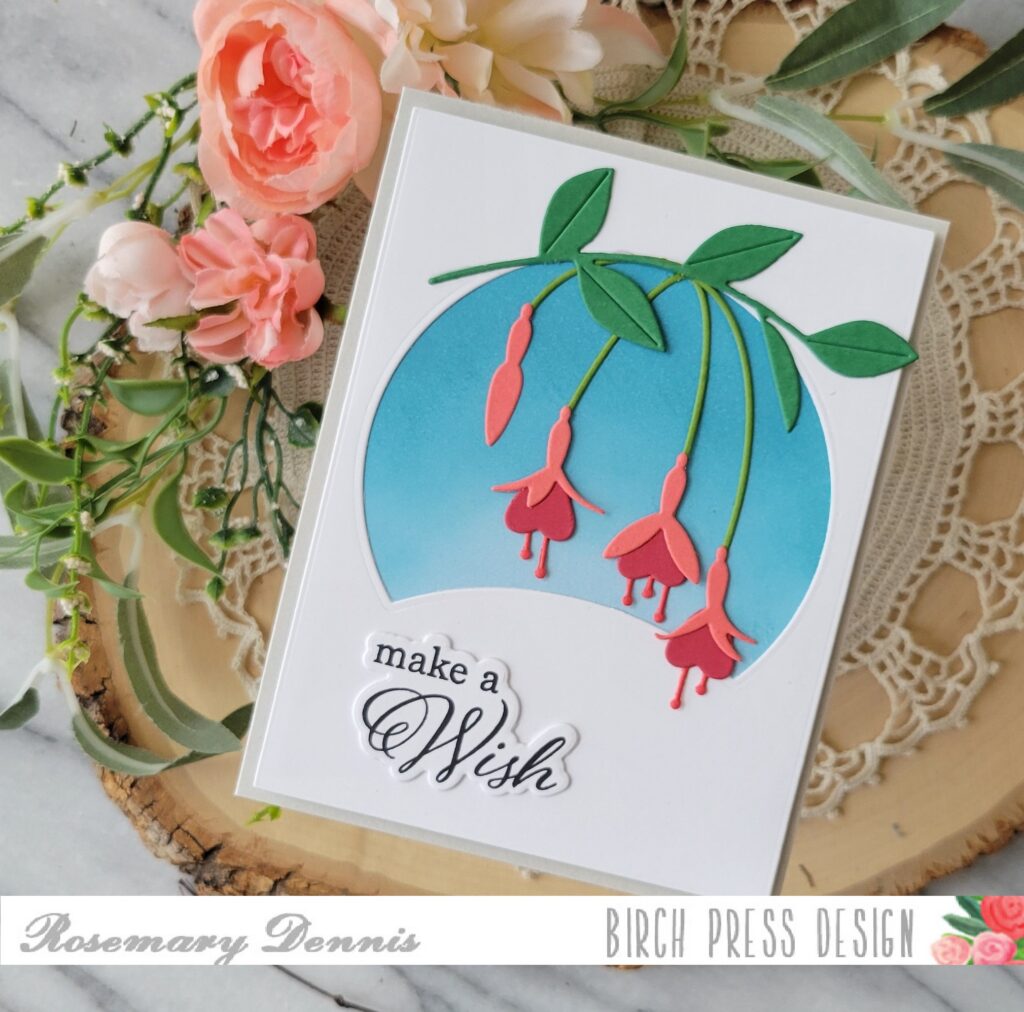
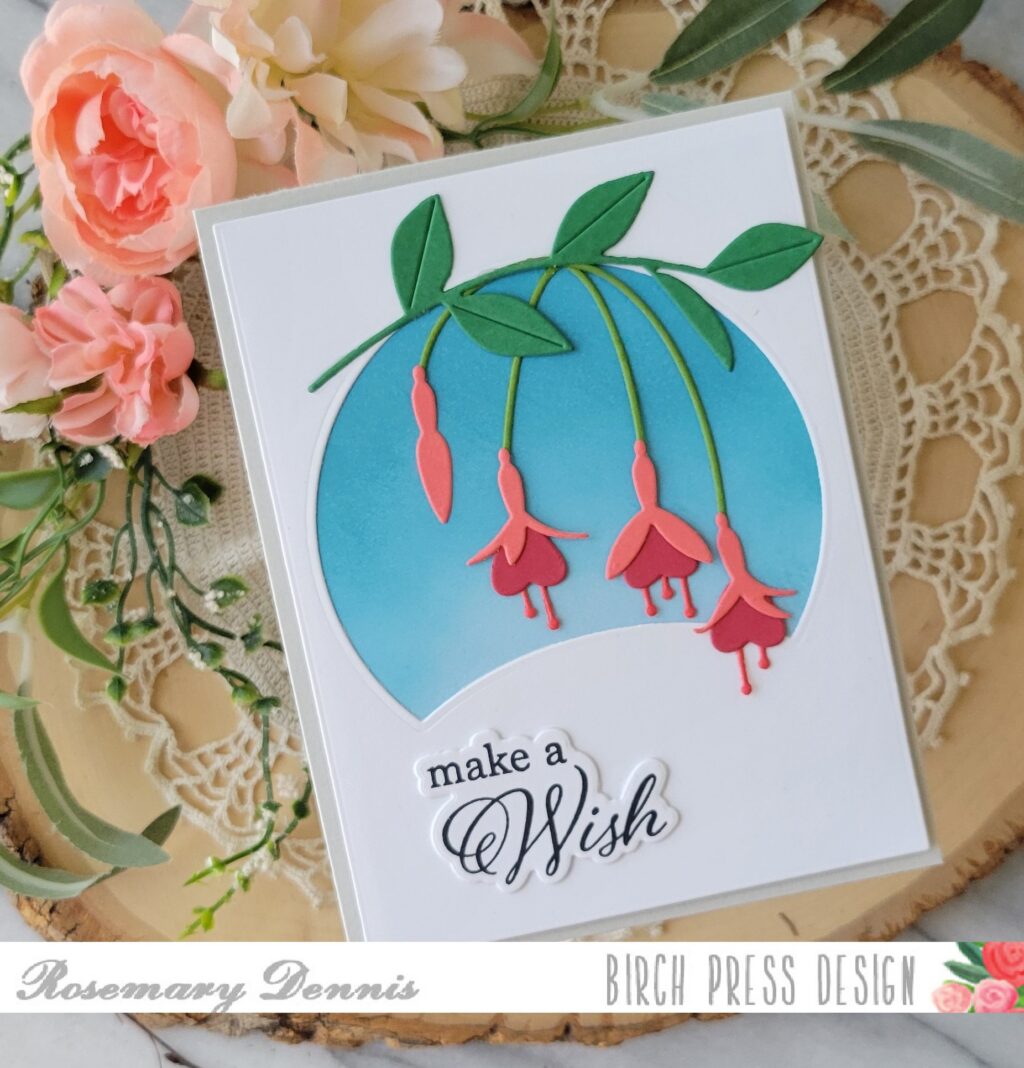
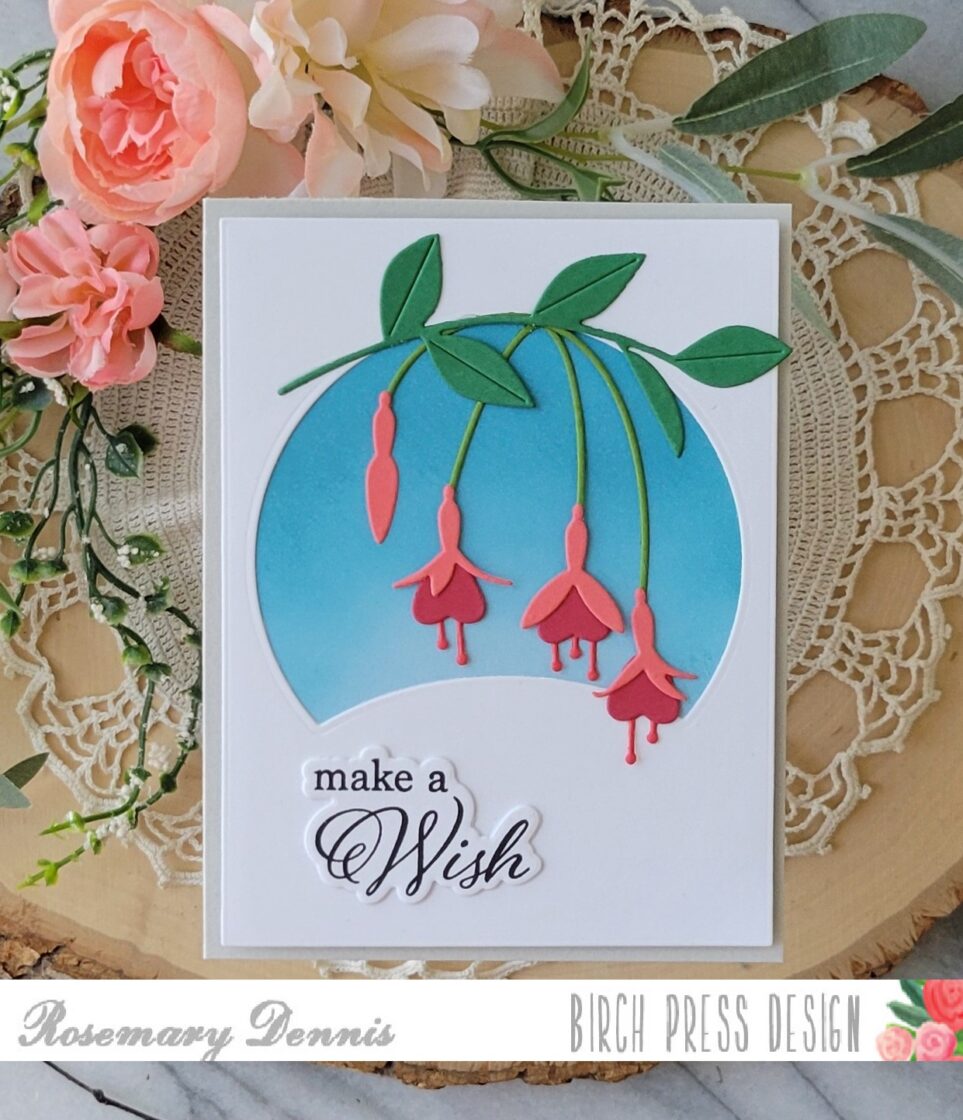
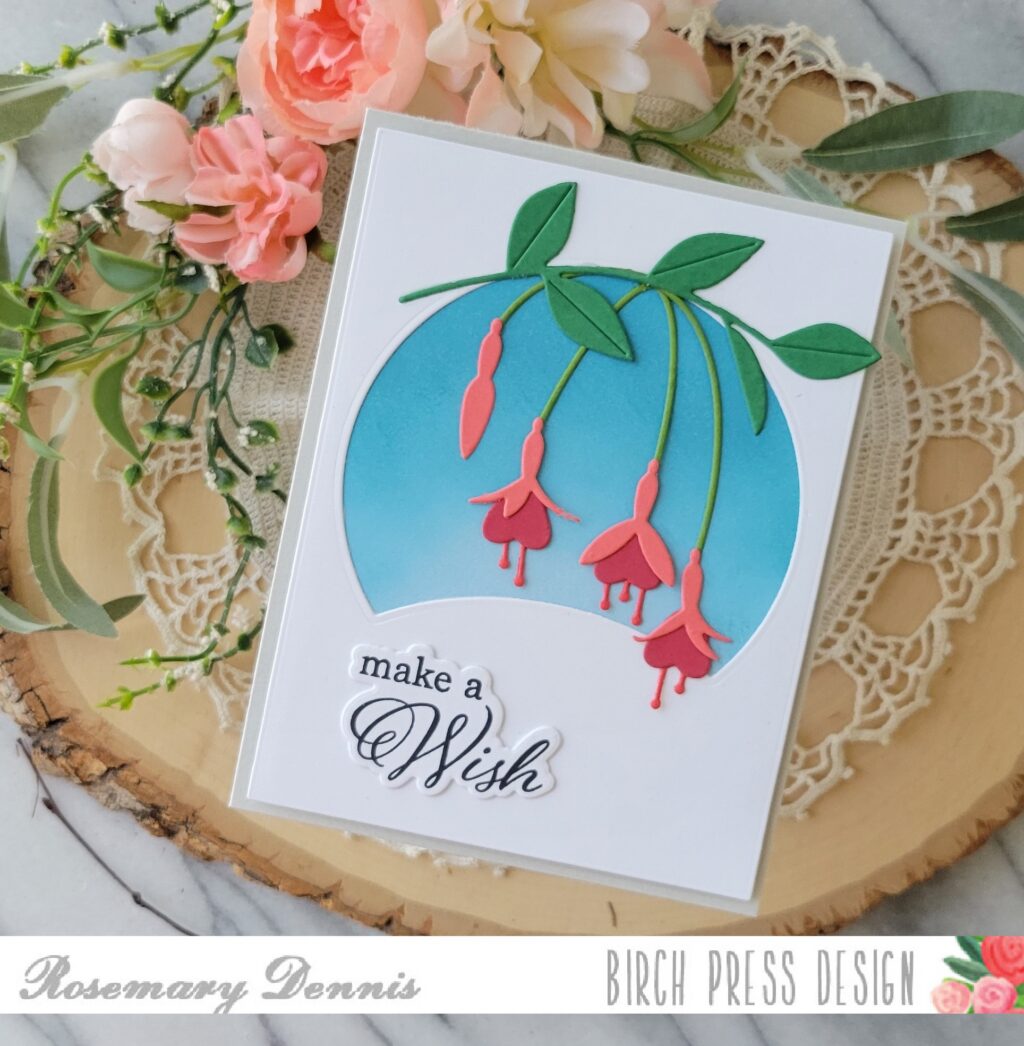
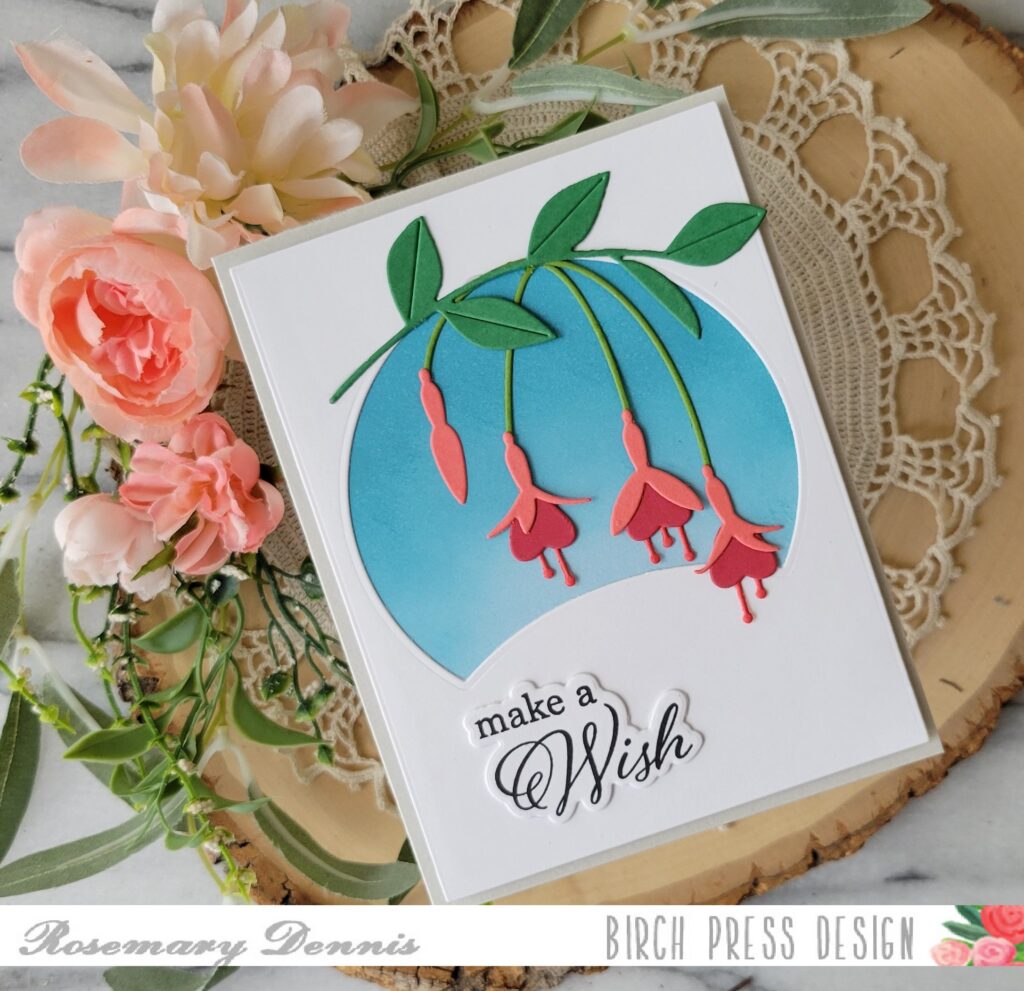
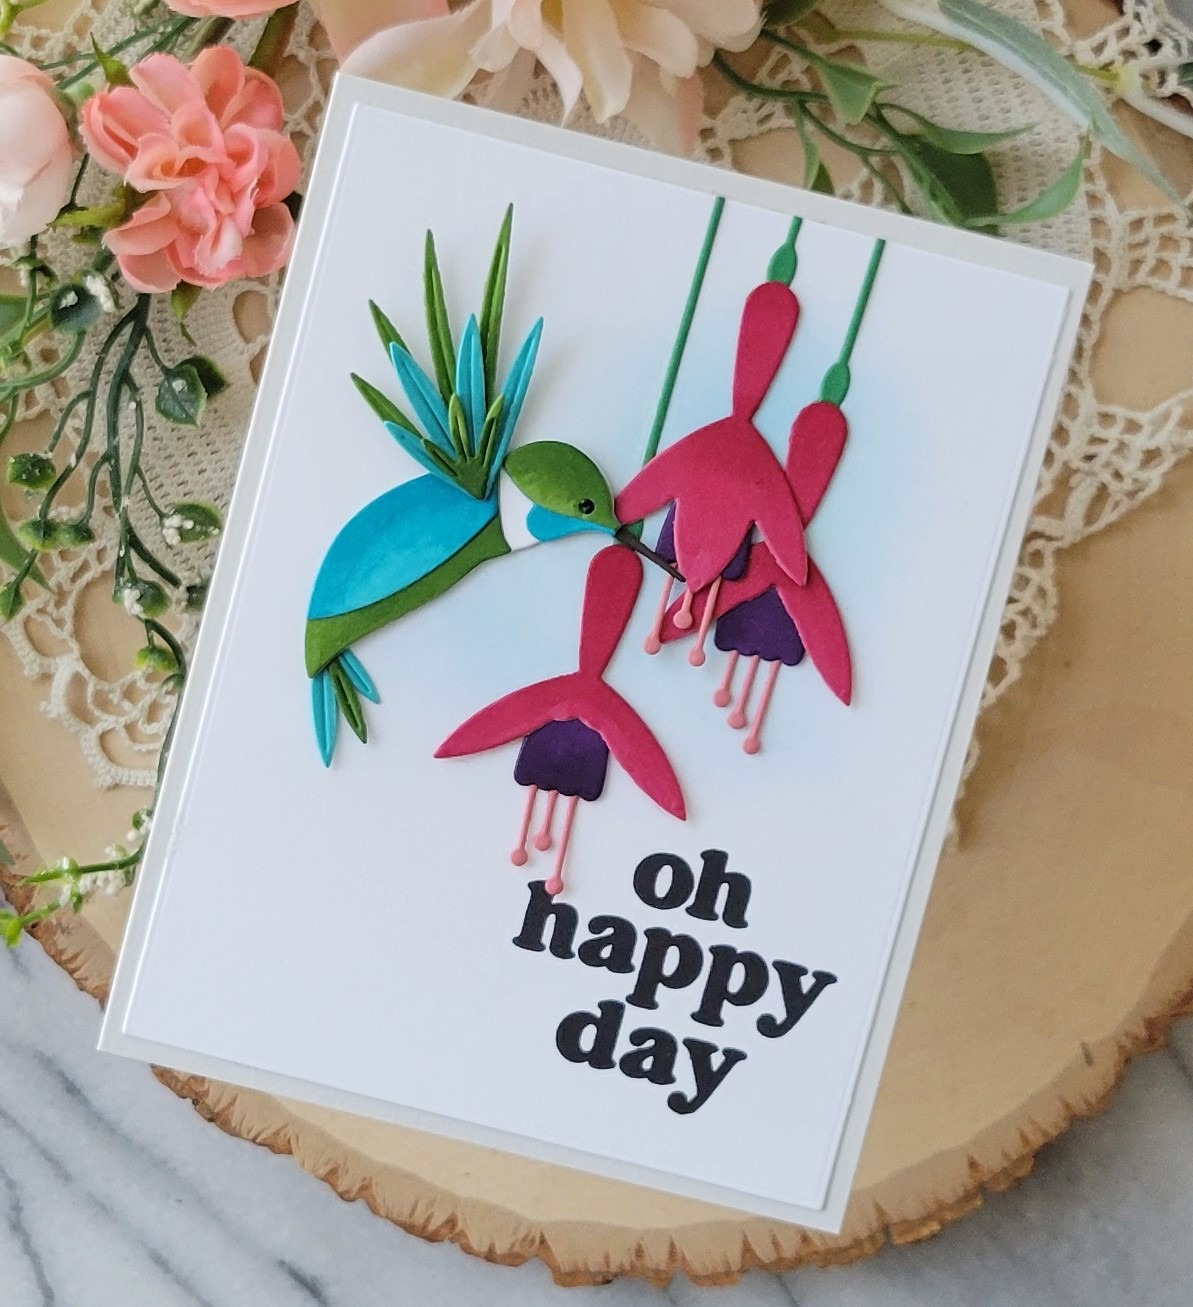
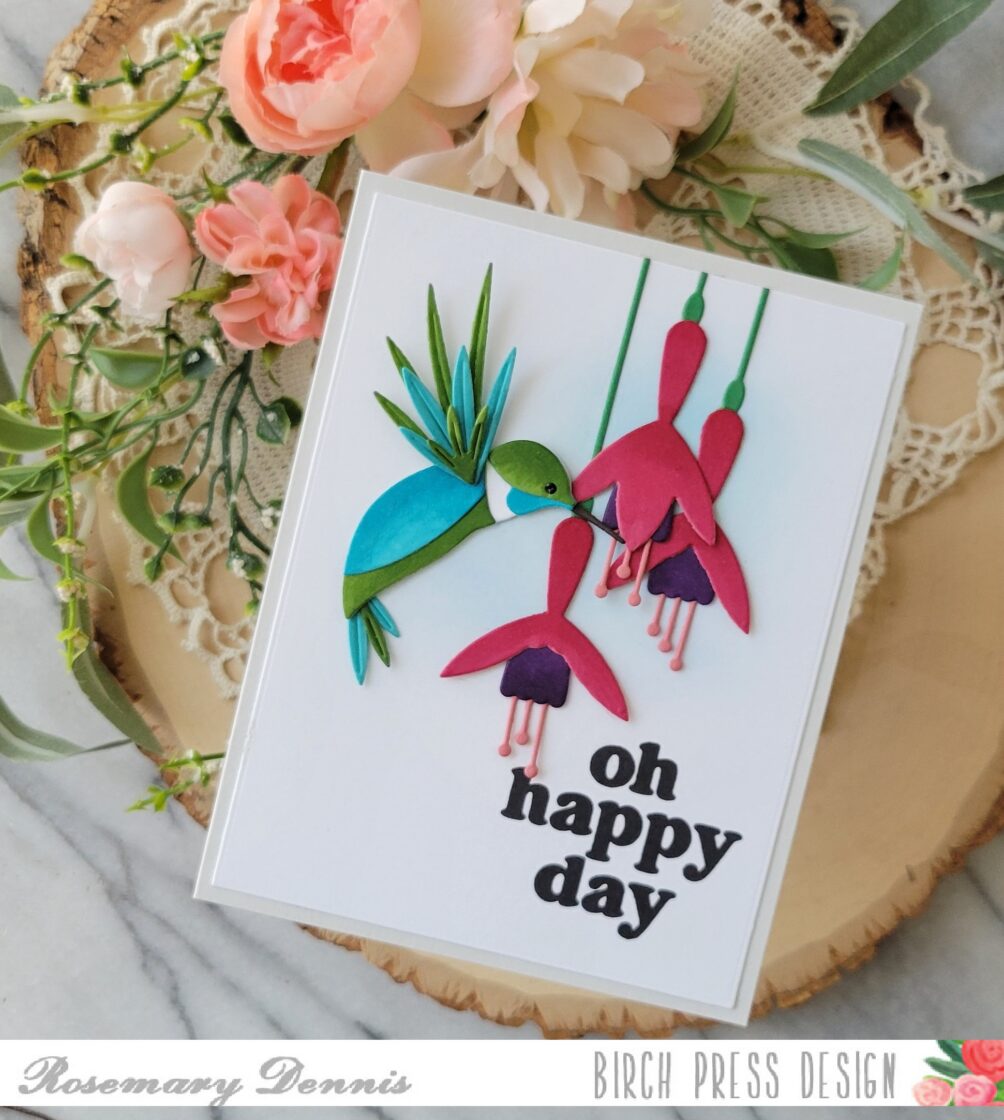
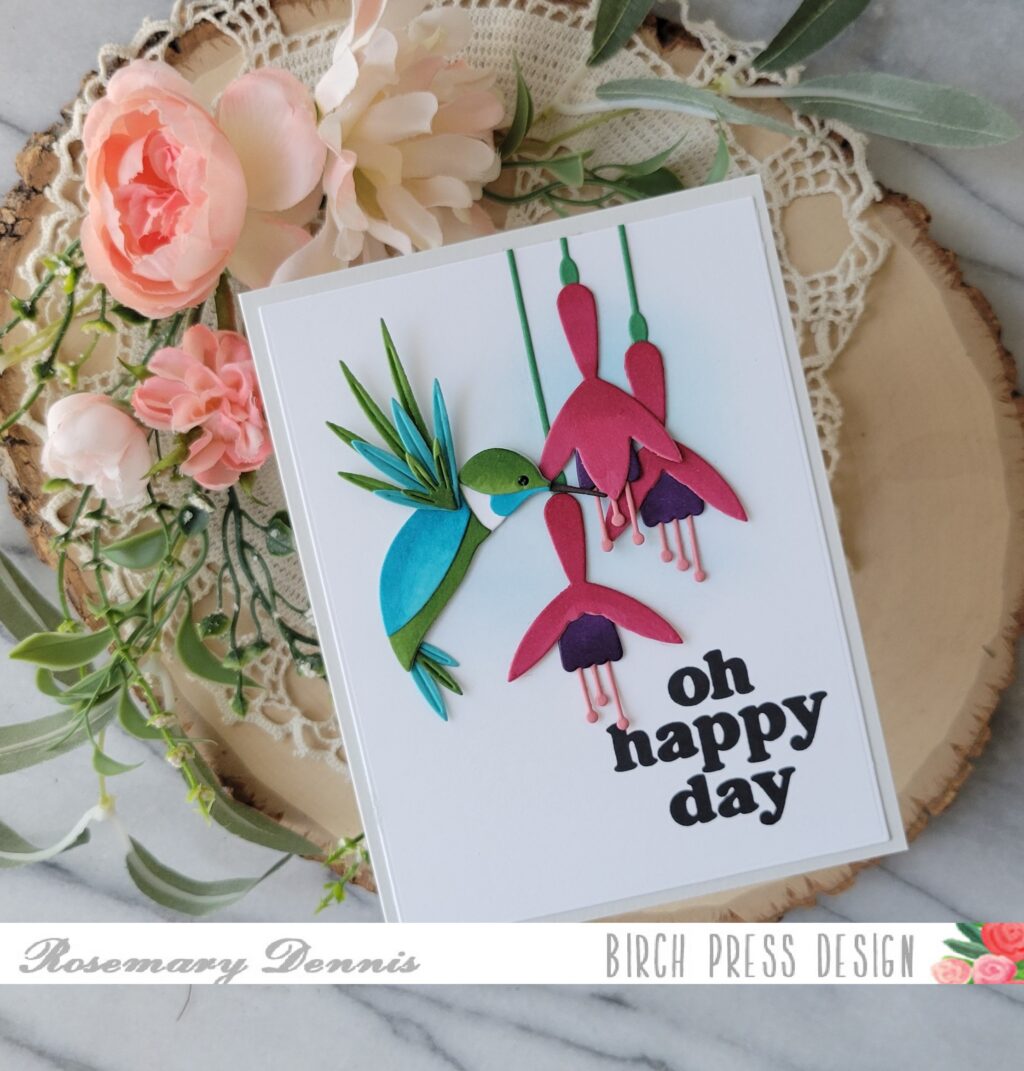
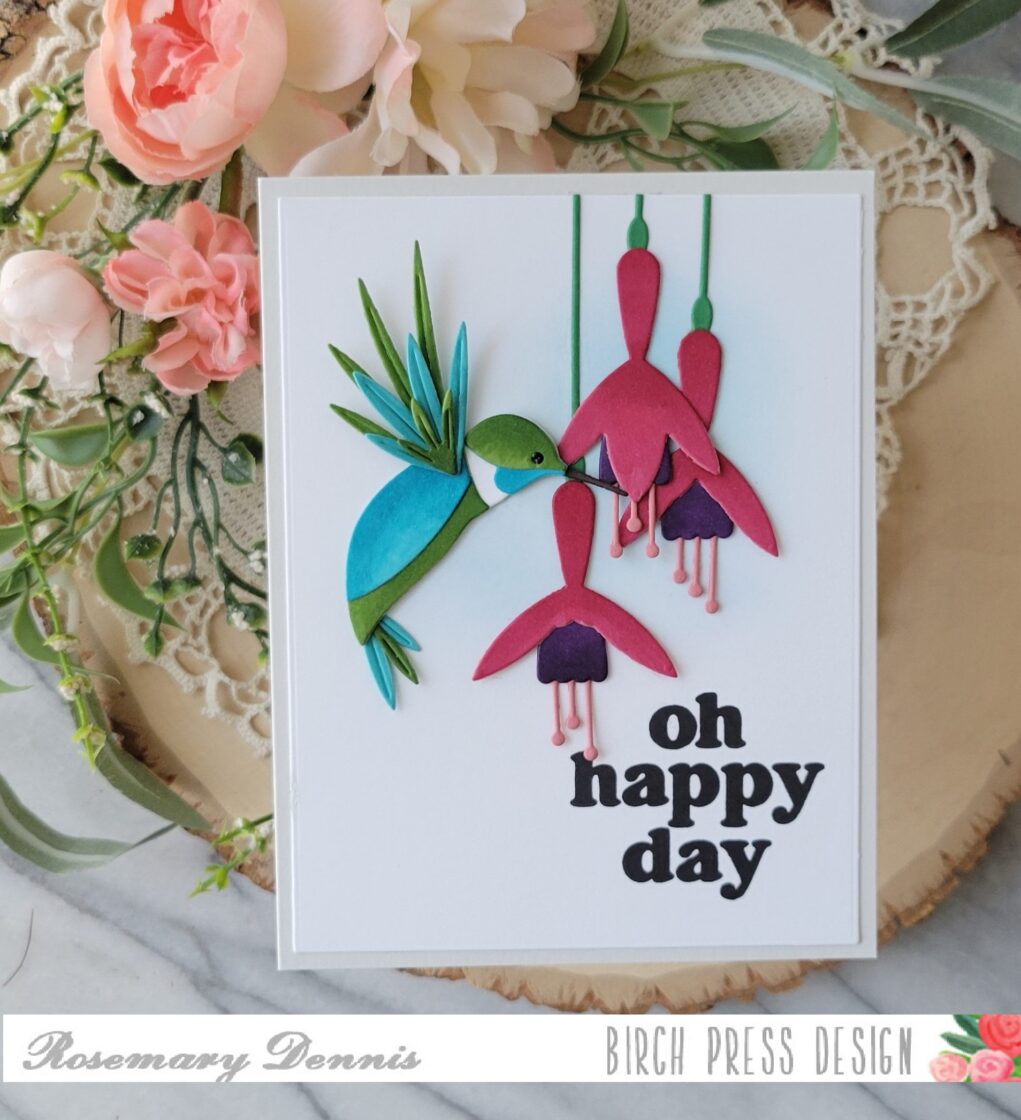
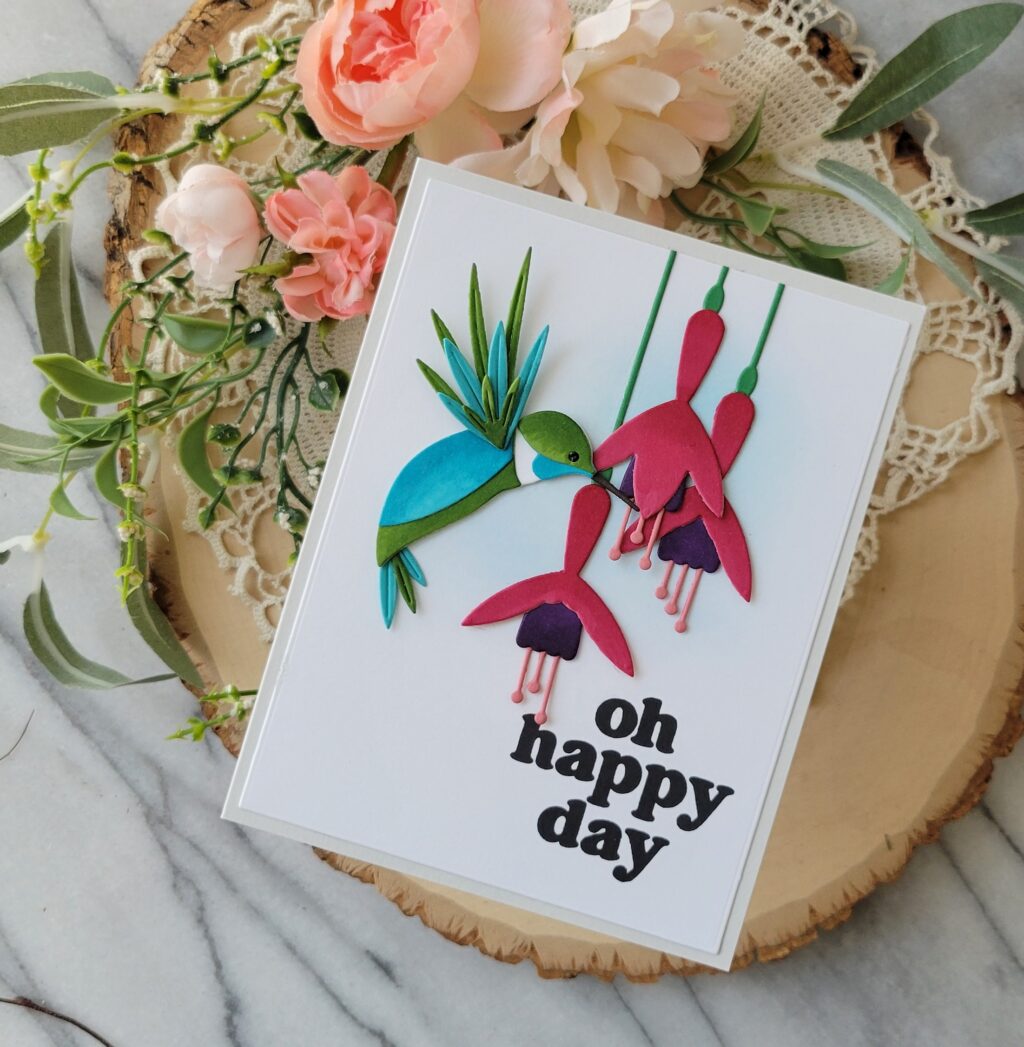
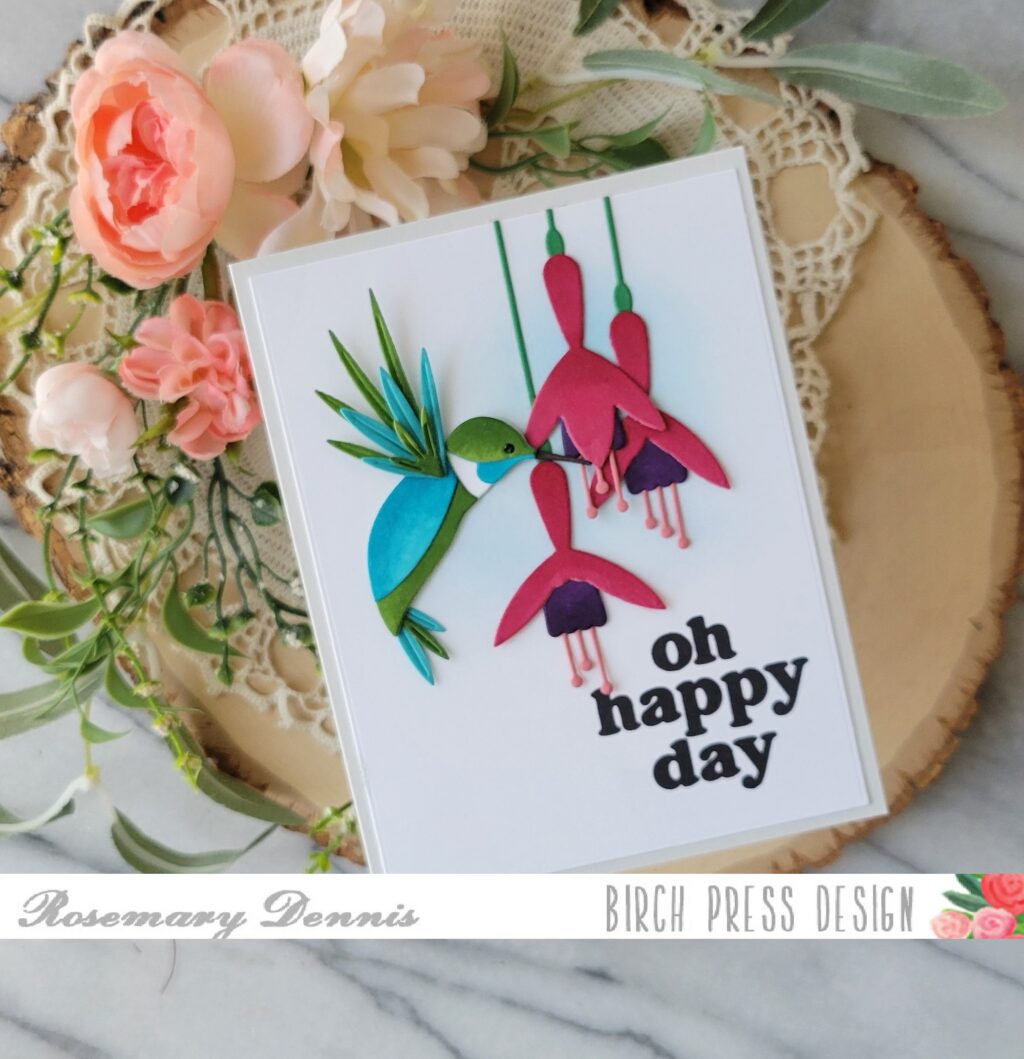
    Hello, hello! Rosemary here on the blog today sharing a card made with the new Block Print Fuchsia Flowers and Block Print Flashy Hummingbird. I love all the hummingbird dies that Birch Press Design has released, but this one just might be my favorite. Fuchsias are one of my favorite flowers and so I was super excited when I saw the new fuchia related dies! Let’s look at what I made.

    Growing up we always had a fuchsia hanging basket on our front porch as both my parents liked fuchsias. I remember being fascinated by the little bell shaped flowers that hung down amongst the green leaves. When I saw the new Block Print fuchsia dies I was in heaven! I went with a similar color palette as the one on the front of the packaging as it is a classic fuchsia color way and still one of my favorites!

    I die cut the majority of the pieces for the hummingbird and fuchsias from colored cardstock. I only used white for the body of the hummingbird that all the other pieces get layered on. I then used Copic markers to color the pieces allowing me to change the colors and provide contrast.

    For the bird I started with a light aqua colored cardstock and then added color using Copics in shades of teal. Additional pieces were cut from a medium green and then shades of green Copics added to deepen the color. The pieces were set aside to dry before glueing together.

    The same process was done for the fuchsia except for the stems and the little stamens that hang down. I let them dry and then adhered together with glue. White cardstock was die cut, stamped with the sentiment from the Vintage Everyday Greetings stamp set and then I added a little bit of distress oxide ink in blue to the area where the fuchsia and hummingbird would be placed. They were then adhered with a combination of thin foam squares and glue. Added the panel to my light gray cardstock base and finished with a tiny dot of black Nuvo jewel drops for the bird’s eye.

    I just love how this turned out. Clean and simple yet a little on the bold side. I hope you enjoyed today’s project. Thanks for taking the time to visit the blog. Have a wonderful day!

  • Distressed Floral Birthday Cardby Toni M Maddox

    Distressed Floral Birthday Card
    by Toni M Maddox

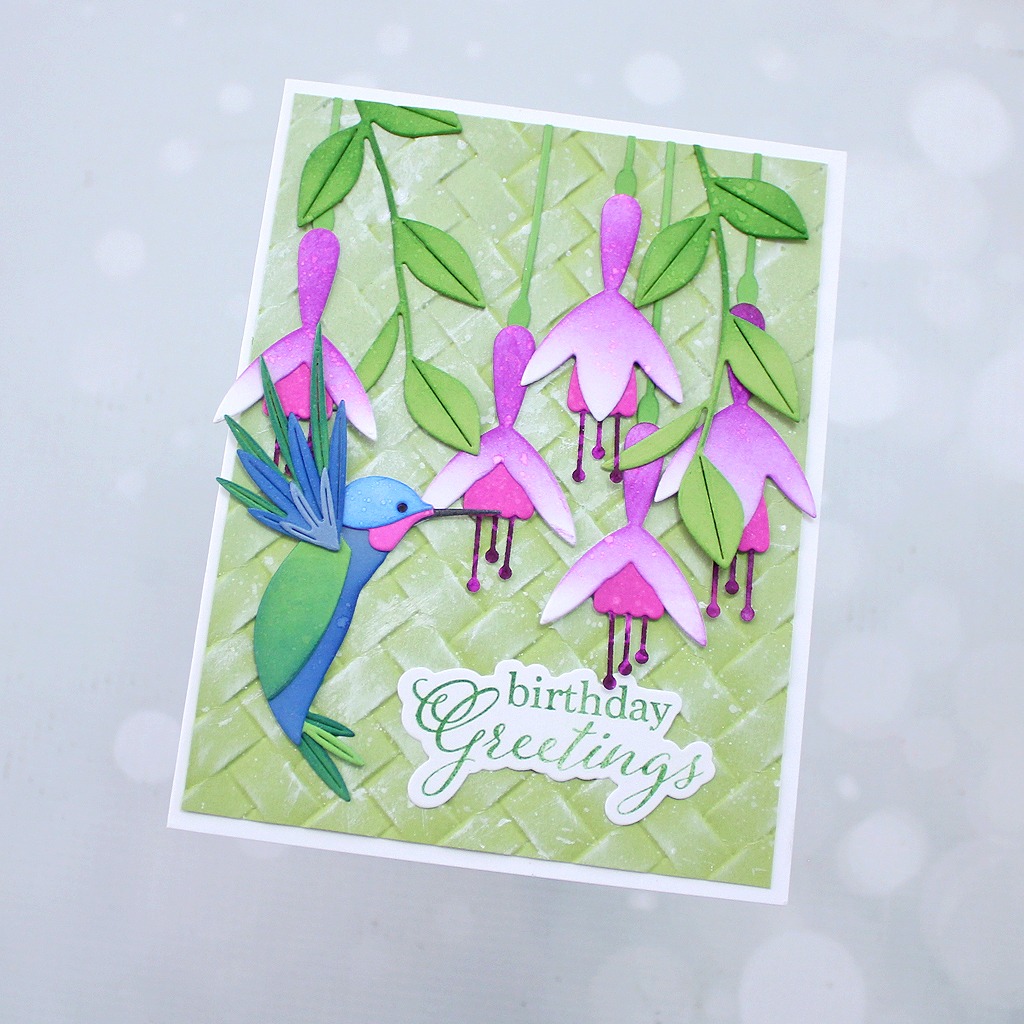
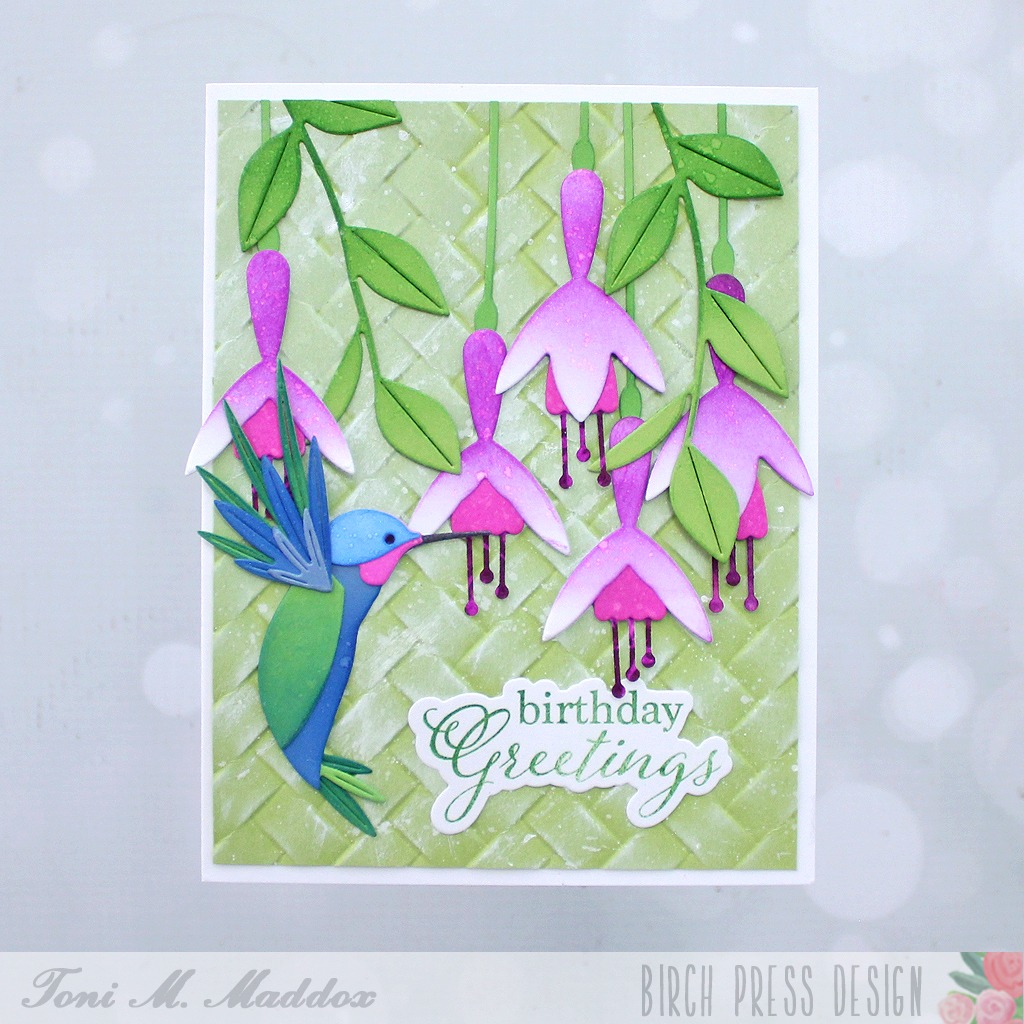
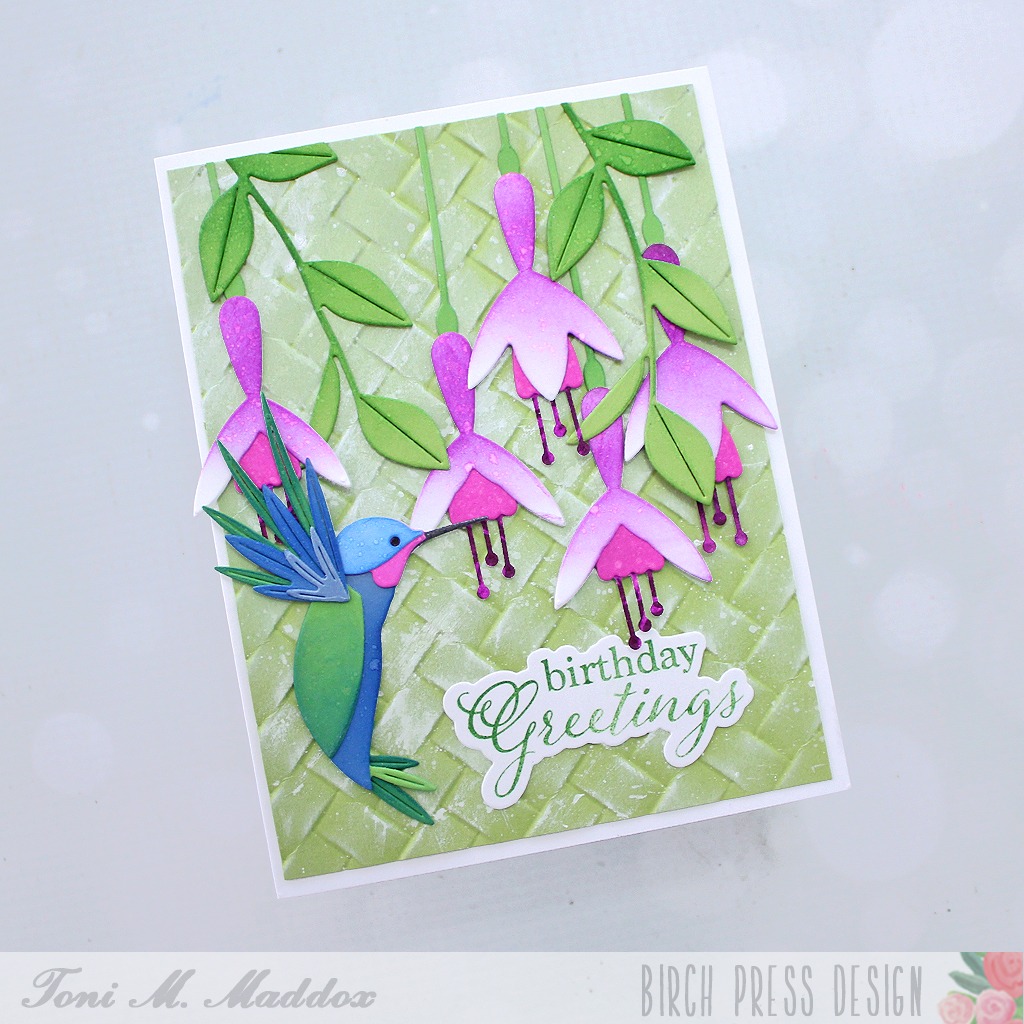
    Happy summer, my friends! Toni here with you today and I’m ever so excited about the mini release featuring fuschia and birds, the perfect complement to my own garden.

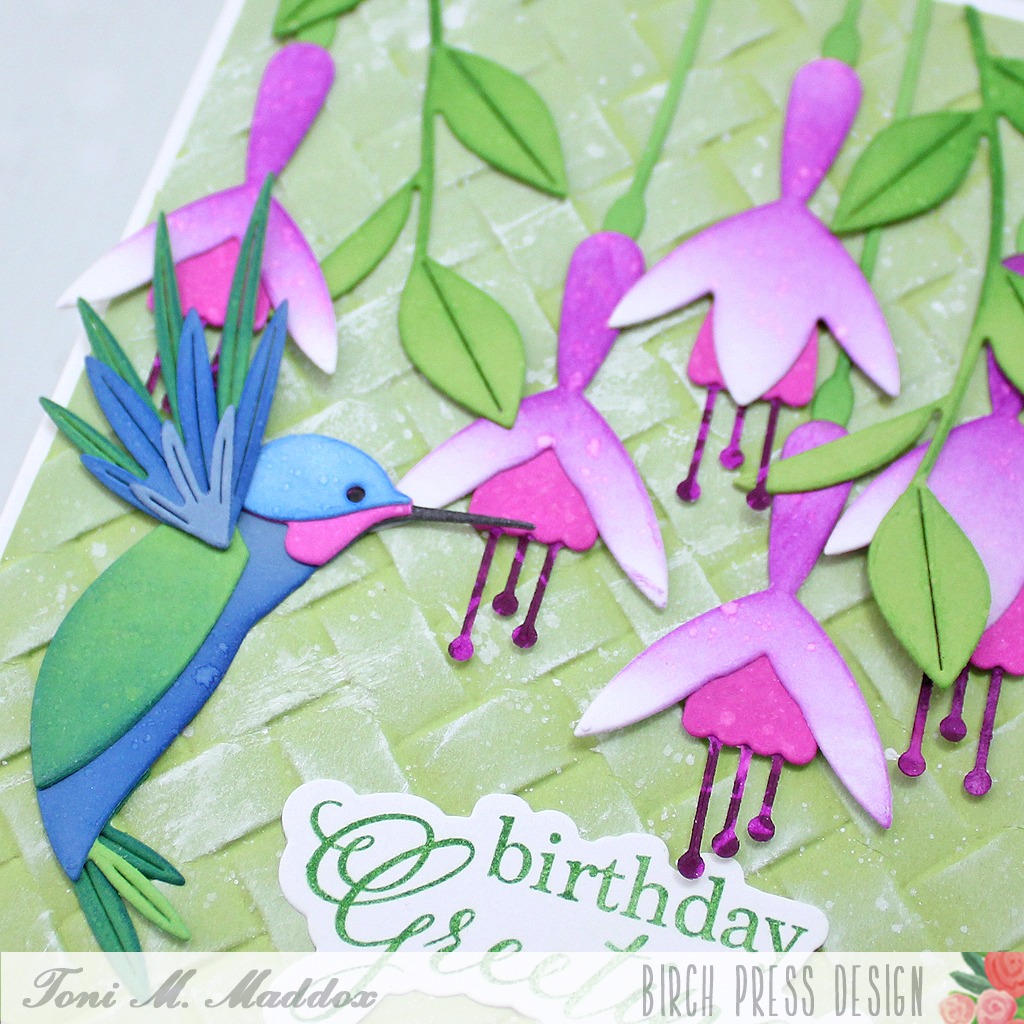
    Let’s start with the blossoms where I combined the Block Print Fuschia Flowers along with the Block Print Fuschia Spray. In my mind this is like a hanging basket of fuschia.

    Of course, they’re irresistable to the Block Print Flashy Hummingbird. I sponged all the diecuts with Catherine Pooler inks then spattered them with water.

    For the background, I embossed a panel with a 3D basket-weave then spattered Copic Opaque white over the top. But, as I was assembling the card, I discovered that the white wasn’t fully dry so it smudged. I ran with it and randomly swiped a white pigment ink over the top to make it intentionally smudged!

    My final step was to add the Elegant Birthday Sentiment which I had inked up with a couple of green inks. Fabulous!

    I hope you enjoyed today’s card and have a great rest of your week!

    Feel free to visit my blog, Frankie Helps Craft, for a full list of supplies used and to check out my other creations.

  • Graceful Fuchsiaby Christina Rannow

    Graceful Fuchsia
    by Christina Rannow

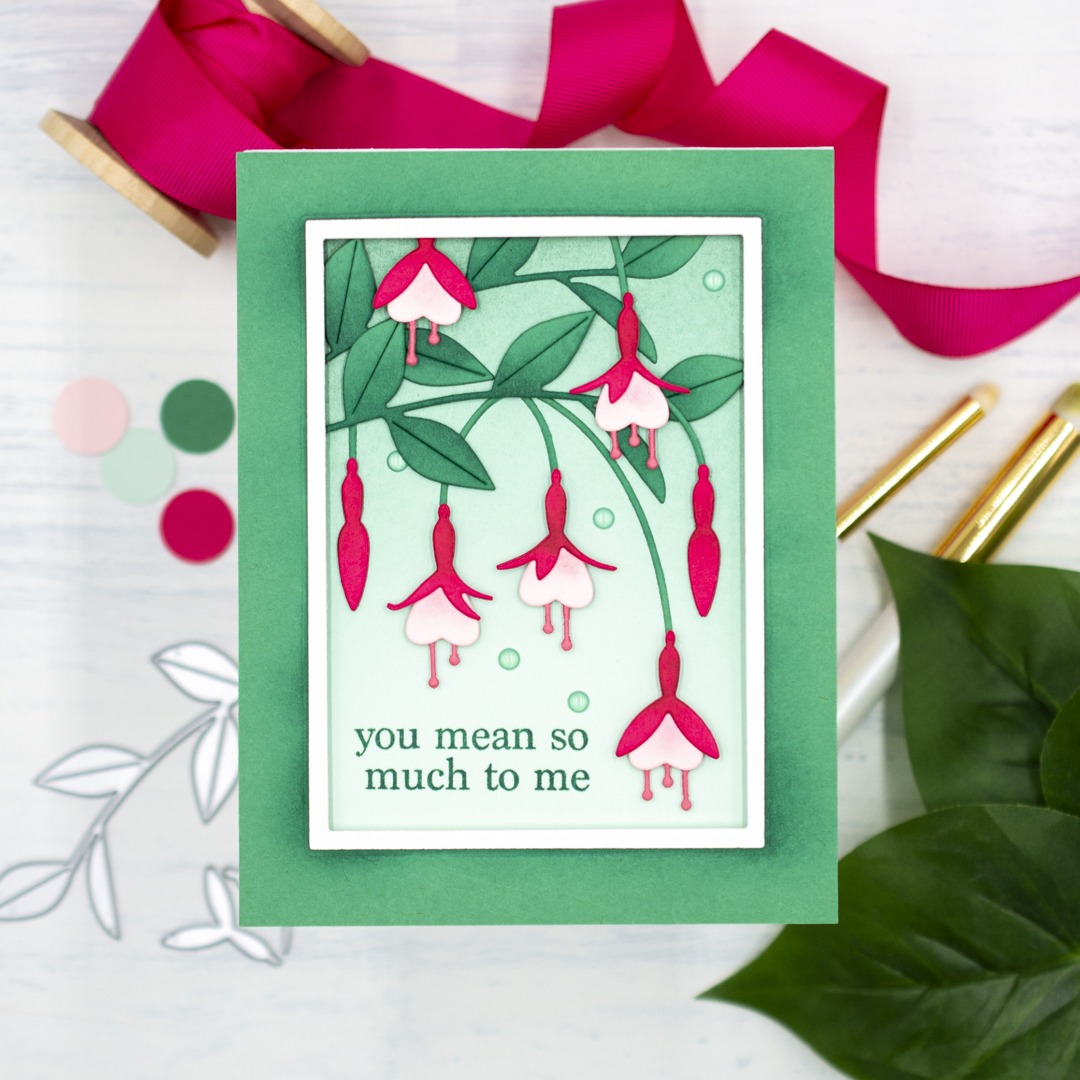
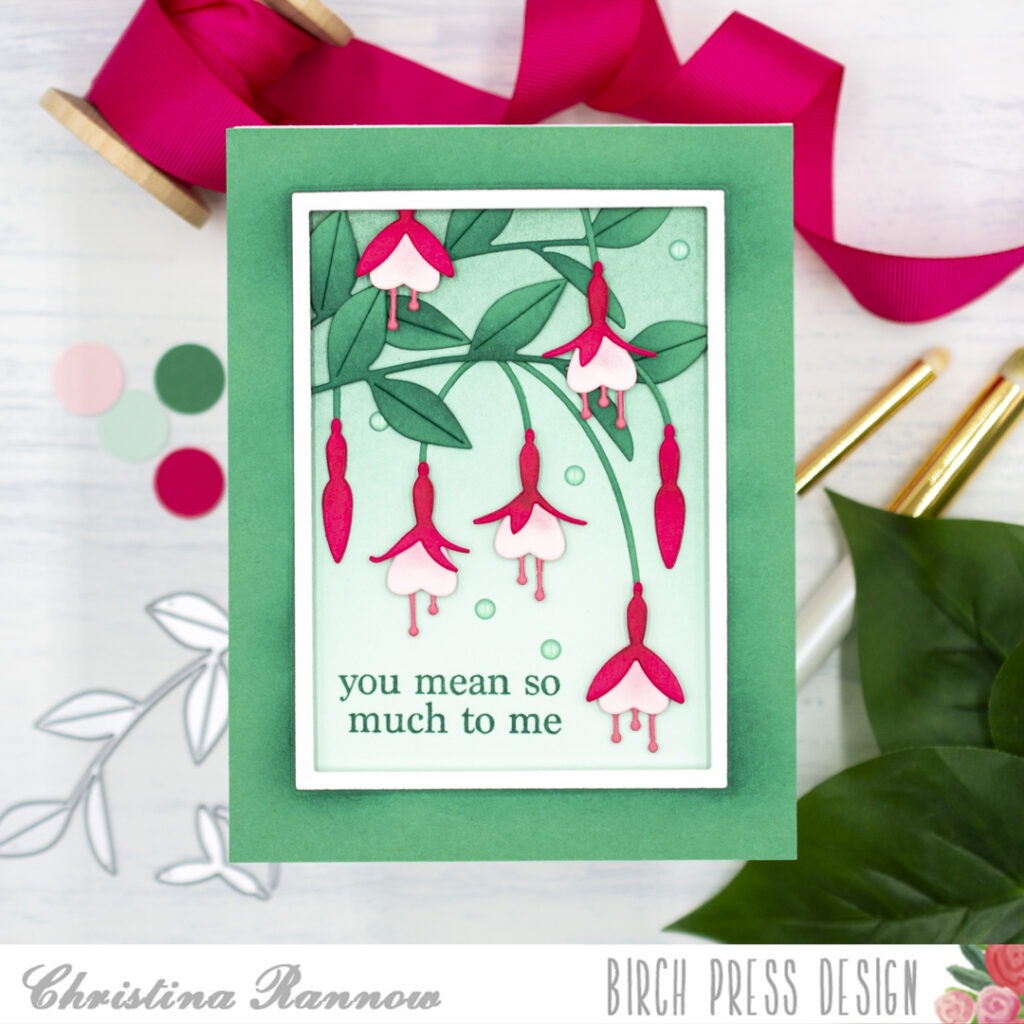
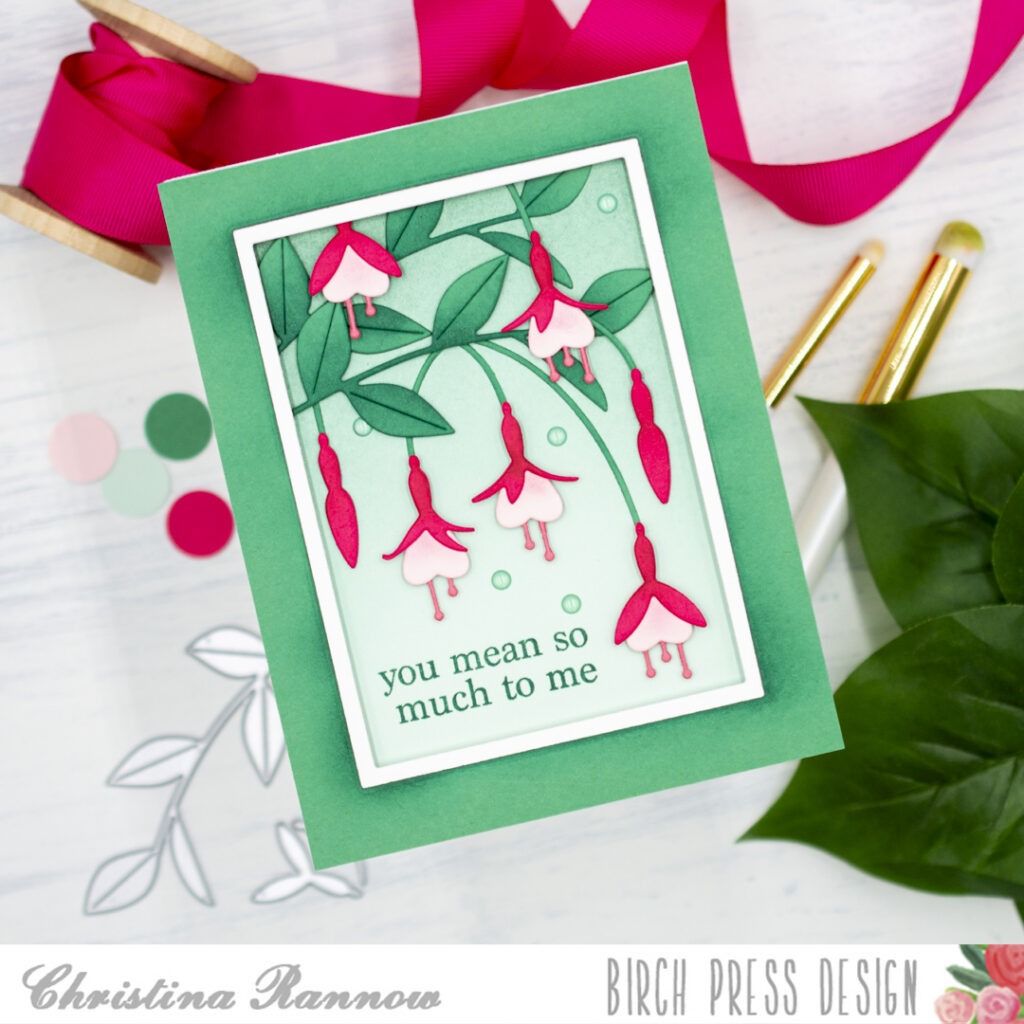
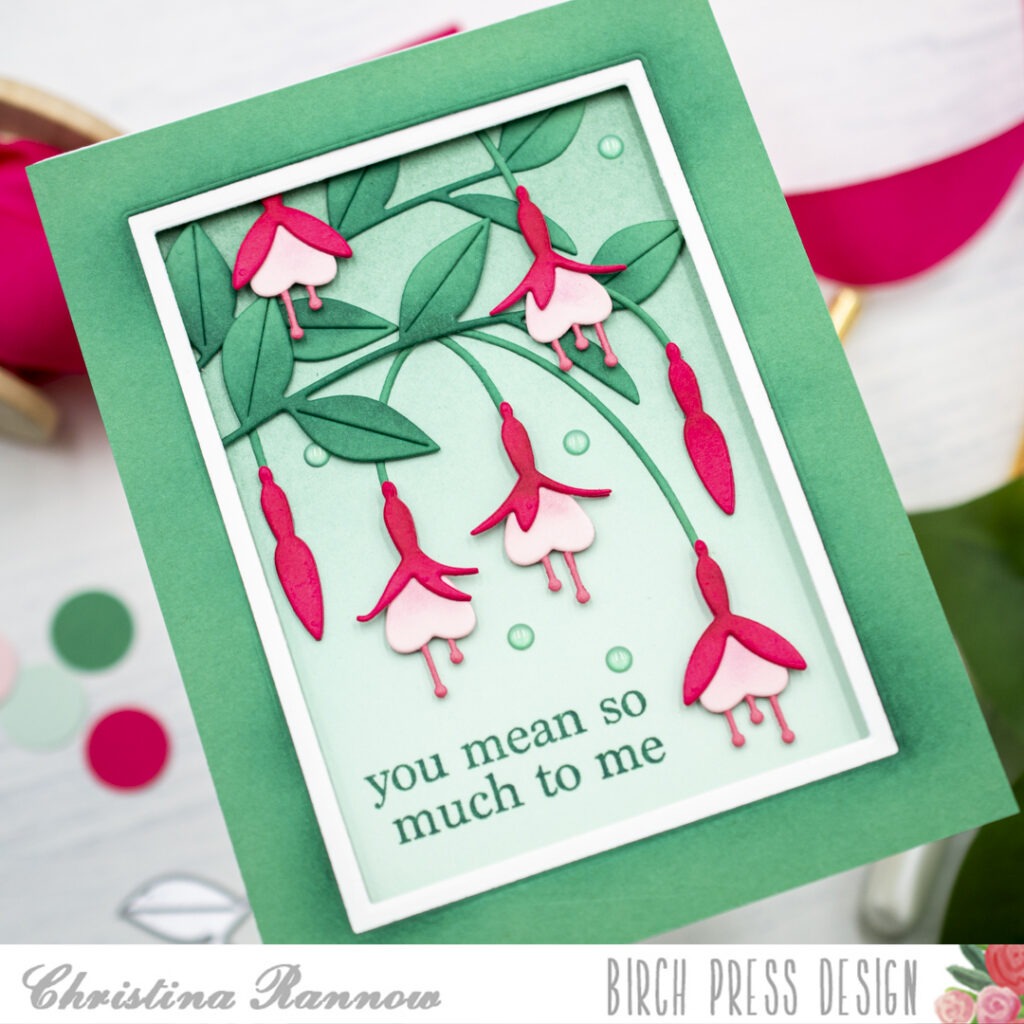
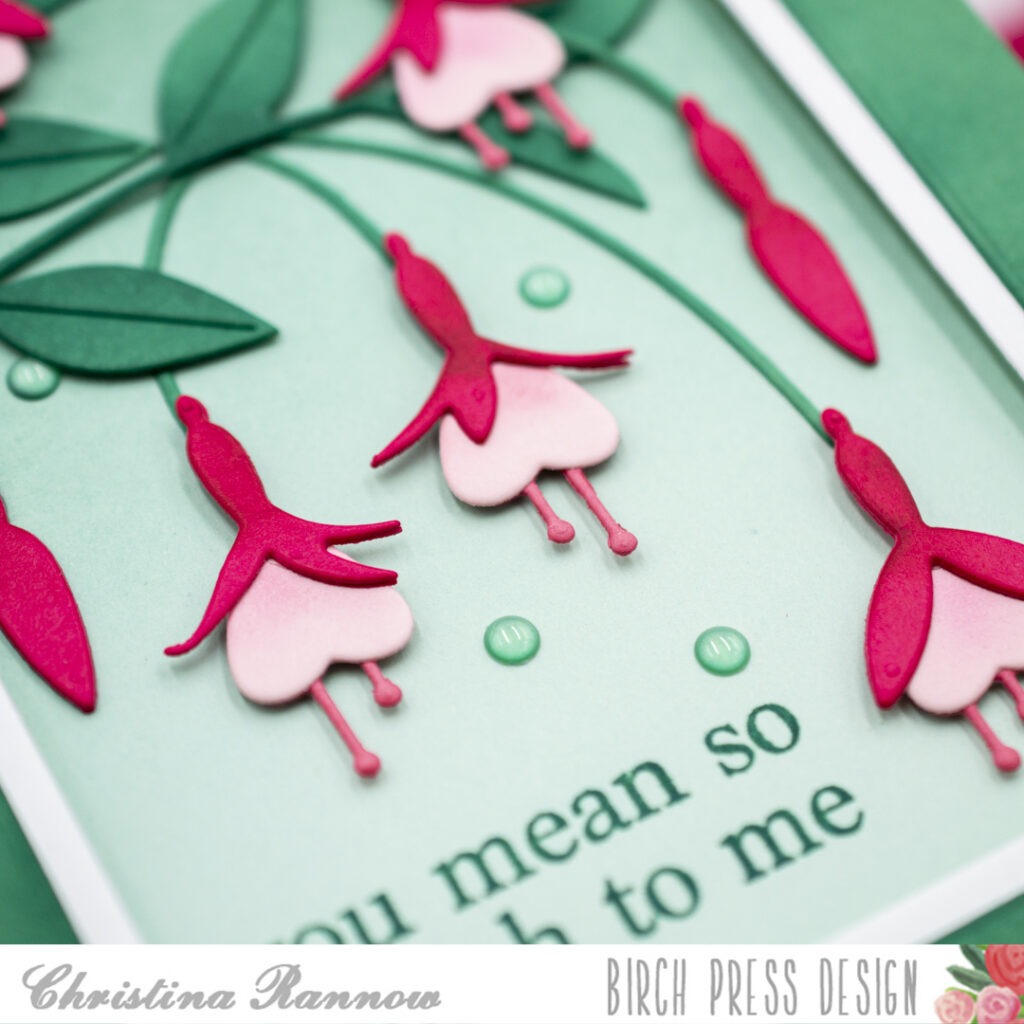
    Hello! Christina here. Today I’m sharing a beautiful floral card featuring the new Block Print Fuchsia Spray dies. This set creates graceful, detailed blooms for an elegant card design full of depth and dimension. I paired the set with a simple sentiment and a basic frame to showcase the beauty of these fuchsia blooms. Let’s take a closer look at how this card came together.

    I started by die-cutting the fuchsia pieces from colored cardstock. I chose a trio of pinks for the blooms and a vibrant sea green for the leaves. Before layering and assembling the pieces, I added shading to each piece with a darker coordinating ink color using a small blending brush. After assembling them, I set them aside while I worked on the background panel.

    For the background panel, I started with a mint green A2-sized piece of cardstock. Then I blended in a darker sea green color on just the top half of the panel. Next, while leaving space for the sentiment, I played around with the arrangement of the fuchsia blooms and greenery until I liked the layout. Before securing the die-cuts to the background panel, I first stamped the sentiment with a coordinating green ink. Then I secured the die-cuts with either glue or, for added dimension, thin foam squares. I left the space around the perimeter of the background panel free of die-cuts so I could add a frame. I ended up having to trim just a couple of stems and the top of a bloom to accommodate the frame. 

    To create the look of a matted frame, I used two basic nesting rectangle dies. I die-cut the larger one from sea green cardstock and the smaller one from white cardstock. Before layering these together, I blended a darker coordinating ink color around the inside edge of the sea green frame. Then I popped up the layered frame on my card front using foam tape and attached everything to a top-fold card base. The finishing touch was to add a few translucent green embellishments. 

    Thank you for reading about my elegant card design featuring the graceful Block Print Fuchsia Spray die set. See you again soon!

  • A Floral Birthday by Annette Allen

    A Floral Birthday
    by Annette Allen

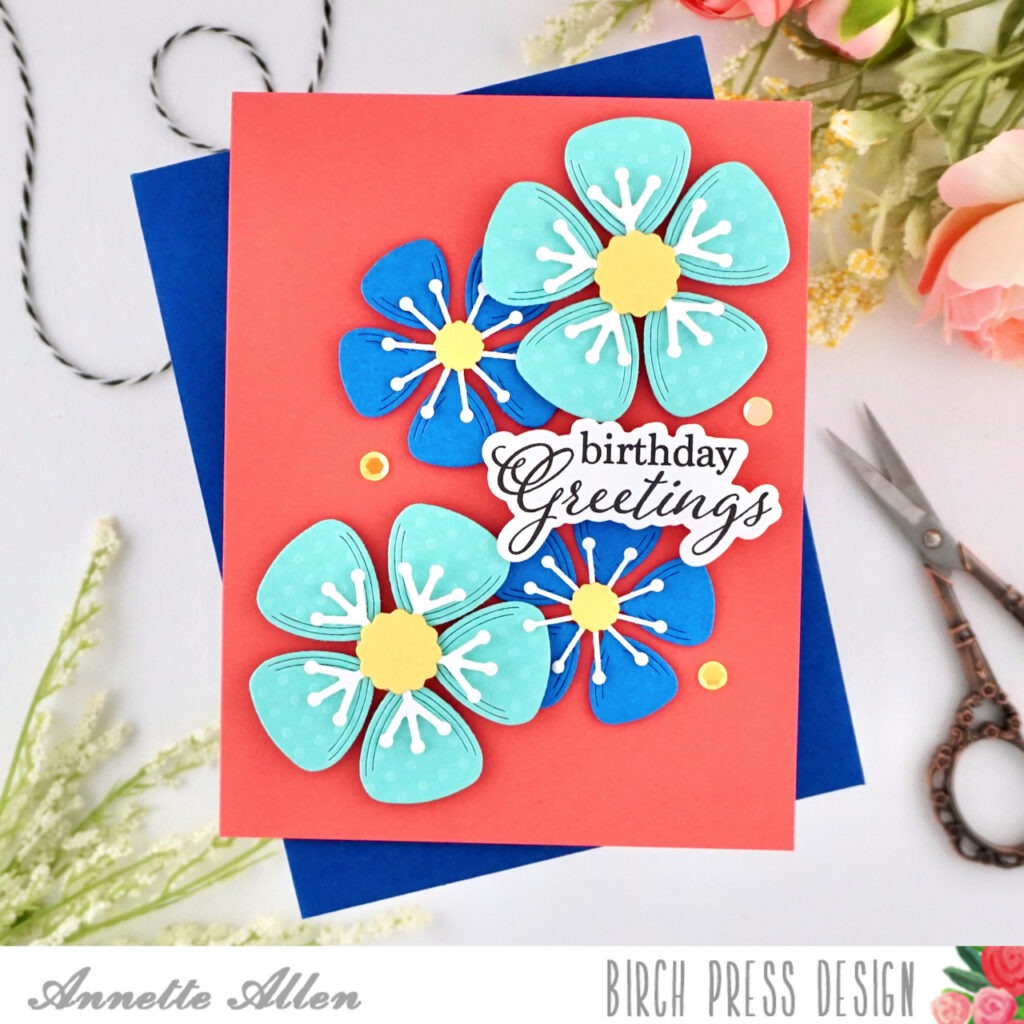
    Welcome Birch Press Design friends, Annette Allen (myclevercreations) here with you today. I hope you all are having a fantastic June so far. When I think of June, I think of flowers. We all love a good floral card… right? 

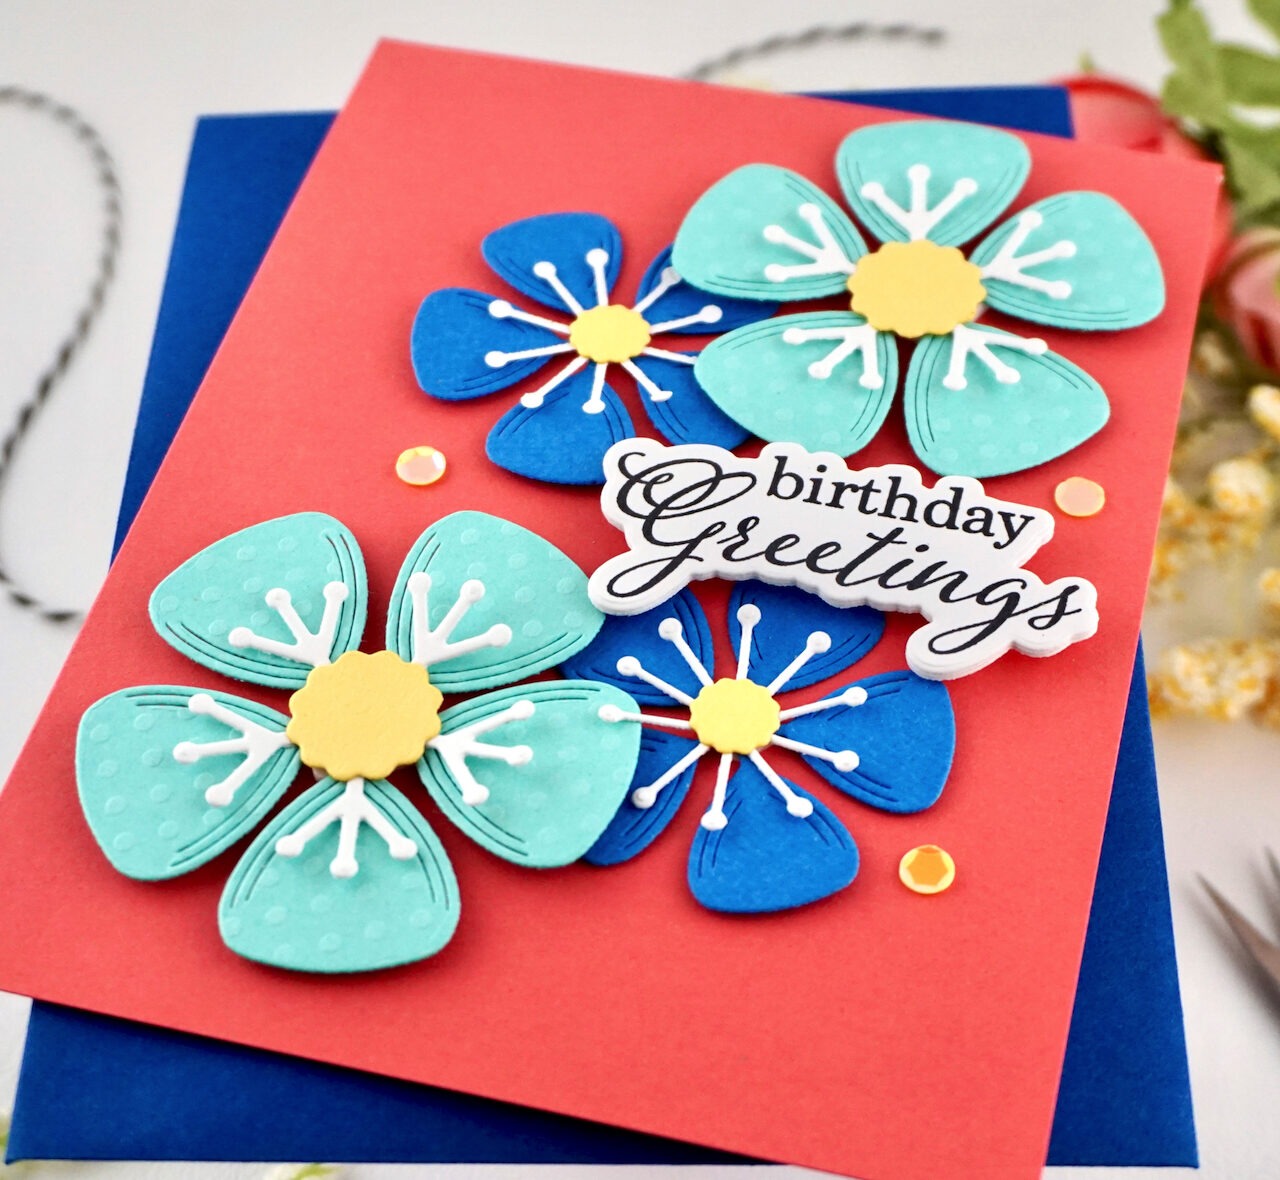
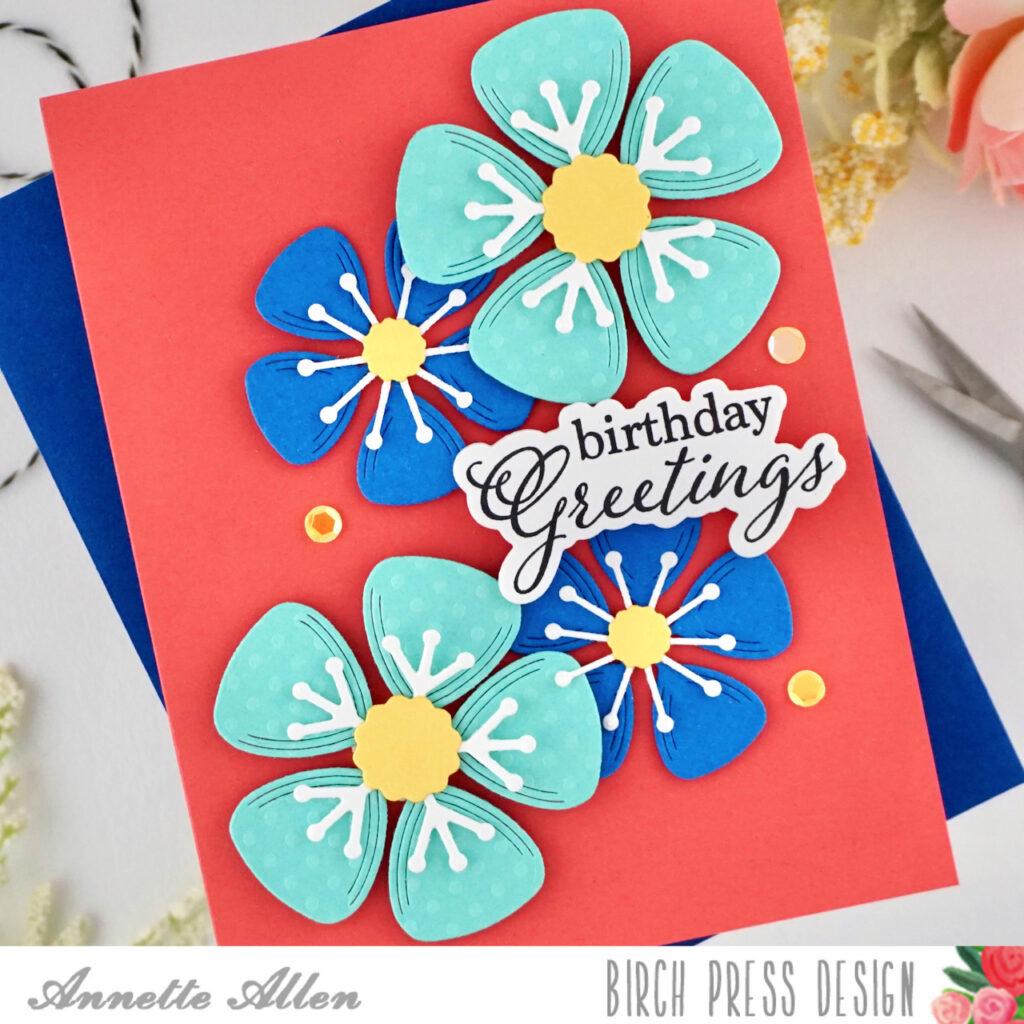
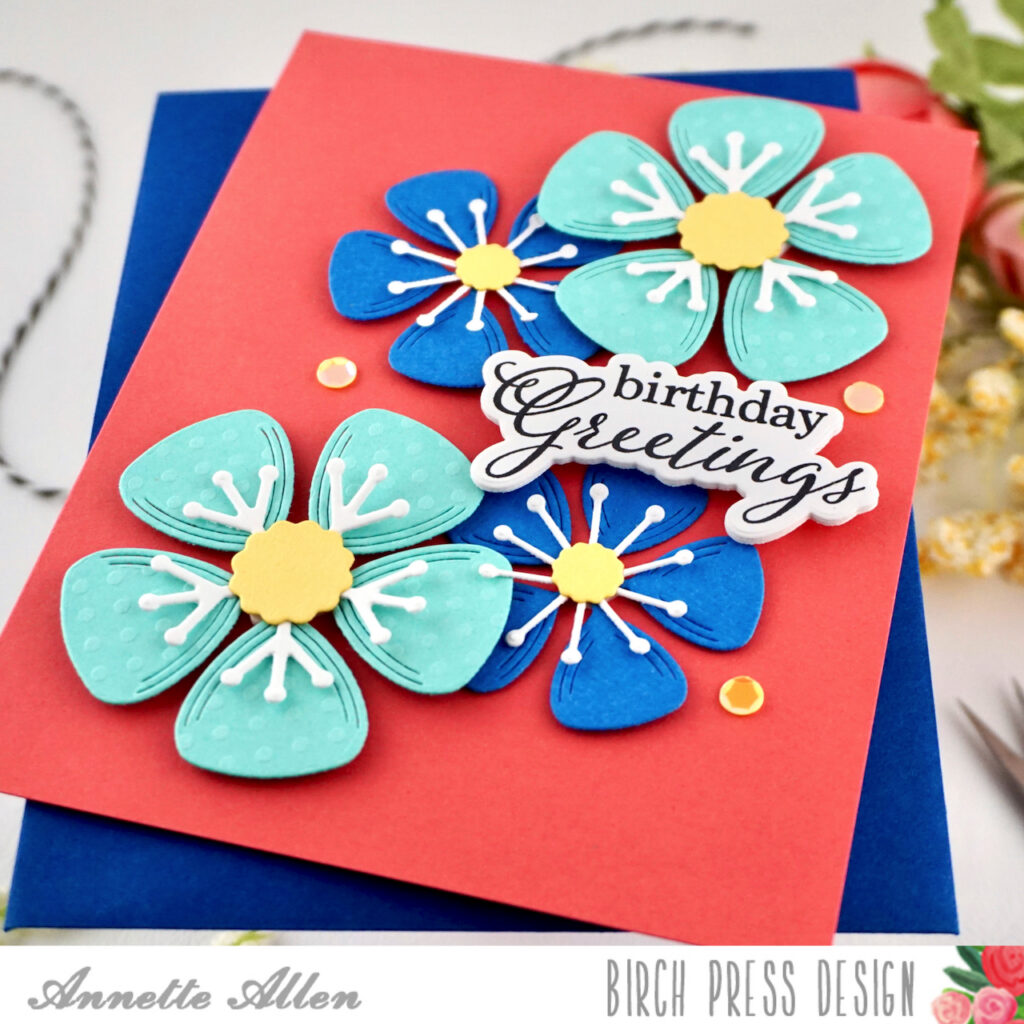
    Today I am creating with the Birch Press Design: Block Print Lovely Flower and Elegant Birthday Sentiment and Dies. 

    Create card from white cardstock A2 size

    Cut an A2 panel of pink/reddish cardstock and adhere it to your card base. 

    Die cut the Block Print Lovely Flower on colored cardstock. Use colors that will pop on the background that you choose. Die cut 4 of the flowers (2 of each) and adhere the pieces together using liquid glue. 

    Add foam tape to the back of the center of the flower and add the large flower to the right upper and left lower part of the card. 

    Add a thinner piece of foam tape to the smaller flower and tuck them slightly behind the large flower. 

    Stamp the sediment from the Elegant Birthday Sentiment stamp set on white cardstock using black ink and die cut using the coordinating die. 

    Finish with about few sequins here and there. I used yellow. 

    A floral filled birthday card….. so simple, yet so happy.

    Thank you for stopping by.

    Have a crafty awesome day!

  • With Love on Your Birthday by Rosemary Dennis

    With Love on Your Birthday
    by Rosemary Dennis

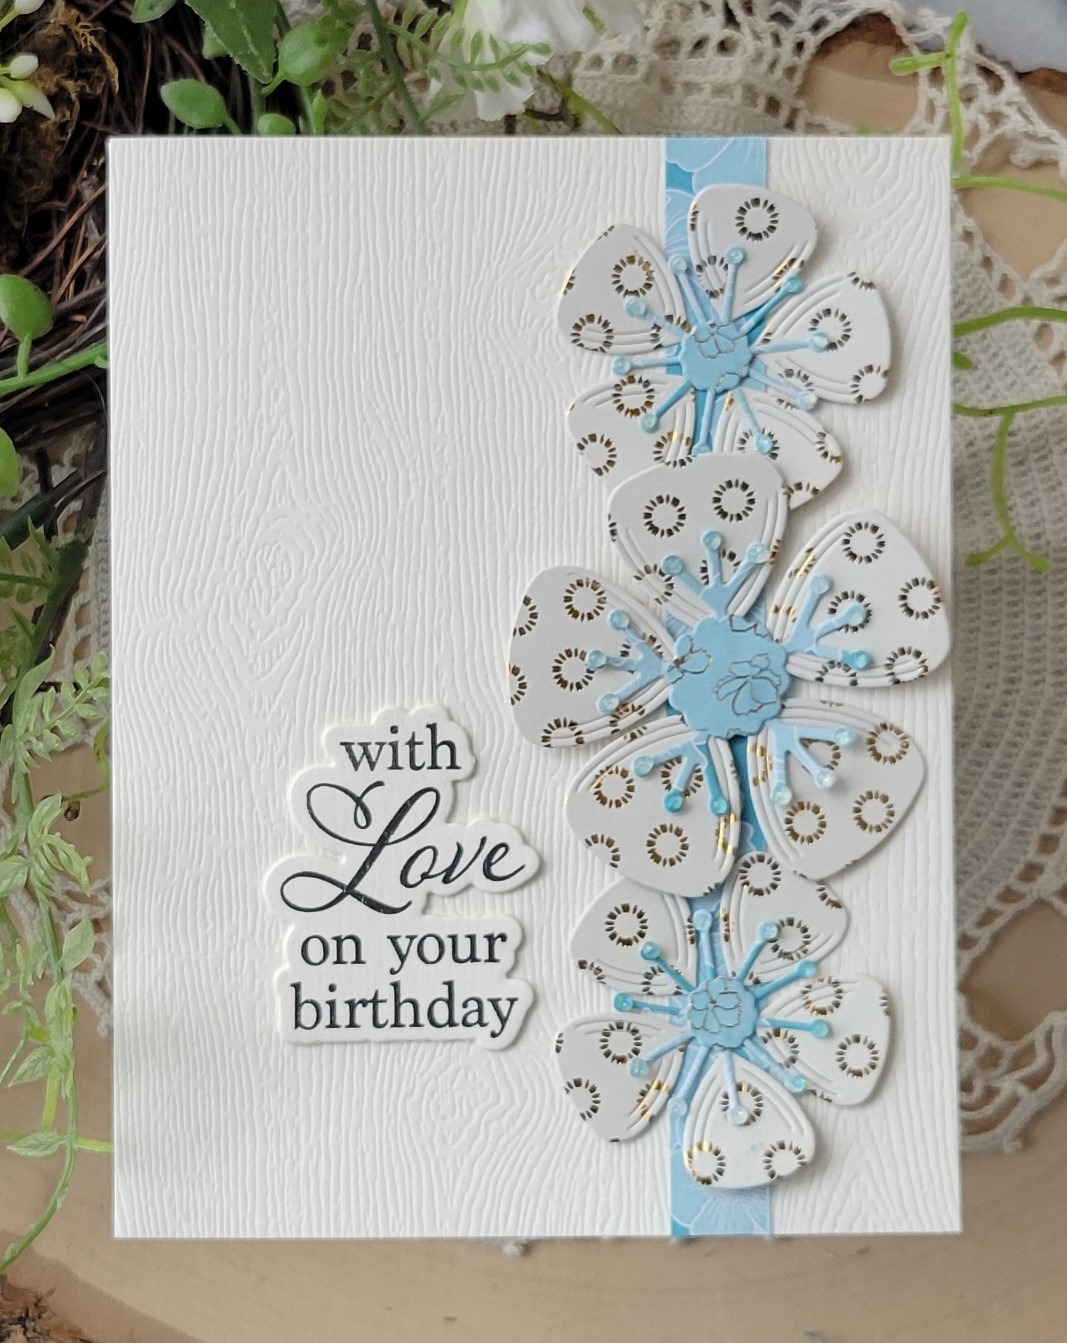
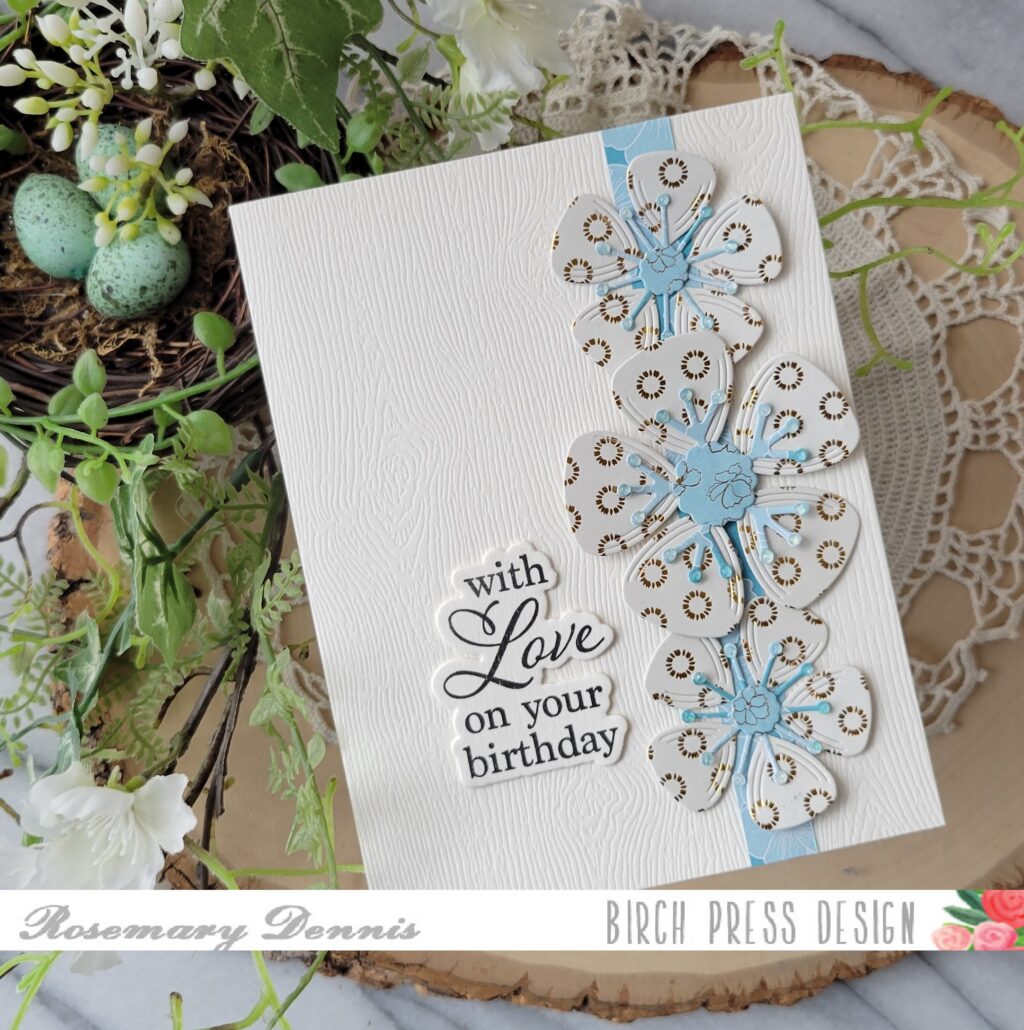
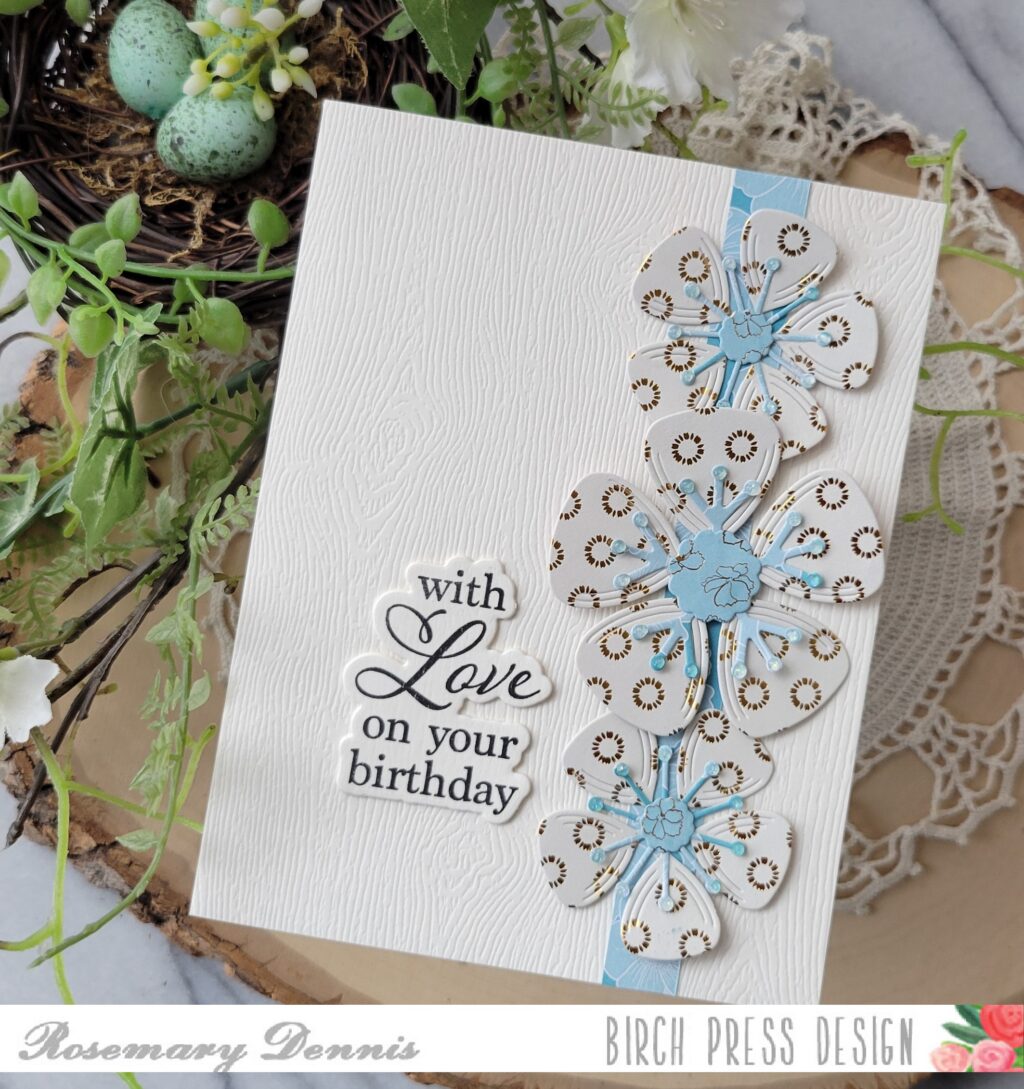
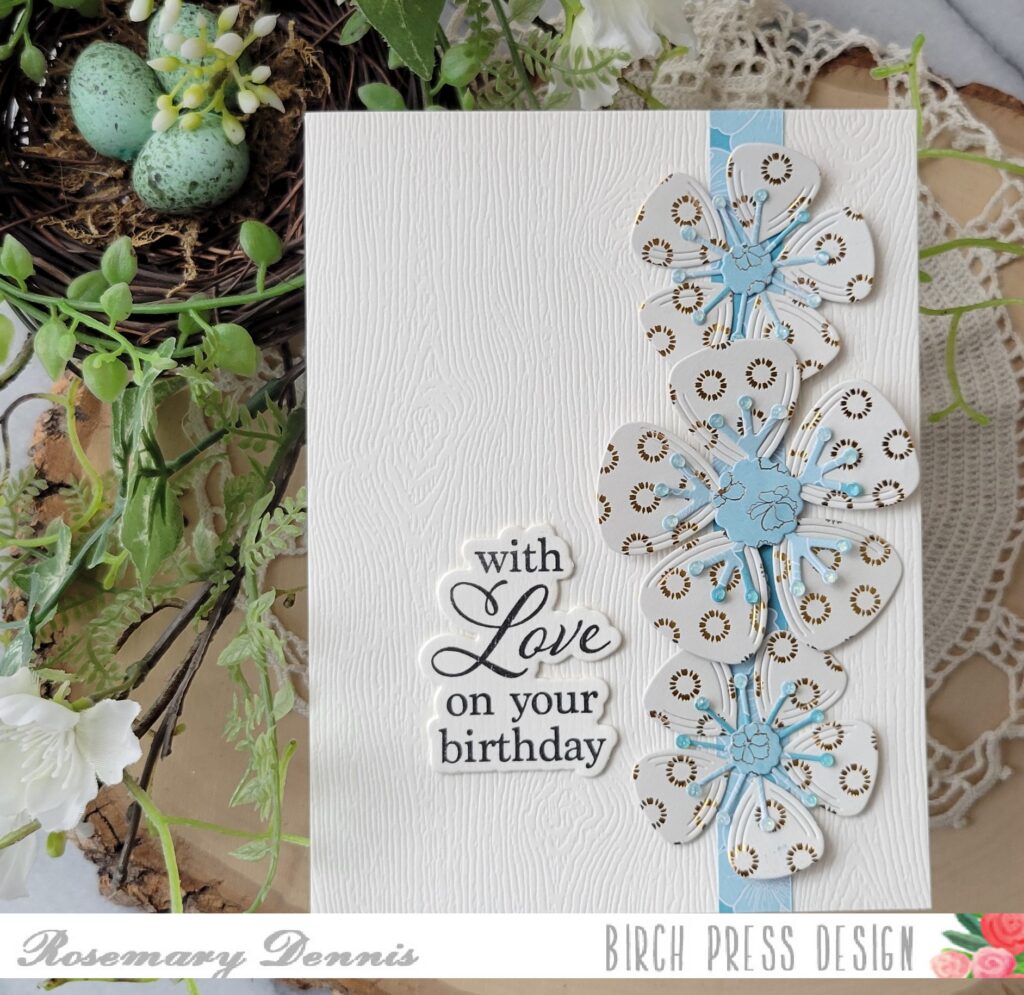
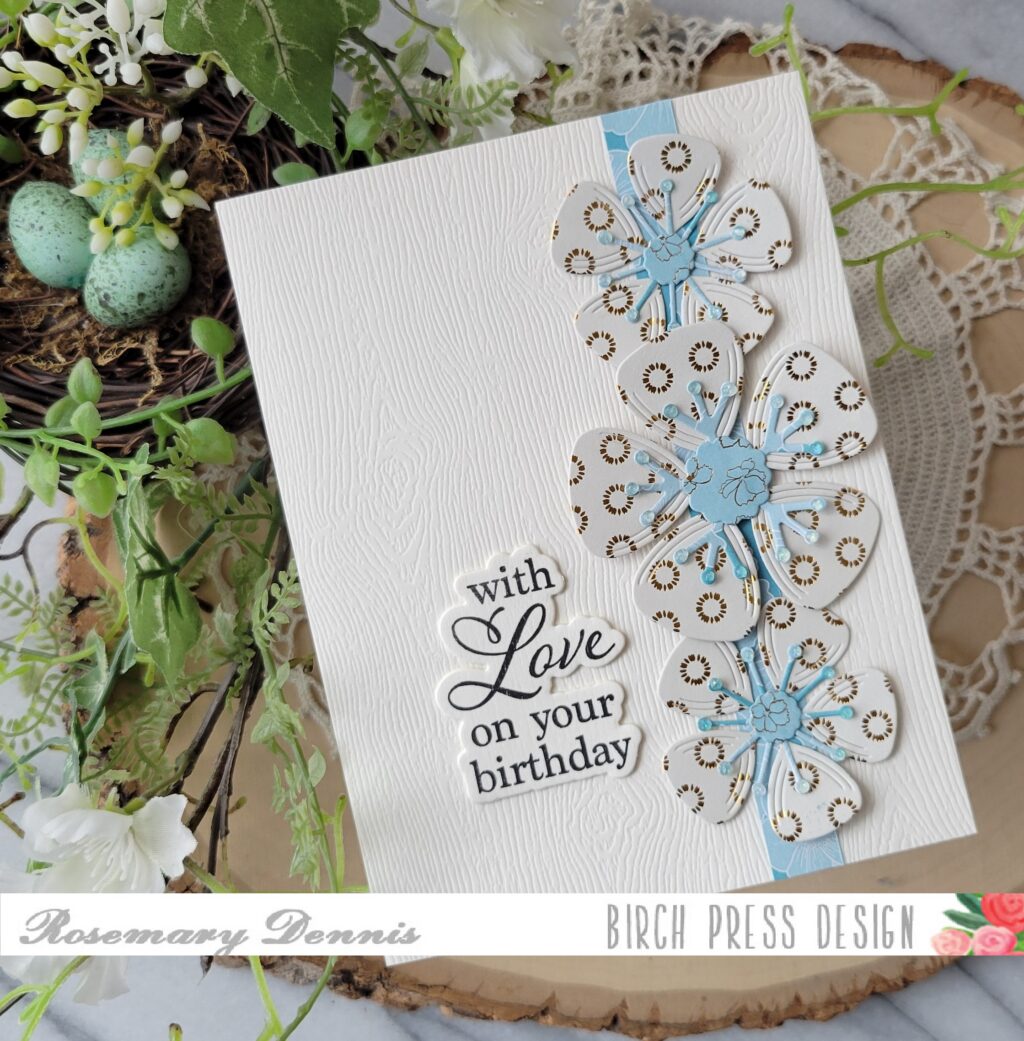
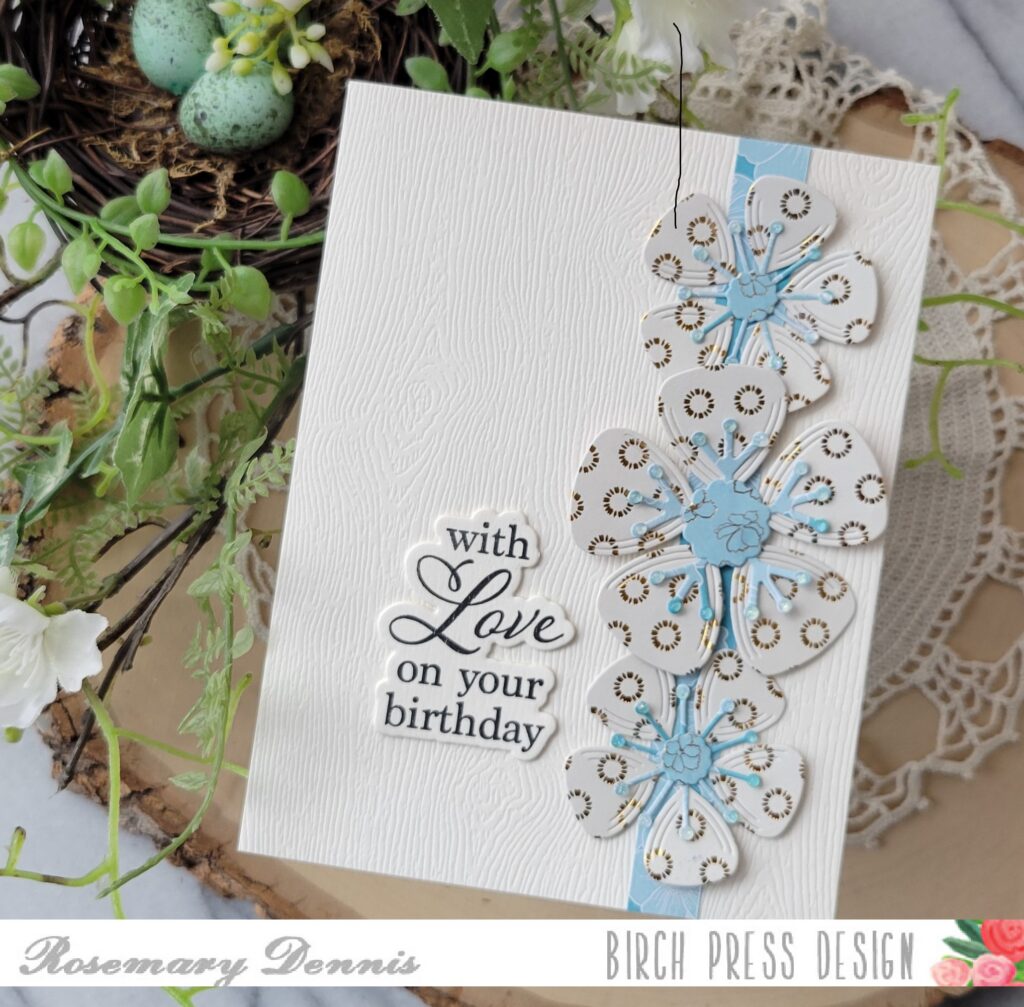
    Hello everyone! Rosemary here on the blog today with a simple design using the Block Print Lovely Flower and Elegant Birthday Sentiments stamp and die set. I also used some papers from the Memory Box Anemone Grove 6×6 paper pad. Let’s look at what I made.

    I guess this month I have a theme of using patterned paper, lol! I’m often hesitant to use patterned paper for die cutting, but decided that I would give it a try, again. For this card I decided to make sure that I used a more neutral pattern for the flowers. For that I chose a cream paper with gold foiling.

    I chose a light blue paper with gold foiled flowers to use for the flower centers. A strip of the flip side for the blue paper was used as an accent as well.

    I adhered all the pieces of the flowers together and set them aside to dry. I love the Memory Box woodgrain cardstock for backgrounds as it adds a nice subtle look. I trimmed down a piece of cream woodgrain and then added the strip of patterned paper.

    The flowers were then adhered to the paper strip. I used a thin foam square for the large flower and then glue for the two smaller flowers. A dot of a crystal lacquer was added to each of the little stymens and I set aside the panel to dry.

    I finished with the sentiment that I stamped in black on the reverse side of a piece of the cream woodgrain cardstock thus achieving a nice cohesive look. I hope you enjoyed today’s project. Thanks for stopping by and have a wonderful day.

  • Bright Floral Friendship Card by Toni M Maddox

    Bright Floral Friendship Card
    by Toni M Maddox

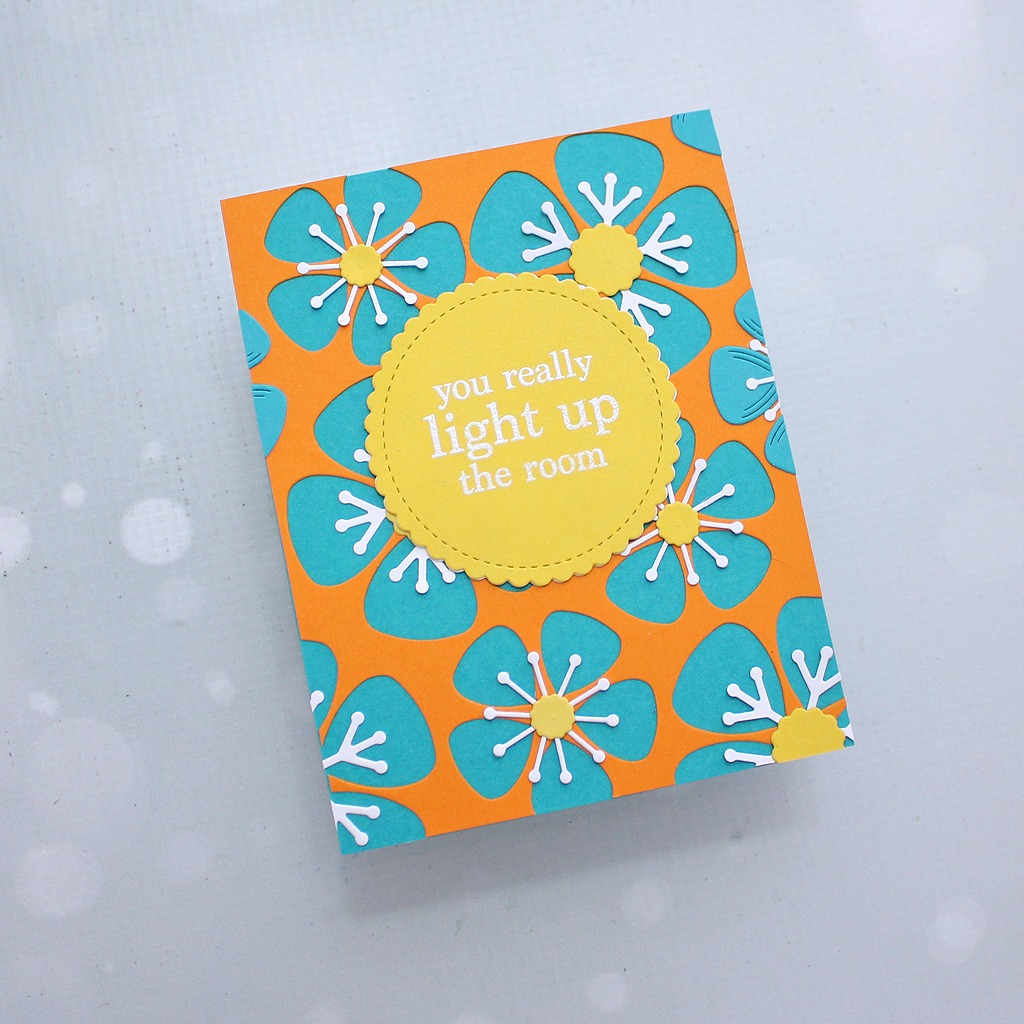
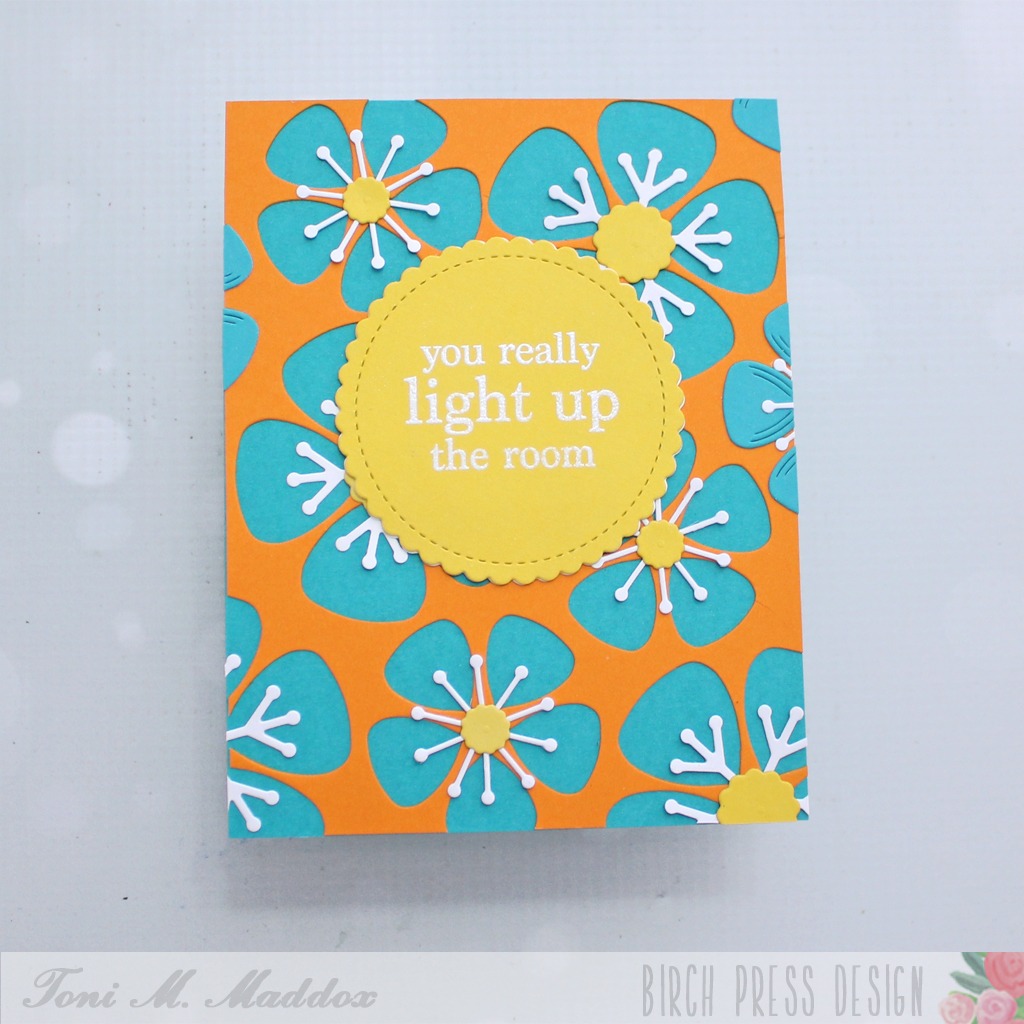
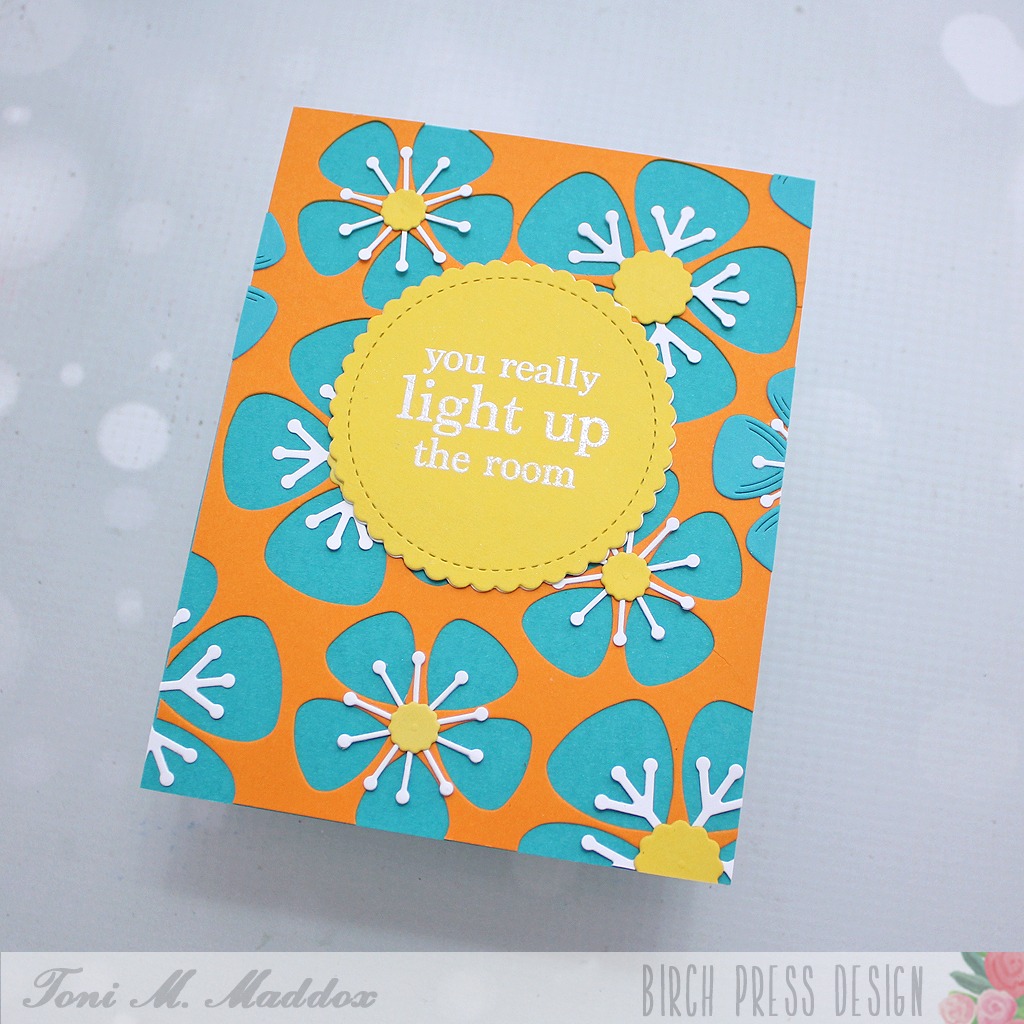
    Greetings, my friends! It’s Toni with you again. Today I have a bright floral card perfect for any occasion.

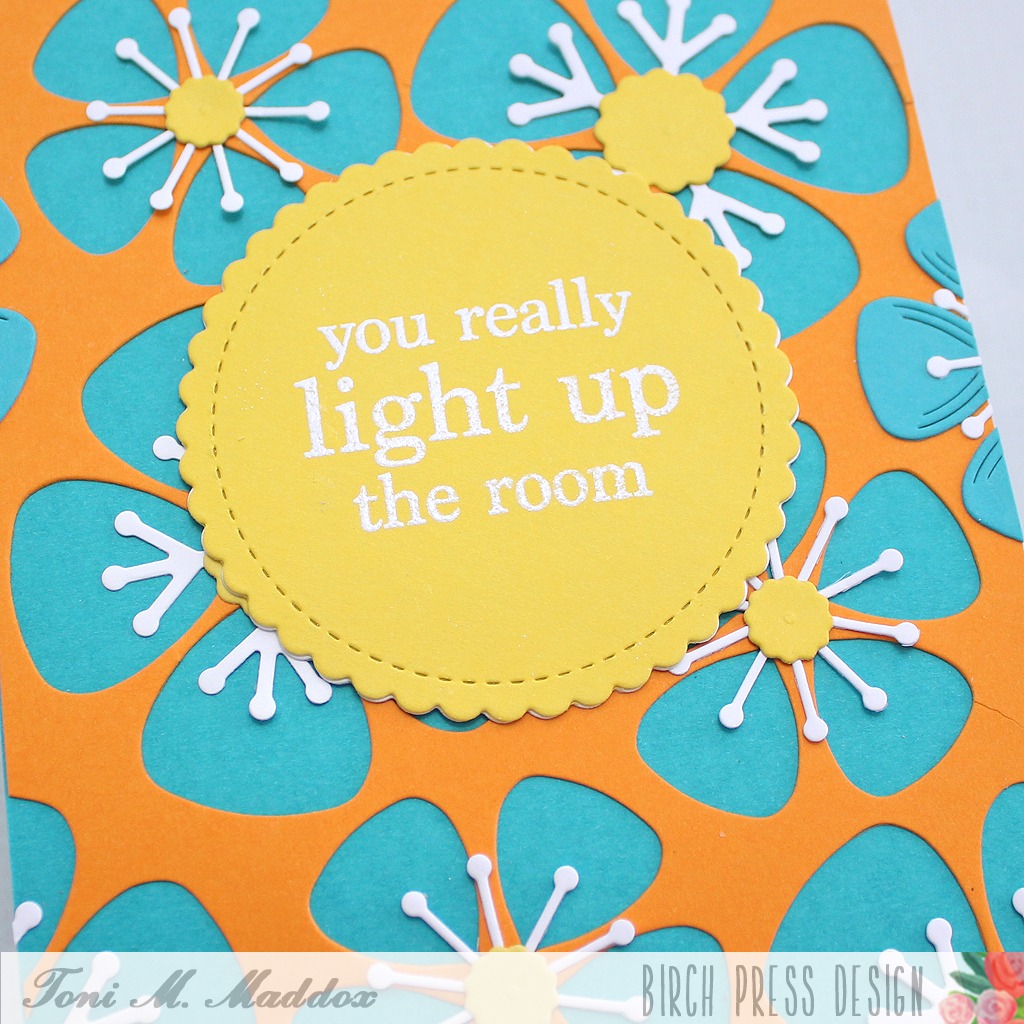
    I started by randomly cutting out the Block Print Lovely Flower from an orange panel of Memory Box Sunrise 6×6 cardstock.

    I adhered this panel to a base of Memory Box 6×6 Lagoon cardstock. Look at those complentary colors–love!

    Next, I diecut the flower centers from the Sunrise pad with the white stamens from scrap white.

    I used the same yellow for the sentiment layer, embossing the Plain & Simple Birthday Greeting in white.

    I hope you enjoyed today’s card and have a great rest of your week!

    Feel free to visit my blog, Frankie Helps Craft, for a full list of supplies used and to check out my other creations.

  • Bountiful Bloomsby Christina Rannow

    Bountiful Blooms
    by Christina Rannow

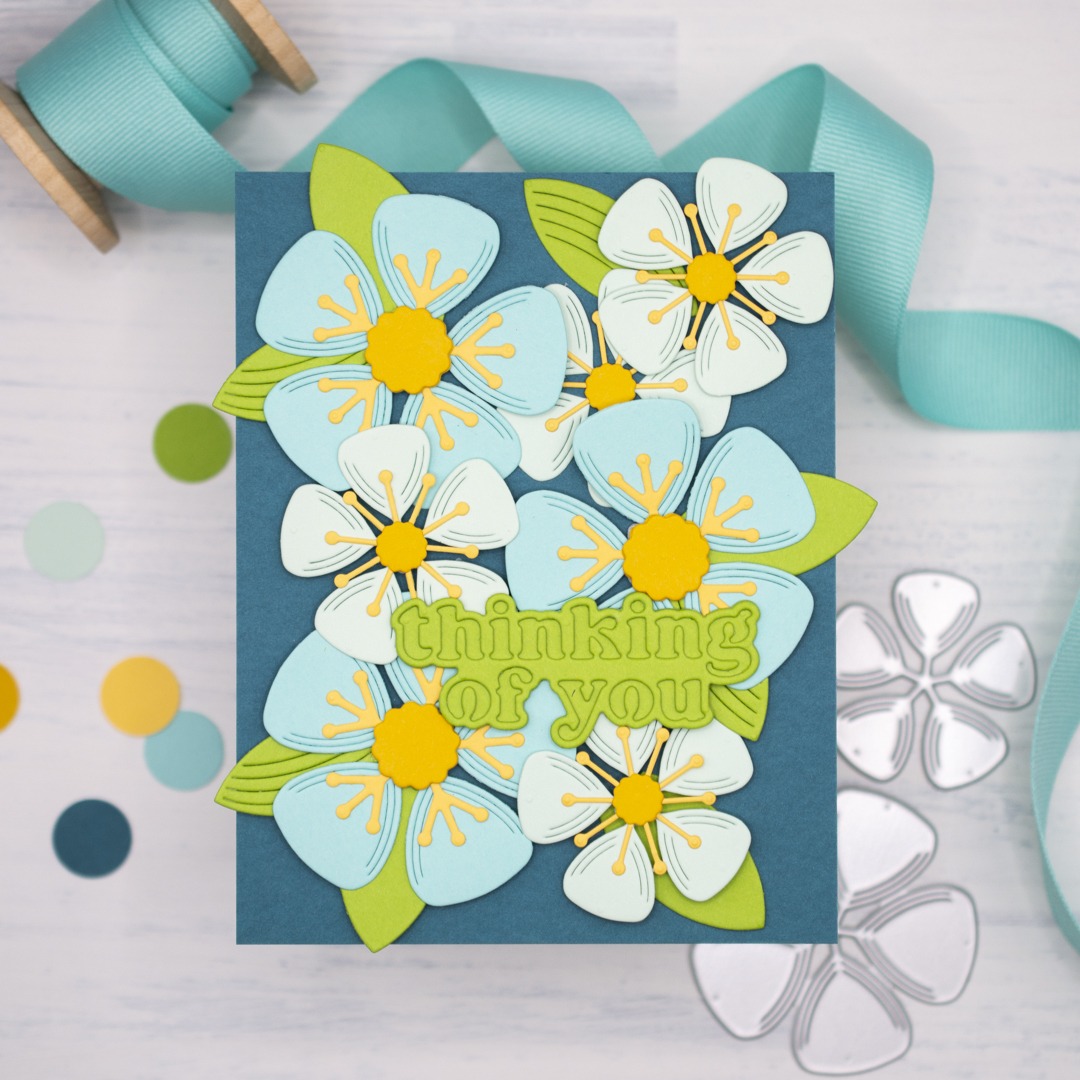
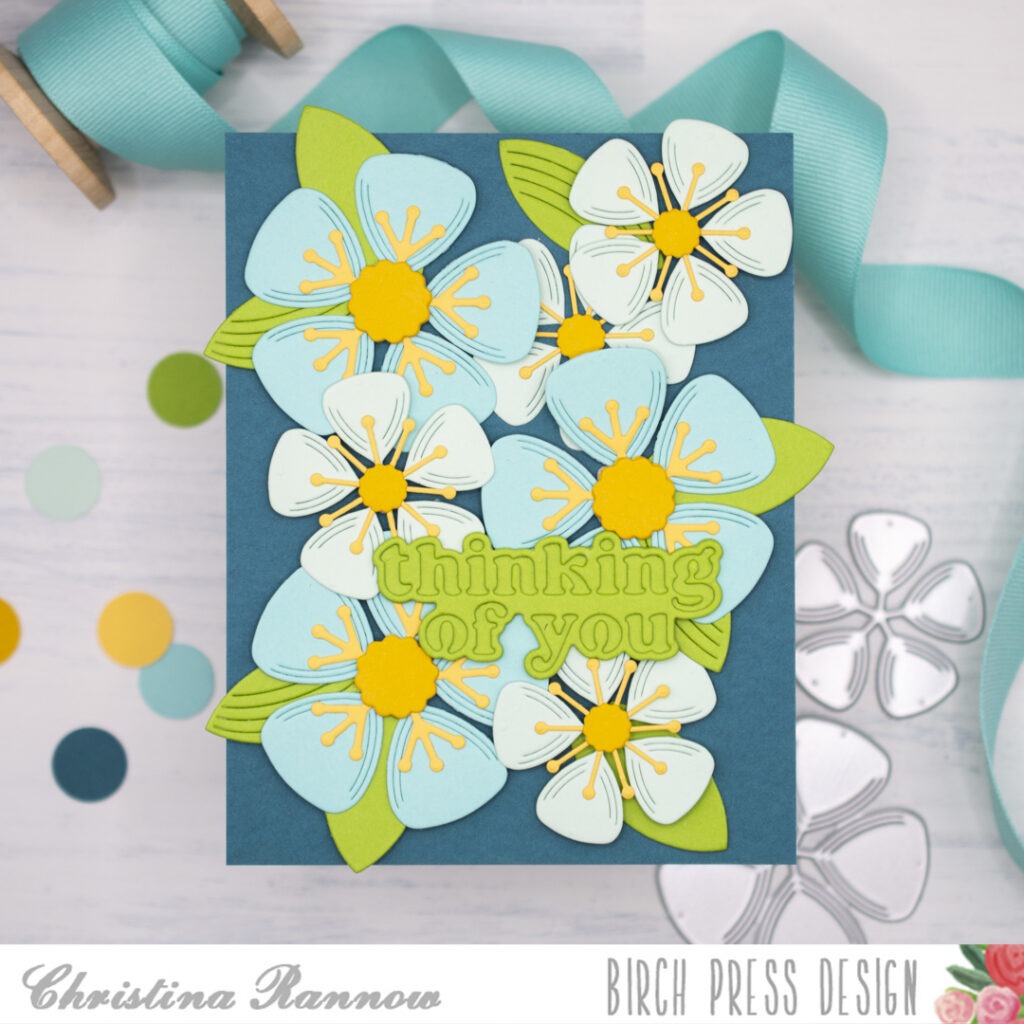
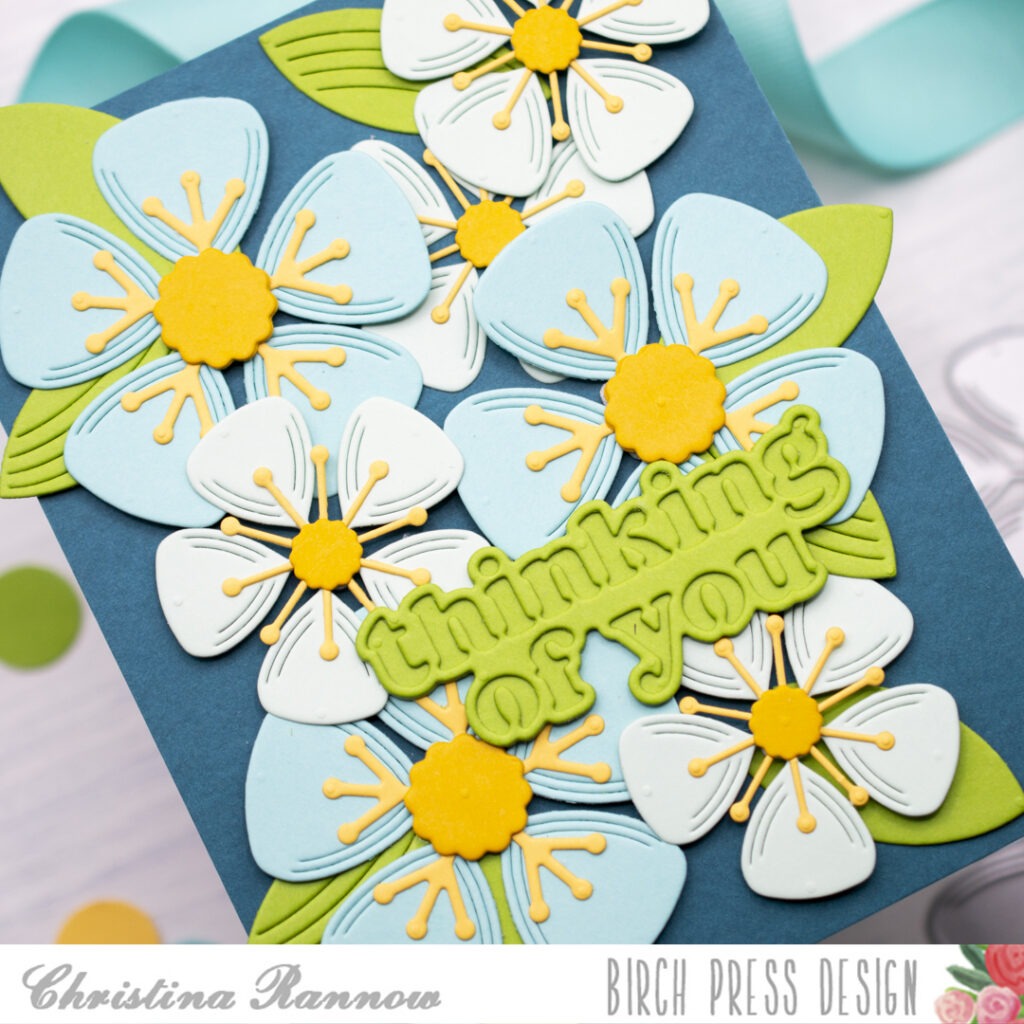
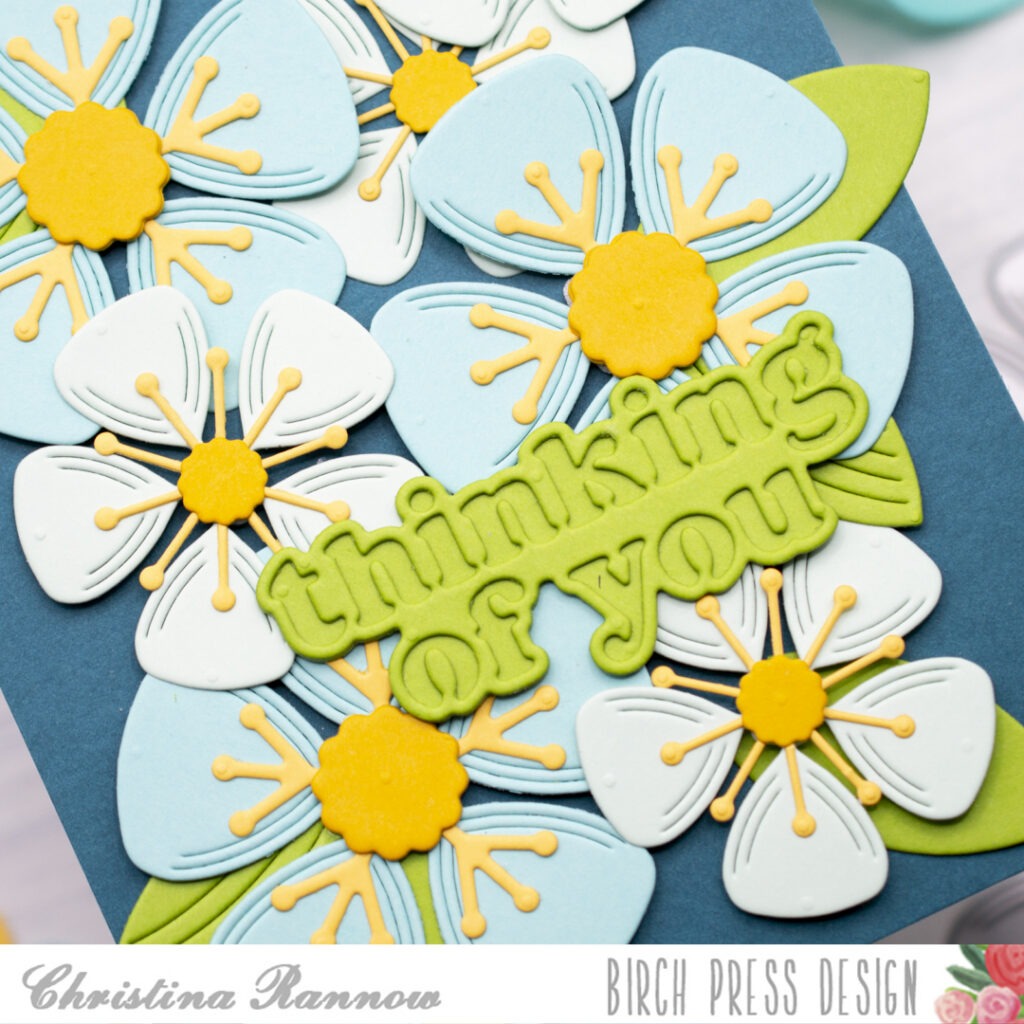
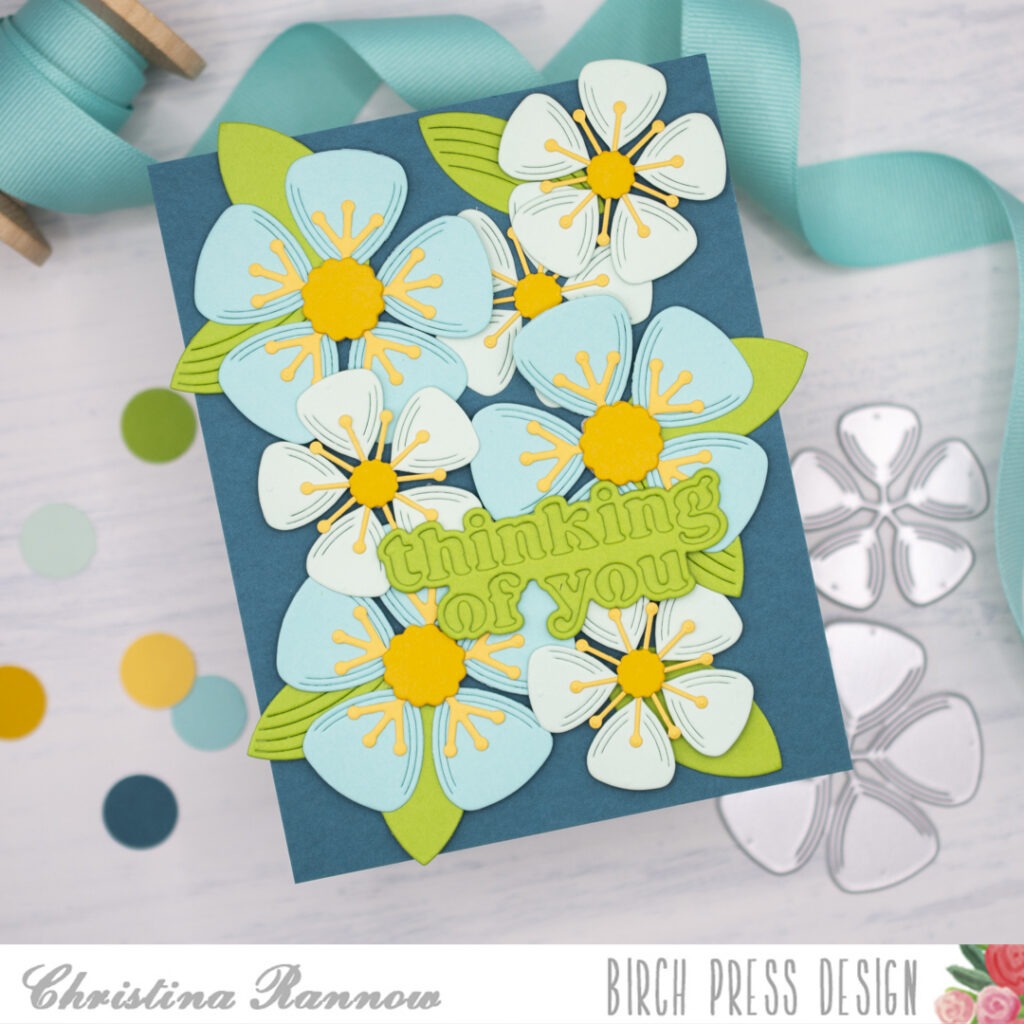
    Hello! It’s Christina, and today I’m sharing a bold but simple card that is bursting with beautiful blooms. I chose an analogous color palette of yellow, green, and blue and used the Block Print Lovely Flower craft dies, layering multiple flowers across my card front. I wanted a big bold leaf to match these blooms and settled on using the wing of the Block Print Crane craft dies and finishing with the Thinking of You Vintage Sentiment. 

    After choosing my color palette, this card came together quickly. First I die-cut and assembled multiple flowers and arranged them on a peacock blue cardstock panel. I attached some of the flowers with glue and others with thin foam squares for some dimension. Then I die-cut the wings of the crane multiple times from chartreuse green cardstock to be the leaves and tucked them into the flowers. The final steps were to die-cut the sentiment from more chartreuse cardstock, attach it using glue, and then secure the card front to a side-fold card base.

    Thank you so much for checking out my bountiful blooms card I made featuring the Block Print Lovely Flower craft dies. I hope I’ve inspired you to create something beautiful today!

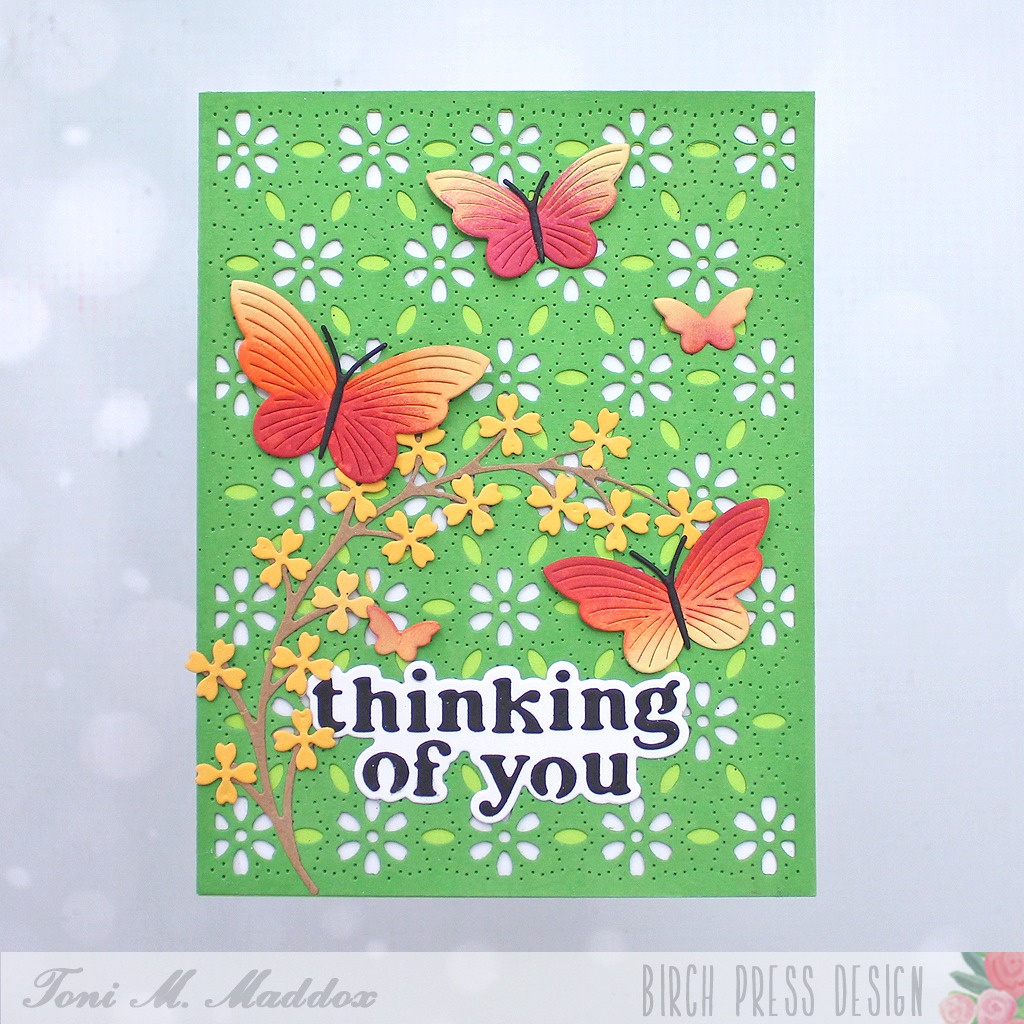
  • Spring Butterflies by Toni M Maddox

    Spring Butterflies
    by Toni M Maddox

    Are you ready for nicer weather, my friends? Toni here and I’m very much looking forward to spring so I channeled that into a cheerful card.

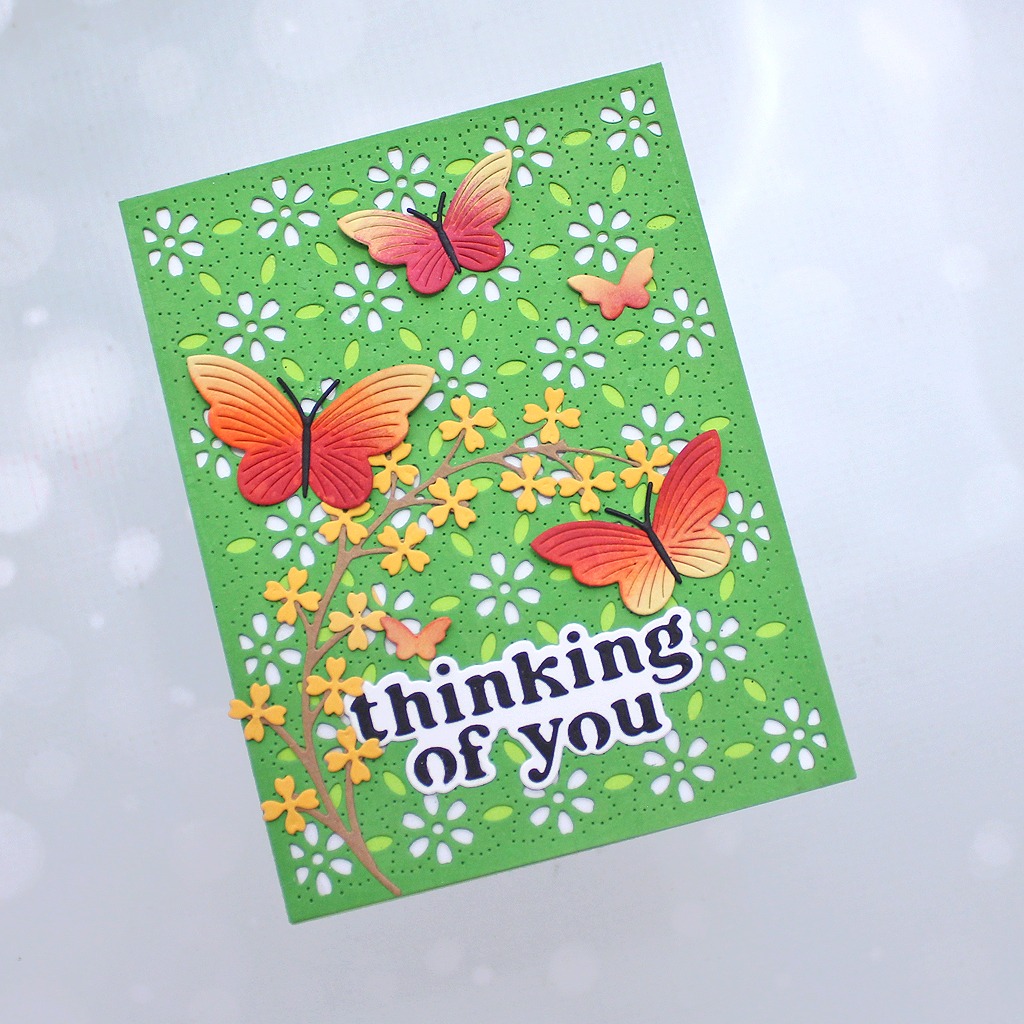
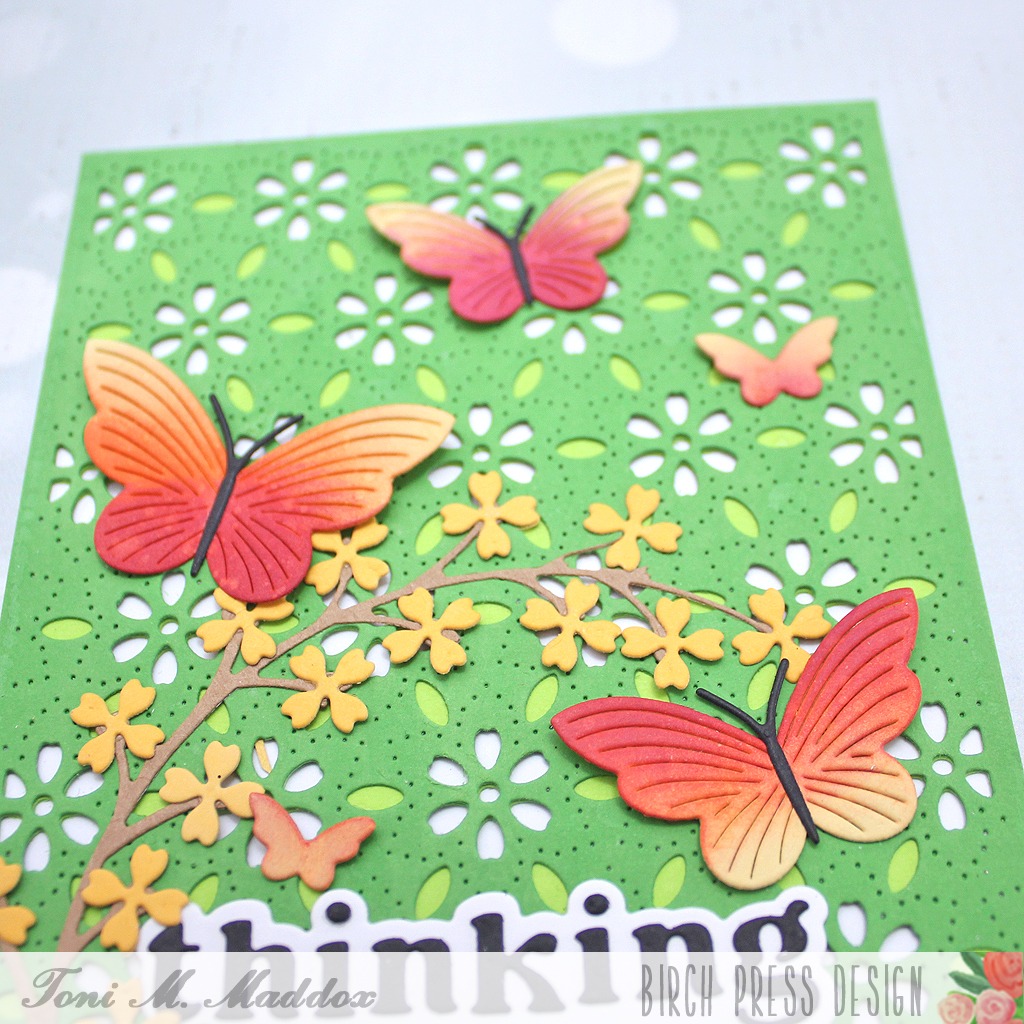
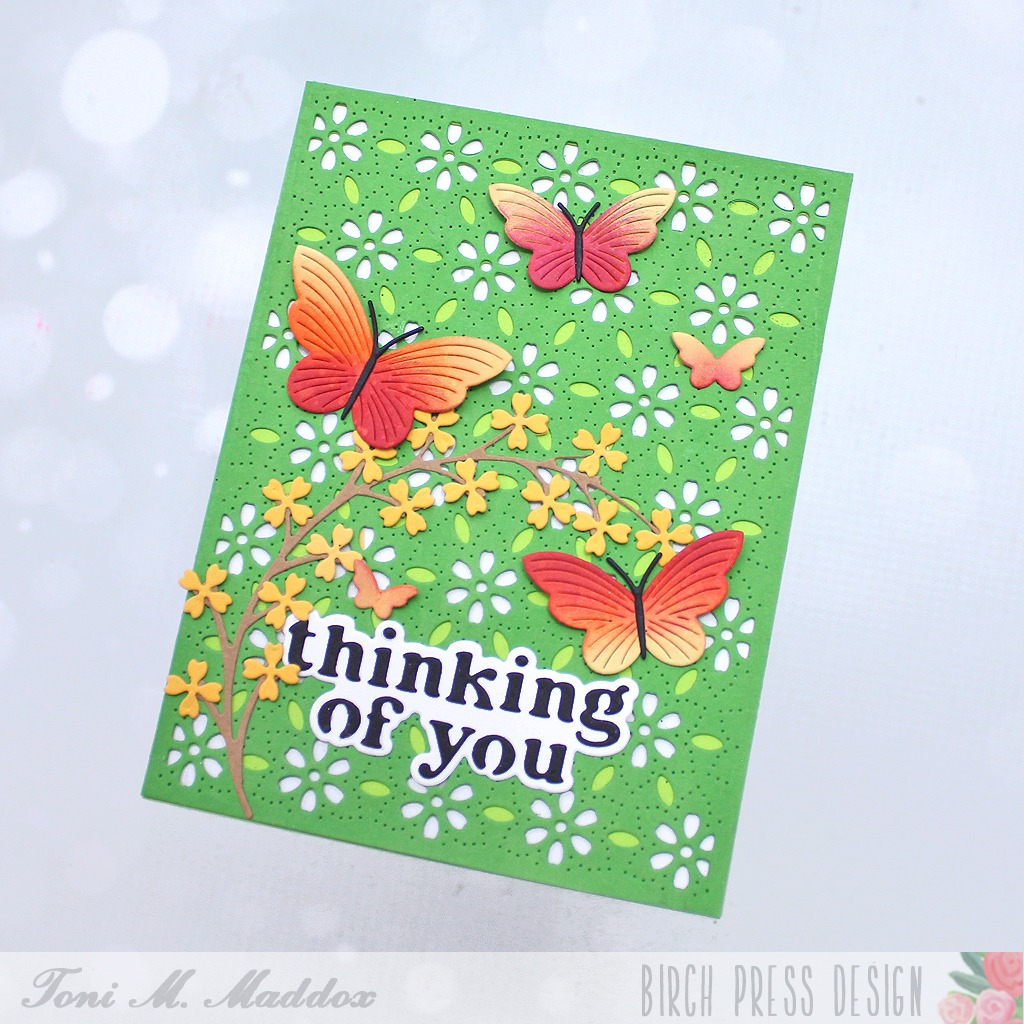
    To create the background, I used two layers of the Flora Plate set, one from Memory Box Cilantro cardstock and the other from Key Lime.

    Next, I cut out a branch from the Floral Arch Contour set from kraft. I then added Abundant Branch blossoms which I had cut from Memory Box Summer Squash cardstock.

    Creating the butterflies might have been my favorite part. I cut the Linear Boho Butterflies from Memory Box Golden Wheat cardstock then sponged them with an orange and magenta ink to create a gradient. They’re so pretty!

    Finally, I added the Thinking of You Vintage Sentiment, using black on white to really draw the eye.

    I hope you enjoyed today’s card and have a great rest of your week!

    Feel free to visit my blog, Frankie Helps Craft, for a full list of supplies used and to check out my other creations.

  • Spring Daisiesby Christina Rannow

    Spring Daisies
    by Christina Rannow

    Hello, it’s Christina! Spring has sprung, and I have a bright and happy card to share with you featuring the new Block Print Daisy Flower craft dies. I love that you can layer up the daisy petals to get full, beautiful blooms with plenty of depth and dimension. I combined the daisies with some more new goodies, the Mod Branches and Thinking of You Vintage Sentiment craft dies. And to round out this bright and happy card design, I added a small Buzzing Bumblebee and a few smaller flowers to complement the daisies. Grab your favorite cardstock colors and we’ll get started!
    I started by die-cutting all the components for the different elements of my design and then assembled them, securing everything with glue. I chose a pale pink and a salmon-colored cardstock for the daisy petals and a buttery yellow and an orange for the smaller flowers. For the Mod Branches, I chose a bright cilantro green cardstock, and after die-cutting two of them, I snipped a few leaves and berries from the branches, leaving me with just a few leaves on each one to accent the daisies. I decided on black cardstock for the sentiment because it coordinated with the bumblebee, tying everything together.

    With all the die-cutting and assembling done, it was time to put everything together. I kept the background panel simple and used plain white cardstock that I die-cut to give it a dotted detail around the edges. Then I placed the Mod Branches on the panel so they formed a natural frame and added the big beautiful daisies to fill in the corners. I placed the sentiment along the bottom and then embellished my design with the smaller flowers, scattering them throughout, and the sweet bumblebee buzzing into the scene. The final step was to attach the card front to a side-fold card base.

    Thank you so much for checking out my bright and happy card design featuring the new Block Print Daisy Flower craft dies! Happy crafting!

  • Tropical Birthday Greetingsby Toni M Maddox

    Tropical Birthday Greetings
    by Toni M Maddox

    Hello, my friends! Toni here today sharing a birthday card for any bird lovers in your life. Who am I kidding? This is perfect for anyone with a birthday!

    I used the Pinpoint Contour Plate on the pale blue card front then sponged it with a darker blue Catherine Pooler ink (aquatini?).

    Setting the panel aside to dry after spattering it with a bit of water, I die cut the Abundant Branch and blossoms from Memory Box cardstock.

    I particularly enjoyed assembling the  Block Print Perched Tropical Bird where I used Memory Box cardstock sponged with Catherine Pooler ink for shading.

    My final step was to emboss and diecut the Elegant Birthday Sentiments. Such a great font, isn’t it?

    I hope you enjoyed today’s card and have a great rest of your week!

    Feel free to visit my blog, Frankie Helps Craft, for a full list of supplies used and to check out my other creations.