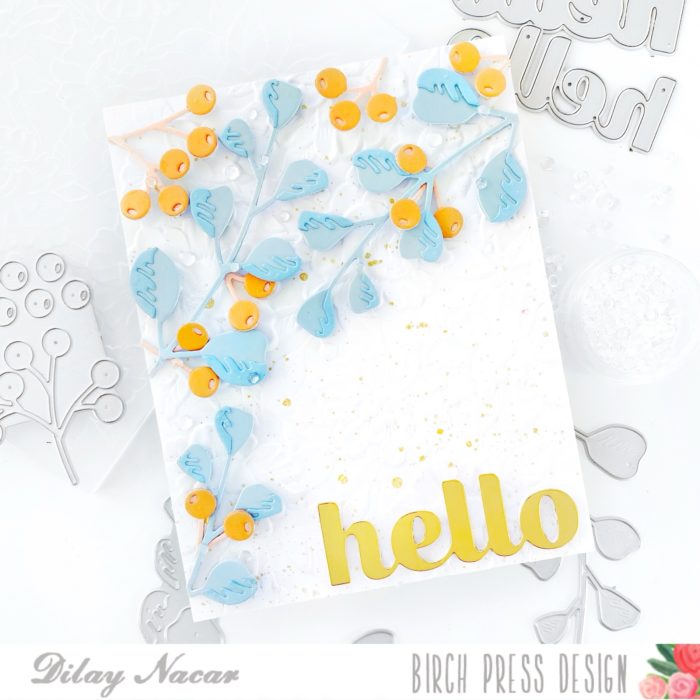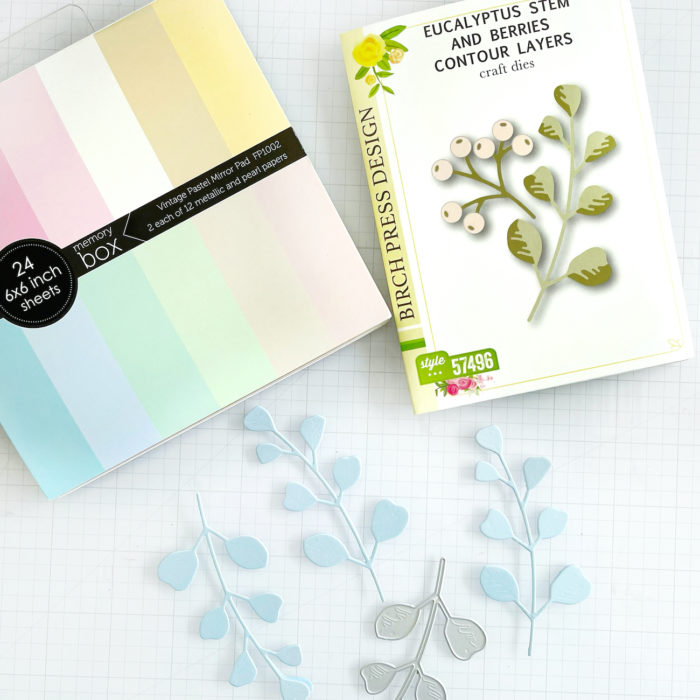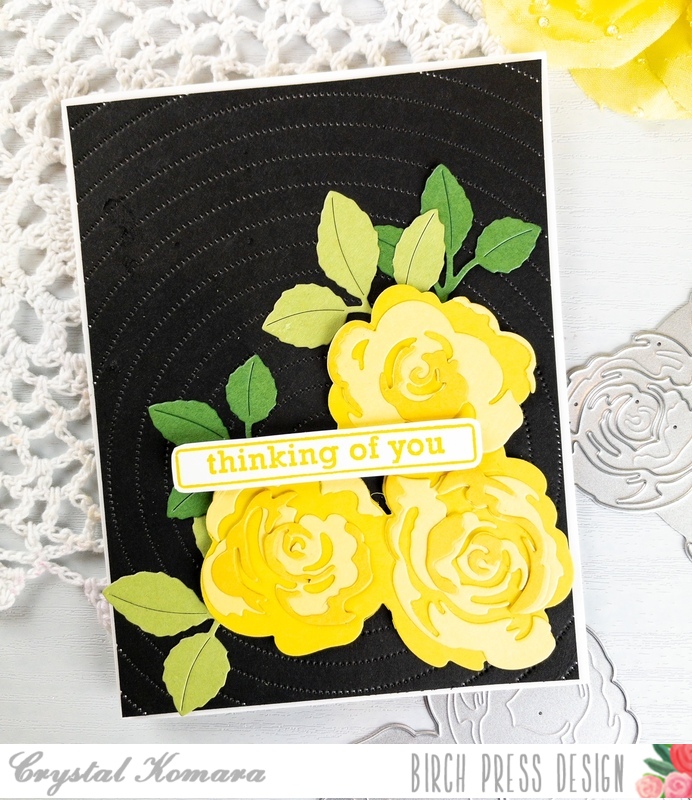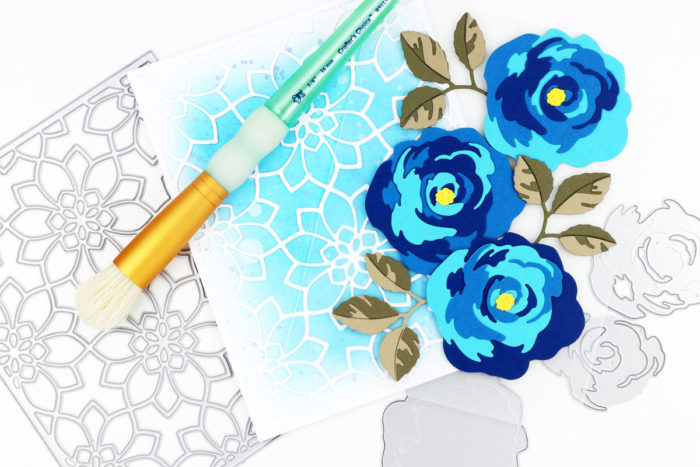
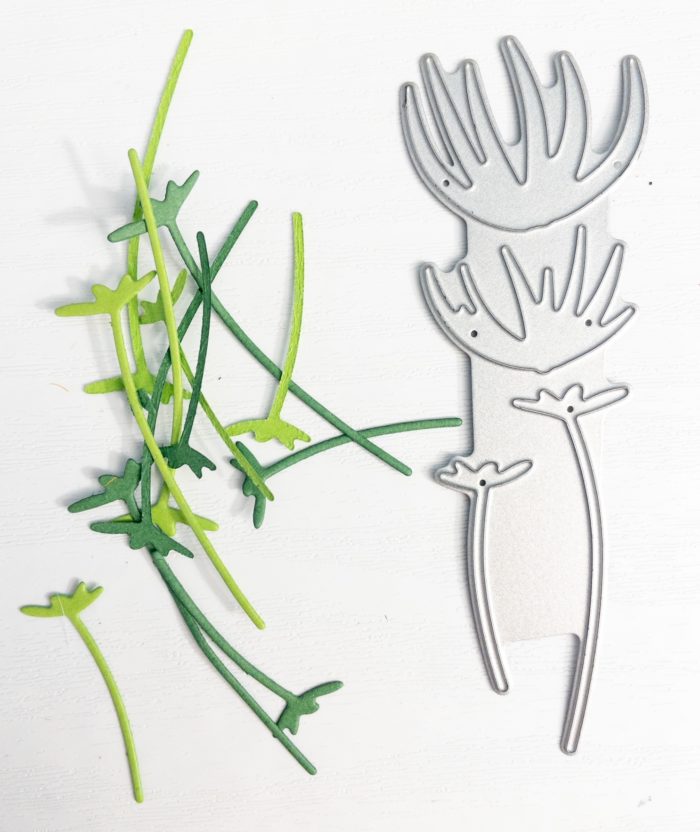
Hello crafty readers! This is Design Team member Crystal Komara here with you today and I am SOooooo excited to share today’s card with you! This card features the Wispy Blooms dies, part of the all-NEW Contour Layering products from Birch Press Design.
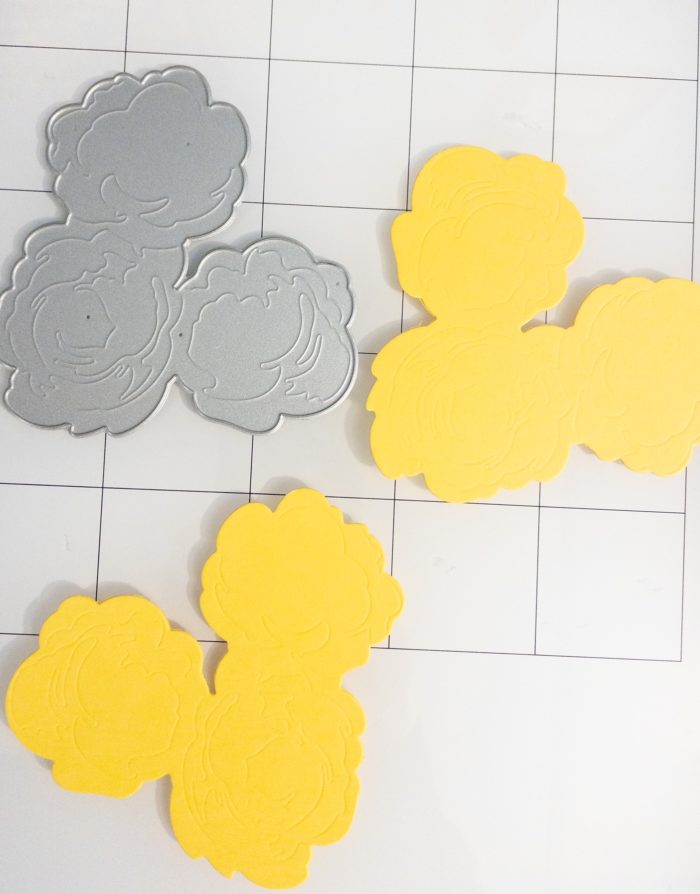
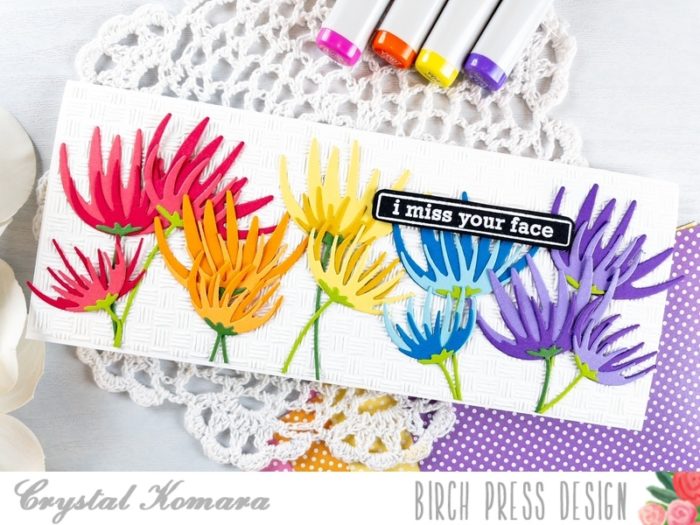
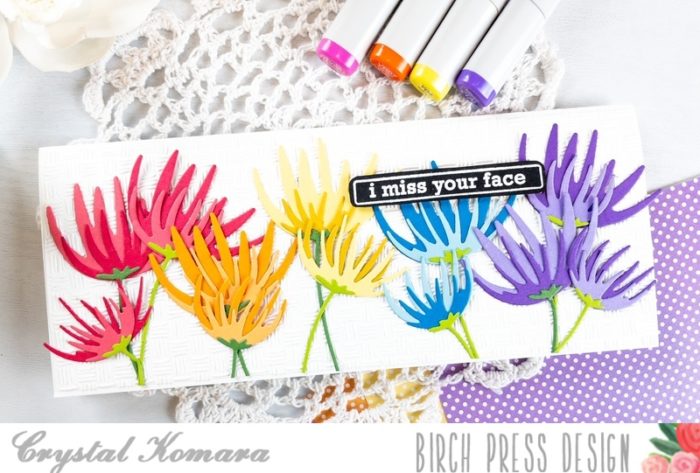
Now, I’m not gonna lie, you’re going to take one look at this AH-mazing garden of rainbow delight and be WOW’d! Then, you’re gonna take a second look and say “wait, did she really die cut ALL those flowers? Is she craaaaazyyyy?!” Yes and yes! : ) Do I have the patience of a saint? No. Not at all. In fact, I typically shy away from oodles of die cutting (that’s all you, Jennifer McGuire!) but once I started and saw where this card was going, it was SO worth it!
Card details:
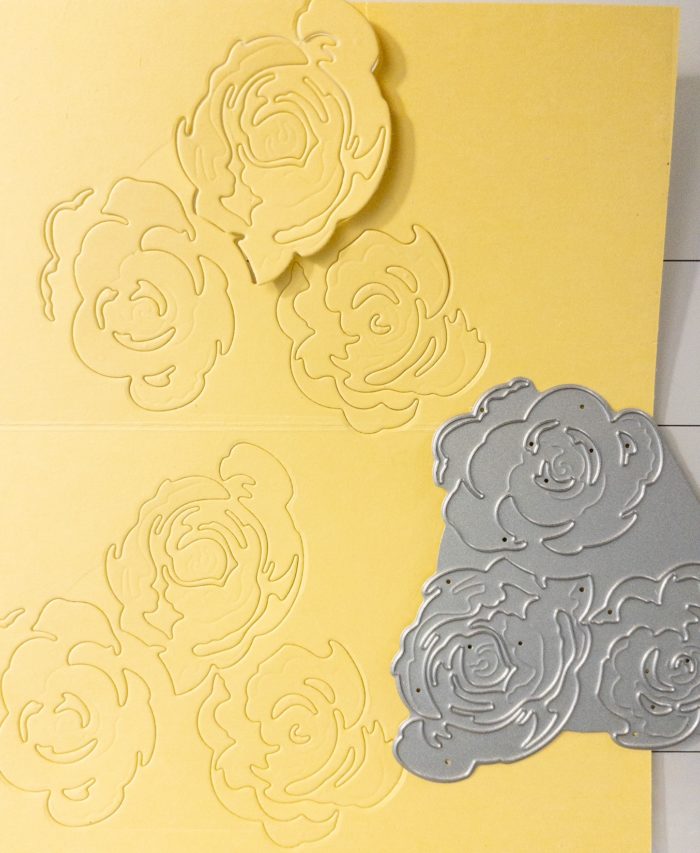
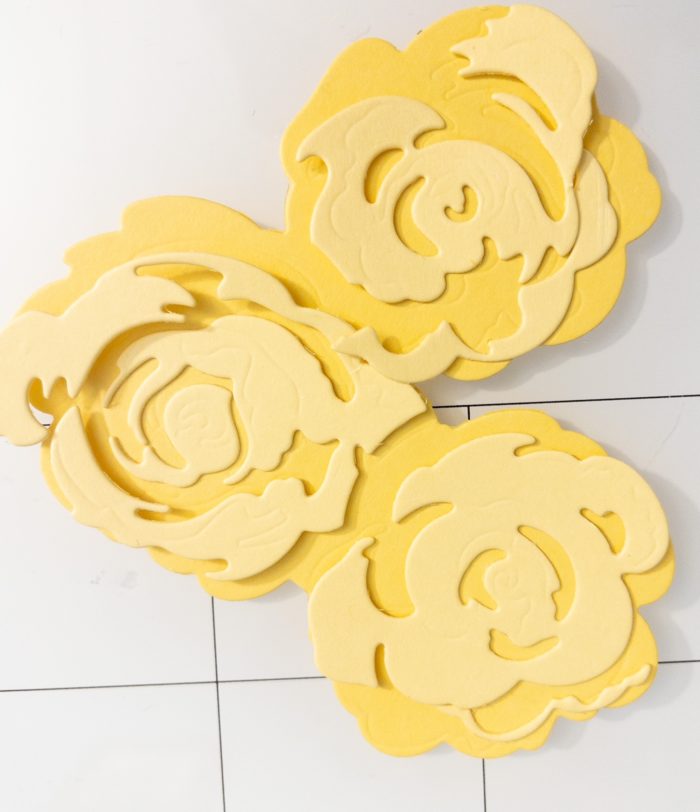
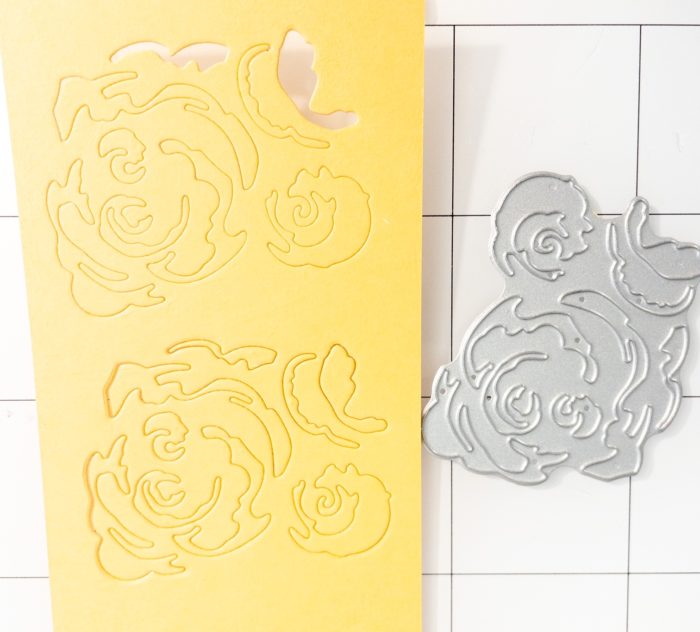
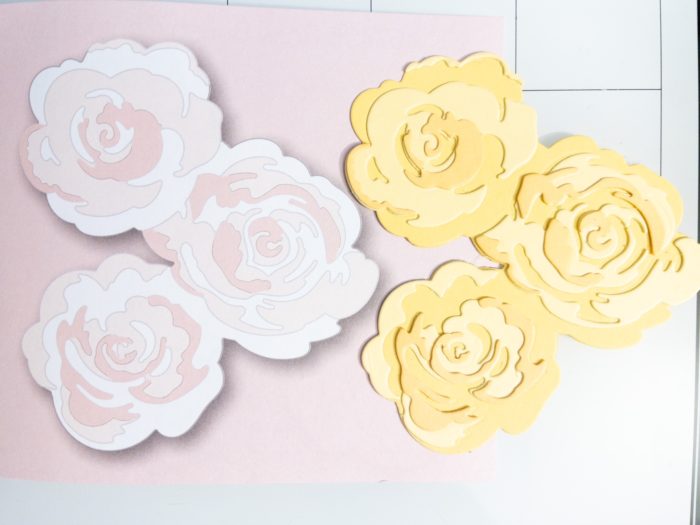
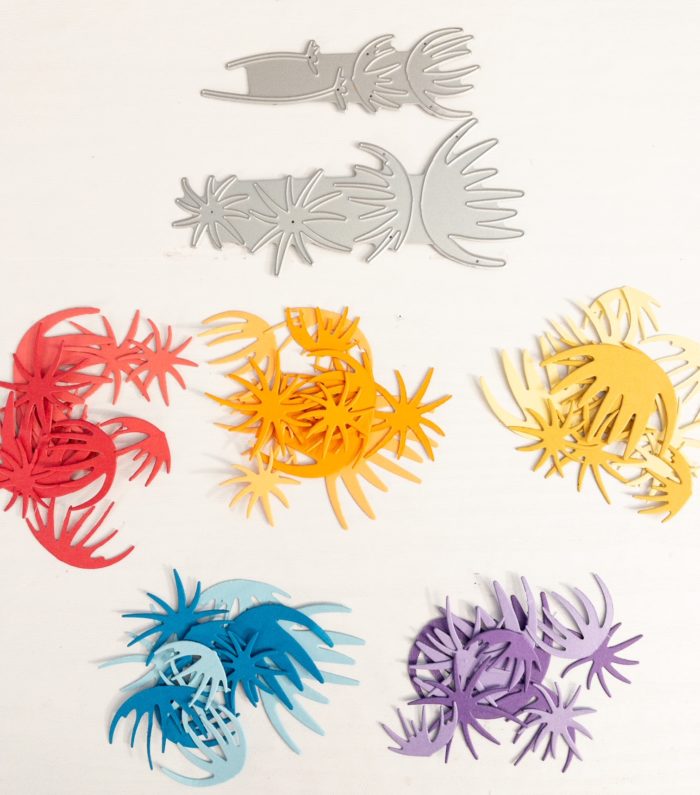
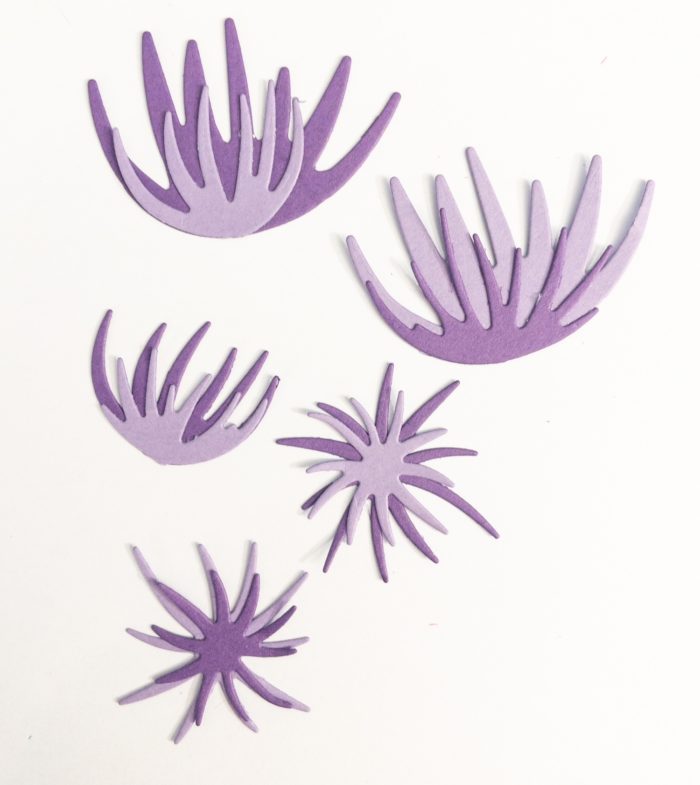
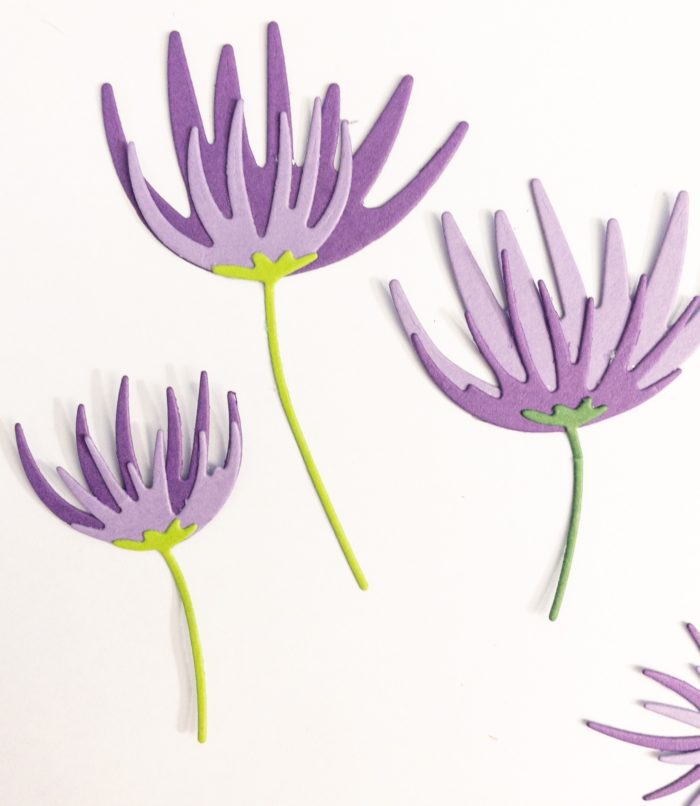
Yeah, so the basic gist of it, just keep die cutting flowers in ALL the colors of the rainbow! Then, when you think you’re gonna go insane, start adhering all the layers together! But, wait. . . there’s more! You’ve still got stems to die cut and adhere!
P.S. – I’ve linked all the paper pads I used in the supply list at the bottom of this post.


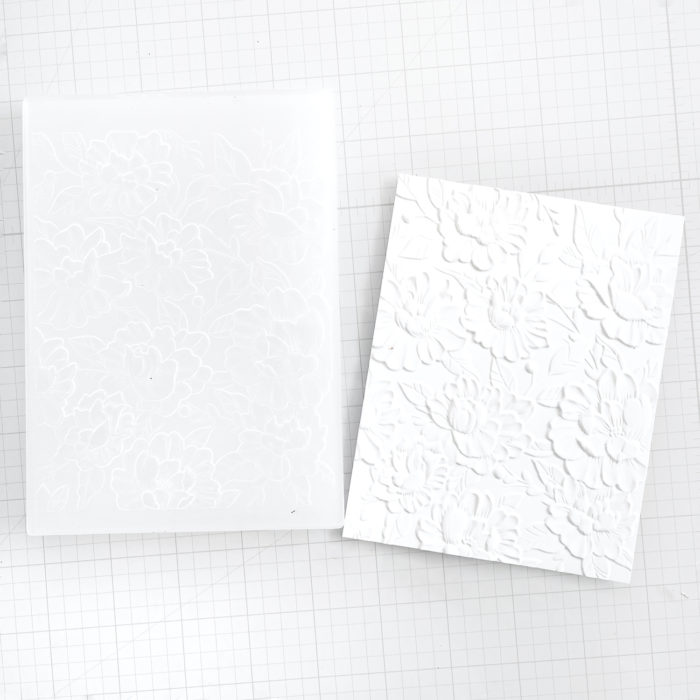
The base of this slimline card measures 8 1/2″ x 3 1/2″. I use 80 lb. Neenah Solar White Smooth for all my white cardstock. Slimline cards are designed to fit inside a regular #10 business envelope and require no additional postage. I cut an 8 1/4″ x 3 1/4″ piece of white cardstock and ran it through a basketweave embossing folder, then I began to adhere all the flowers to the card in a ROYGBIV pattern. Using the Contempo Greetings stamp set I stamped the sentiment in Versamark ink on black cardstock. I heat embossed the sentiment with white embossing powder and then I used the coordinating Contempo Greetings die to die cut it out. Lastly, I adhered the sentiment to the card using 3M foam adhesive for added dimension.
So sure, this card a LOT of die cutting and piecework, but the end result is gorgeous and I would do it all over again! Thanks for visiting and have a wonderfully creative day!

Supplies