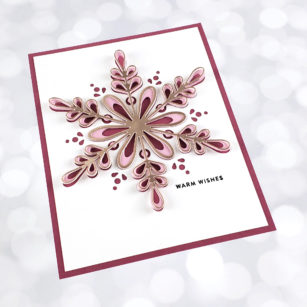
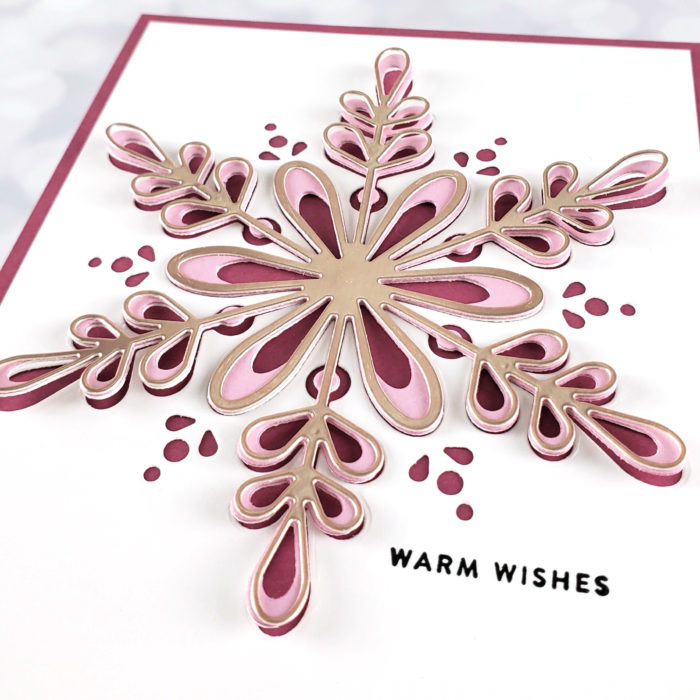
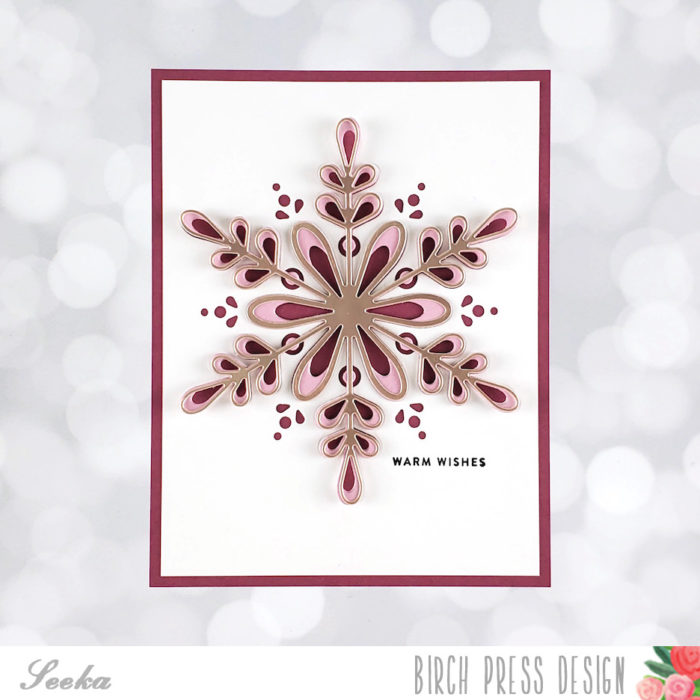
Hello and welcome! Seeka here and today I’m sharing a snowflake card using the brand new Crochet Snowflake Layer Die set. This die set is gorgeous and each of the three layers can be used together or separately for different looks!
I started off by positioning Layer C, the base layer, just above the center of a 4″ x 5.25″ panel of white cardstock. I ran the piece through my die cutting machine and then set aside the resulting snowflake for another time; for this card I wanted to use the negative space which includes the small cut out out details between the snowflake’s “arms.”
Next, I used Layer B to cut once from a light rosy mauve cardstock (some similar options can be found in the Memory Box Berry Red 6×6 Paper Pack) and once from a scrap piece of heavy white cardstock. I adhered these two layers together with the rosy mauve layer on top.
Next, I used the Layer A die to cut from a rose gold metallic cardstock (a similar color can be found in the Memory Box Vintage Pastel Mirror Pad 6×6 pack).
To assemble the card, I first glued the white panel (with Layer C cut out of it) to the center of a 4.25″ x 5.5″ panel of dark mauve cardstock. Next, I used a glue dot behind the center of Layer B to adhere it to the background panel. Then I used another glue dot behind the center of Layer A to adhere it to Layer B.
Finally, to finish the card, I stamped a small holiday sentiment from my stash in black ink and then glued the card front to a card base.
Thank you so much for visiting!

Supplies