
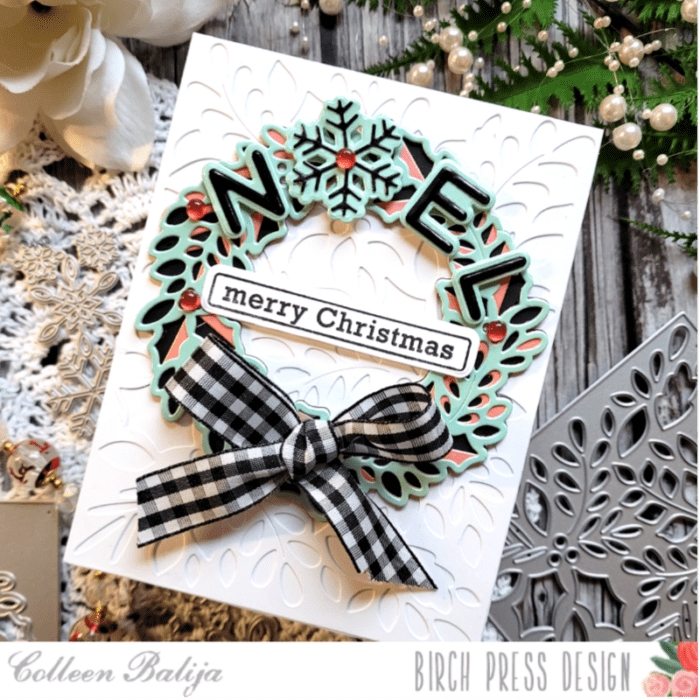
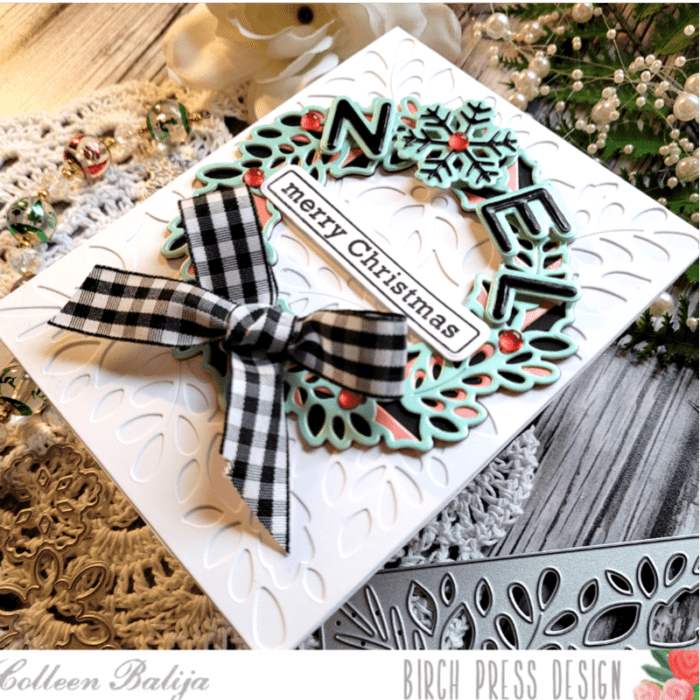
Hi everyone, this is my first blog post with Birch Press Designs, and I just couldn’t be any more excited! I hope that you will enjoy my cards and find inspiration to create your own version! This card reminds me of A Country Christmas with the ever-so popular black and white gingham and pastel colors. Let’s get started on how I was inspired to create this holiday delight!
The first step was to choose my colors. I always choose colors first because it inspires the rest of the card when I take this first step. Recently I was shopping at a craft store and saw beautiful holiday table wear in black and white. I took a picture of it so that I would remember to use those colors on my next card, which turns out to be this one!
Once my colors were selected, I chose my Birch Press Design elements to use, which were the Herbarium Layering Plates (A only) and the Holly Wreath Layering Plates. Since most of the card was going to be in black and white, I wanted the wreath to pop with a bit of color, so I used pastel shades of green, coral, and black from the Memory Box Vintage Pastel patterned paper pack. I also grabbed a black and white gingham ribbon that I had on hand and a few embellishments. Now that I had inspiration and all my design elements ready, it was time to put everything together!
Step one was to create the background. Starting with a 5.5×4.25 white card panel, I die cut Layer A from Herbarium Layering Plates, punched out the positive pieces, and adhered it using liquid glue to a 5.5×4.25 white card base. NOTE: I use liquid glue because it gives me a little wiggle room to place my design element where I want it before it adheres permanently! When my background was finished, I set it aside to work on the wreath.
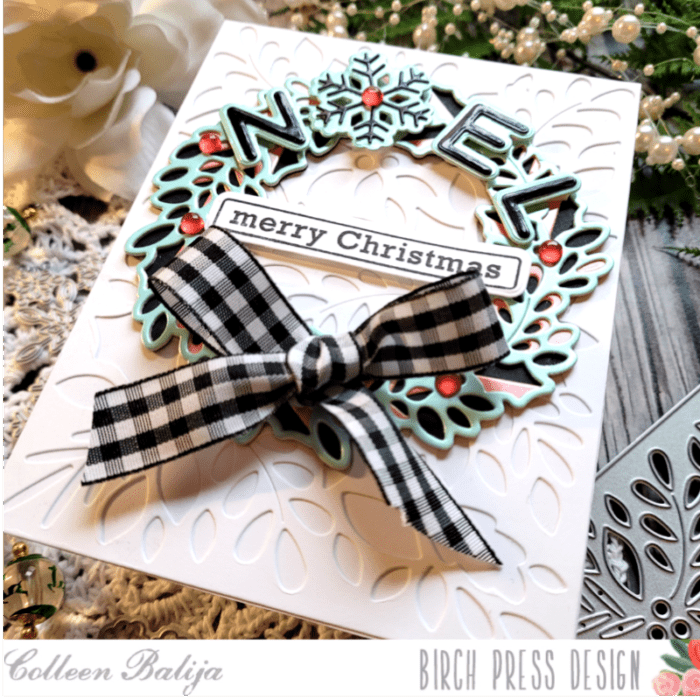
Next step was to die the 3 layers from Holly Wreath Layering Plates using the pastel paper I had set aside earlier. The darkest color (black) was the bottom layer. I find that going from dark to light helps to add dimension because the darkest colors look furthest away from your eyes. When I was finished die cutting all 3 layers, I placed the die cuts over the images on the packaging to guide me in aligning all the layers properly. And once again, I used liquid glue to help me adhere each layer perfectly! Then I glued my finished holly wreath over the background panel I created earlier.
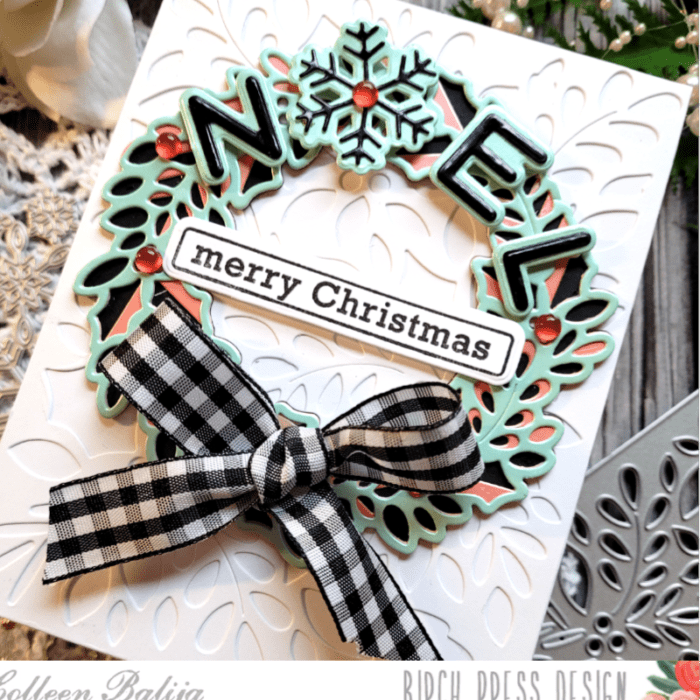
Next, it was time to work on my sentiment. As you can see in the photo below, the word “Noel” is placed over the wreath! There’s a secret to helping these little guys stand out from the wreath – read on to find out!
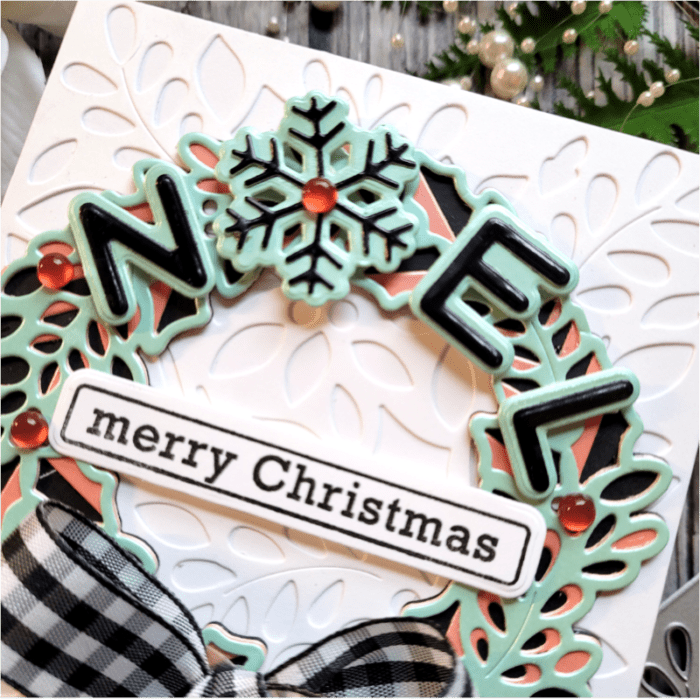
Using Mod Alphabet die set and Felicity Snowflake, I die cut the word Noel, minus the ‘o’, in black and pastel green. I did the same for one of the larger and rounder snowflakes. I adhered foam tape onto the back of each letter and snowflake to help it stand out from the wreath, and then I adhered it to the top of the wreath. And by the way, that’s my secret to helping the sentiment pop off the page! Foam tape is a miracle worker because it lifts the image off the page. Going back to the sentiment, the snowflake replaced the letter ‘o’ because it looks like an ‘o’. These are the details that take your card from average to WOW!
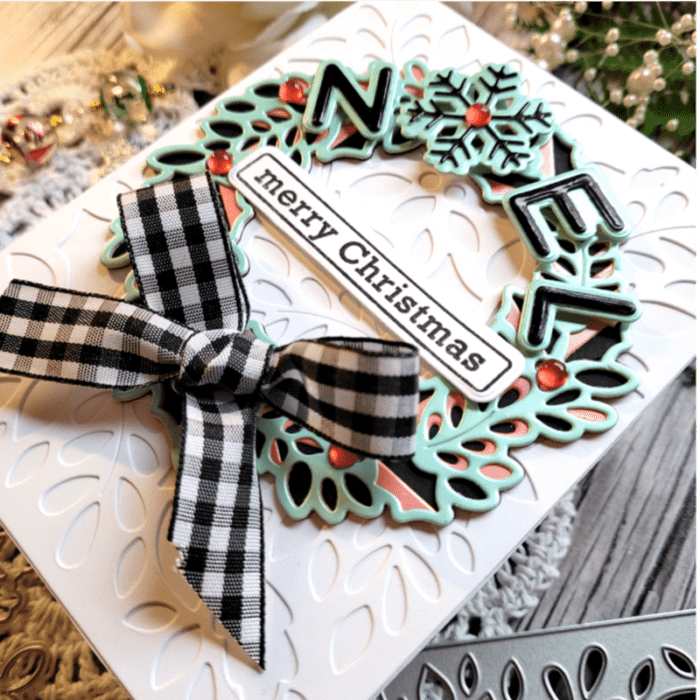
Next, I added the Merry Christmas sentiment to the middle of the wreath using Contempo Christmas Greetings stamp and coordinating die set. I created a bow using the gingham black and white ribbon and adhered that to the bottom of the wreath, trimming the ends at an angle. I finished with embellishments that look like red berries!
This card was so much fun to create, and I just adore the black and white touches to it! Black and white is a color combo that can never go wrong. Start with that and then add your pop of color to your own card! Thanks so much for joining me today!

Supplies


