Category: Christmas

  • Christmas Joy by Annette Allen

    Christmas Joy
    by Annette Allen

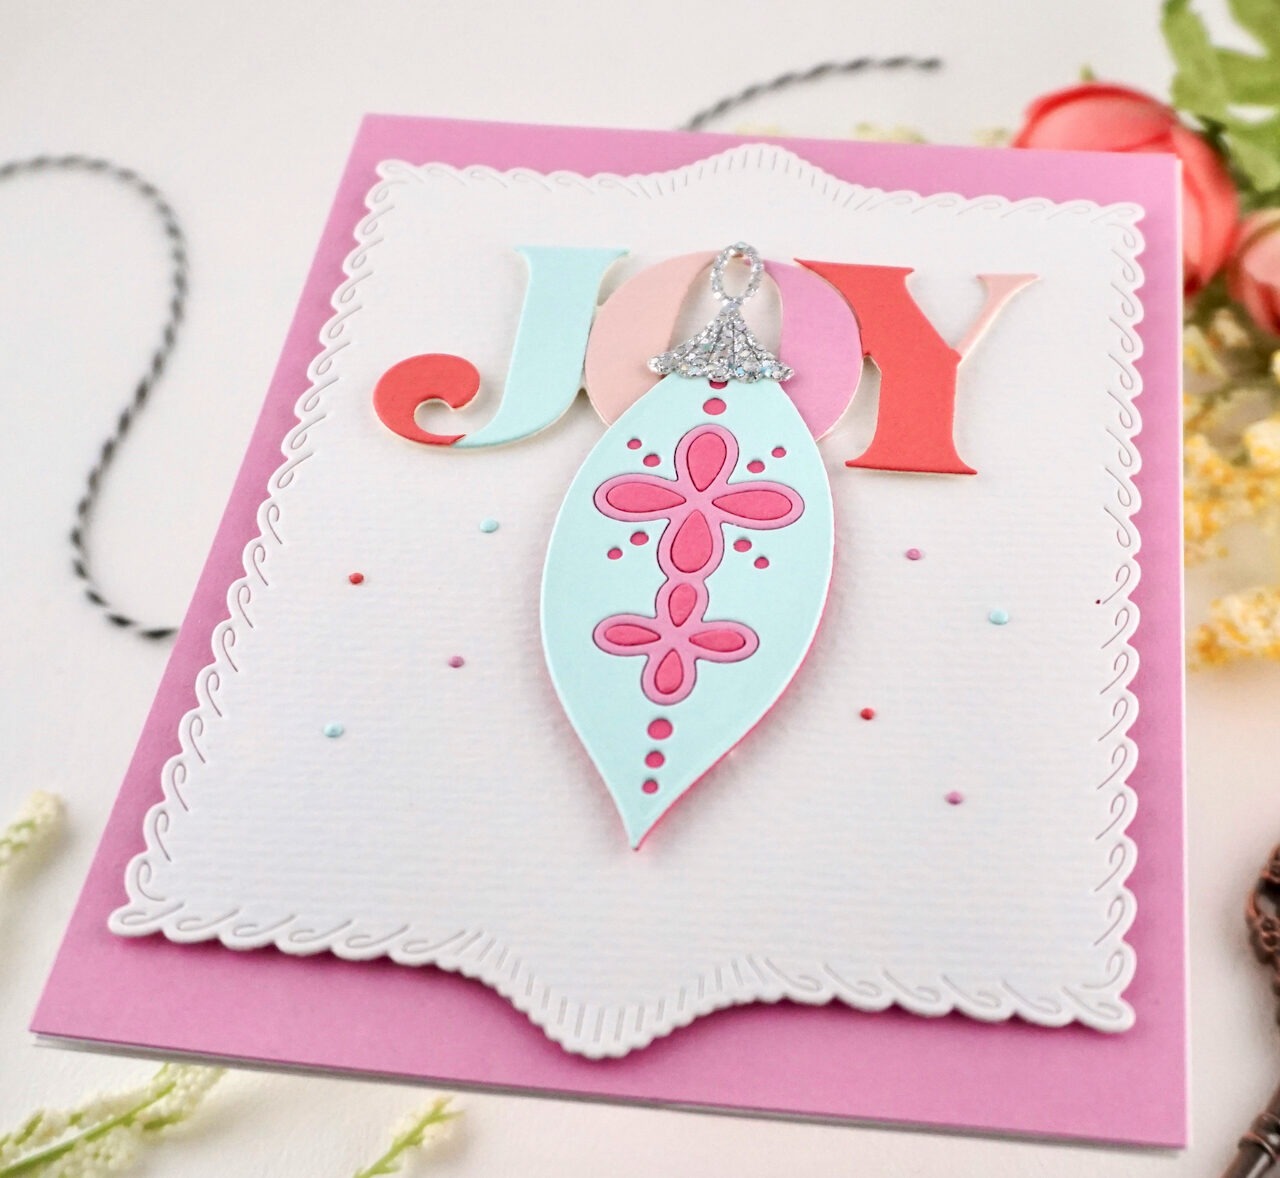
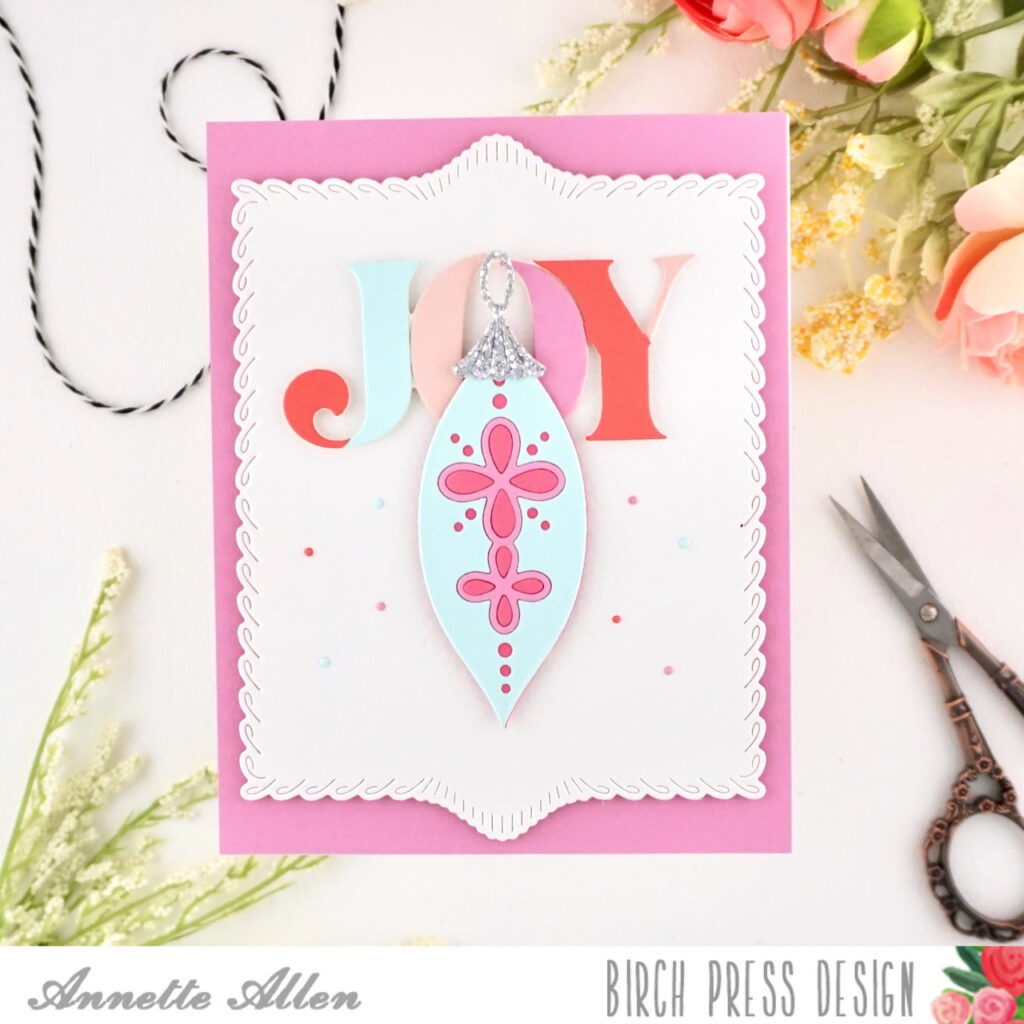
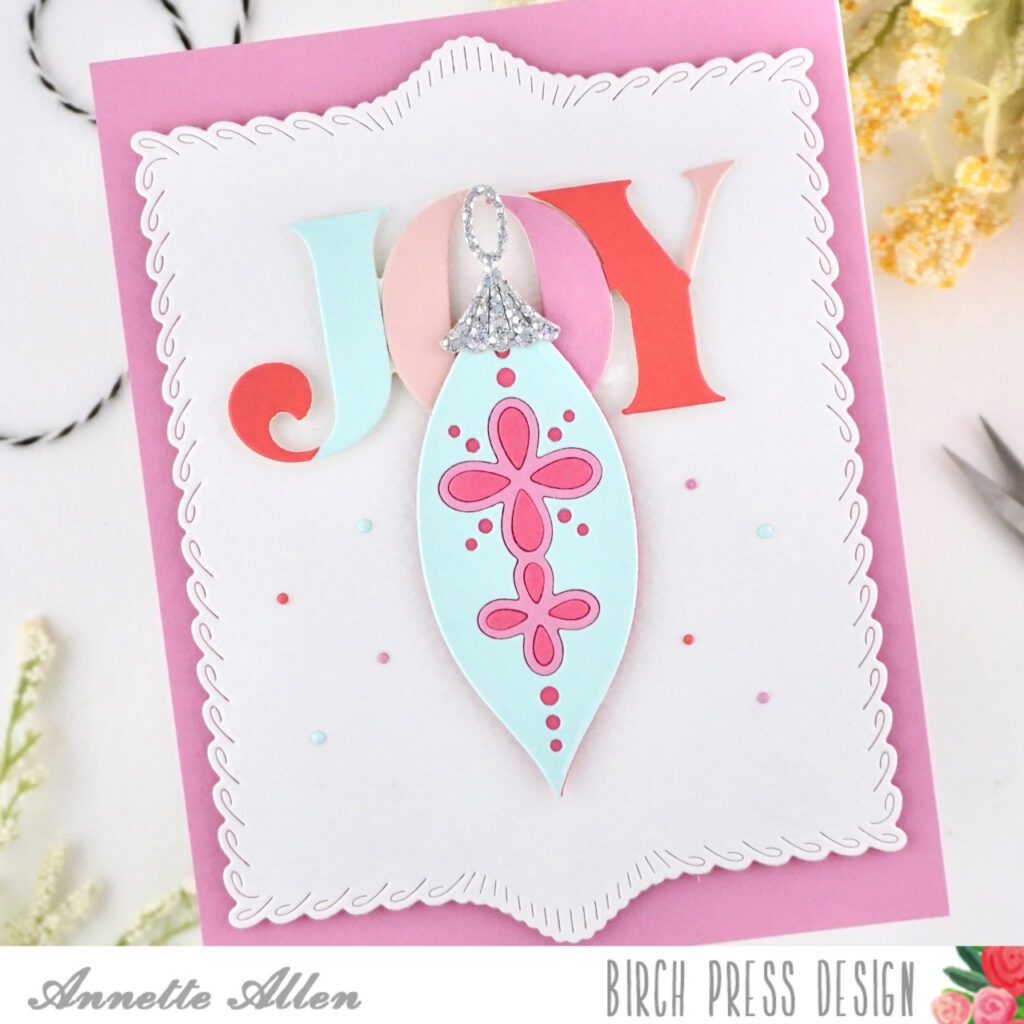
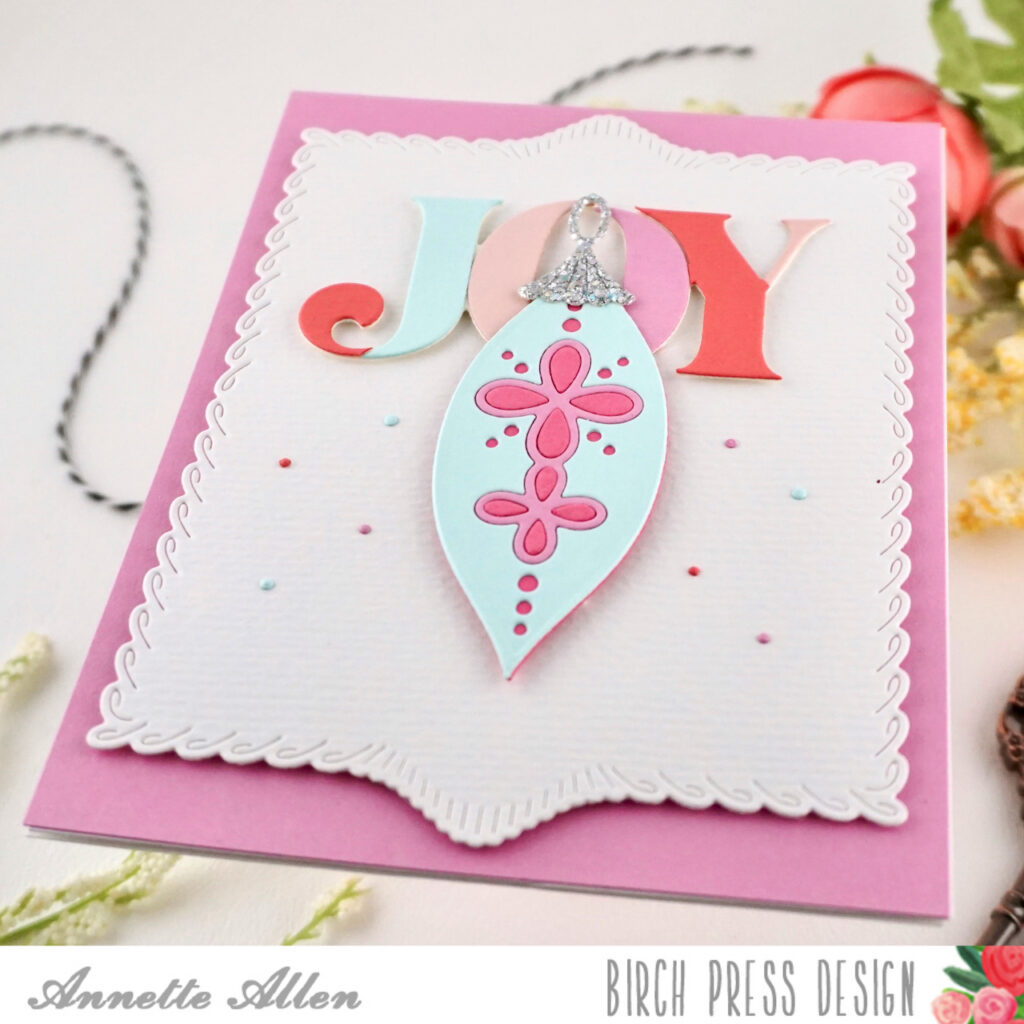
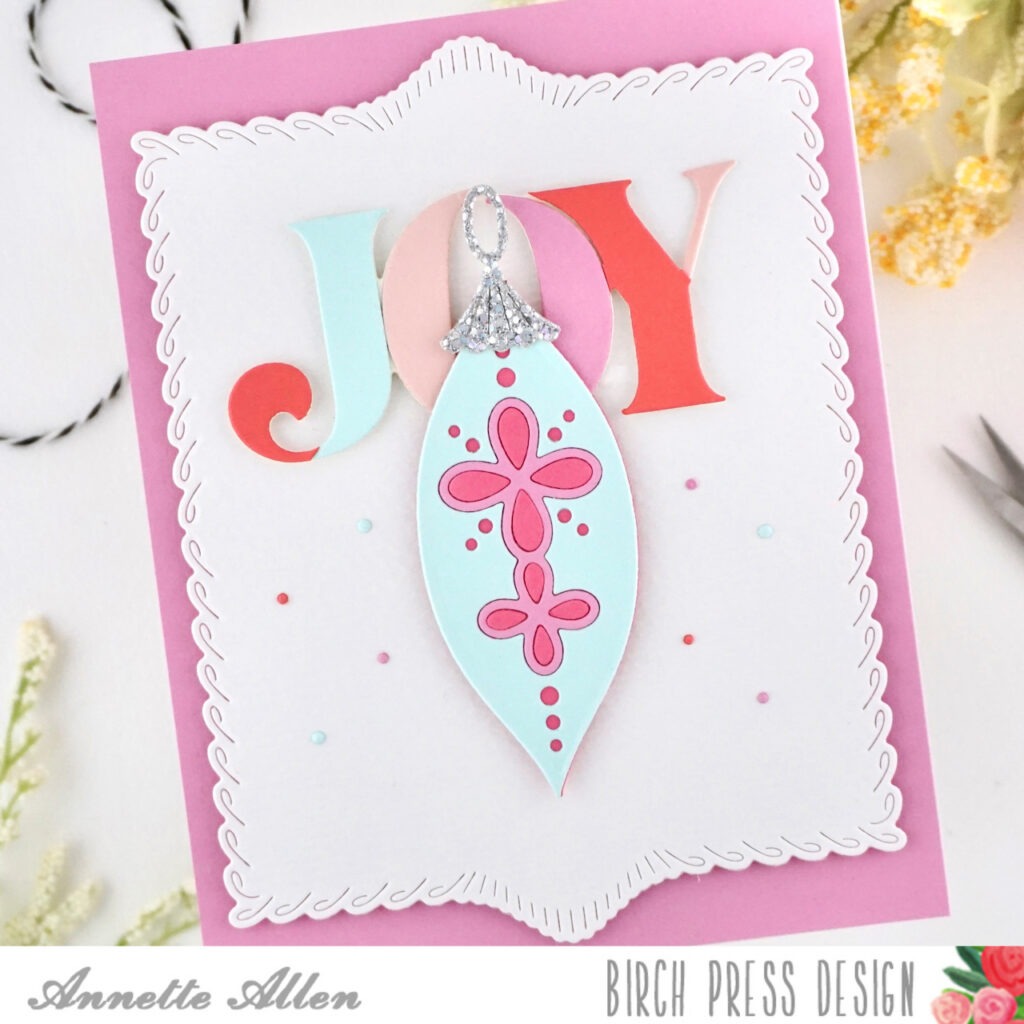
    Christmas JOY and pretty ornaments… yes, please. Welcome BPD friends, Annette Allen (My Clever Creations) here with you today and I am sharing more from the new release. I bet some of you already have purchased some of the release.

    Today I am using the new…

    • Block Print Scandi Ornament
    • Block Print Festive Joy
    • Loop Stitch Frames

    Create card from white cardstock A2 size.

    Cut a pink A2 panel and adhere it to your card base.

    Die cut the largest die from the Loop Stitch Frames on a light cream colored piece of cardstock and then add some foam tape to the back and adhere it to your card base.

    Die cut the Block Print Festive Joy die 4 times on colors that you think go together.

    Die cut of the Block Print Festive Joy backer on white and then piece it together using the colored cardstock.

    Add some foam tape to the back of the JOY sentiment and add it to the center upper part of the frame.

    Die cut the Block Print Scandi Ornament using some of the same colors you used in the Joy and piece it together so it is color and fun. Add a little silver glitter paper for the top of the ornament, for a little shine.

    Add some foam tape to the ornament and then center it over the O of the Joy and adhere to card.

    Same those little negative dots from the ornament and adhere them here and there.

    Let the dies do all the hard work, all you need is glue and pretty colors of cardstock.

  • Regal Cat Holiday Cardby Toni M Maddox

    Regal Cat Holiday Card
    by Toni M Maddox

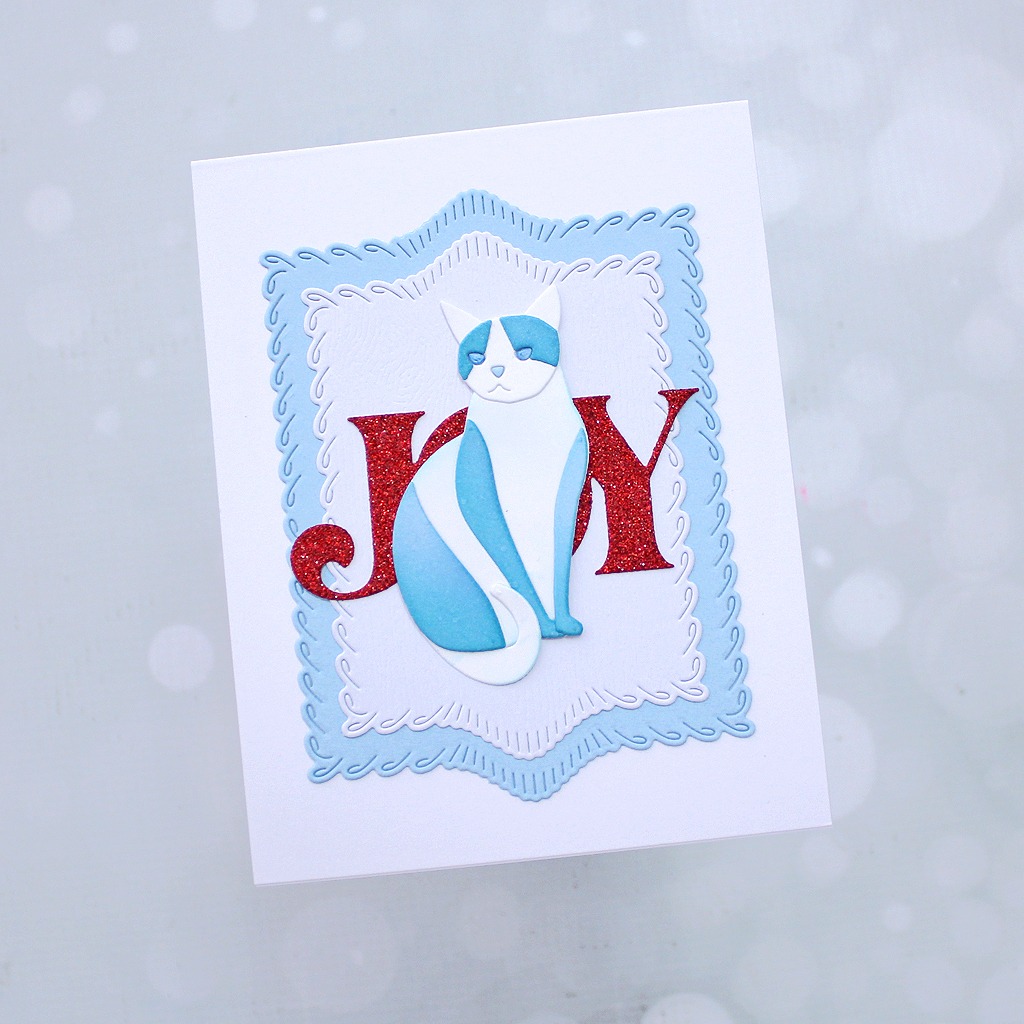
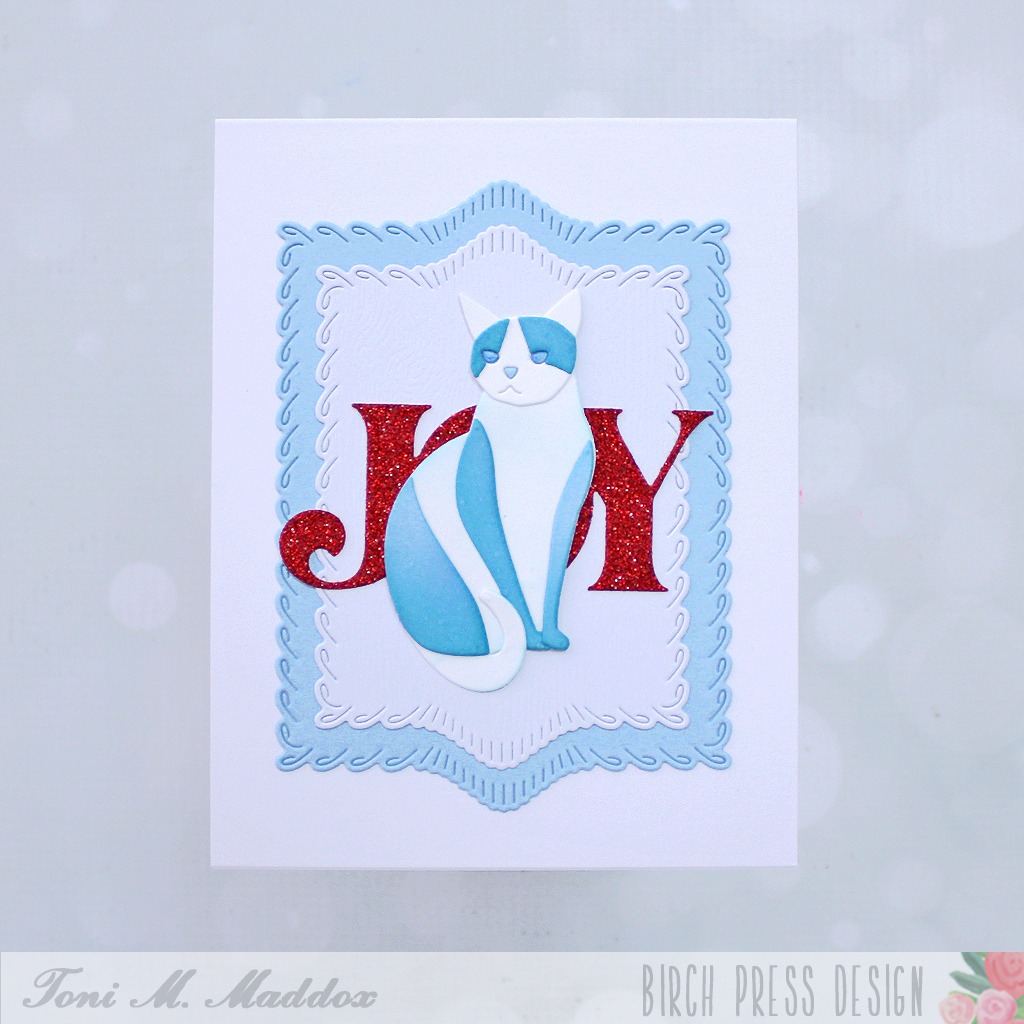
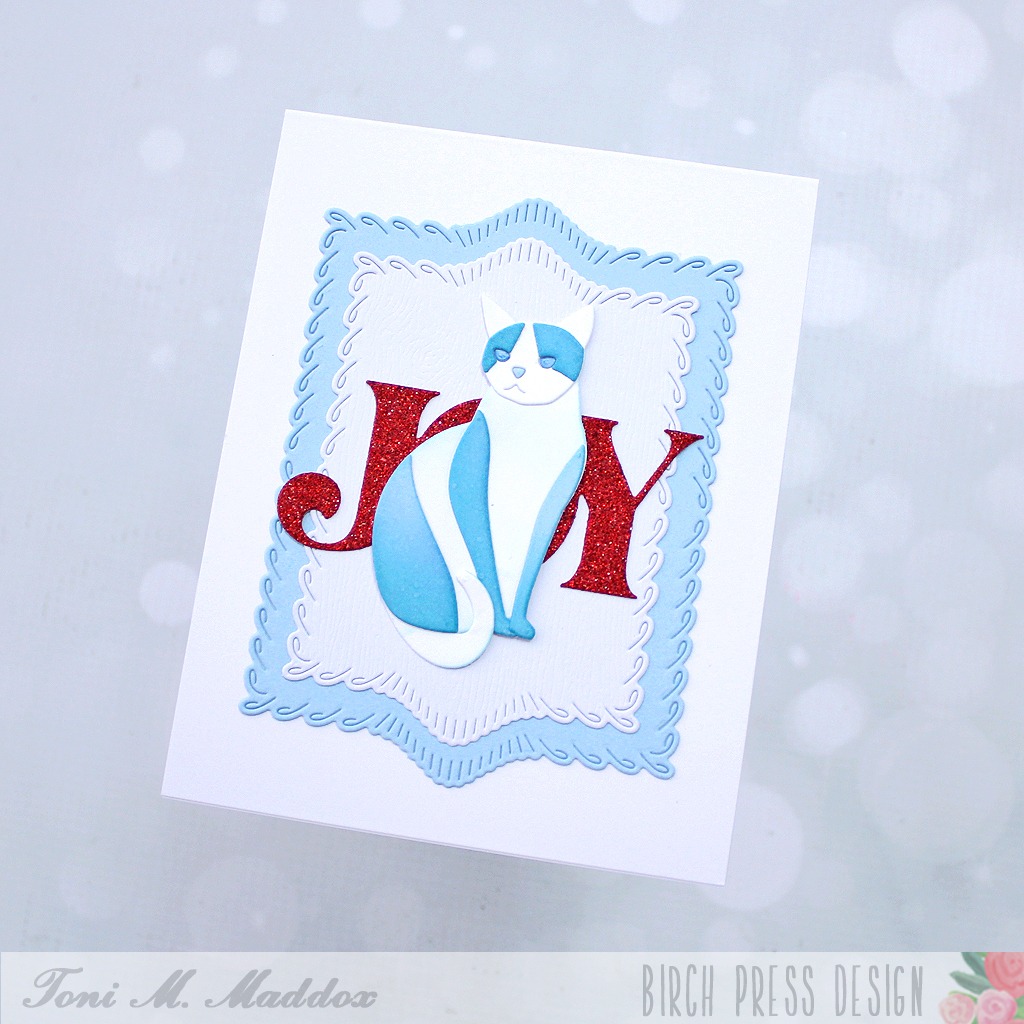
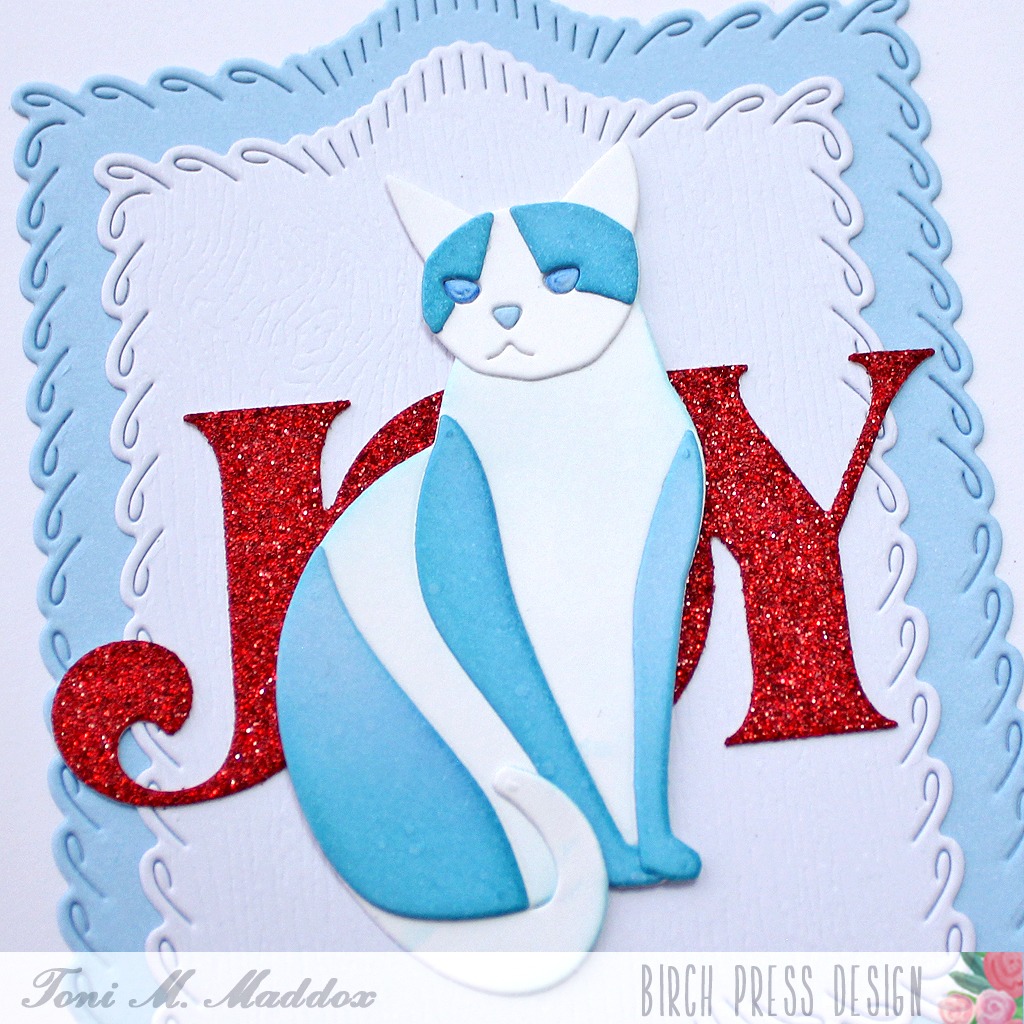
    It’s July, half way to the Christmas holidays if you celebrate, so time for me to get started building up my holiday card stash. Toni here with you today sharing a simple and easily customized cat holiday card.

    I knew I wanted to combine the new Block Print Kitty with the Block Print Festive Joy, maybe by having the cat off to the side or perched on top. Ultimately, I decided to replace the “O” with the regal feline.

    Of course, I had to cut the Block Print Festive Joy from red Memory Box Glitzy Glitter 6×6 cardstock. This is for the holidays after all!

    Next, I used the Loop Stitch Frames, one cut from Memory Box White Woodgrain Paper layered on top of another of blue cardstock from my stash. Notice how I used scraps of that same blue for the cat’s eyes and nose.

    I hope you enjoyed today’s card and have a great rest of your week!

    Feel free to visit my blog, Frankie Helps Craft, for a full list of supplies used and to check out my other creations.

  • Poinsettia Vase Inspirationby Annette Allen

    Poinsettia Vase Inspiration
    by Annette Allen

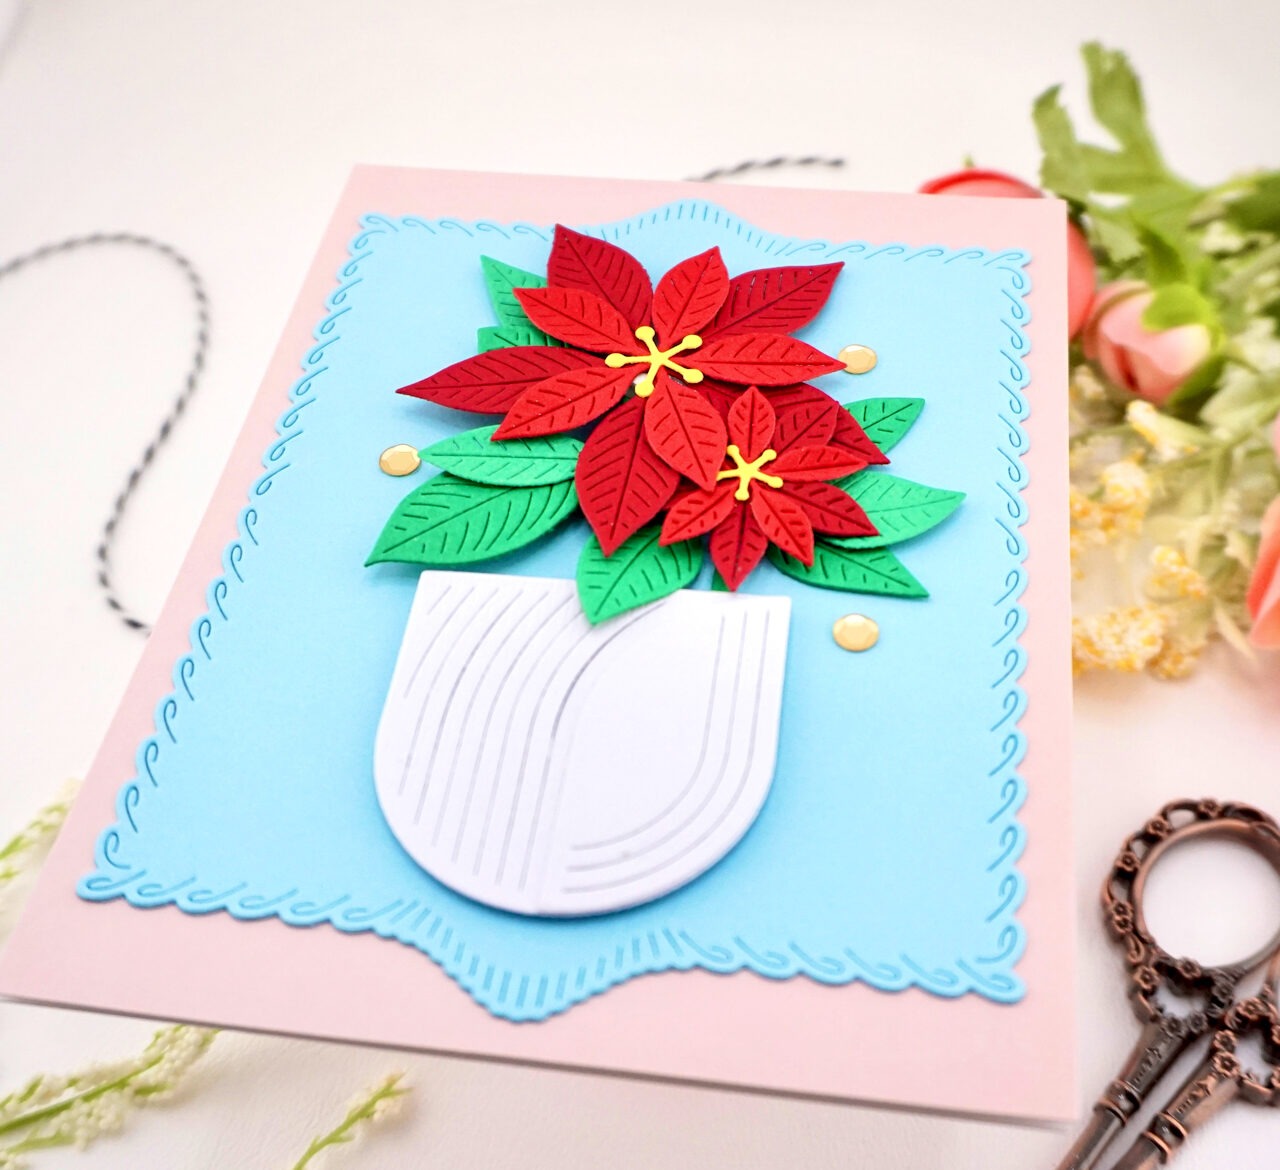
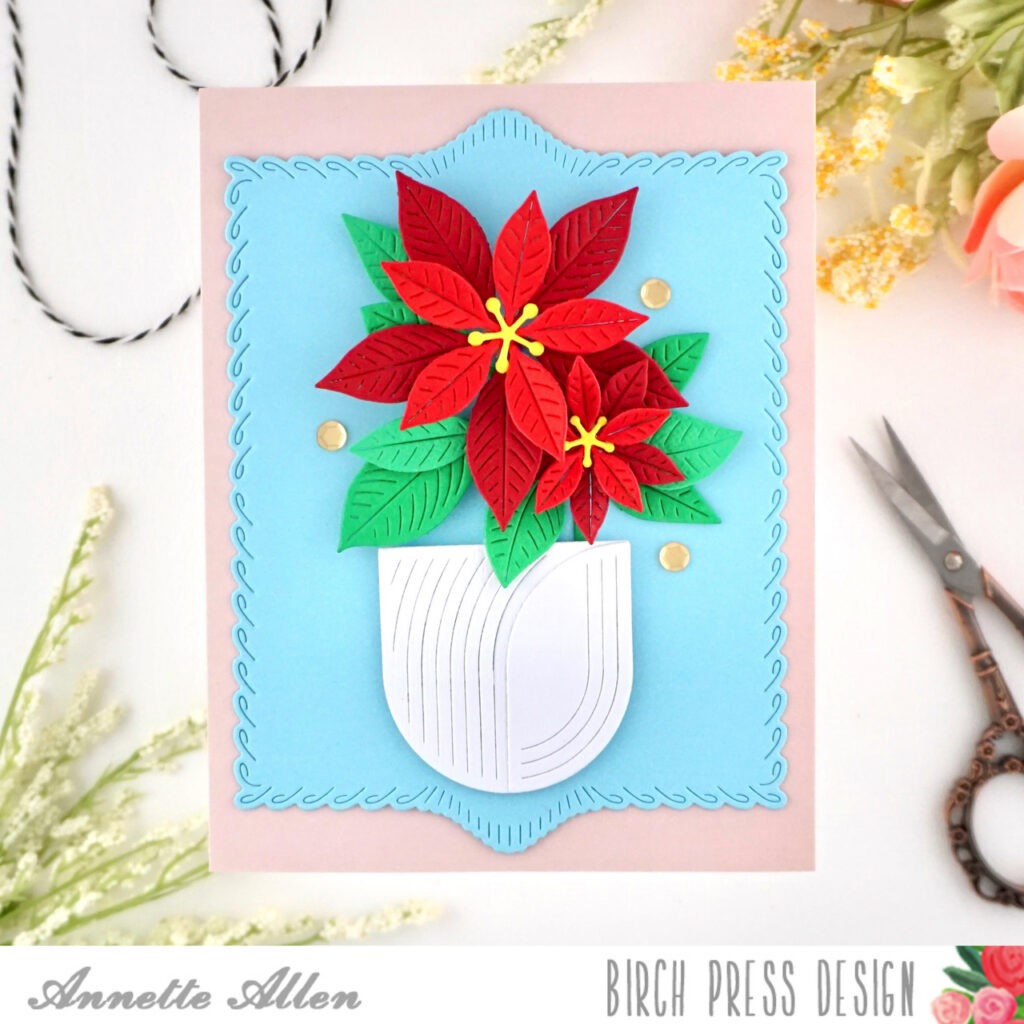
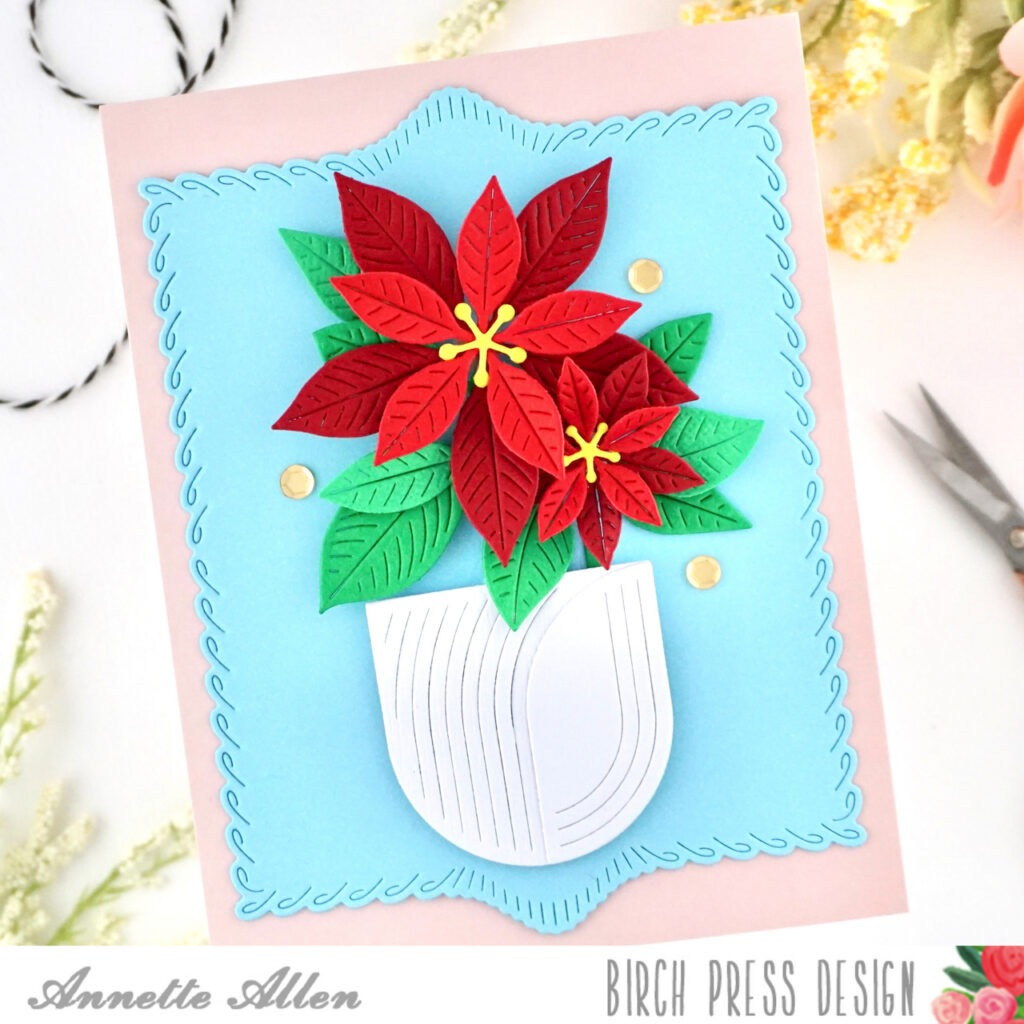
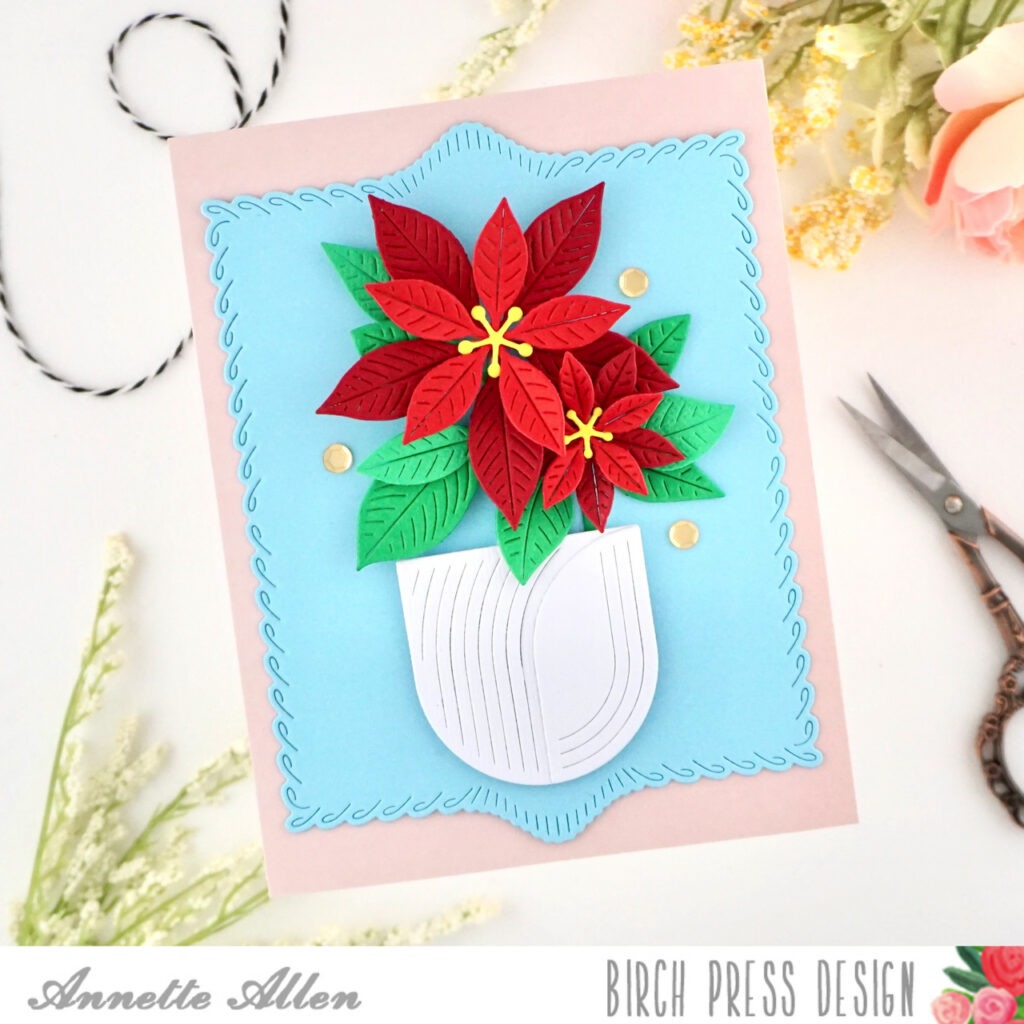
    Welcome crafty friends… Annette Allen (myclevercreations) here with you today and I am so excited to be sharing from the new release. We all love creating for Christmas… right?

    Today I am creating with the NEW…

    Block Print Poinsettia Vase and Loop Stitch Frames

    Create card from white cardstock A2 size.

    Cut a light pink cardstock panel and adhere it to the base of your cardstock.

    Die cut the largest die from the new Loop Stitch Frames on light blue cardstock and adhere to the center of your card.

    Die cut the Block Print Poinsettia Vase set on colored cardstock. I went with the more traditional colors, but I say go for it. Pick colors that make you happy. You do not always have to do traditional, although they look amazing in traditional colors. Just saying….

    Adhere all your pieces together and create this lovely Poinsettia Vase and then adhere it to the center of your Loop Stitch Frame.

    Finishing with a few gold sequins.

    A very simple card and you can stamp your Christmas sentiment inside the card. I love to leave the sentiments for the inside sometimes.

    Thank you for stopping by. Make sure to check out the entire new release under the WHAT’S NEW section.

  • Christmas Cardinal Tags | by Christina Rannow

    Christmas Cardinal Tags | by Christina Rannow

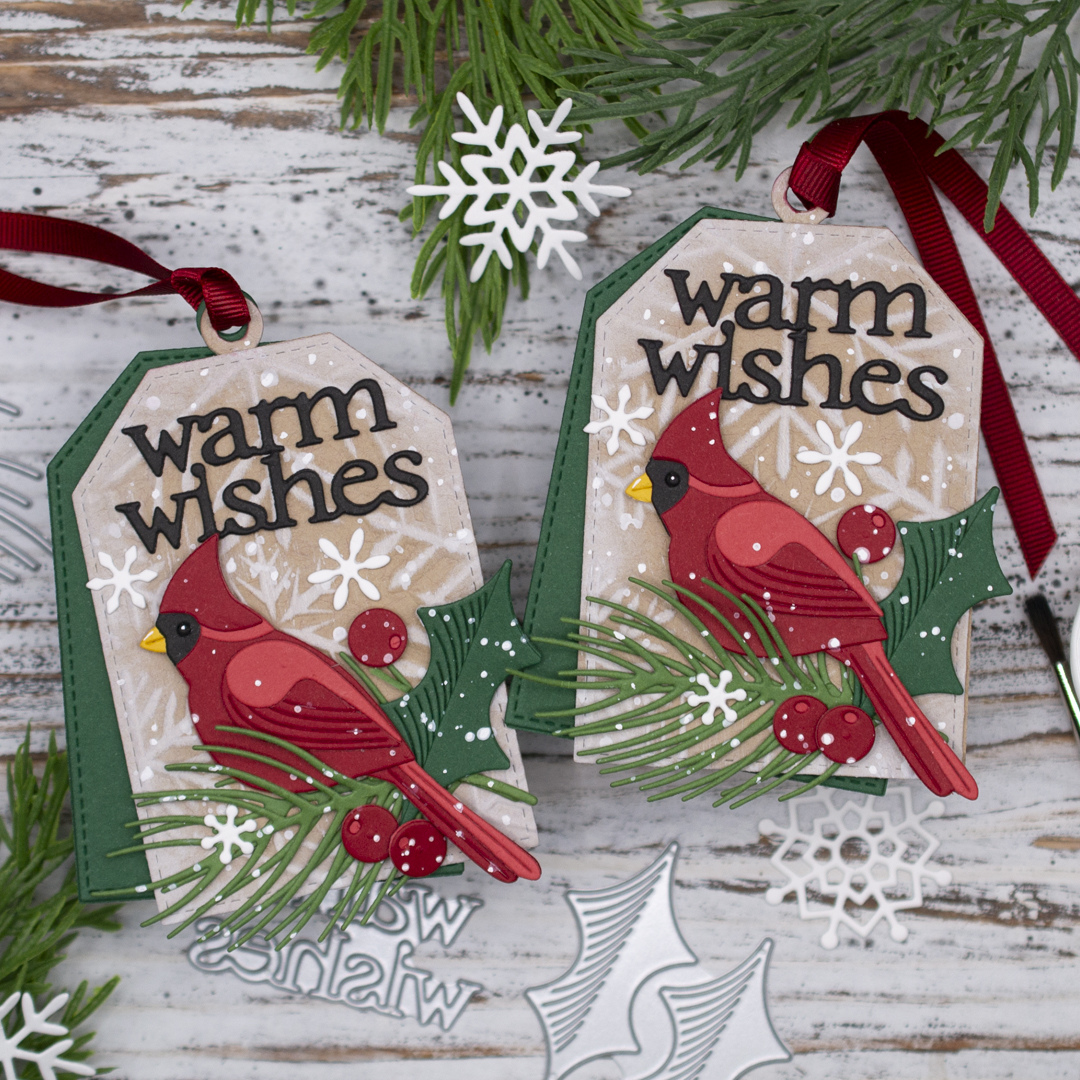
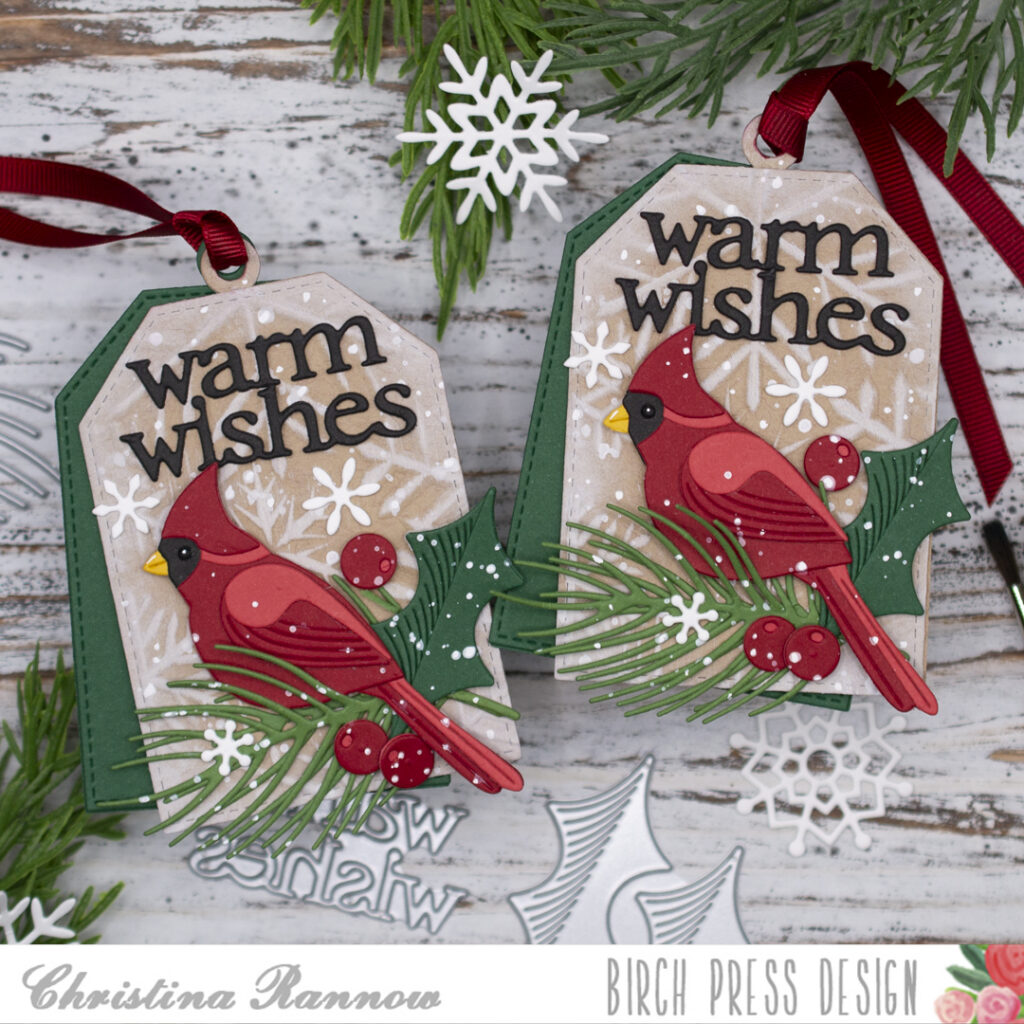
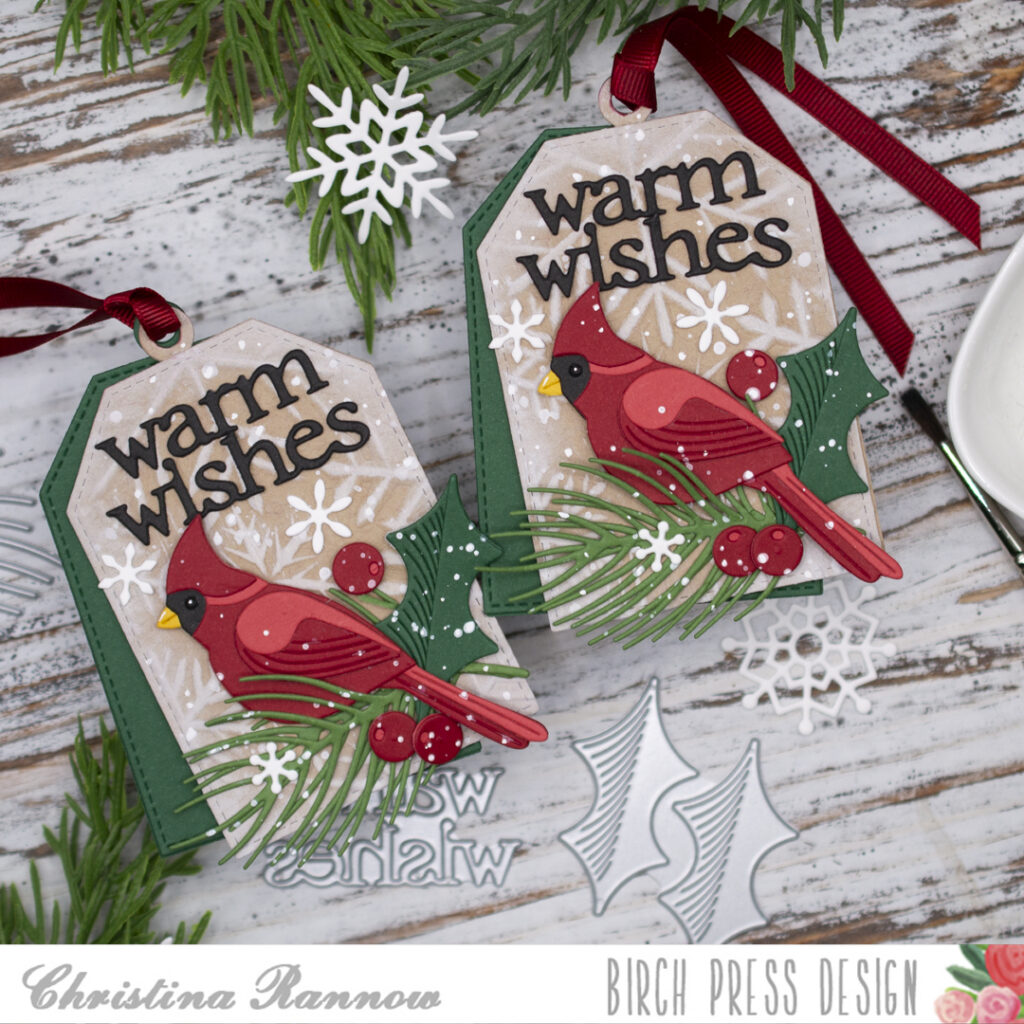
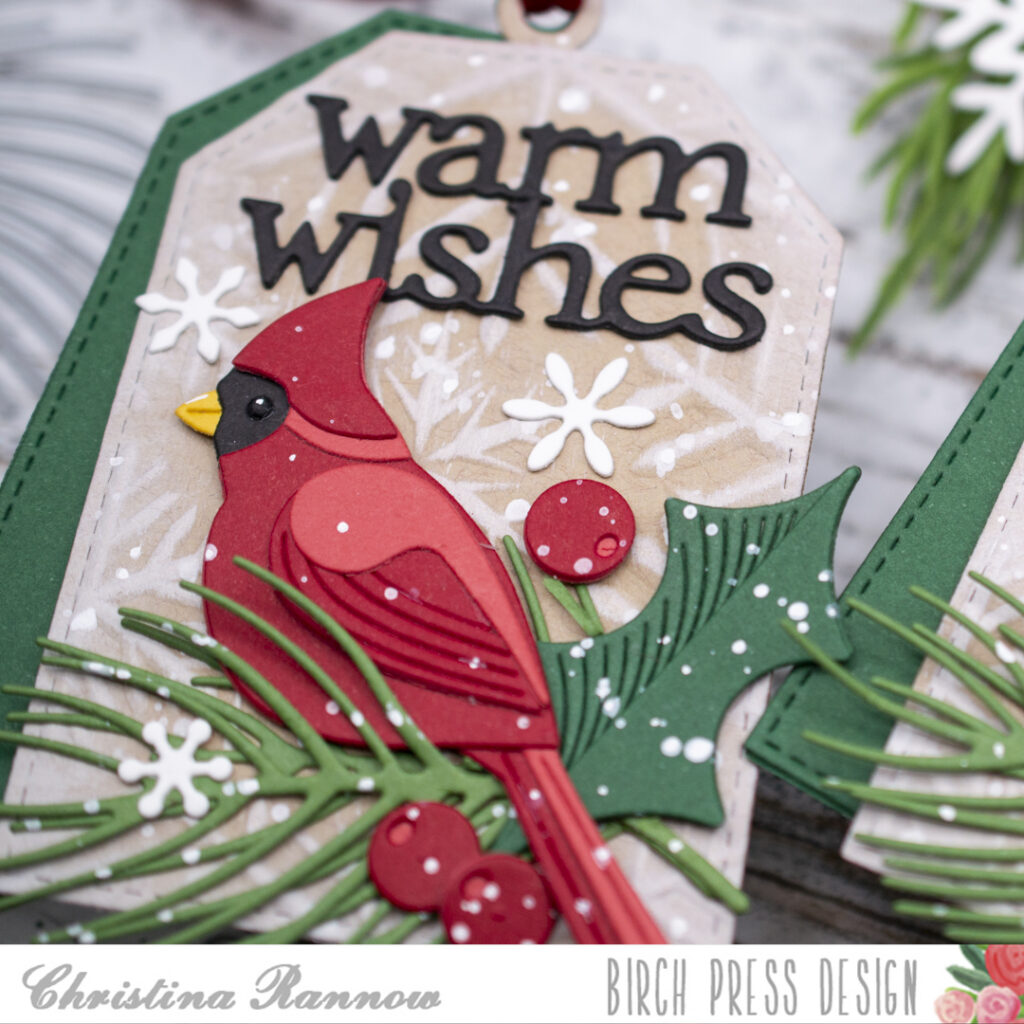
    Hi friends! I’m excited to share my first Christmas tags of the season with you featuring the Block Print Winter Cardinal. I combined this handsome cardinal with plenty of holiday greenery, an embossed background, and a sentiment that is the perfect fit. Let’s get started on these handmade tags while we still have time!

    I started with two kraft cardstock tags that measure 2.5 x 3.5 inches. I embossed each tag with a snowflake pattern using an embossing folder and then lightly swiped a white pigment ink pad over the tags, letting the ink pad highlight the embossed areas. 

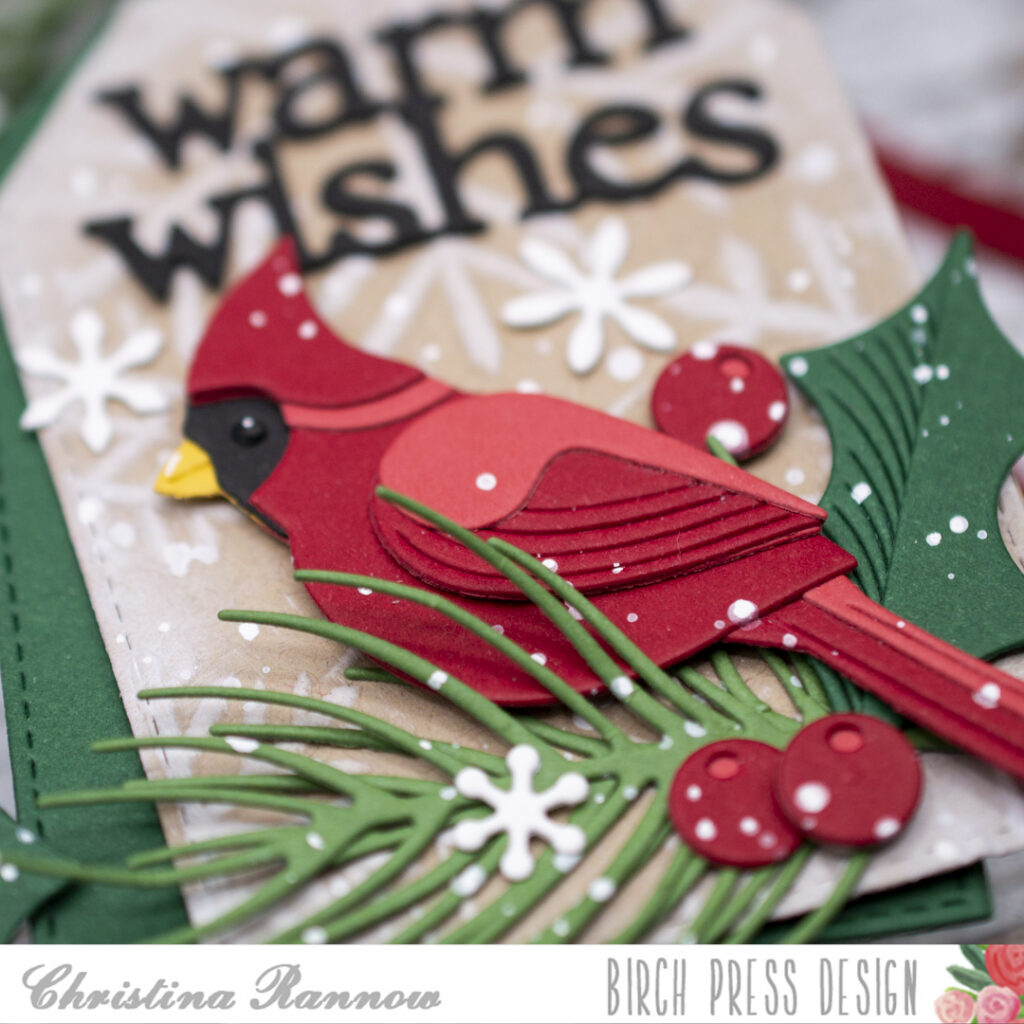
    Next I die-cut the layering pieces for the cardinals and the pieces for the Christmas greenery, including the berries, a holly leaf, and two pine sprigs for each tag. I used two shades of red cardstock for the cardinals and the berries and two shades of green for the Christmas greenery. Then I assembled the layering pieces for the cardinals, secured each piece with glue, and then added a tiny white highlight to the eyes. 

    To assemble the tags, I arranged the greenery first, gluing each piece in place, and then tucked the cardinals and the berries into the greenery, attaching them with thin foam squares. With the cardinals and greenery in place, I lightly spattered the tags with thinned white gouache paint for a snowy effect.

    To finish up the tags, I added the die-cut sentiment and a few small die-cut snowflakes. Before looping a ribbon through the tag topper, I layered another tag, this one die-cut from green cardstock, behind the cardinal tag to be used for writing a personal message or the recipient’s name. 

    And we finished in plenty of time to adorn some gifts with these beautiful Christmas Cardinal tags! Merry Christmas, friends!


    Supplies


  • Cozy Winter Bear | by Toni M Maddox

    Cozy Winter Bear | by Toni M Maddox

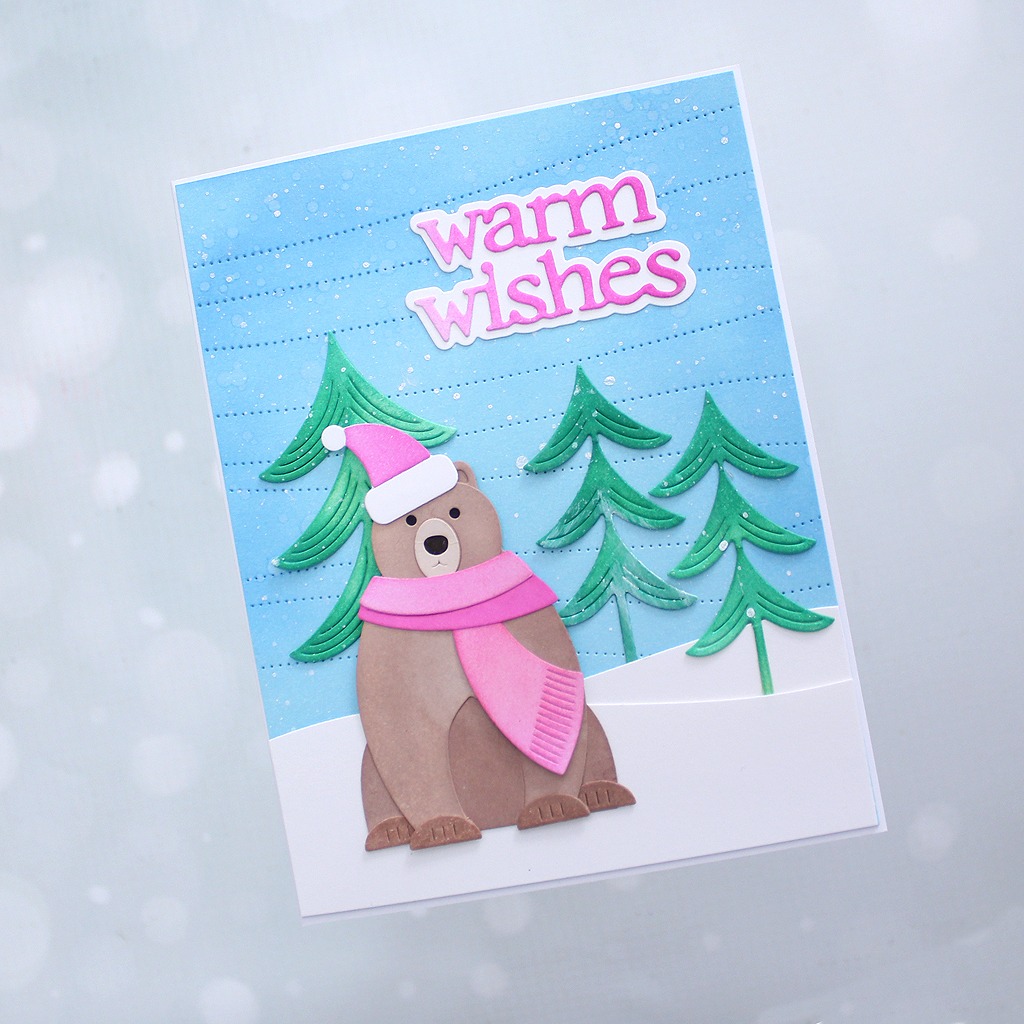
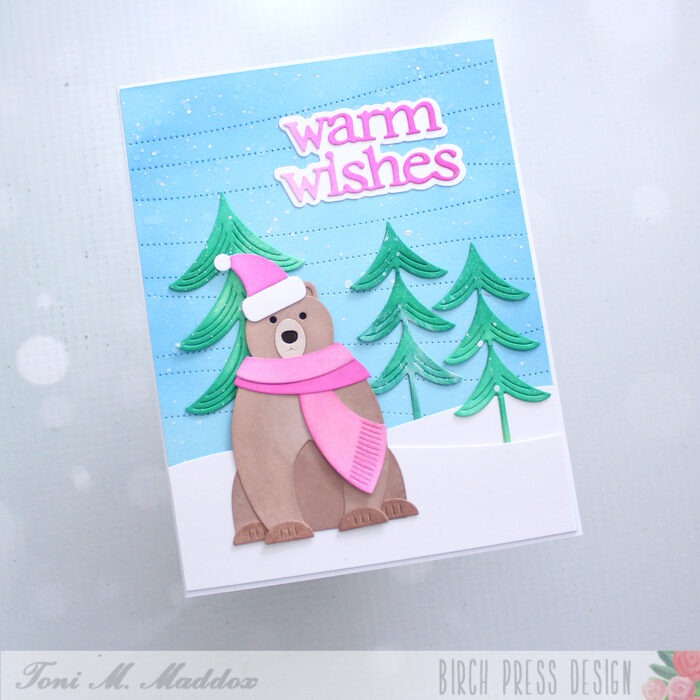
    Are you staying cozy this season, my friends? Toni here and I’m loving the cold weather (from inside by the fire cuddling with my cat, of course). For today’s card, we have a winter scene.

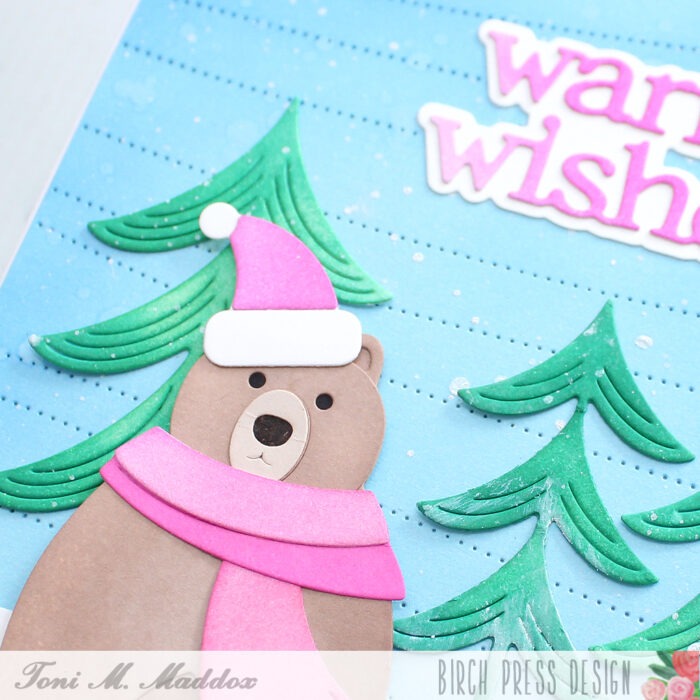
    First, the Pinpoint Contour Plate sponged in blue and spattered with water and Copic Opaque White reminds me of a blustery day.

    On top of that I added a couple of Wavy Hillsides and Block Print Evergreen Trees.

    But, the Block Print Polar Bear, disguised as a brown bear, is all ready for winter dressed warmly in his Block Print Hats and Scarves.

    You know my love of pink so I had to match his winter accessories to the Warm Wishes Dapper Script sentiment.

    Feel free to visit my blog, Frankie Helps Craft, for a full list of supplies used and to check out my other creations.

    I hope you enjoyed today’s card and have a great rest of your week!

    Supplies

  • Rainbow Snowman | by Crystal Komara

    Rainbow Snowman | by Crystal Komara

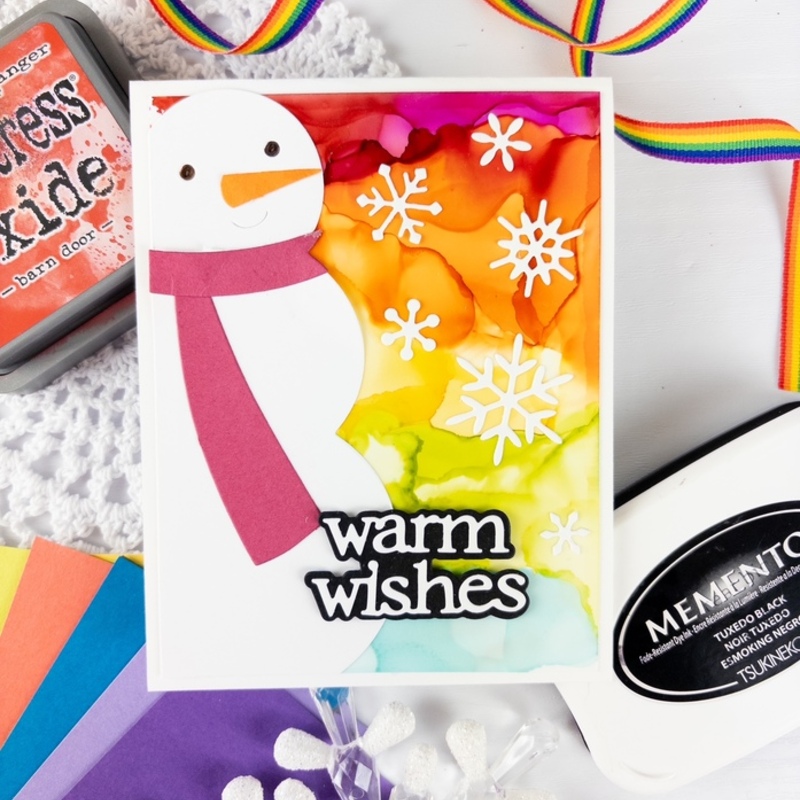
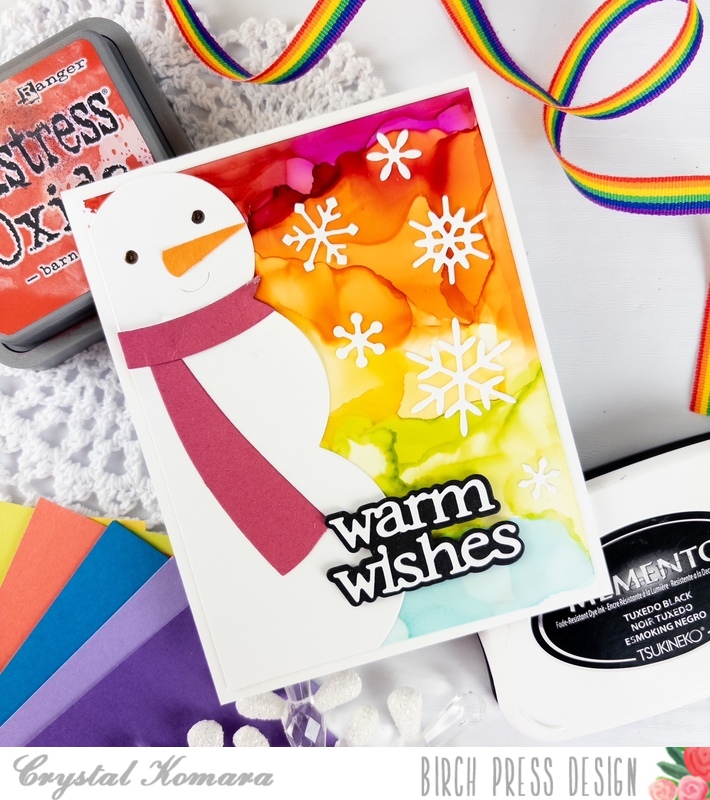
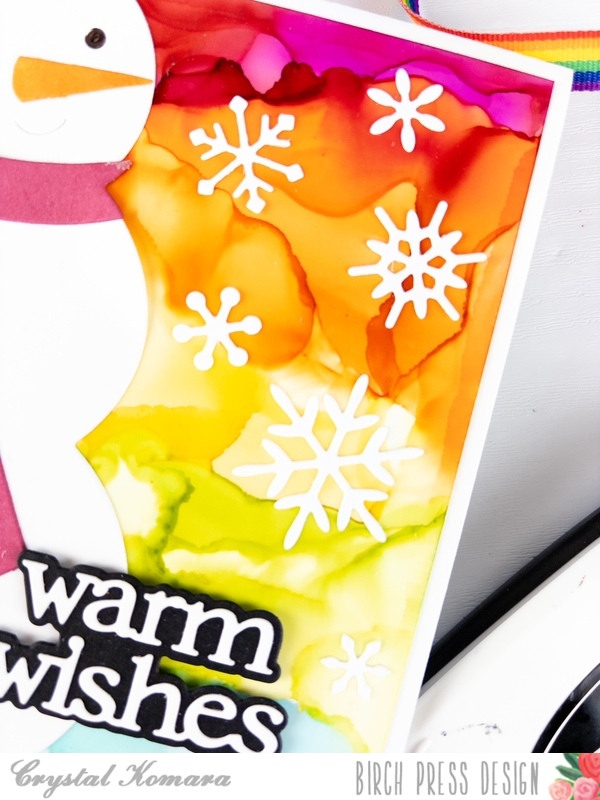
    Hello friends! It’s hard to believe we are only 9 days away from Christmas, so I hope you’ve got all your holiday cards in the mail by now! This is Design Team member Crystal Komara here with you today featuring a fun and vibrant card using the Block Print Edge Snowman.

    The base of this A2 sized card is made from 110 lb. Neenah Solar White Smooth cardstock. I pulled a pre-made rainbow alcohol ink background from my stash of alcohol ink backgrounds (such as time saver!) and used it as the first use layer of the card. Using the Block Print Edge Snowman, I die cut the snowman from white cardstock and his carrot nose from orange cardstock. The scarf was die cut from a magenta pink cardstock.

    I die cut the Bright Snowflakes dies from white cardstock and adhered the snowflakes to the card using liquid adhesive. Lastly, using the Warm Wishes Vintage Sentiment dies, I die cut the sentiment from black and white cardstock. I adhered the sentiment to the card using 3M foam adhesive for added dimension.

    I LOOOOVE how this card came out, it just really makes me smile. And, I think rainbow colors make cold and snowy winters seem much less dark and well. . . cold.

    Thanks for visiting and have a wonderfully creative day!

  • Merry Ornaments | by Christina Rannow

    Merry Ornaments | by Christina Rannow

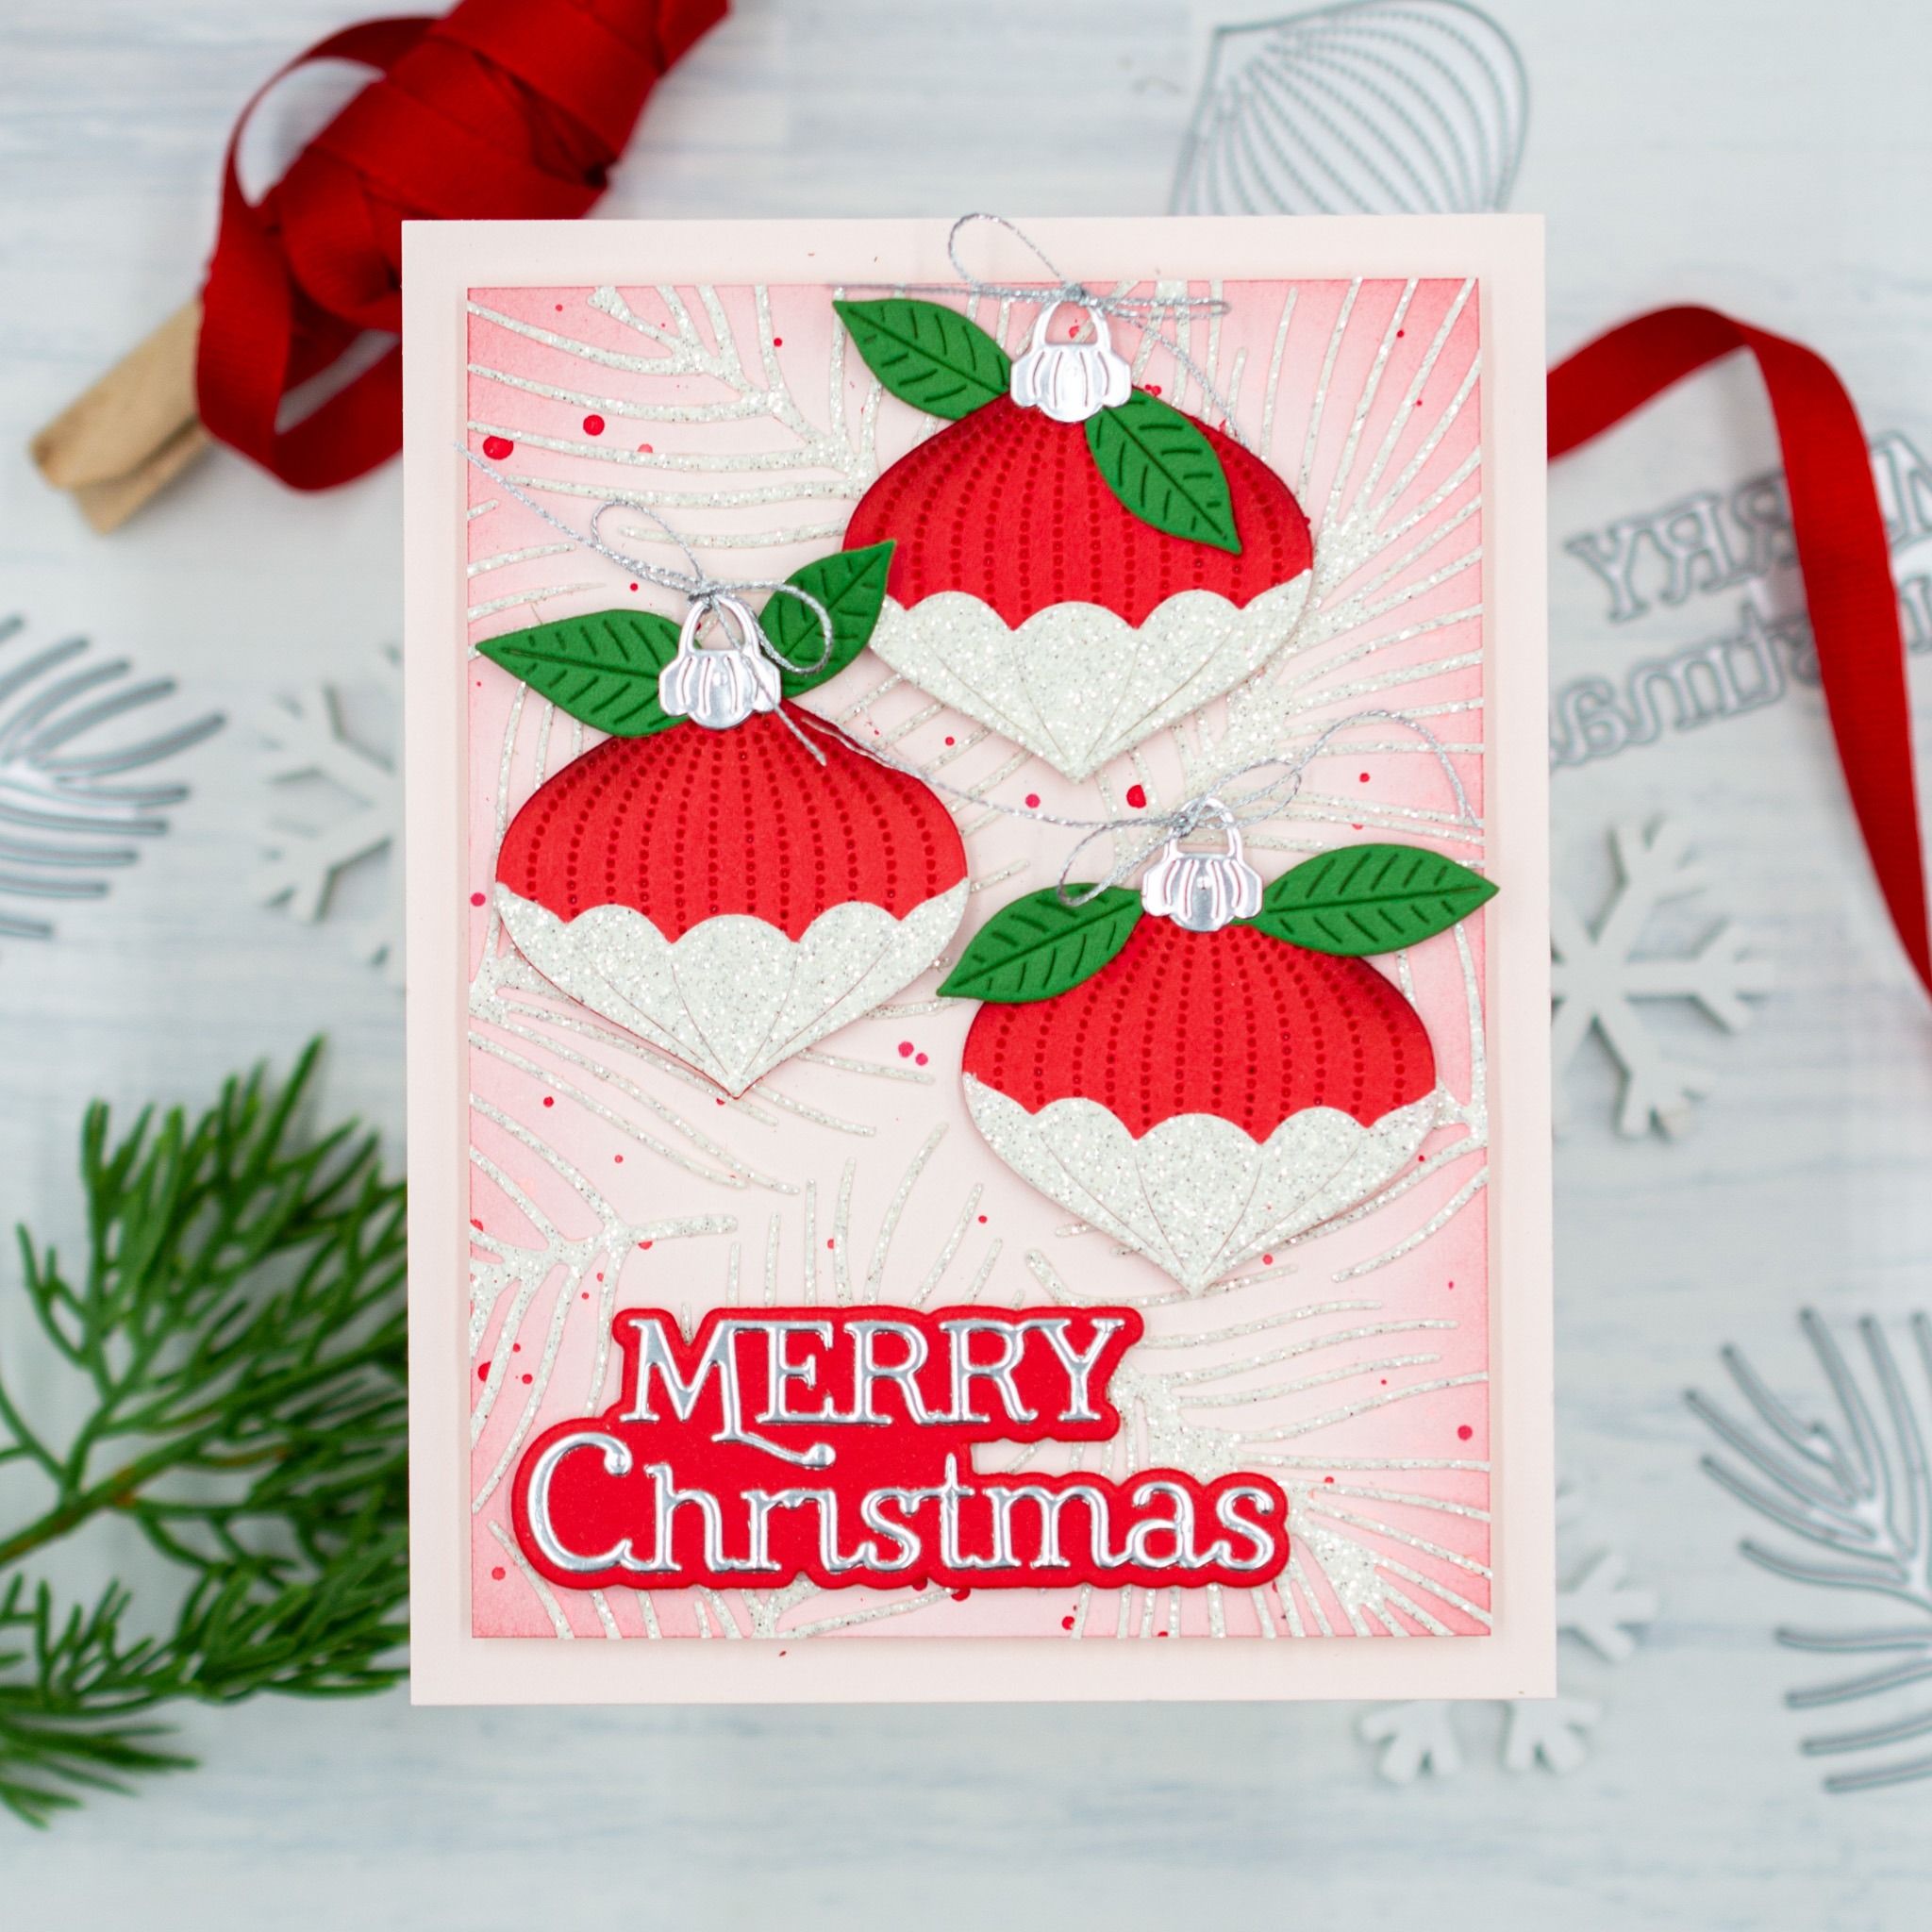
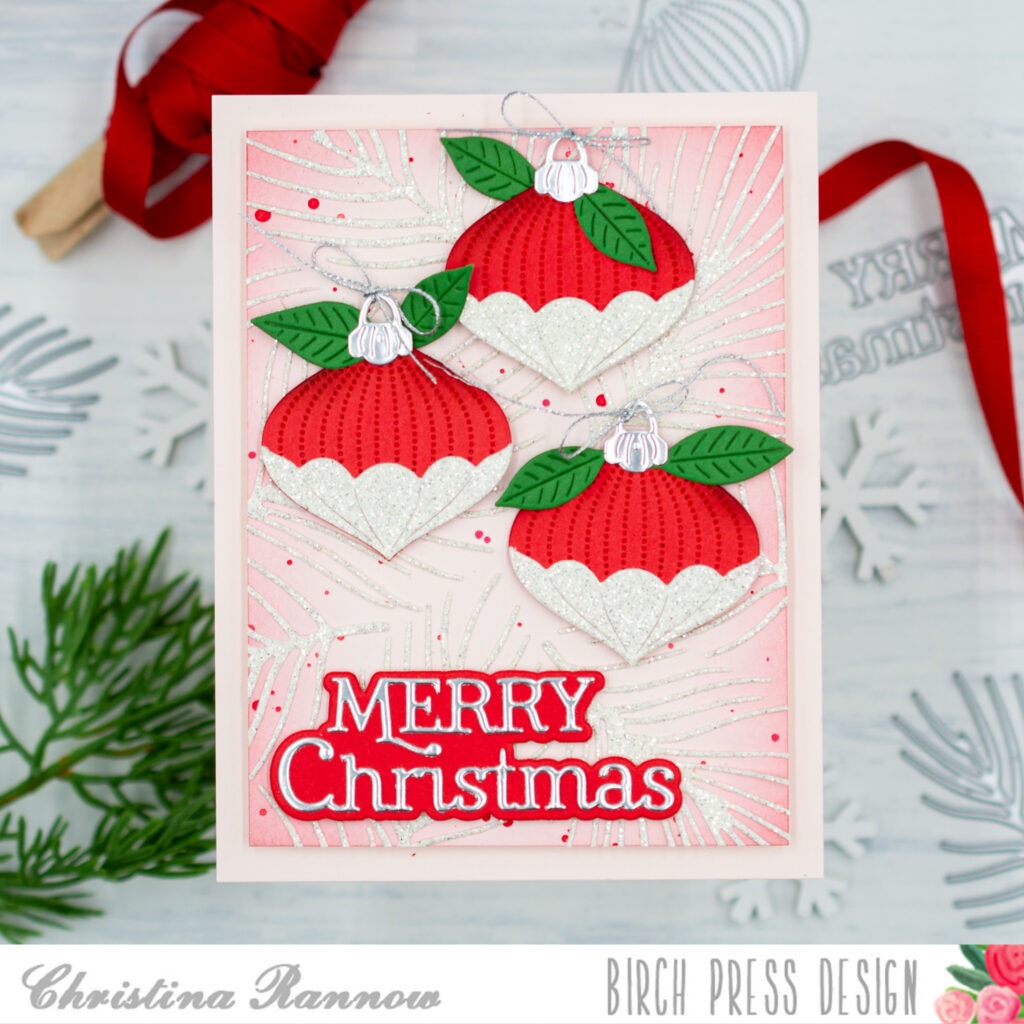
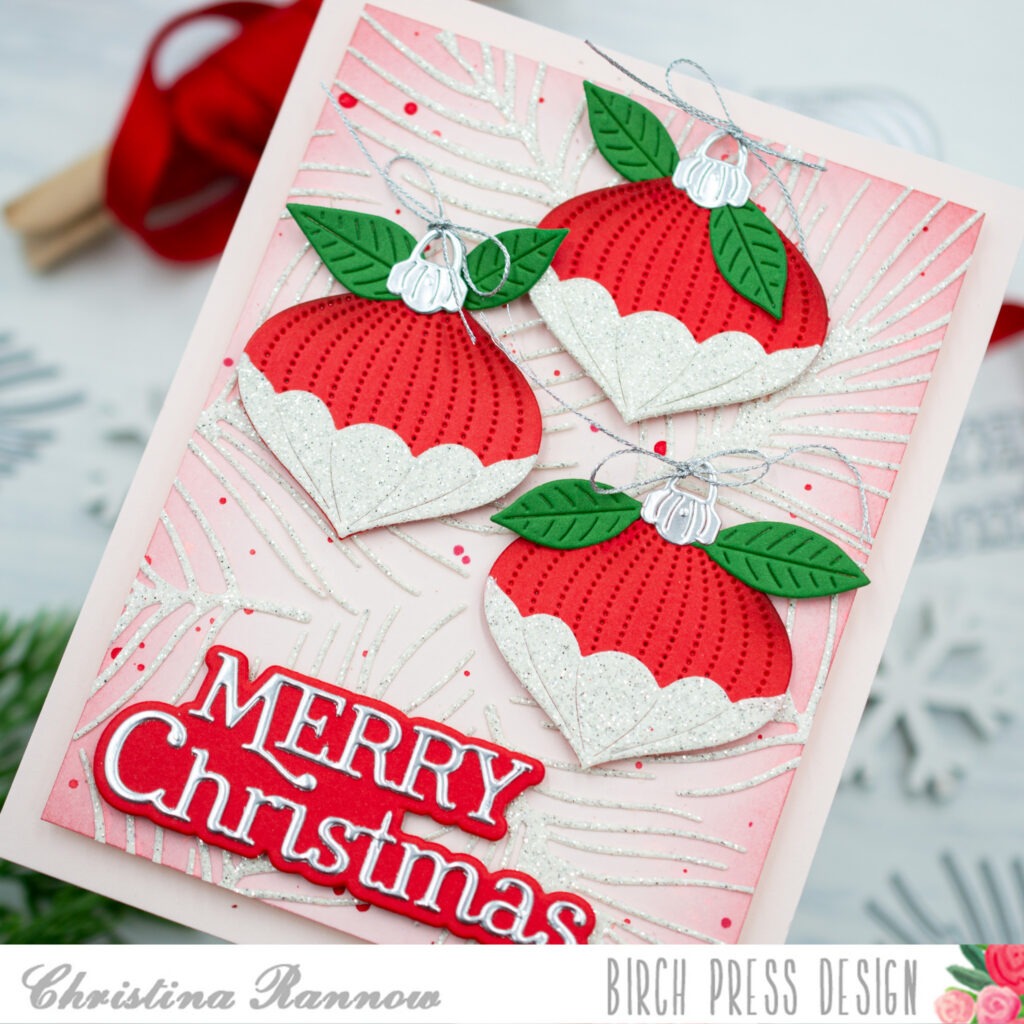
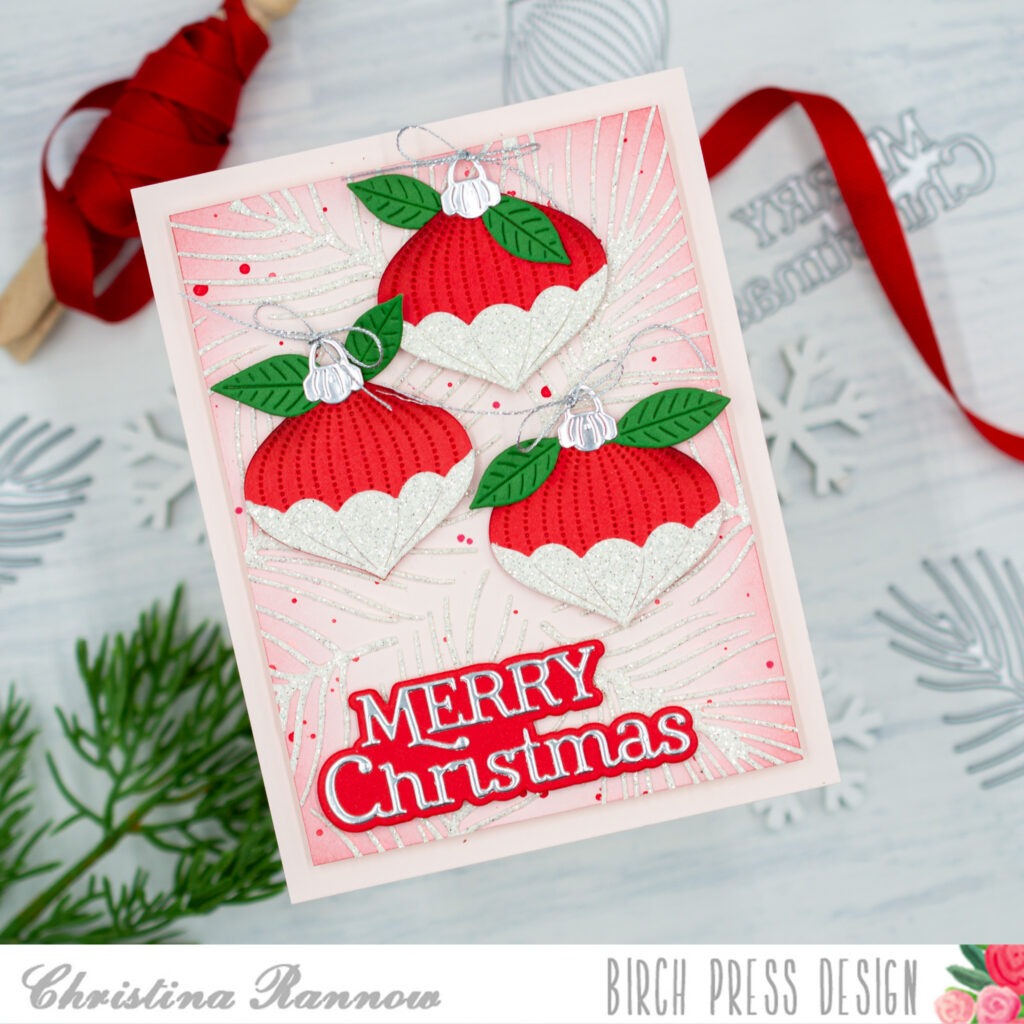
    Hello! Christina here to share a festive little Christmas card featuring the new Block Print Petal and Wave Ornaments. I played up the retro feel of these ornaments with a vintage color palette of pink and red and gave them a soft minty green backdrop with a flurry of silver snowflakes. This simple card design comes together quickly and is perfect for the busy holiday season. Let’s get started!

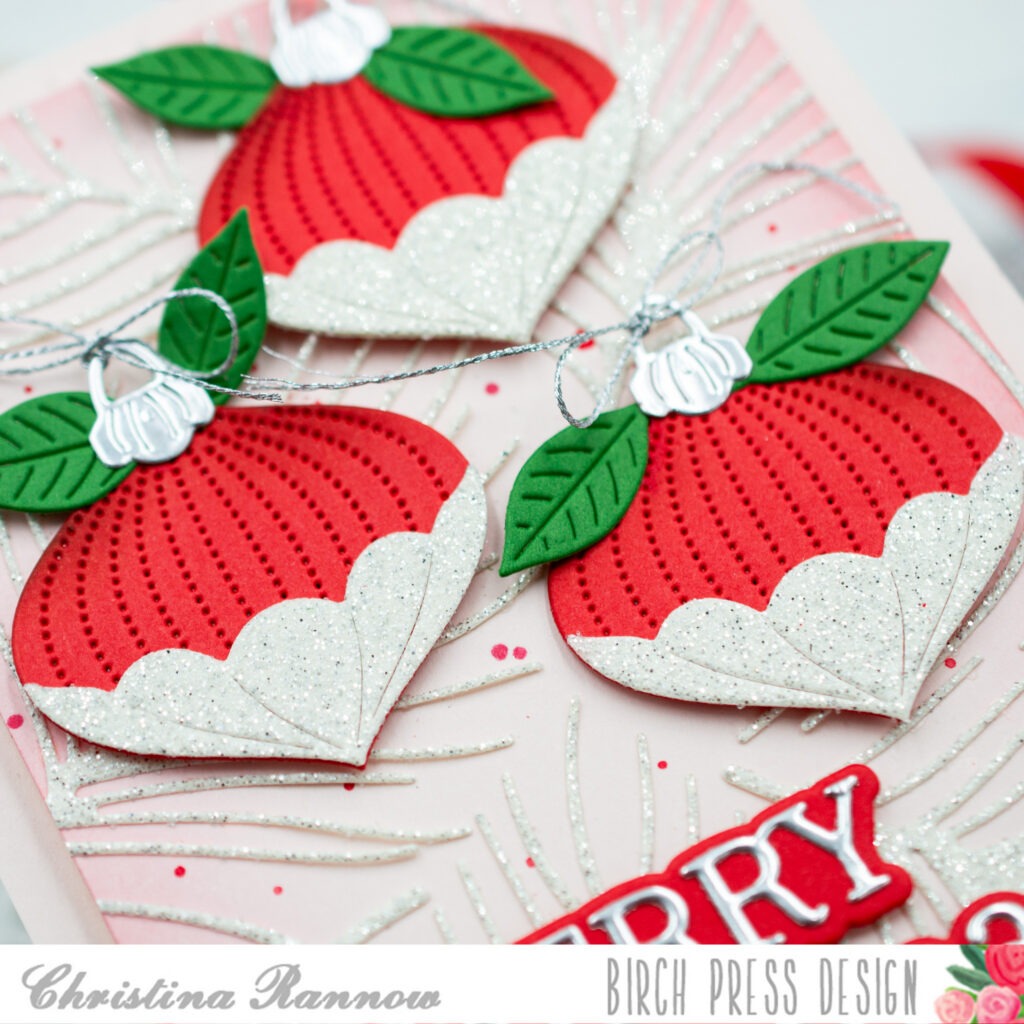
    My first step was to die-cut and assemble the ornaments. For the cardstock, I chose Birch Press Design Cherry Red, my favorite red cardstock, along with a soft pink for the bases and a matte silver for the ornament toppers. Then I accented the ornaments with a little greenery from the Foliage Bunch die set. 

    Next I created the background by softly blending Cracked Pistachio Distress Ink on a white A2 cardstock panel, concentrating the color in the center of the panel and blending it out to white around the edges. Then, for some texture and interest, I lightly spattered the panel with Lucky Clover Distress Ink and Frozen Fog Mica Stain. The Frozen Fog Mica Stain adds a touch of silver sparkle to complement the other silver in the design.

    To finish things up, I added the ornaments to the background panel, popping them up with foam squares, and then added a few die-cut silver snowflakes from the Bright Snowflakes die set. The last step was to die-cut the Merry Christmas Dapper Script sentiment from green and silver cardstock, layering them slightly offset, and adding it to my card design.

    Thank you for checking out my festive Christmas card featuring some new products from the latest holiday release. See you again soon!

    Supplies

  • Happy Christmas Ornaments | by Rosemary Dennis

    Happy Christmas Ornaments | by Rosemary Dennis

    Hello BPD friends! Rosemary here on the blog today! Christmas is just two weeks away and I’m still making Christmas cards! This card was made with several new Birch Press Design products as well as two “oldies but goodies”. Let’s see what I created.

    For my card I used the following new products: Block Print Petal Ornament, Block Print Wave Ornament, Block Print Drop Ornaments and Simple Pine Needles. The two older products I used are Contempo Christmas Greetings and Herbarium Layer A.

    I decided to go with a simple color palette of light pink, silver and green. I die cut all my pieces and assembled the ornaments. I added glossy accents to the pine needles and then covered them with Rock Candy chunky glitter for sparkly, icy look.

    I decided that I wanted a neutral background with a little bit of interest. I pulled out a favorite BPD layering die set called Herbarium and I used layer A to emboss a panel of off white cardstock. I love the subtle interest it provides while still keeping things simple.

    I arranged my icy pine needles on the embossed panel using liquid adhesive and then layered the largest ornament on top and tucked the two smaller ones in beneath the larger one using liquid adhesive. I finished with the “Happy Christmas” sentiment from the Contempo Christmas Greetings set that I heat embossed with silver embossing powder after stamping with watermark ink. The sentiment was then die cut with a matching die and adhered to the card front.

    Well, that’s it for me! I hope you enjoyed today’s project and that I provided you with inspiration to create with your new and old Birch Press Design products! Have a wonderful day and Merry Christmas!


    Supplies


  • Warm Wishes Snowman | by Toni M Maddox

    Warm Wishes Snowman | by Toni M Maddox

    Hello, friends! Toni here with you today sending you many warm wishes to keep the cold at bay. Brrr!

    I created the background first by diecutting the Bright Snowflakes a couple of times from Memory Box Lagoon 6×6 cardstock. Next, I mounted the snowflake panel on Memory Box Blush 6×6 cardstock. Isn’t this a fun color combination?!

    I used the same colors to diecut the Warm Wishes Dapper Script sentiment which is popped up on foam squares.

    To complete the card, I cut the Block Print Edge Snowman from white cardstock that I sponged along the edges with a bit of blue.

    The scarf and nose are both cut from the Memory Box Blush 6×6 cardstock with the nose sponged with Catherine Pooler Tiara ink to orange it up.

    Feel free to visit my blog, Frankie Helps Craft, for a full list of supplies used and to check out my other creations.

    I hope you enjoyed today’s card and have a great rest of your week!

    Supplies

  • Merry & Bright Snowman | by Rosemary Dennis

    Merry & Bright Snowman | by Rosemary Dennis

    Hello! I hope everyone in the US had a wonderful Thanksgiving. Can you believe that Christmas is just a few weeks away? I can’t! I’m still making Christmas cards. Today I’m sharing one that I made using the new Block Print Debonair Snowman and Block Print Evergreen Trees die sets. Let’s have a look at what I made.

    Since I really loved the look of die cutting the big snowman from woodgrain cardstock I thought it would also be fun to do the same with the Block Print Debonair Snowman. I love how he turned out!

    I also die cut the snow hill (using the Wavy Hillside) from the woodgrain cardstock. I added some glitter to the hillside using swirls of glue and Rock Candy glitter. I die cut all the pieces of the snowman from the woodgrain cardstock and then colored certain pieces with Copic Markers. When you are die cutting all the pieces make sure you keep track of the tiny eyes, nose and buttons so you can insert them back into the snowman once he is assembled.

    The Block Print Evergreen Trees are a fun die set. There are the main tree dies and then layering dies. That means you can have two different looks. For my trees I decided to use just the base layer. I cut them from smooth white cardstock and then colored them with a Copic marker. I let the pieces sit for a little bit and the frosted them with glue and Rock Candy glitter.

    Now it was time to get the card base ready. For this I started with a card base I made from dark blue cardstock. I then inked up the top and sides with Chipped Sapphire and Black Soot distress oxide ink. Once the ink blending complete I placed the card base in my splatter box and splattered on white paint for the look of snow. I let it dry for a bit and then built my little scene. I finished with a Memory Box banner tab.

    I just love how my little scene turned out. The Debonair Snowman has to be one of my favorites from this release! He is just too darn cute. I hope you enjoyed today’s project. Thanks for stopping by and have a wonderful day!