Hi friends!
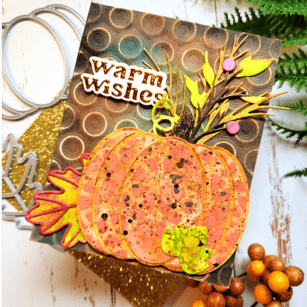
With fall upon us in full swing, I wanted to make a festive autumn card using Adornment Pumpkin die set! I’ll also be using Warm Wishes layering die, Hillside Branch & Contour Layers, Adornment Oak Leaf die, Splendor Bevel Plate (Layer A only), Memory Box Cream Woodgrain paper, Memory Box Vintage Pastel Mirror paper, and Memory Box Ringadings embossing folder! All of the product links will be listed at the end of my post!
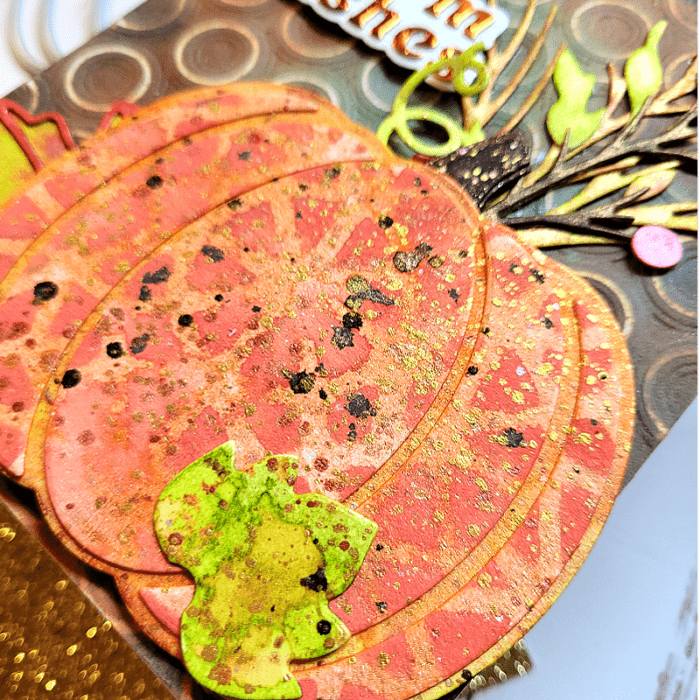
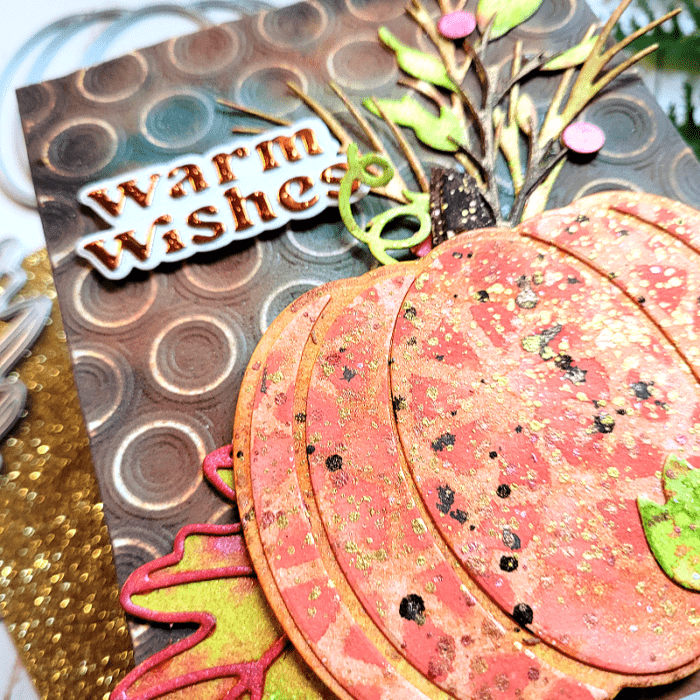
I’ve been seeing pumpkin cards where the pumpkins have been stamped with a design, so I decided to do that with the Adornment Pumpkin! I die cut the layers on watercolor paper and sprayed them with Hero Arts Orange and Bright Yellow shimmer sprays. These sprays add a really cool shimmer that I wanted to get with my pumpkin! Next, I grabbed Splendor Bevel Plate Layer A and used it as a stencil, applying color through the die onto the top layer of the pumpkin using a darker orange ink. I applied green spray over the leaf and brown over the stem. Then I adhered the layers together and splattered gold and dark brown inks over the top. Then I set my festively decorated pumpkin aside for later! Below is a close up of the details on my pumpkin, I love it!!!!!
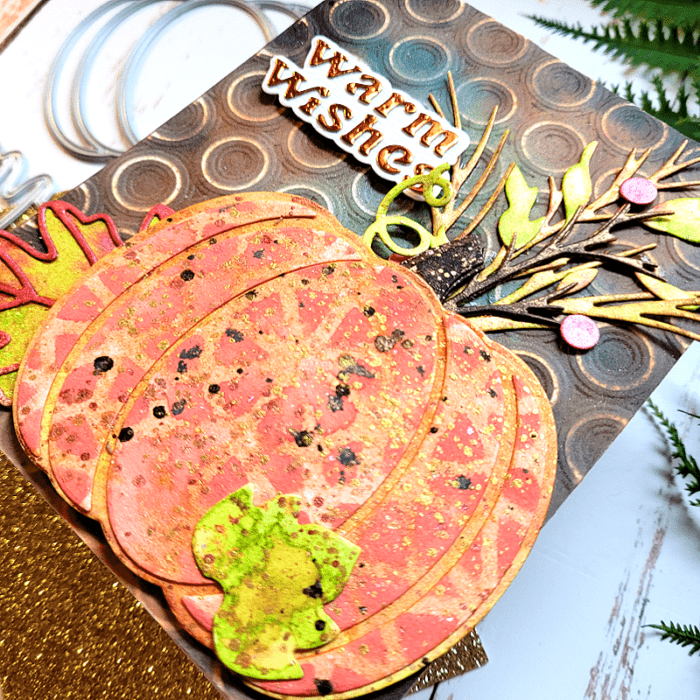
Next step was to work on the foliage that I wanted to place around the pumpkin. I die cut Hillside Branch & Contour Layers and Adornment Leaf die on watercolor paper and then sprayed those the same way I sprayed my pumpkin. Then I adhered the layers together.
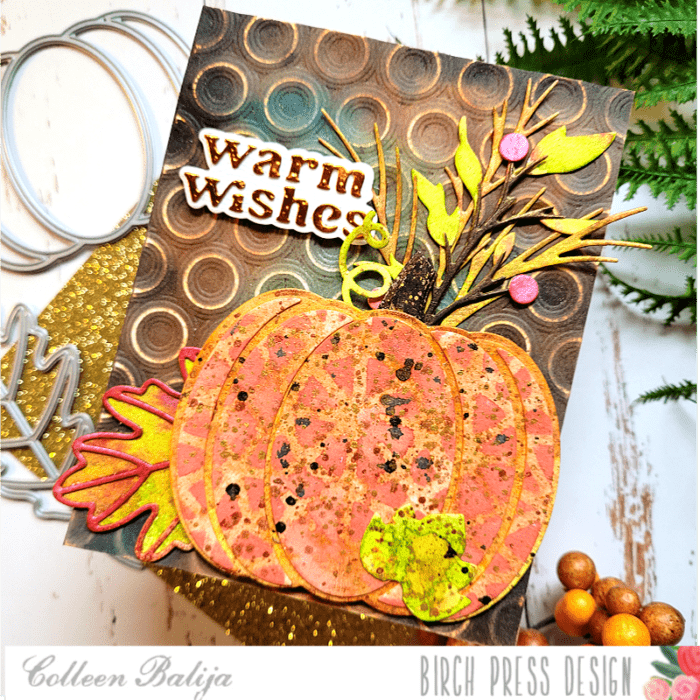
Now for the background! I grabbed a colored card panel that I had in my stash (I occasionally create several background panels to be used when needed – it’s really handy!). Then I embossed the panel with Ringadings embossing folder. This folder is AWESOME! Next, I used a sanding tool to remove a layer of ink from the raised areas of the embossed image. You can see how the circles are almost white! This is an easy technique that adds another element of detail and is amazing for mixed media! I adhered the panel to a white 5.5×4.25 card base. Also, I die cut the layers of Warm Wishes using Memory Box Cream Woodgrain paper and a bronze shade from the Vintage Pastel Mirror paper. I adhered the pumpkin and tucked the foliage in behind it, and then finished with the sentiment.
TIP: To place the letters of your sentiment in the exact position, I place the outer portion (negative) of the die over the base layer (which was the Woodgrain Cream color) but don’t adhere it! Then I add glue to the letters and tuck them inside the positive part of the die. I gently pull the negative portion off using a pick to ensure the letters stay in place and don’t lift with the outer die! Easy peasy!
I love how the background is quite dark compared to the colorful pumpkin and foliage. That really helps the focal point to pop! Thanks for stopping by today!
Supplies


