
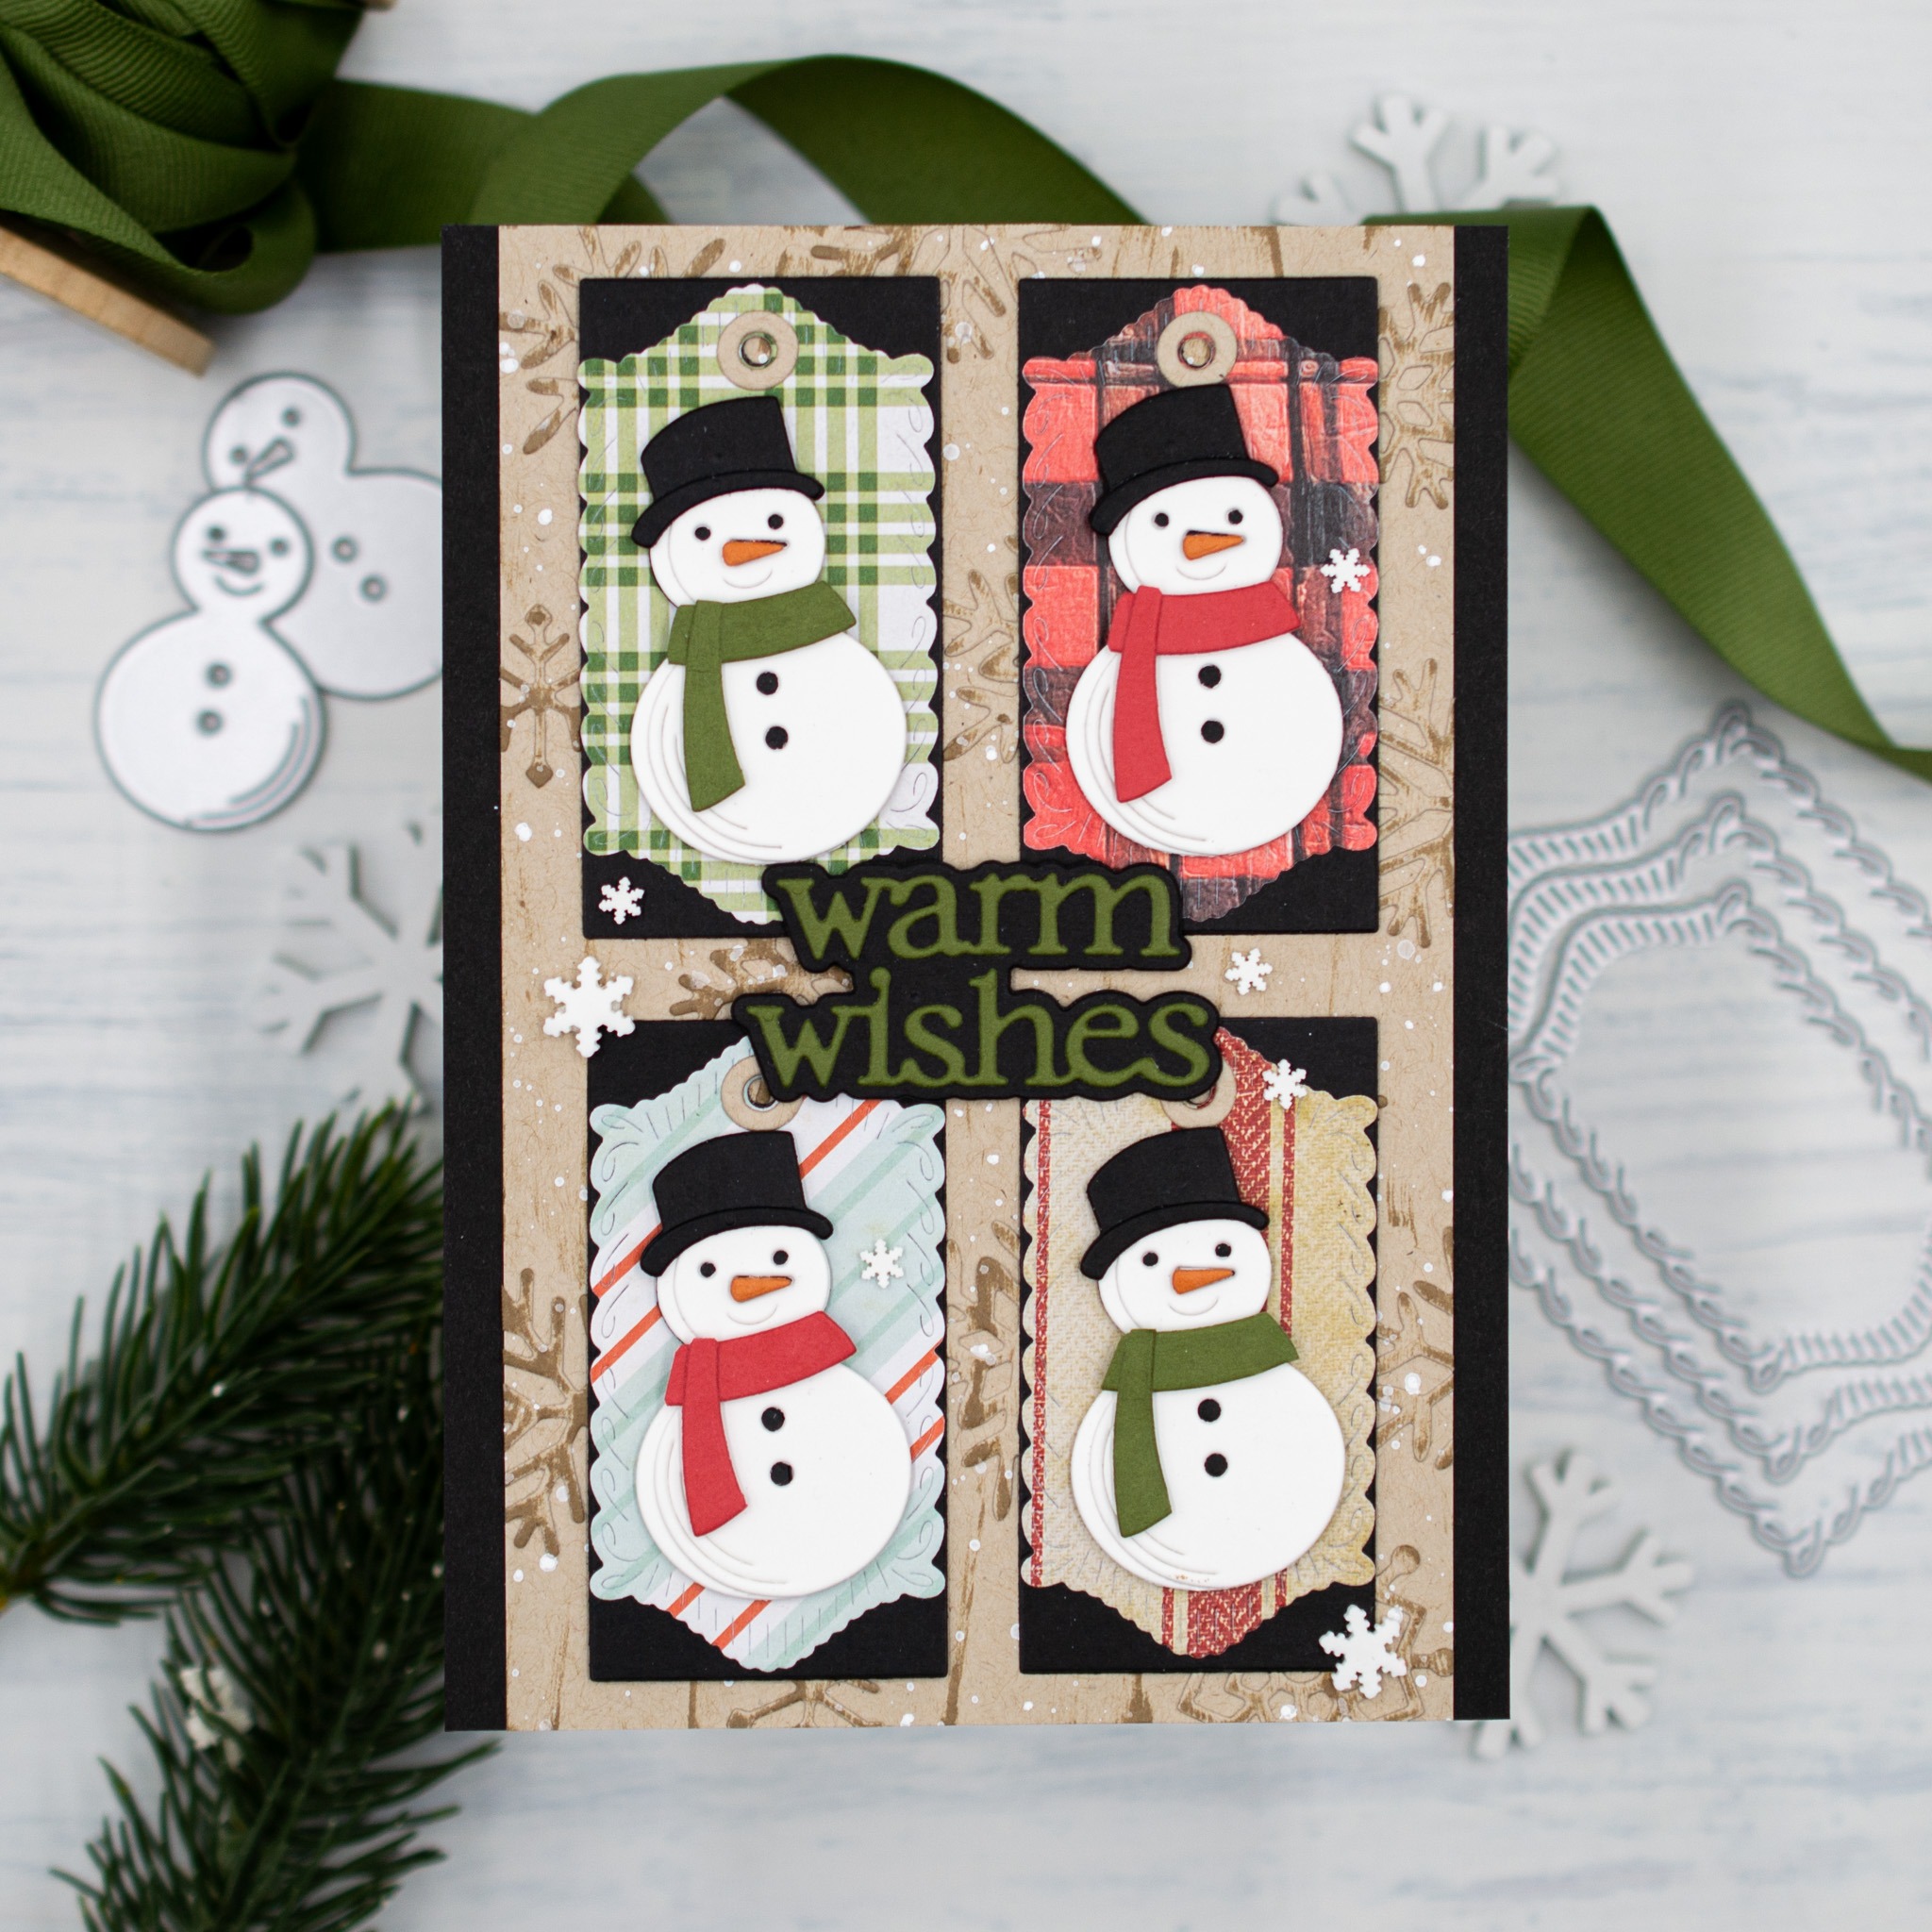
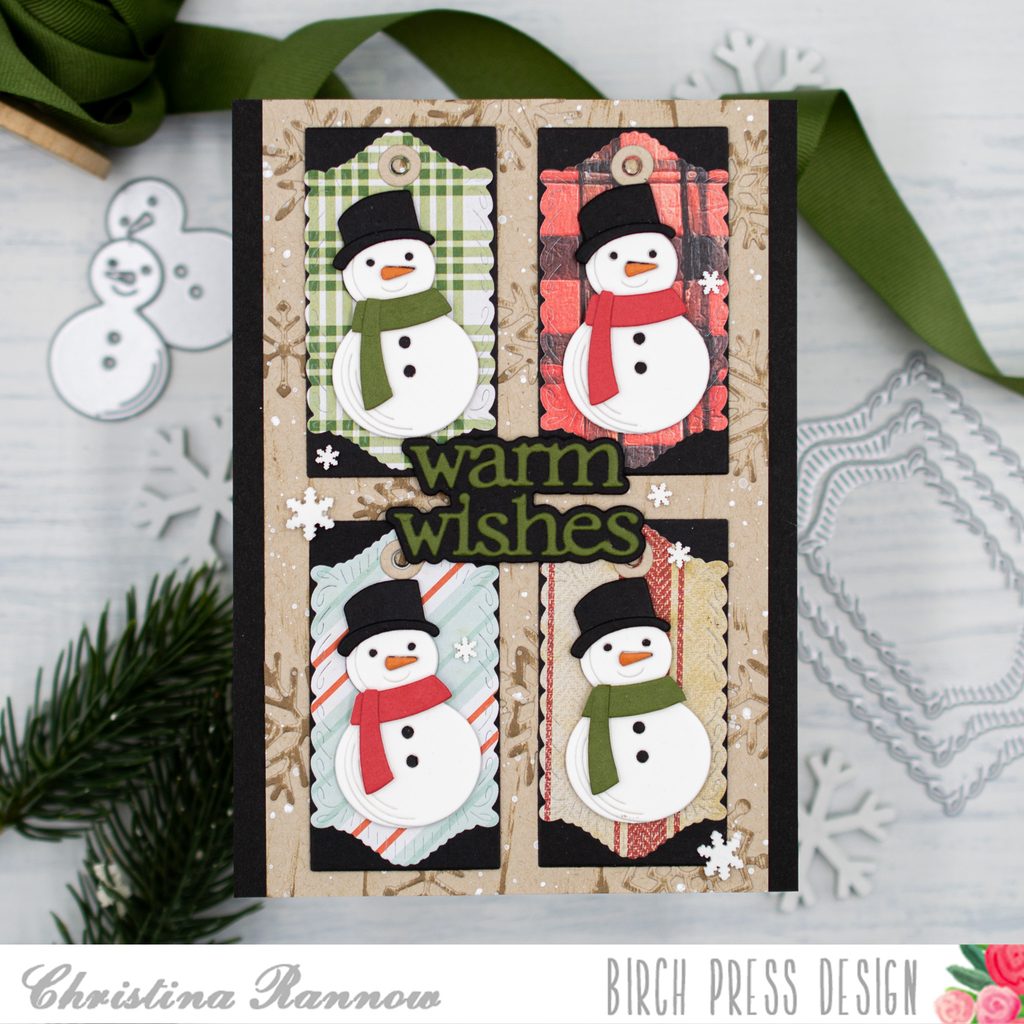
Hello! Today I’m sharing an A6 card featuring the Block Print Debonair Snowman die set. For this design, I created tags using one of the smaller Loop Stitch Frame dies with patterned paper and arranged them against a textured background panel I made using the Bright Snowflakes die set. Let’s take a look at how it all came together.
My first step was to create the tags. The base of each one is a small rectangle die-cut from black cardstock. To that I added patterned paper that I die-cut with the second smallest Loop Stitch Frame and then punched a small hole through both layers at the top before adding a hole reinforcer die-cut from kraft cardstock.
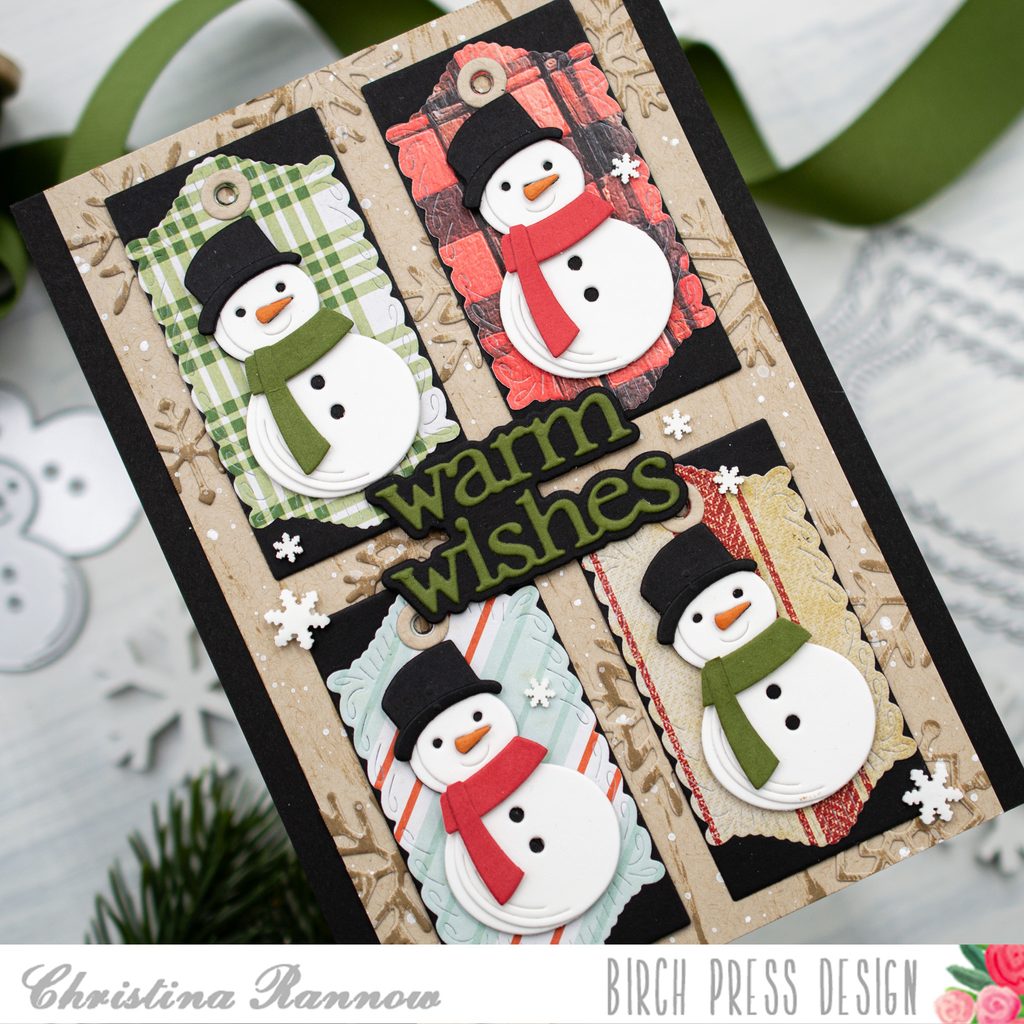
With the base of the tags finished, I moved on to the snowmen. I die-cut the components for four of them, one for each tag, choosing two red scarves and two green scarves. Then I assembled the pieces and secured them with a liquid adhesive except for the carrot noses and the scarves. I used small, thin foam adhesive to secure those pieces to give them a little extra dimension. When the snowmen were fully assembled, I attached them to the tags with foam squares.
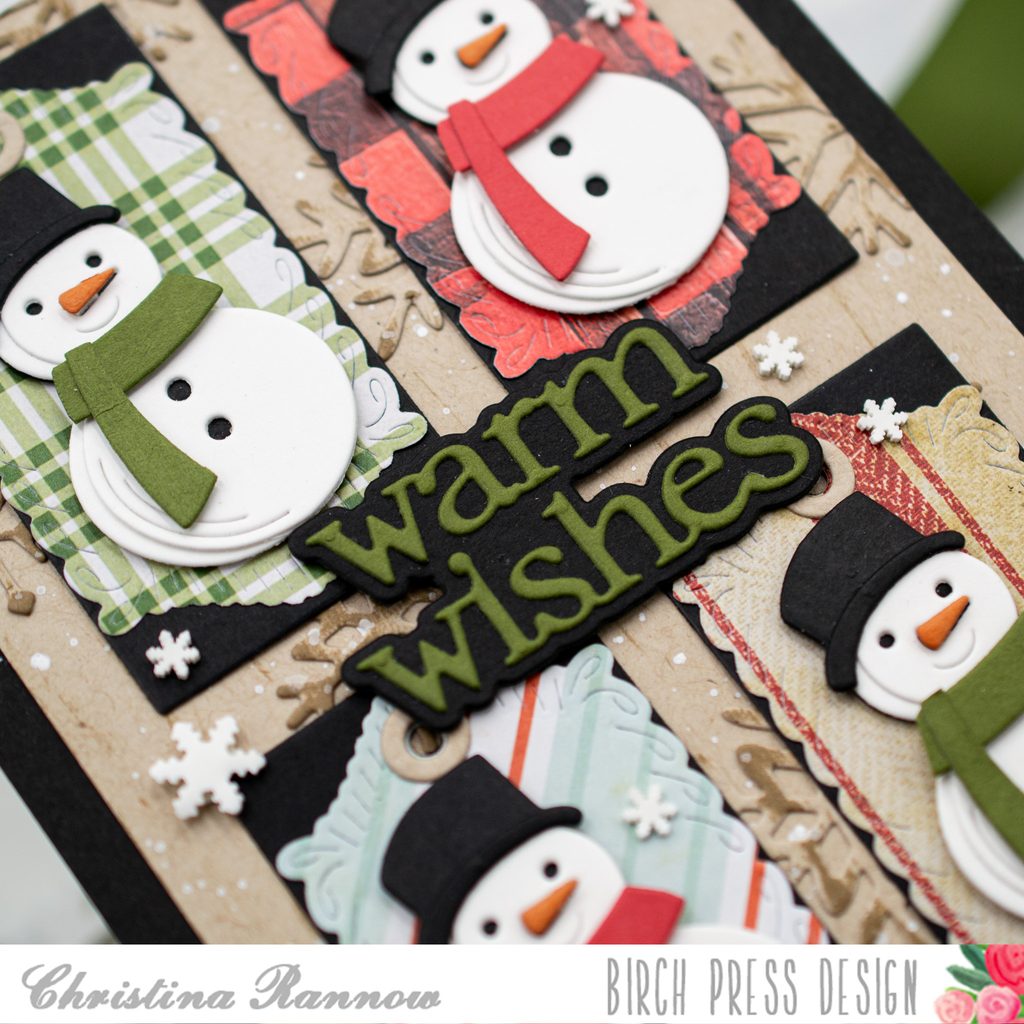
Next I created the background panel for my A6 card design. I started with a kraft cardstock panel measuring 4.5 x 6.25 inches, slightly larger than an A2 card. Then I die-cut the Bright Snowflakes from more kraft cardstock and attached them randomly to the background panel using liquid adhesive, allowing some of them to overhang the edges of the panel. Then I lightly dragged a Frayed Burlap Distress Ink pad across the panel to add a little distressing and catch parts of the snowflakes to highlight them. Finally, I splattered the panel with a white splatter medium and trimmed about ¼ inch from each long side before mounting it on a piece of black cardstock measuring 4.5 x 6.25 inches. For a card base, I trimmed a piece of heavyweight white cardstock to 6.25 x 9 inches and scored it at 4.5 inches before folding.
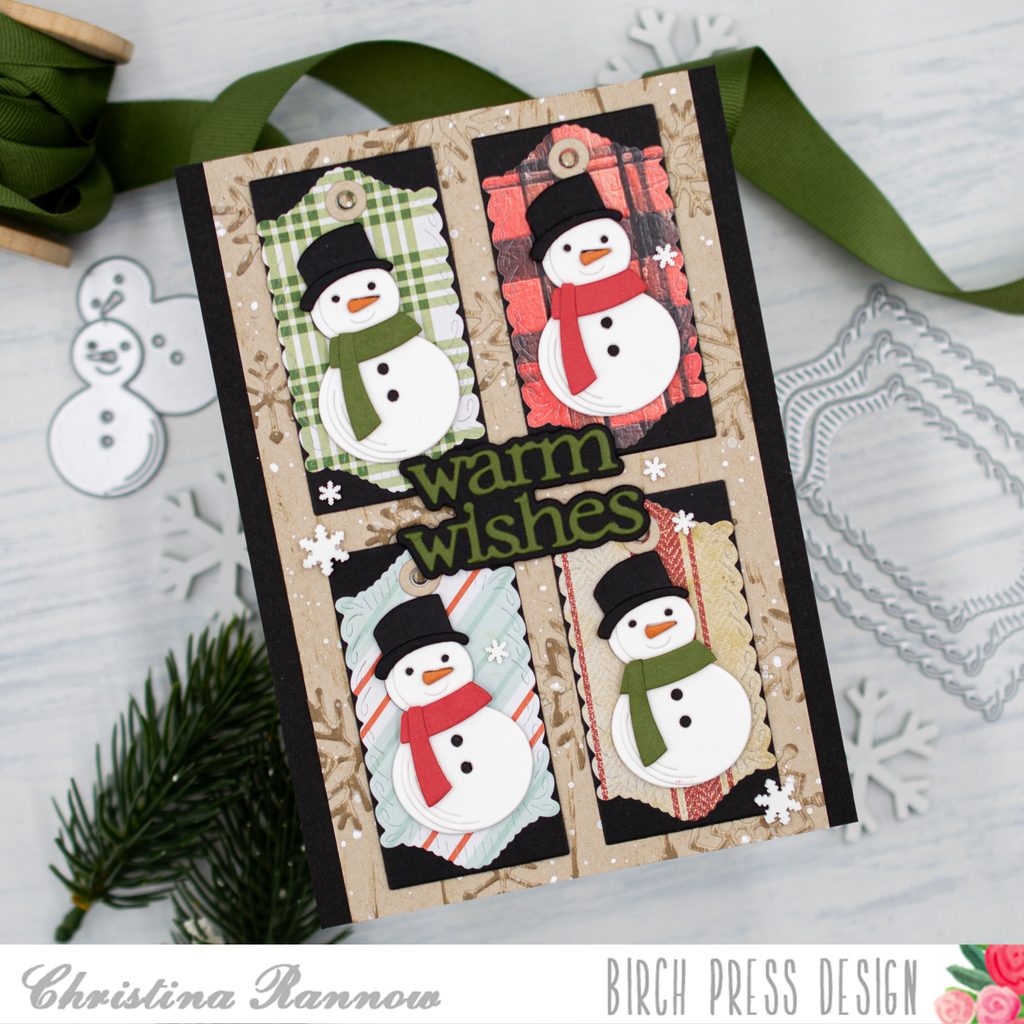
To finish things up, I glued the tags to the background panel and added a die-cut sentiment to the center of the panel using foam squares to secure it. Lastly, I added a scattering of white clay snowflakes for embellishment.
Thank you so much for reading about the card I created featuring the Block Print Debonair Snowman. See you again soon!



Leave a Reply