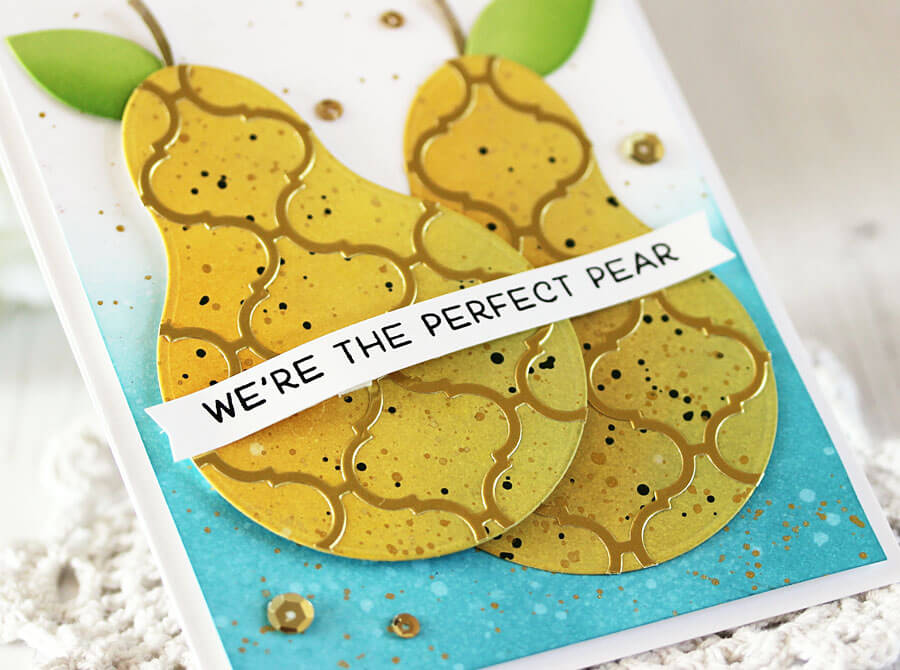
Happy, happy Friday! Today I’m sharing a technique that will allow you to stretch your dies even further!
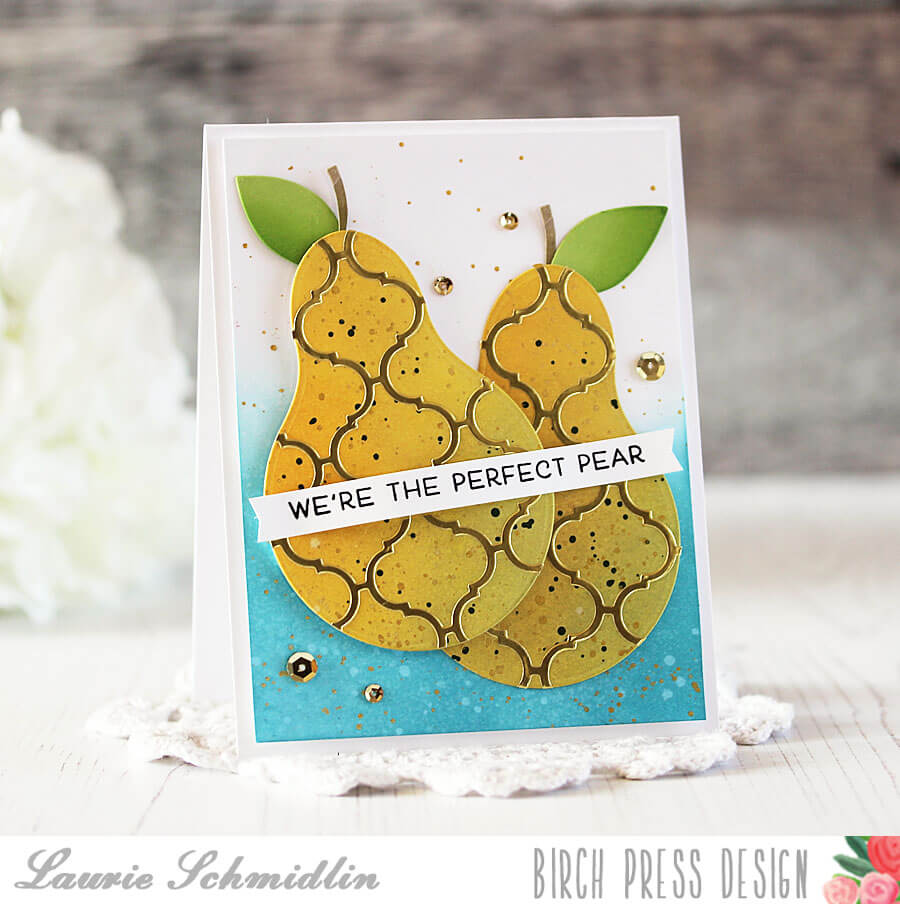
This card came about as one of those crafting “happy accidents”. I was flipping through my dies in search of the Perfect Pears Die Set and a saved die cut (I never throw away full cover plate die cuts but store them for future use) fell out onto my desk. The die cut was one that I had cut out of silver cardstock with the Delfina A die. As I was getting the pears out to die cut the through occurred to me that the two would look great together!
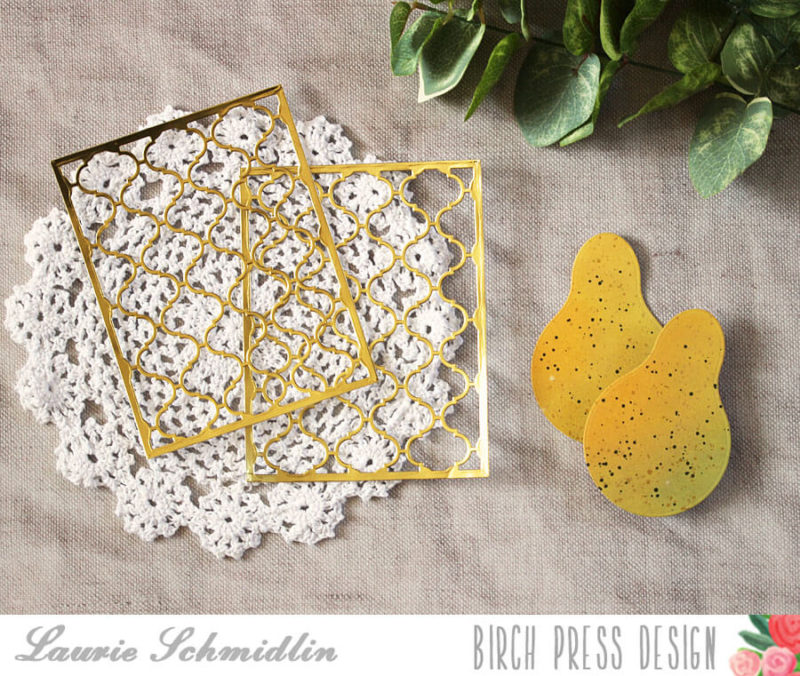
I knew that I didn’t want to use the silver but thought gold would be a better choice for my pears. So I die cut two of the Delfina A layers from gold cardstock. I also die cut two of the largest dies from the Perfect Pears die set. I sponged ink on them using Distress Oxide inks. To add some extra texture, I splattered the pears with both dark green and gold paint.
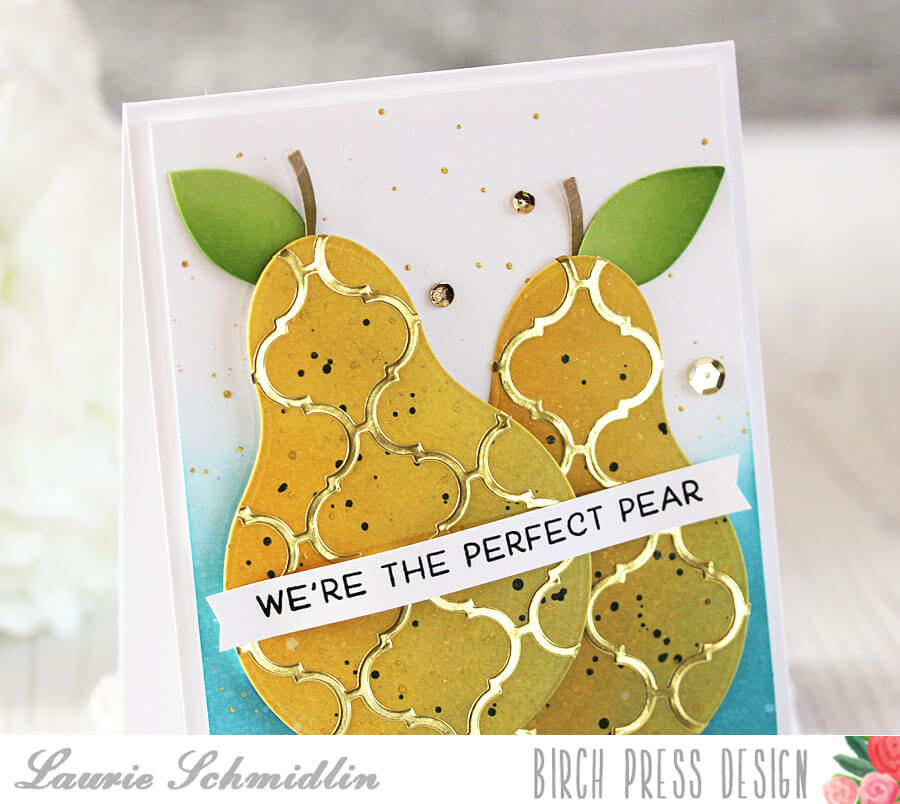
I adhered the gold die cuts on top of the pears and trimmed around the pear edges. The Perfect Pears die set included the leaf and stem dies, so I die cut those out of green and Kraft cardstock.
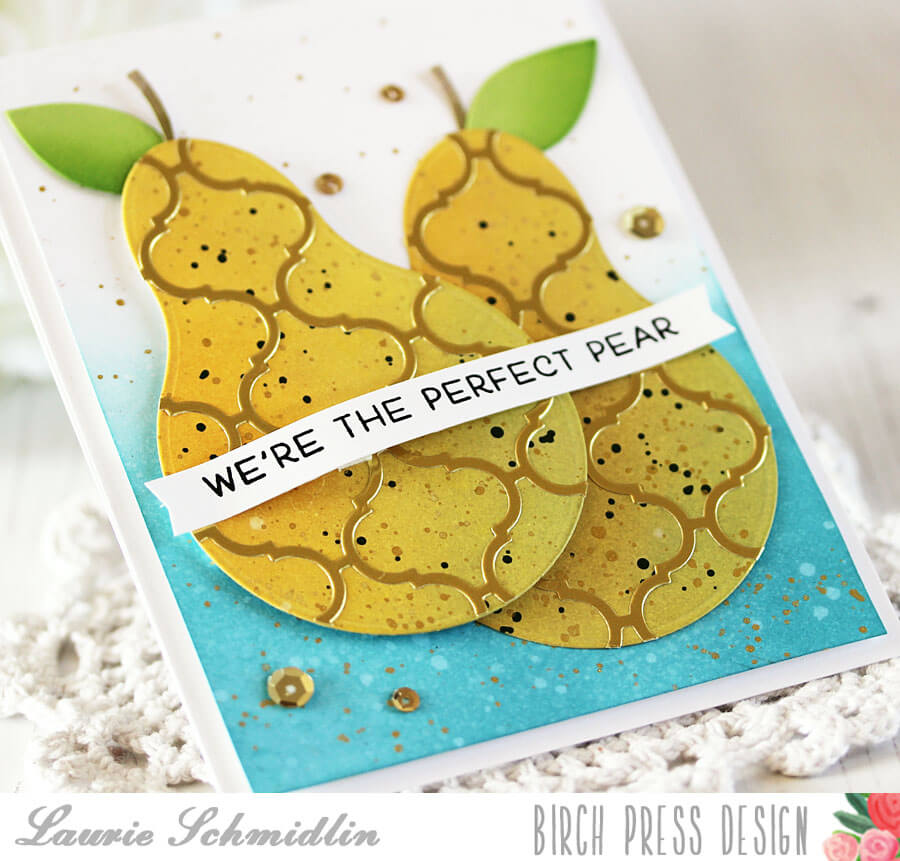
For the background of my card, I sponged some turquoise Distress Oxide ink. Again, for added texture, I splattered on both water and gold paint.
I chose the “We’re the Perfect Pear” sentiment from the Love and Miss You stamp set. I created a little banner by trimming each end and then adhered to the card using dimensional foam. For embelllishment, I sprinkled on some gold sequins from the Not So Heavy Metals sequin mix.
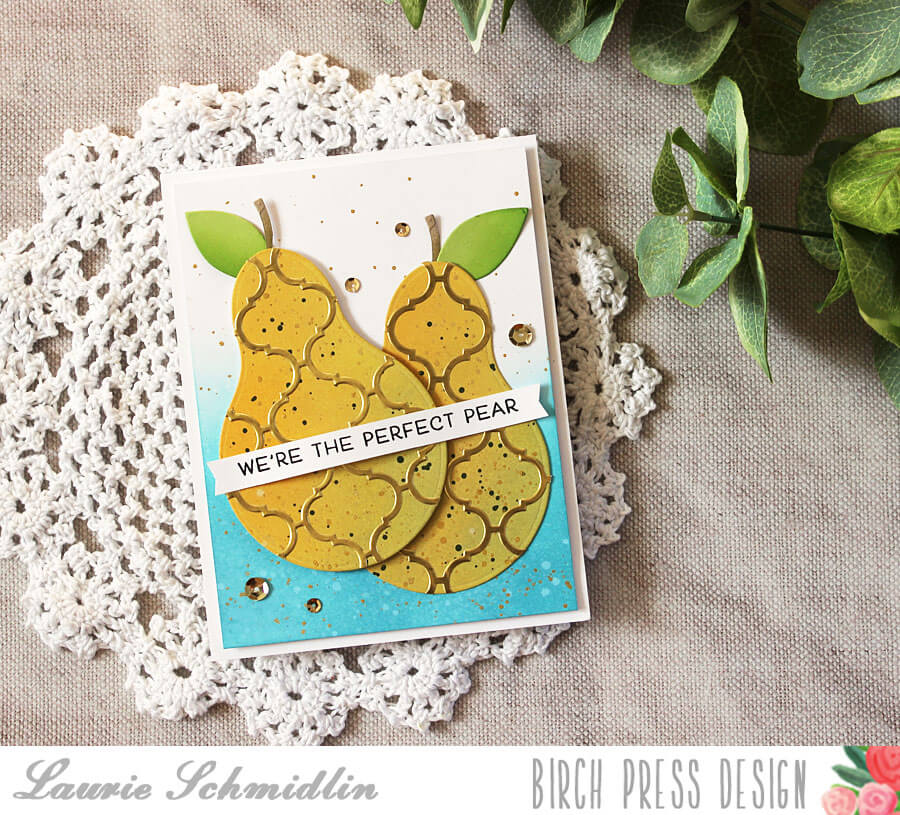
I have to say that I really love how this turned out! The gold die cuts add a touch of elegance, giving the pears a whole new look!
I hope this has inspired you to look through your dies to see what you might be able to combine to create something new and unexpected!

Supplies


Comments
One response to “Perfect Pear | By Laurie Schmidlin”
So pretty Laurie. Who doesn’t love a happy accident? Well done!