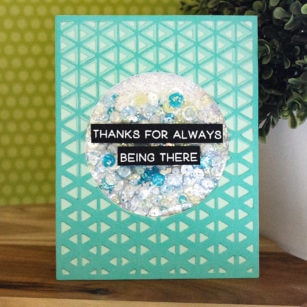
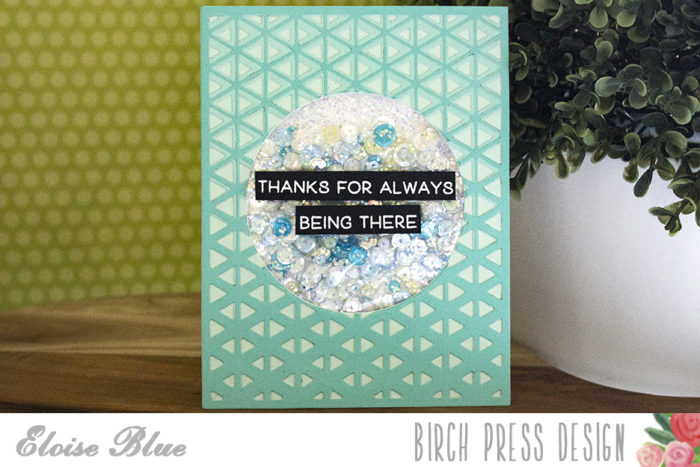
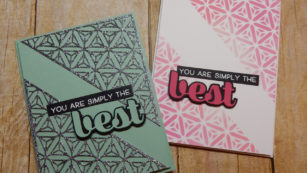
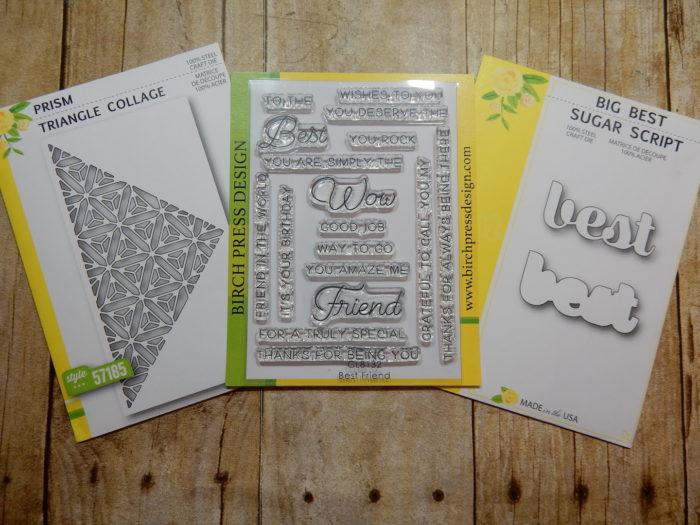
Hi everyone, Eloise here today to share a super quick and easy shaker card with you all using the Triangle Fade Frame Dies and the Best Friend stamp set.
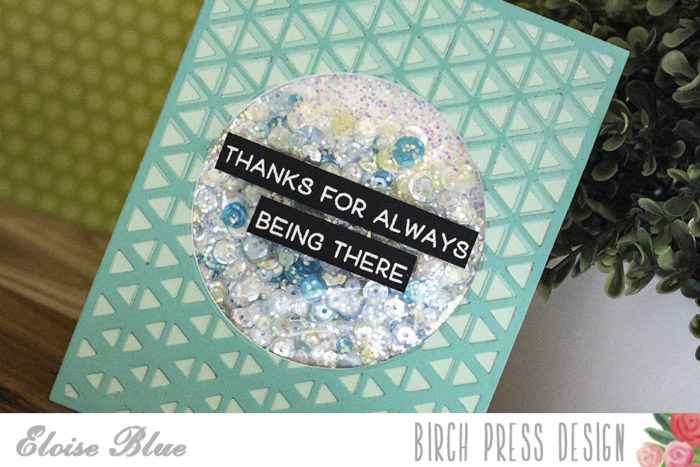
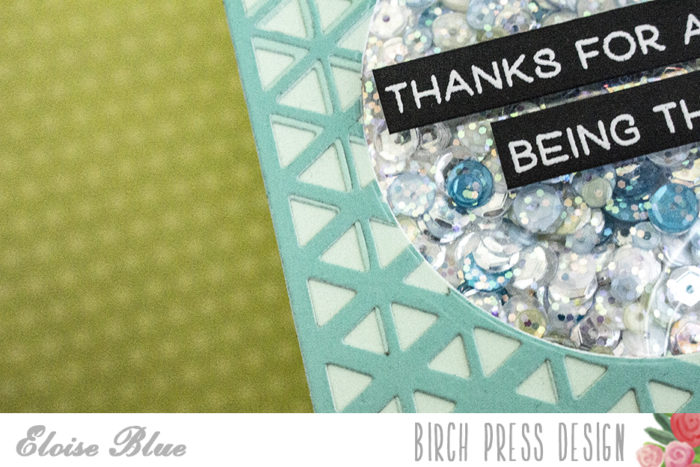
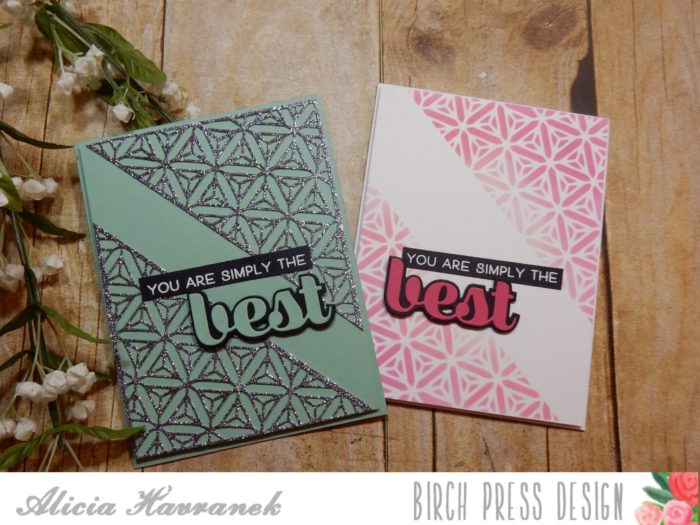
I started off with die cutting the Triangle Fade Frame from two shades of blue cardstock and then cutting a light blue layer to be the same size as a backer. I poked out all the triangles and adhered them together, making sure to turn one of them 180 degrees to it would show each layer through the larger triangles.
Now that all my layers were adhered together, I then took a circle die and die cut a circle from the centre of my panel. I set that off to the side and moved onto my shaker panel.
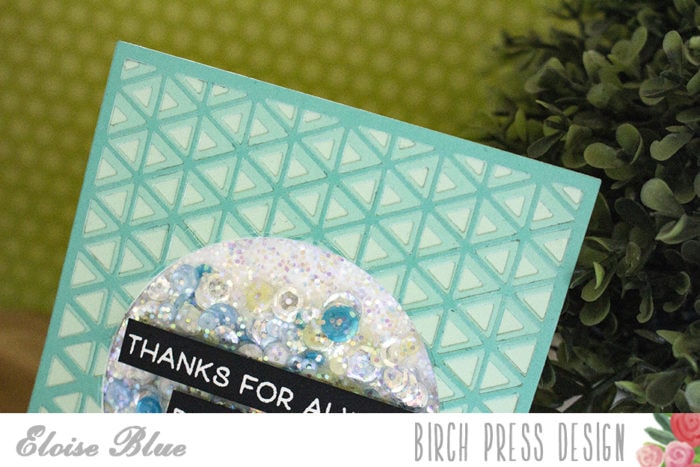
I used my fuse tool and some plastic page protectors and made a square large enough to fit behind the die cut circle. I filled it with some glitter and shades of blue sequins and then closed it up. I added tape along the back of my circle and adhered my shaker panel to the back. I then added foam tape around it to balance it out when adhering my panel to a card base.
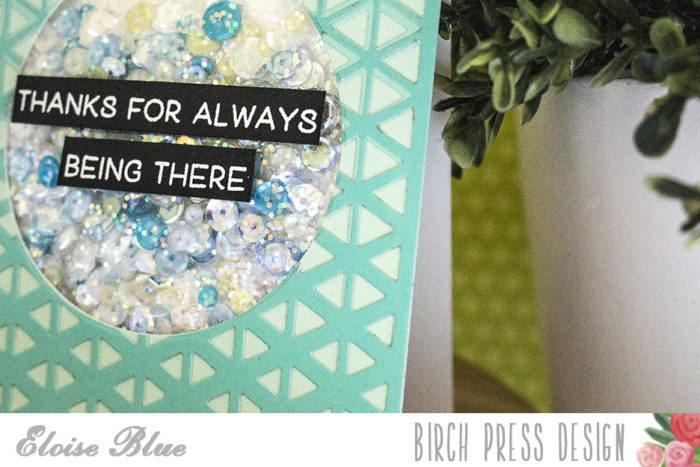
Lastly, I used the Best Friend stamp set and white heat embossed the ‘Thanks for Always Being There’ sentiment onto a think strip of black card stock and then I adhered that to the centre of my shaker panel. To finish up I adhered my panel onto a white card base and my card was complete.
Thanks so much for stopping by today, the video is below if you would like to watch.
Hope you enjoyed, see you next time!

Supplies


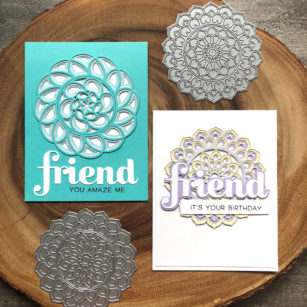
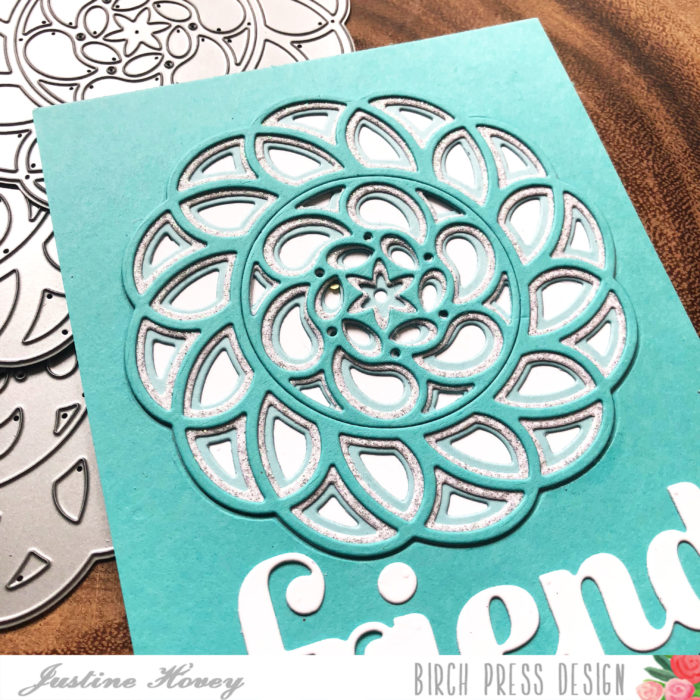


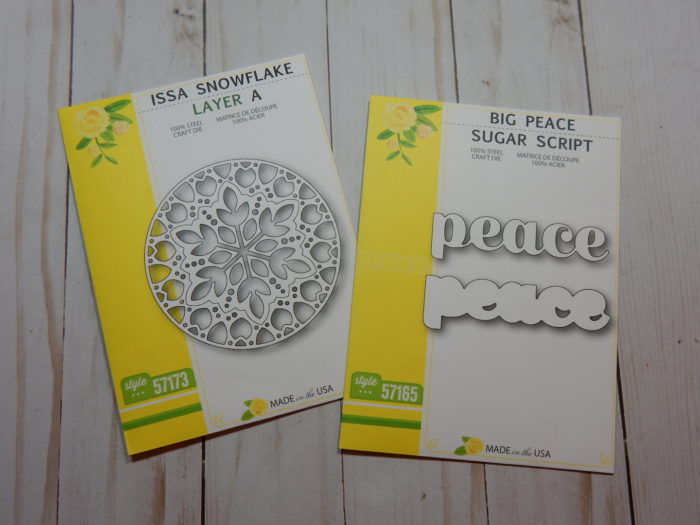
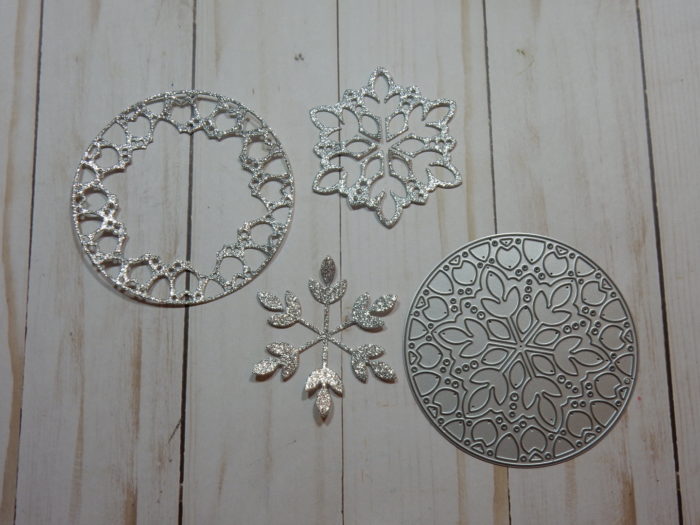
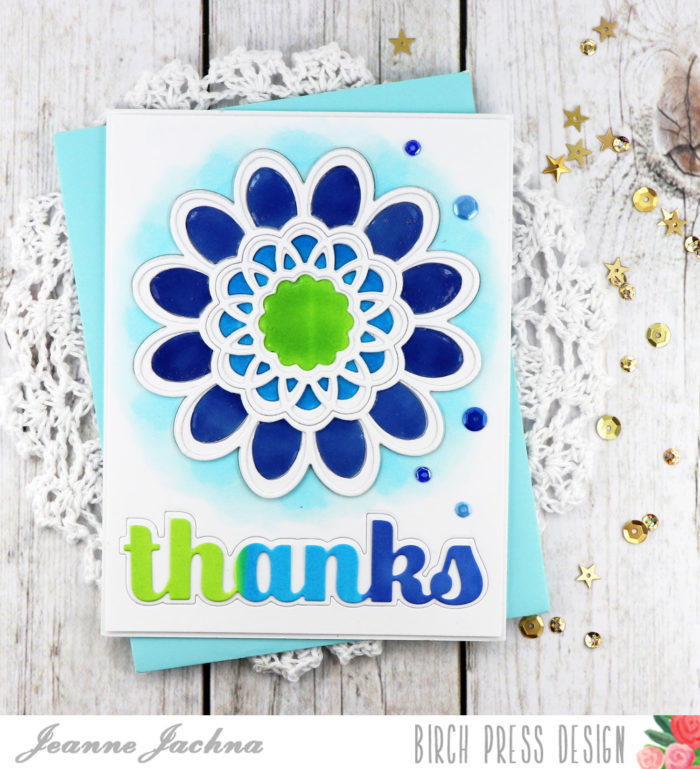 I started by cutting the Aurora B die from a panel of card stock. I didn’t want it to cut all the way through. I wanted to create an outline of the die on the card panel that I could color. I added some clear packing tape to the back of my card stock panel before cutting the die on the front of the panel. The packing tape helps keep the die together so no pieces fall out.
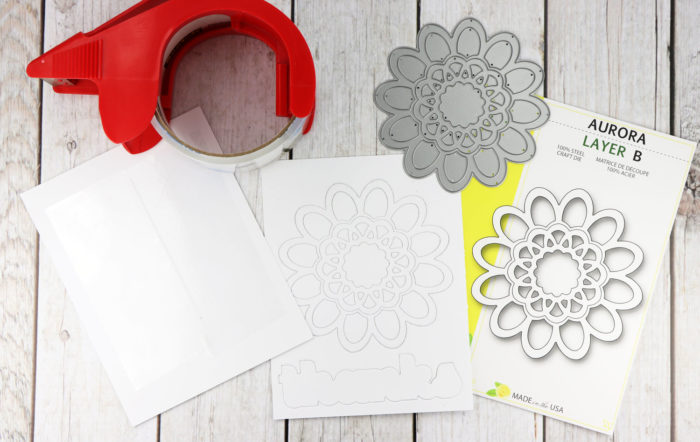
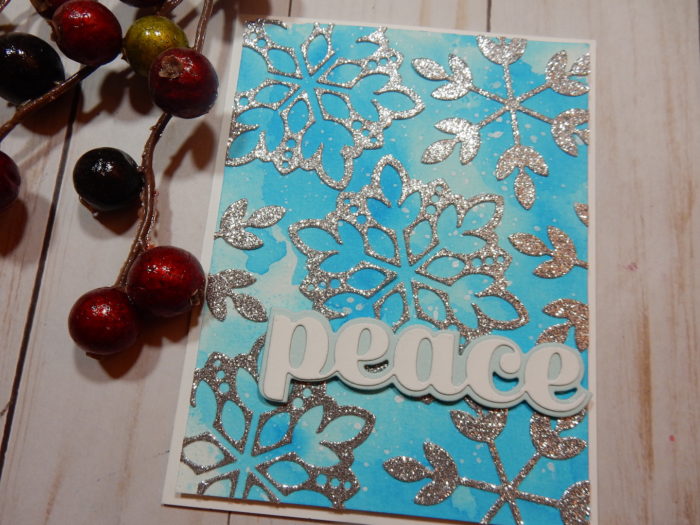
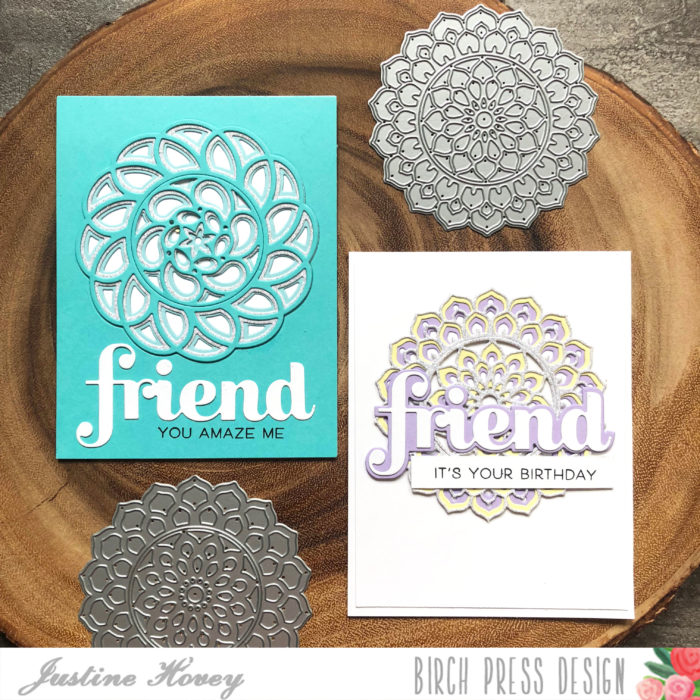
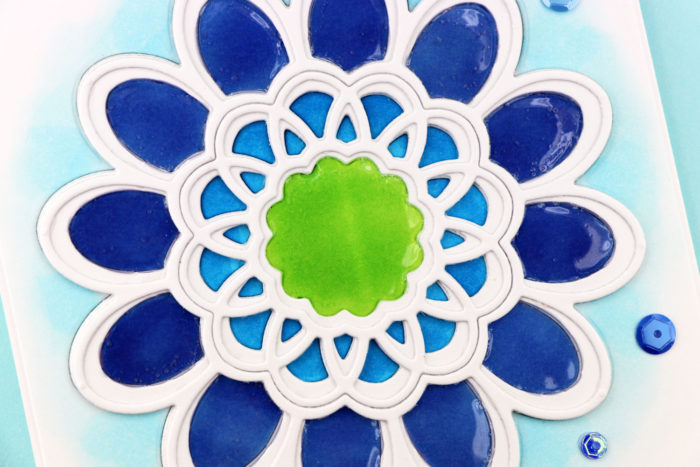
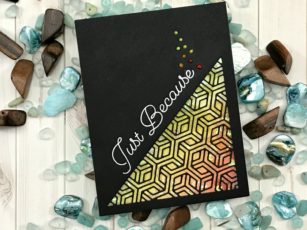
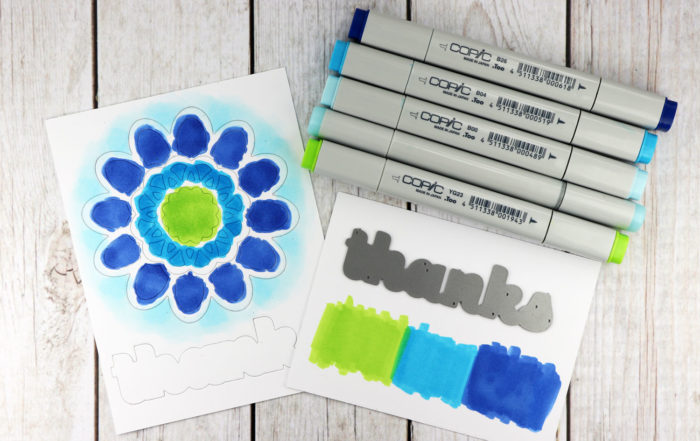 Fill in the die cut openings with Glossy Accents. I used a needle to move it around and get into all the corners. It’s also convenient for breaking any bubbles you might see. This is a time consuming technique but the shine is worth it. TIP: Use a die cut with large openings to make this process easier. I chose the Aurora die for this reason.
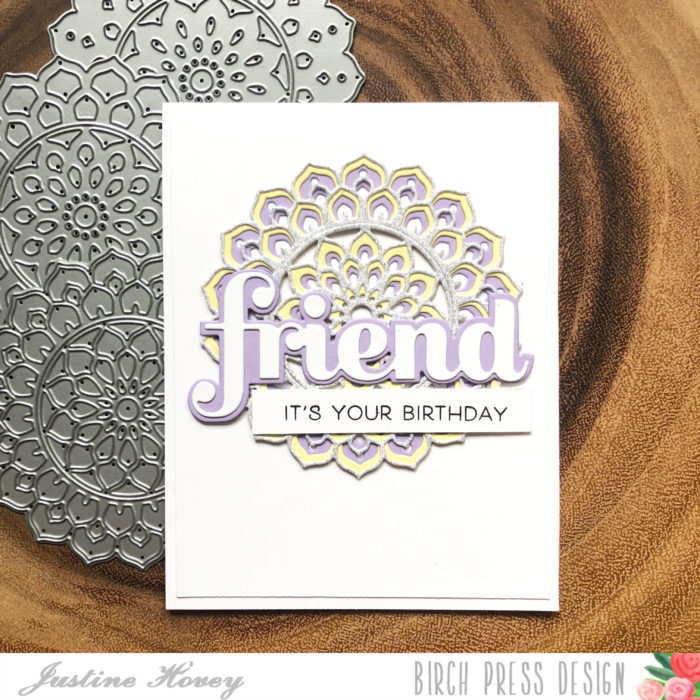
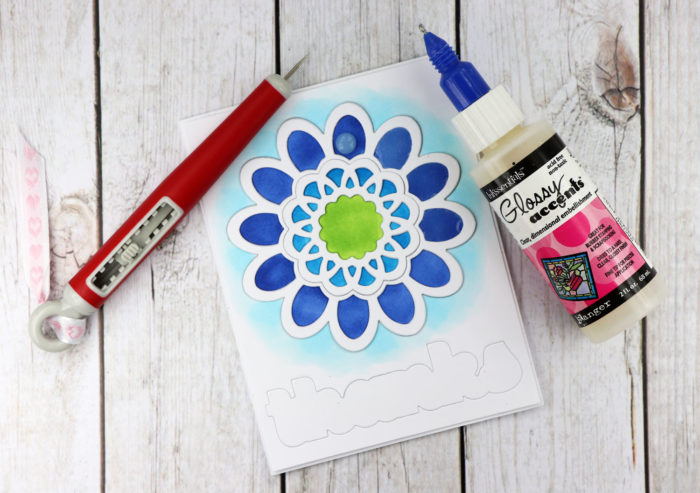 I only applied glossy accents to the outer rings and the center circle. When the glossy accents is dry add a die cut Aurora Layer A die cut to the design.
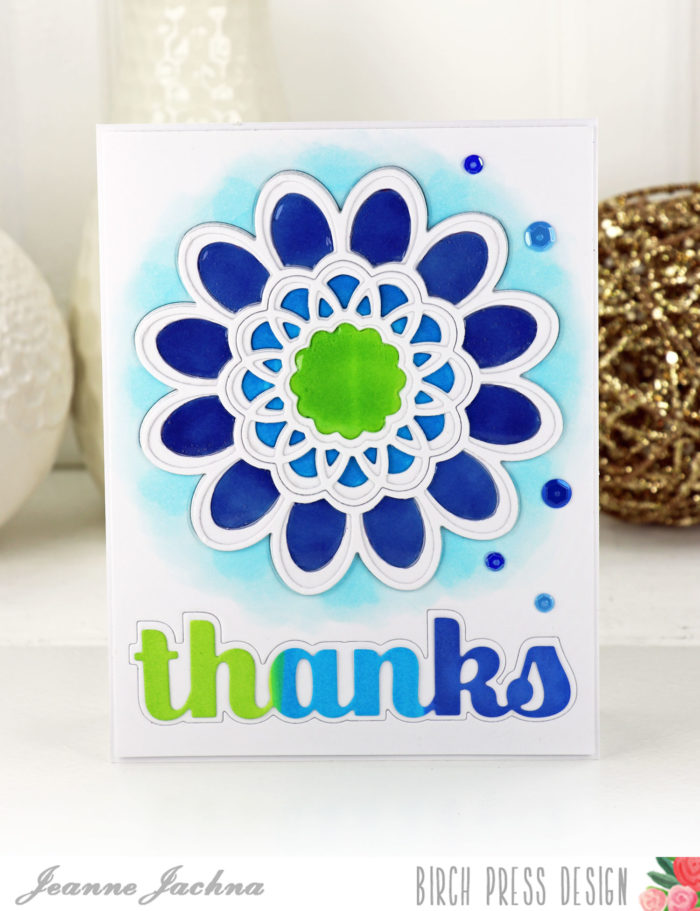
 Finished Size 4.25 x 5.5″


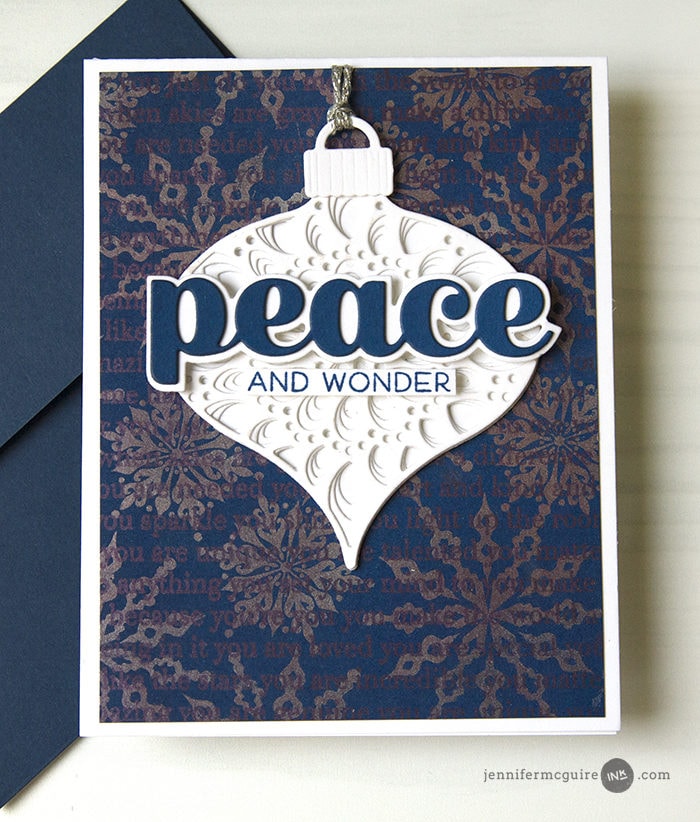


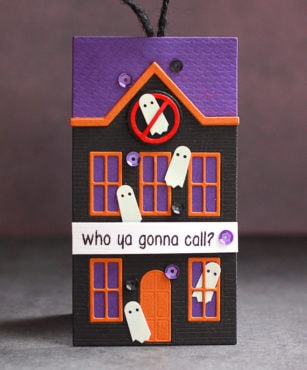


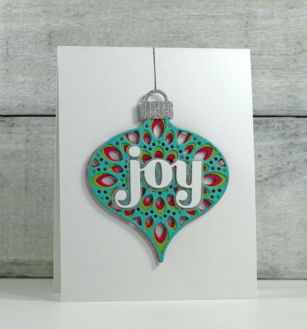
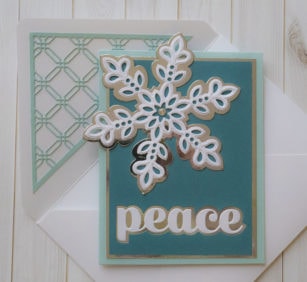
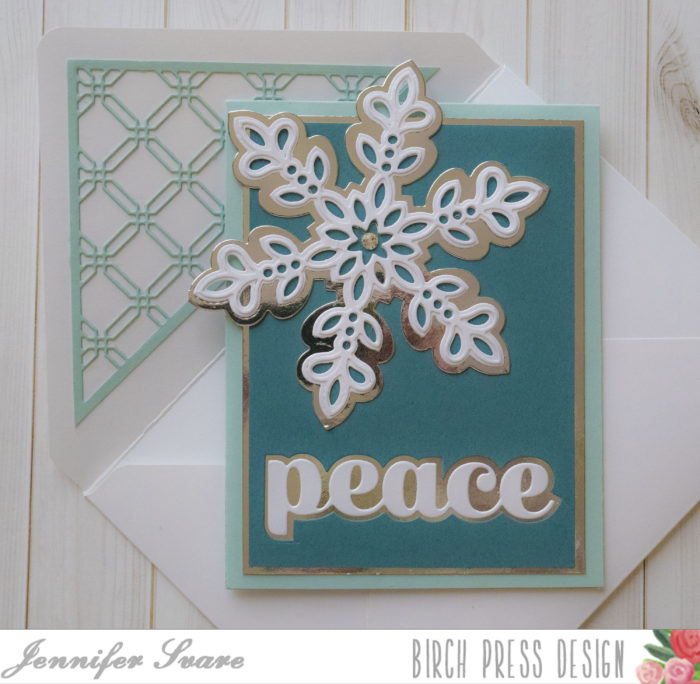
 Hi there are welcome back to another inspiration post at Birch Press Design. I hope you enjoyed the Blog Blitz last week where you were able to have a closer look at the new holiday release! Today I have a quick video tutorial for you to share how I made this pretty ornament card using the newly released
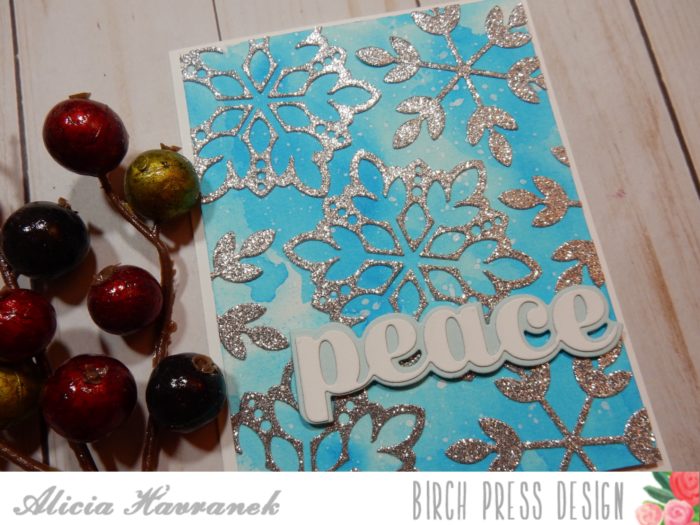
  I used non traditional Christmas colours for my ornament mainly because these colours look so good together but also because it is still summer and I am not quite ready to break out the reds and greens just yet.
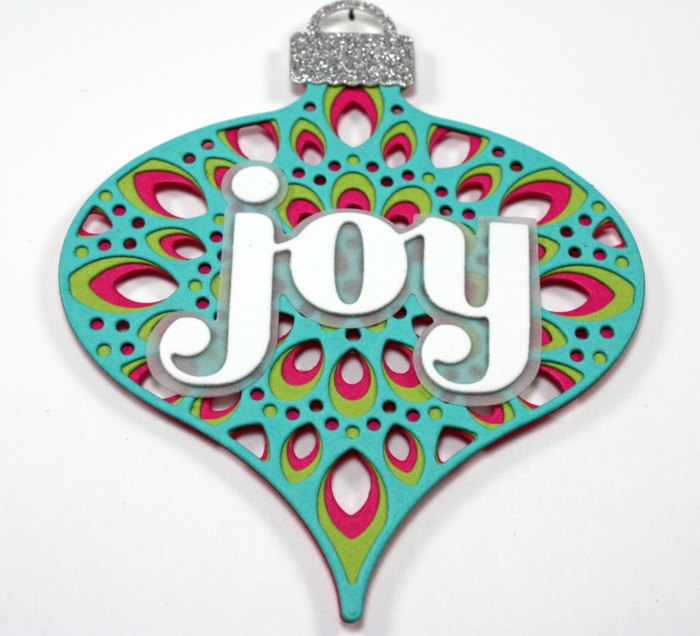
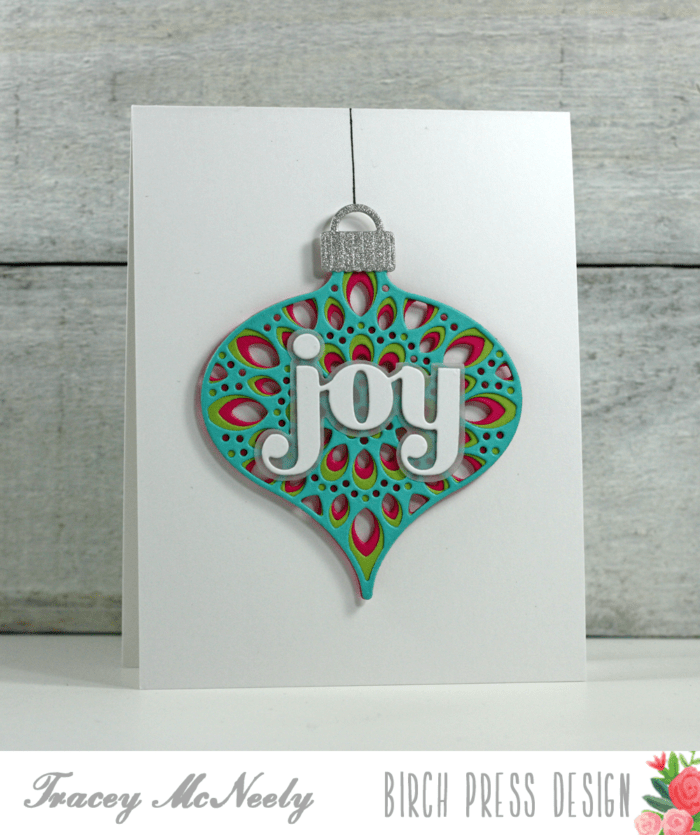 I started off by cutting one of each of the layers in pink, green and blue, then I cut the ornament hook in silver sparkle paper and the Big Joy Sugar Script in white and backgrounds in grey and vellum (more on that later).
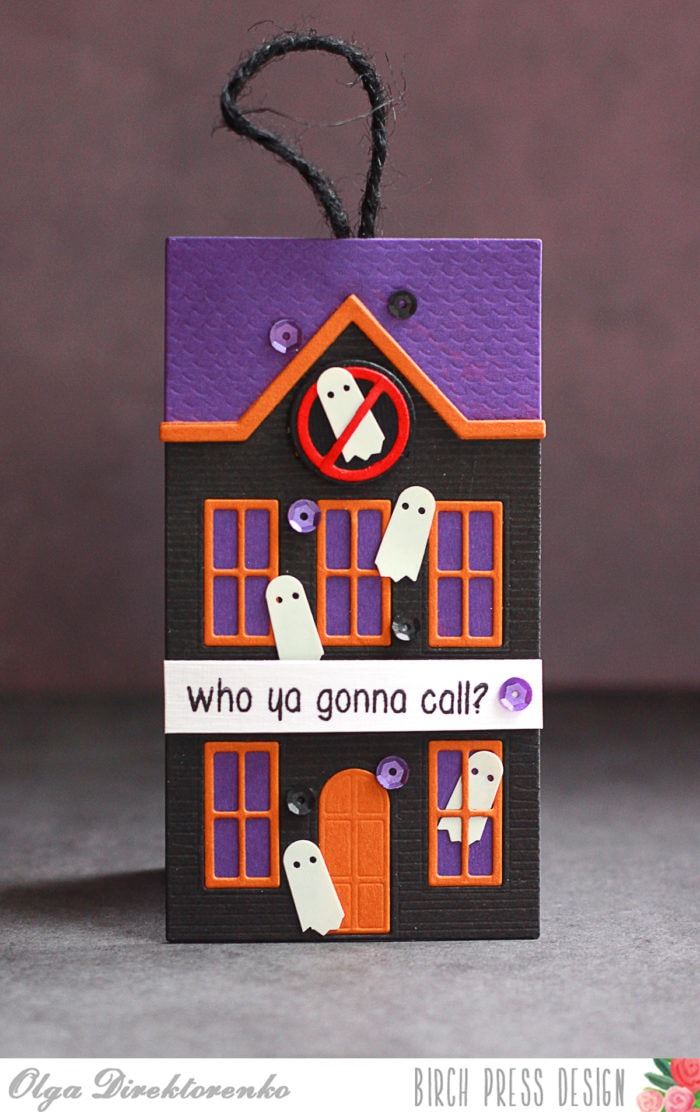
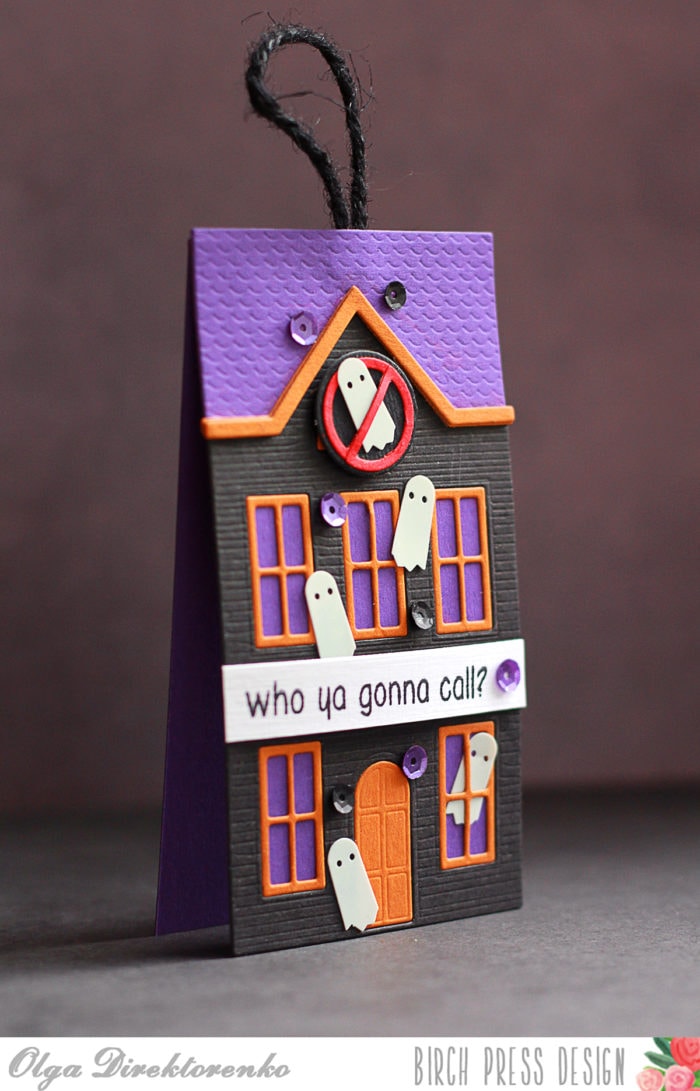
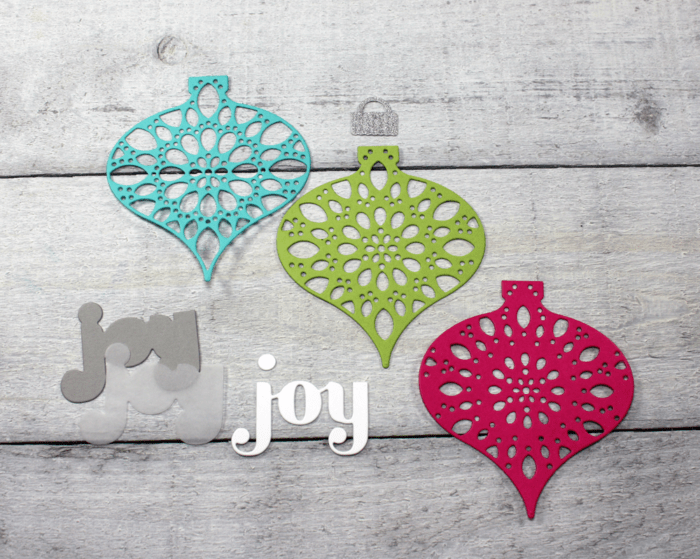 In the following video I will show you how I put my ornament together and hung it on the card base!
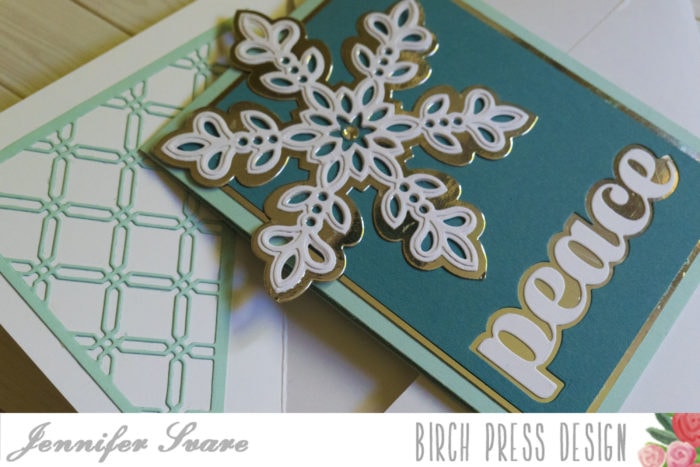
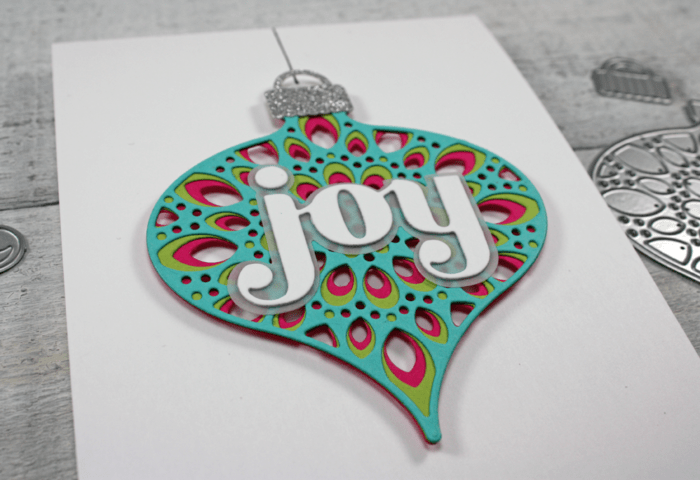 The addition of the tiny foam pieces behind the ornament gave the card some added dimension and makes the details of the die stand out more.
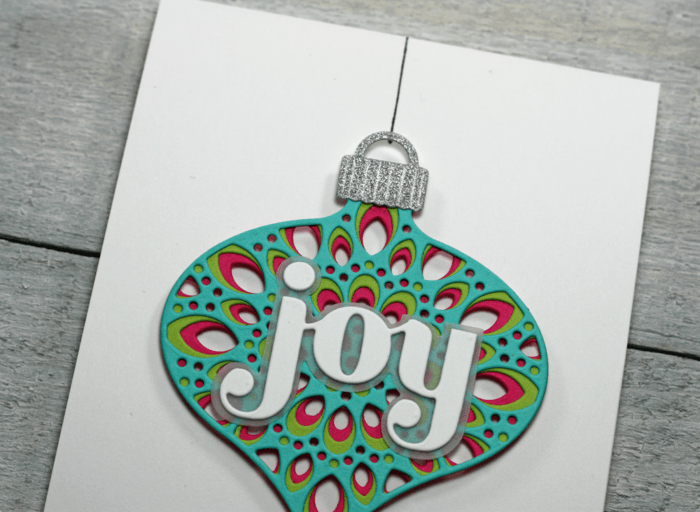 Thank you for joining me and I hope that you enjoyed today’s post showing you how you can quickly and easily create a clean and simple card using any of the mandala dies. Have a fabulous weekend.