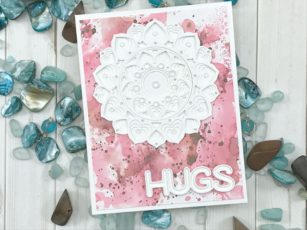
 Hello Everyone!
I am back with another project and a giveaway! How exciting! Valentine’s Day is right around the corner and we have a great release to celebrate!
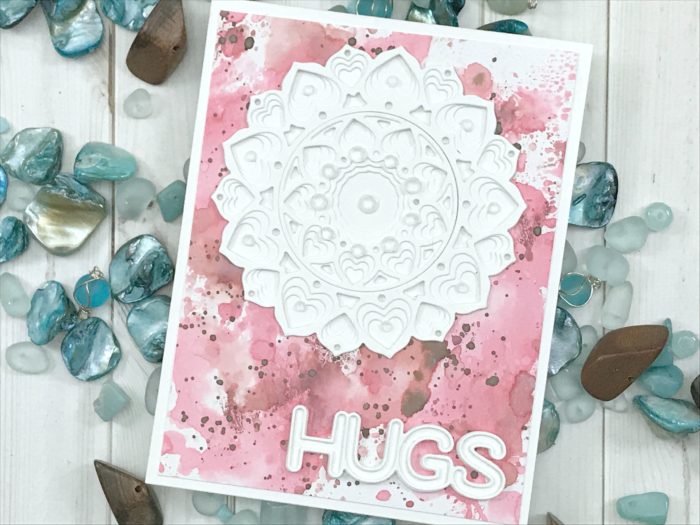
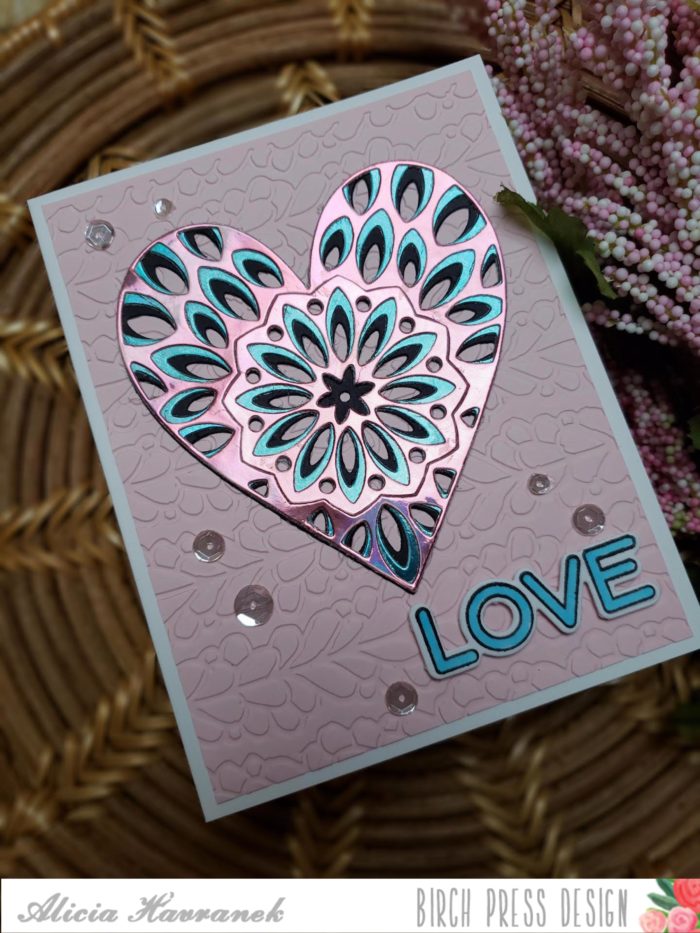
The Adora Layering Die set is perfect to show someone how special they are with all the hearts to go around!
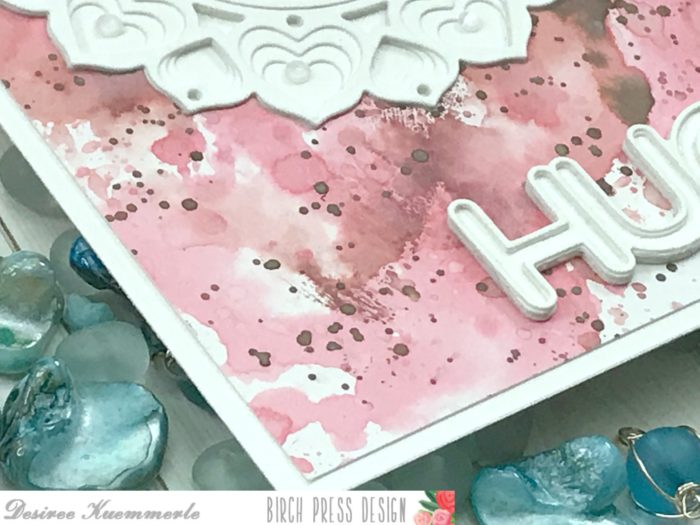
I knew I wanted to create a distress oxide background, so I grabbed three of my favorite colors and had fun ink smooshing onto my bristol cardstock! I started with my worn lipstick and then used my aged mahogany. For some final touches I added some ground espresso splatters… because when does a background not need those right?
Once that was completed I set it aside so it could dry.
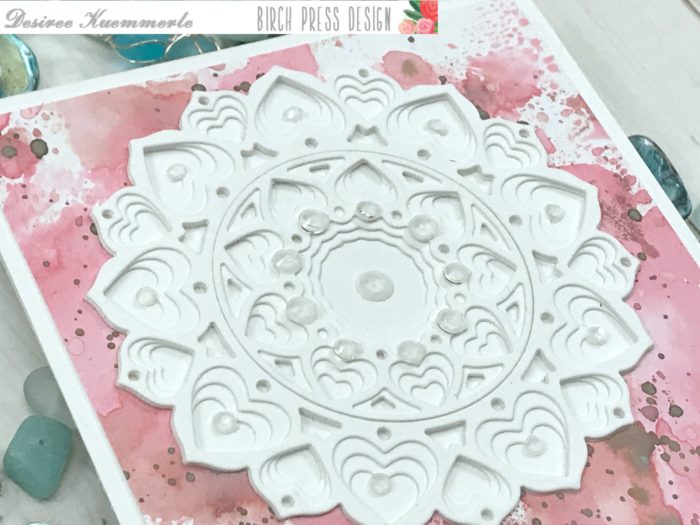
Now to all the die cutting! I used my white card stock and cut each of the Adora layers and three sets of my sentiment, we will get to that shortly!
Once all my die cuts were completed I layered then all together starting with layer B onto layer C and finally layer A onto B and C. I then used one of the dies to create a cut out in my background.
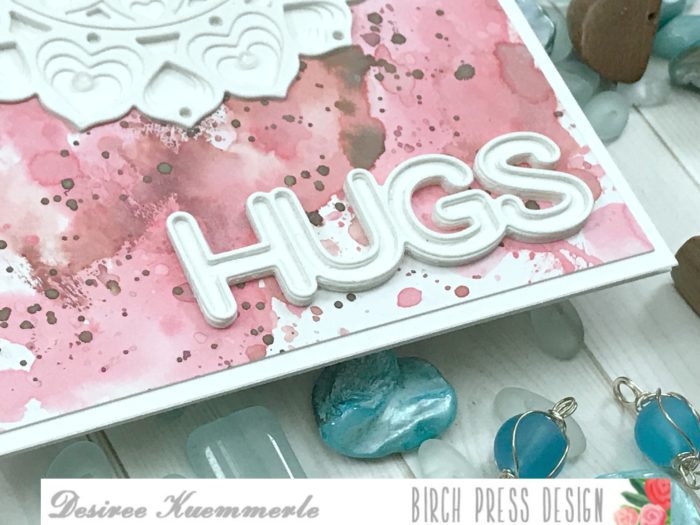
For my sentiment I used the Big Lingo Type HUGS die. What I love about this die set is you have options… You get three ways to give HUGS! An outline, solid, or just the letters, what could be better!
I layered three of the solid of the sentiments together and then added two of the outlines to the top of the base. I love this look and the possibilities are endless on how you could dress this sentiment up!
I grabbed my liquid adhesive and adhered my background panel to my standard A2 size card base and then set my Adora Mandela in the cut out. I love this look… These dies create an illusion to the eye, is the focal point going into the card or coming out of the card?…
I then adhered my sentiment to the bottom right hand corner.
If you want to see more details just click on the video below and see our project come together step by step!
Now don’t think I forgot here are the details for the giveaway!!! Here is your chance to win Layer A of the Adora set!
We’ll be giving prizes from the new Valentine release on posts throughout the end of the month. To enter to win you need to leave a comment on ONLY the posts that you wish to enter. To enter ALL the posts during the January Valentine giveaway you need to leave a comment on EACH ONE. One person will be chosen at random from each of the posts during the giveaway. Only one prize per person per giveaway. We use random number generator to select winners from comments. You have until midnight US EST January 31 to leave a comment on each and every post that you want to enter. Winners will be announced on this blog on February 1.
Need more????
For a SECOND chance to win this die AND ONE FOR A FRIEND…
1. ) Visit our Instagram account and FOLLOW US!
2.) Like each post you want to enter
3.) LEAVE A COMMENT and TAG A FRIEND by 12am US EST January 31.
One comment per post will be selected by random number generator. The winners will be posted on each Instagram post on February 1. The COMMENTER and the FRIEND THEY TAGGED on the post will BOTH receive the prize for that post!
Now don’t forget to LEAVE A COMMENT!!
I hope you enjoyed today’s project… Make sure you stay tuned for more wonderful projects coming soon! Have a great day and always remember… Be Creative!

Supplies


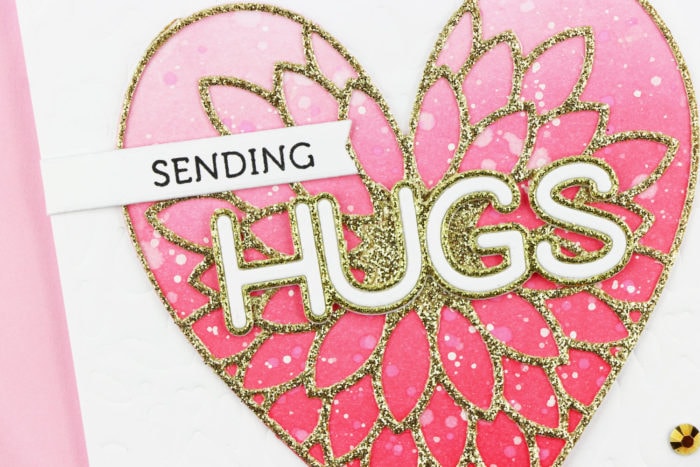 Are you checking out the new Valentine’s release in the store? Today I’m showing two projects made with the Dahlia Heart layered set. You’re going to love these intricate heart designs not just for Valentine’s projects, but for wedding and anniversary’s too! We all want to know that we’re loved!
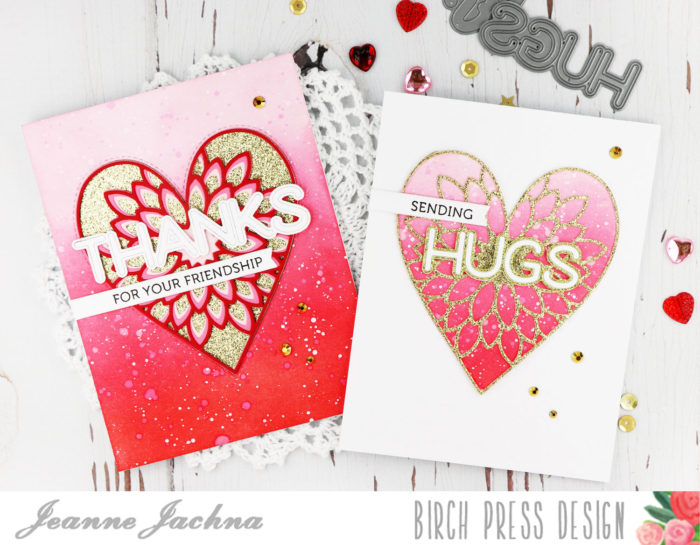 I made two cards from the same inked up distress panel.
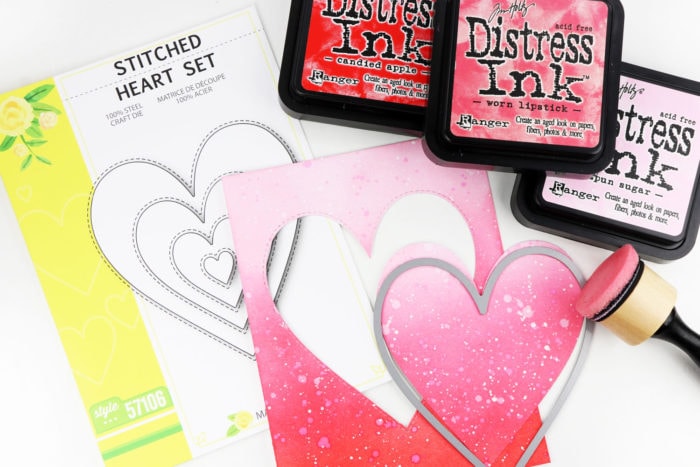 I inked a white card stock panel with Spun Sugar, Worn Lipstick and Candied Apple distress ink to achieve an ombre shades of red. The panel was splatered with water, some Picked Raspberry, and finally some white ink. Next I cut the largest Stitched Heart die from the panel. If you look close you can see it leaves a stitched outline along the outer edge of the die cut.
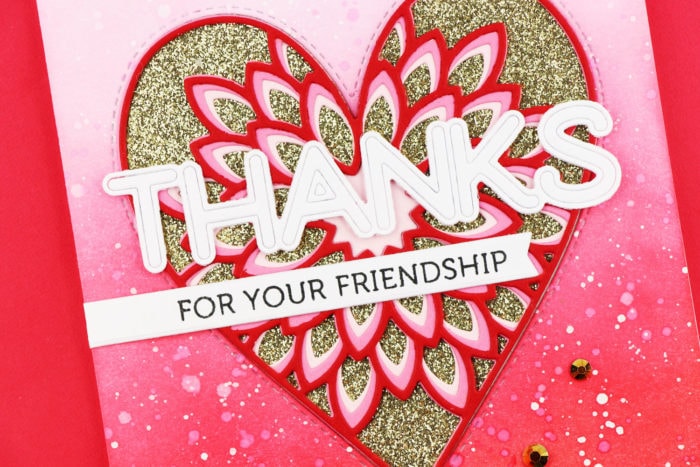 I adhered the panel to a card base, cut the Stitched Heart a second time from gold and inserted it inside the window cut on the panel. I cut and adhered the Dahlia Heart Layers one at a time over the gold heart. I used an acrylic block to hold them in place as they dried.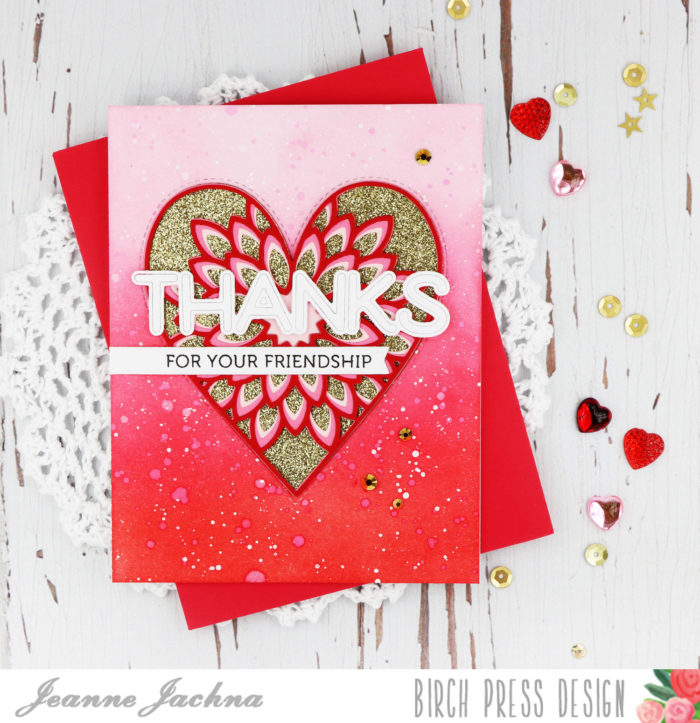
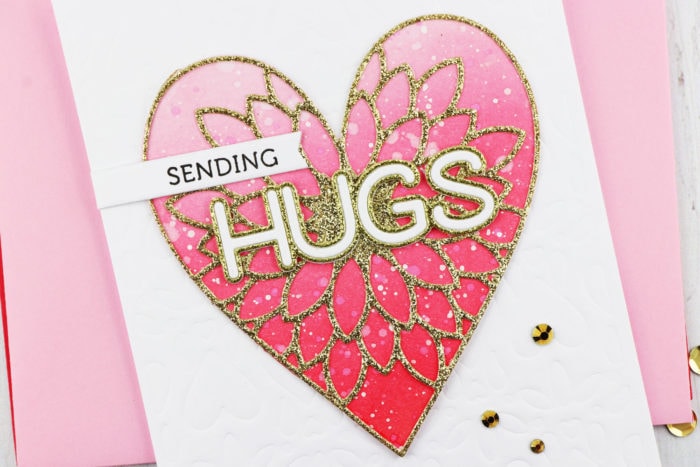 I reserved the die cut heart for my second card. This one started with a white panel of card stock that was debossed using the Amour Layer C background die. I cut the Dahlia Heart Layer A from gold glitter paper and adhered it over the distress ink heart.
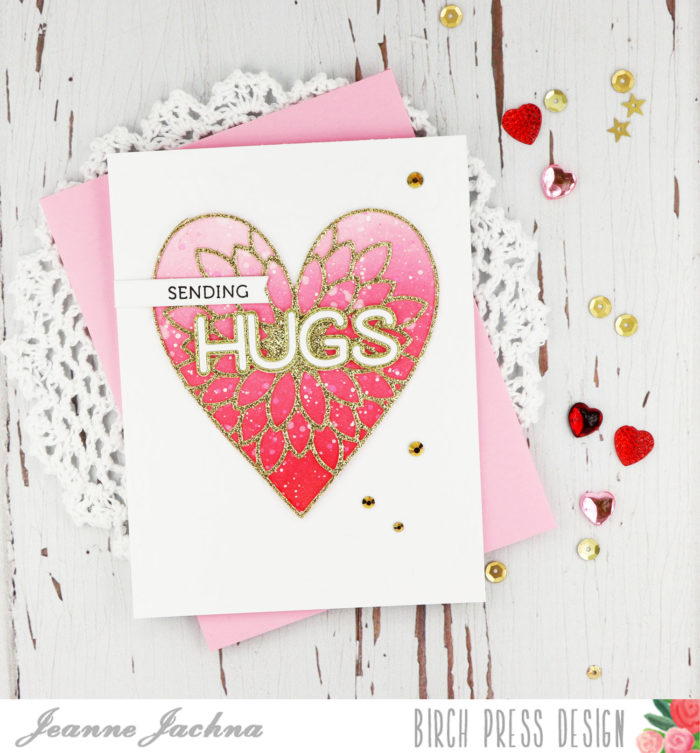 You’ll create lots of stunning projects with these beautiful intricate hearts.


 Hi it’s Tracey here today and I am so excited to be sharing a project with you today using the new
 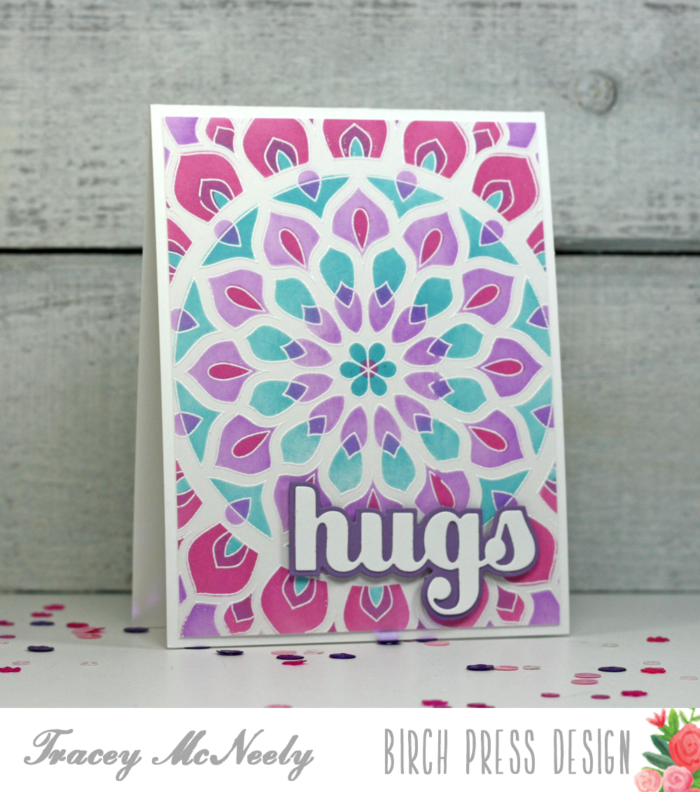 To create this card I started out by stamping and white embossing the main image from the Shining Mandala stamp set onto a piece of Bristol Smooth cardstock. I chose Bristol Smooth because I am going to be ink blending with the stencil set. The colours I chose for the ink blending were all Distress Oxide inks–Broken China, Wilted Violet and Picked Raspberry. The way the stencils are cut out each layer exposes different sections of the overall stamp and also cover other areas allowing you to blend colours together in some places but also allowing other colours to shine on their own too! Here is the video I created to show you my process…
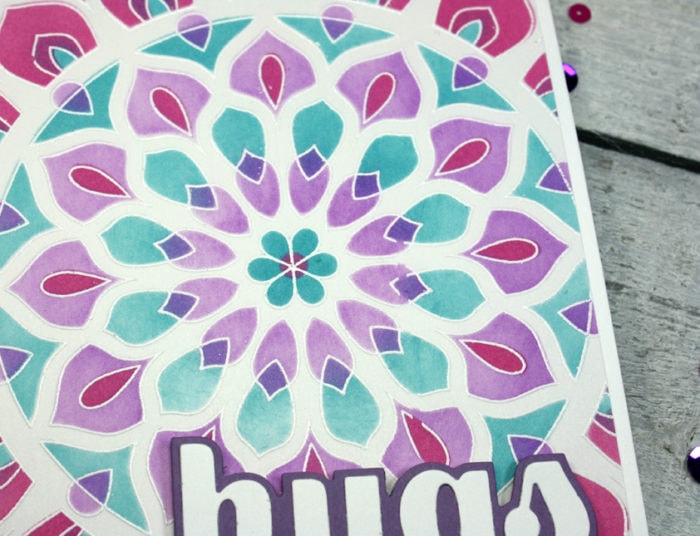
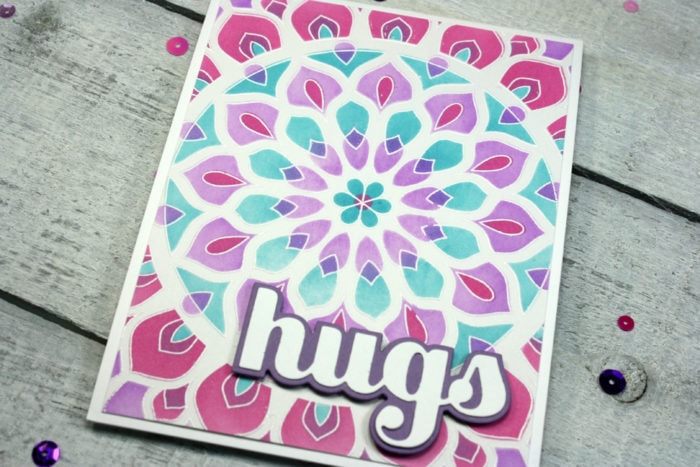 If you look a little closer you can see the clean white embossed lines and also how the colours blended together in some areas creating beautiful new hues.
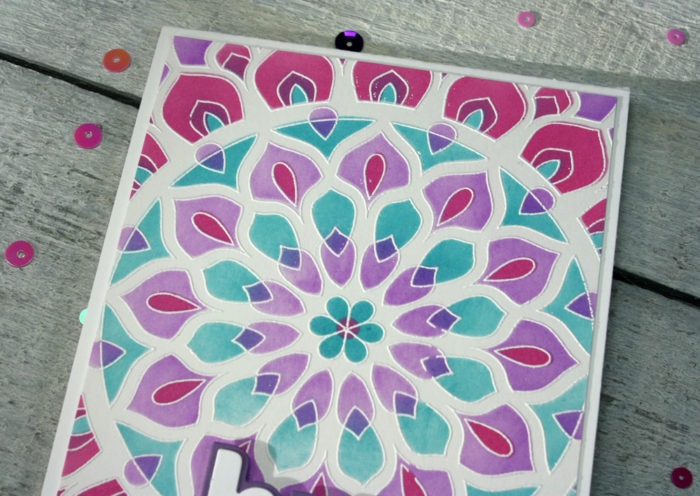 With this stencil set you could create a mandala completely independently from the stamp and still get all of the clean lines and blending depending on the overall look that you are trying to achieve.
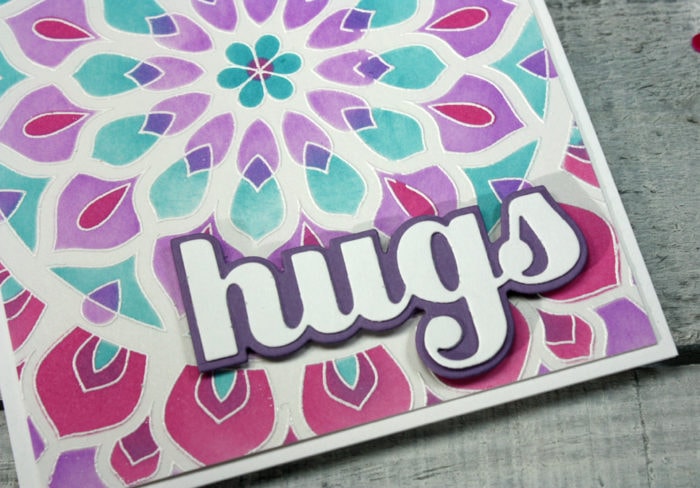 I used the


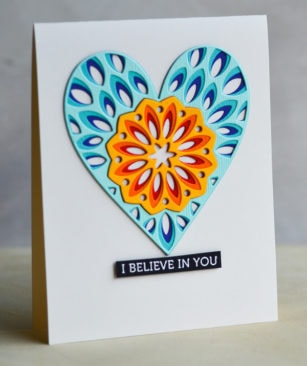




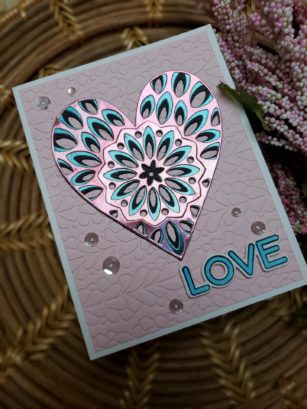
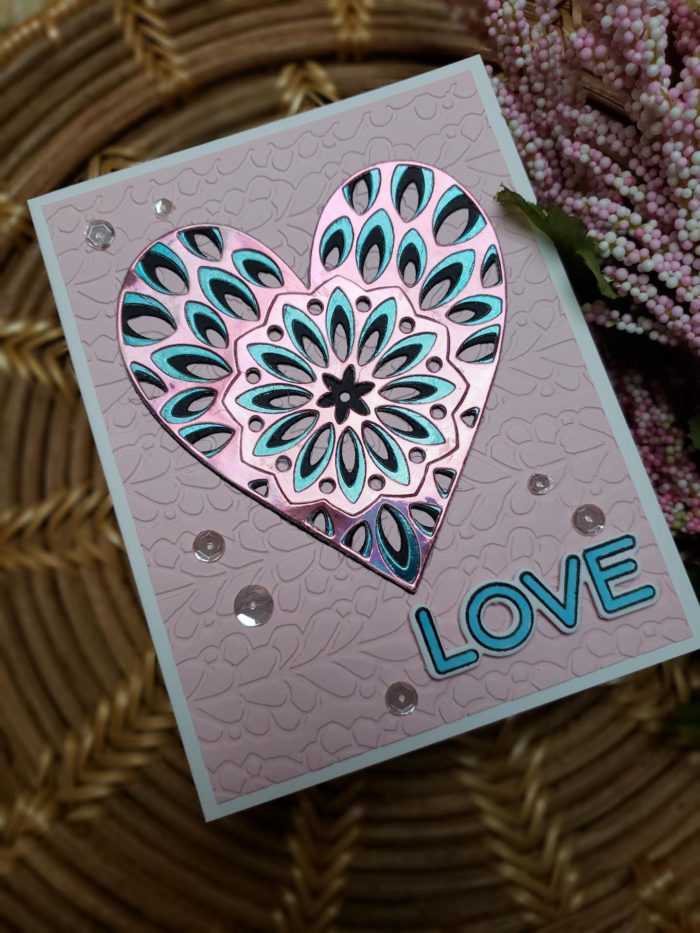
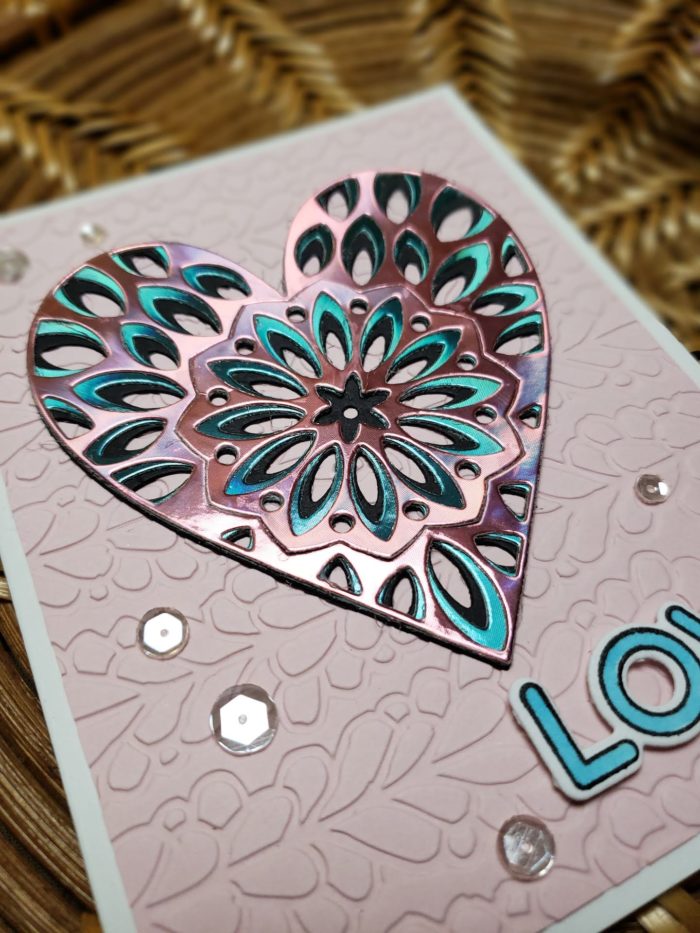
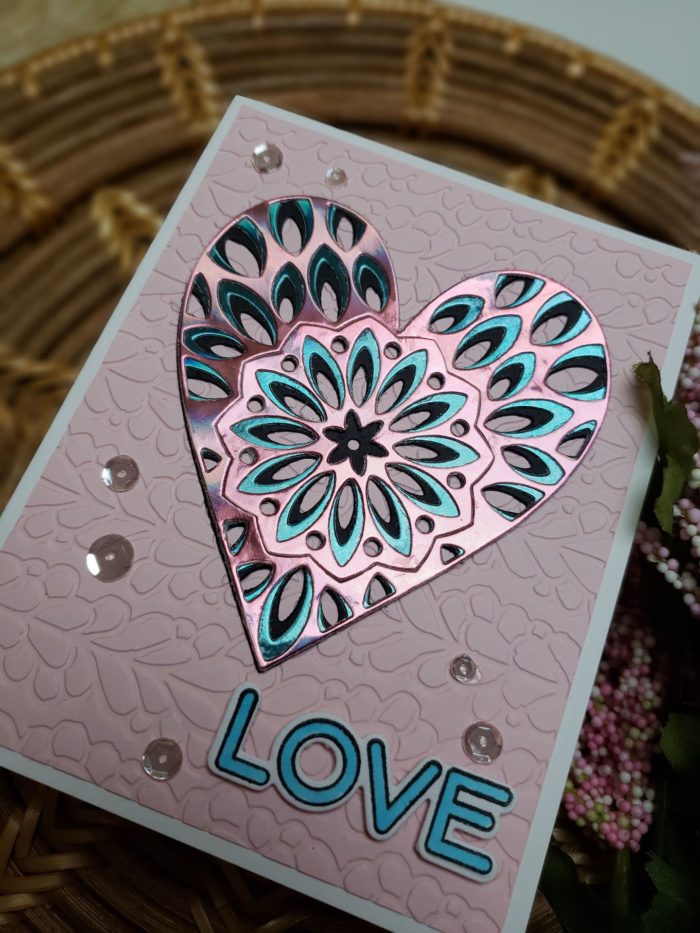






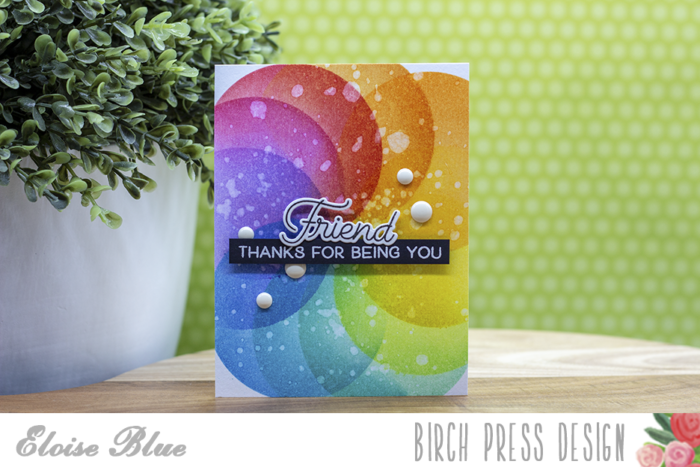
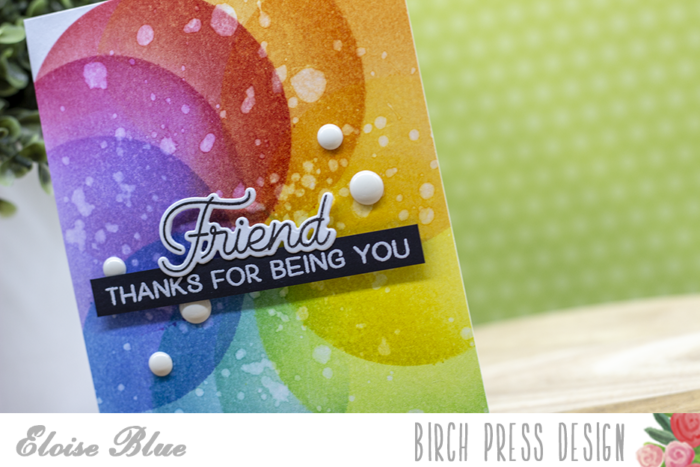
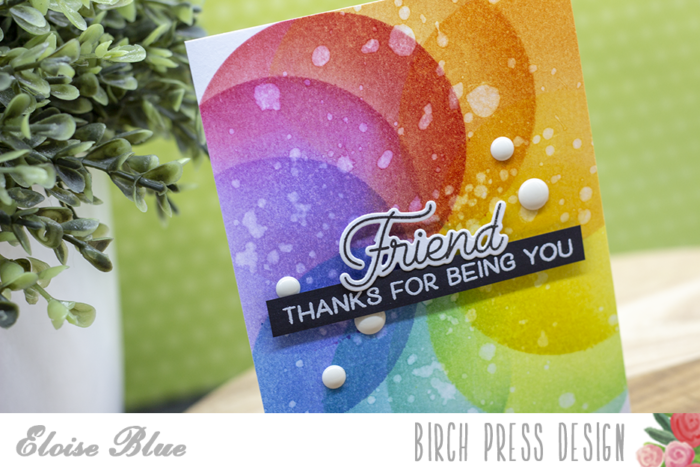
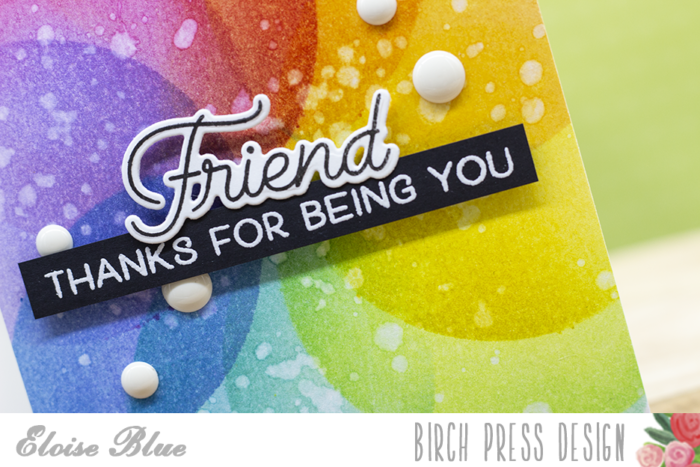
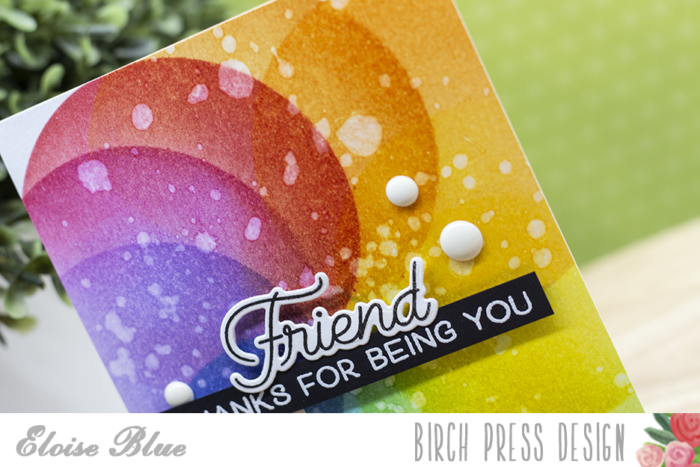



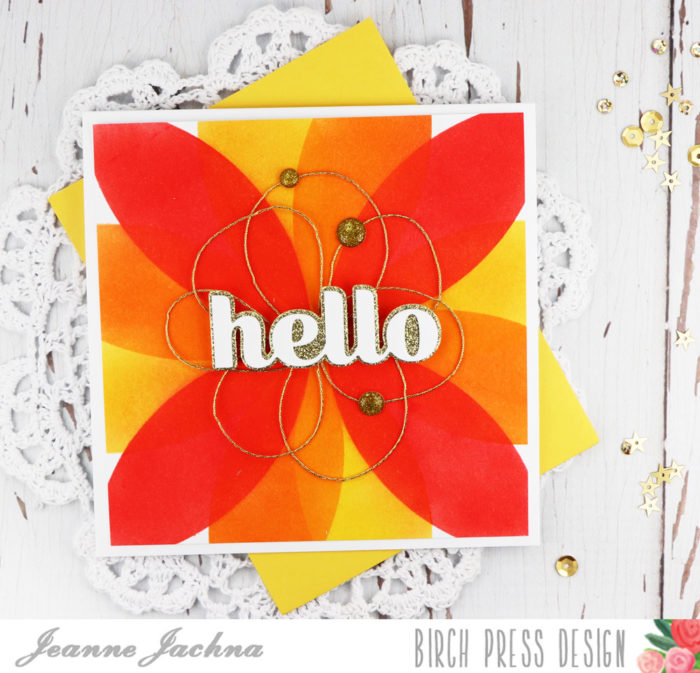
 It’s New Year’s Eve! I hope you’re rested and ready to stay up late to ring in 2019! Today I’m playing with the Petal Burst Stencil from the store because the finished card reminds me of a firework!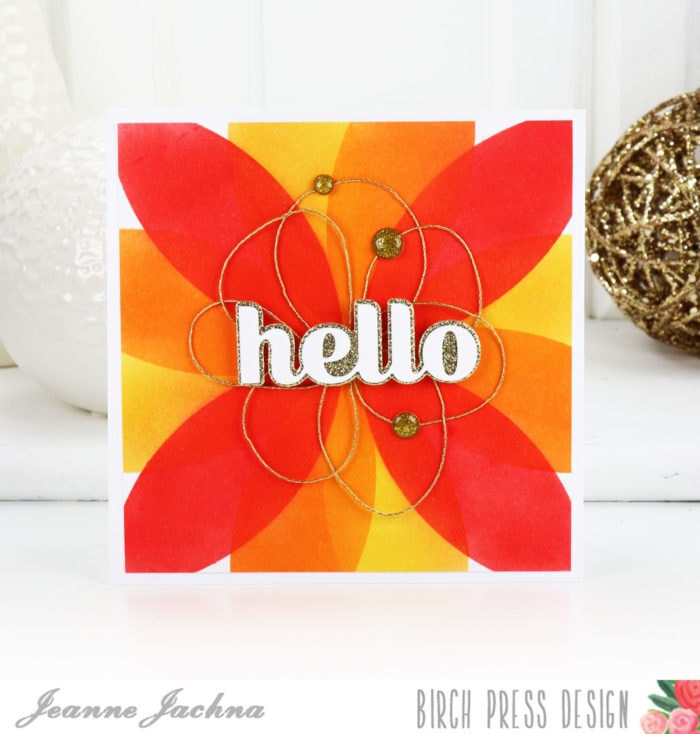
 I started by cutting a panel of white card stock the same size as the stencil (6×6″). I adhered the panel to my glass craft mat with double sided tape. Then I taped the stencil over the panel with removable wash tape and inked Candied Apple in all four openings. Next I wiped the stencil with a cloth to remove any excess ink, rotated the stencil, adhered it in place and inked the Spiced Pumpkin.
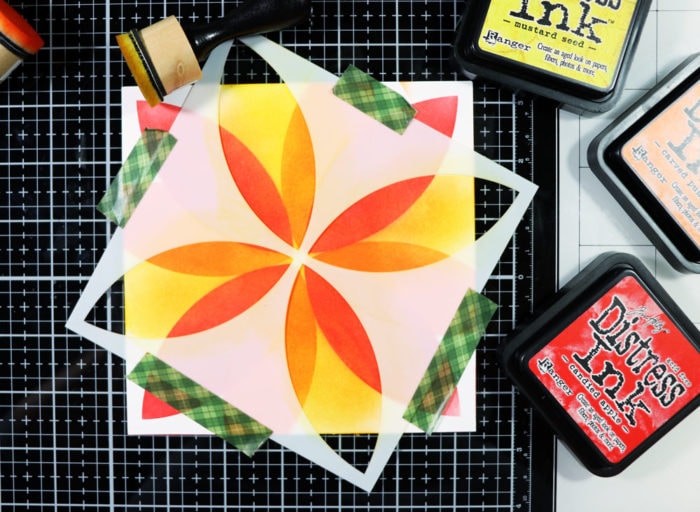 The stencil has marks etched into the plastic to help you align each turn of the petals.
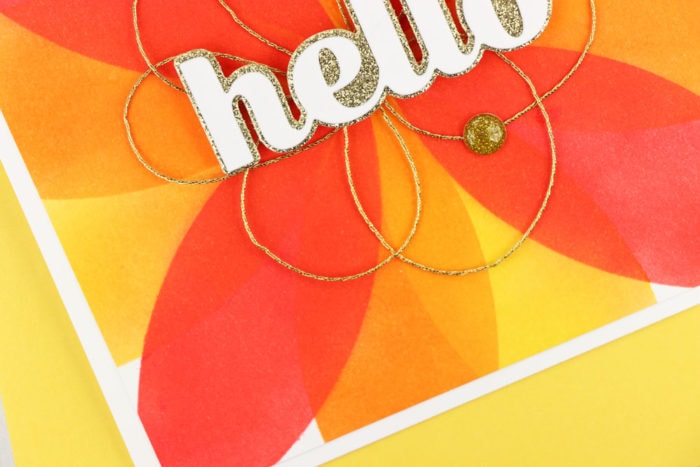 When all the layers were inked and dried I cut the panel to 5″ square and adhered it to a 5.25″ square card base.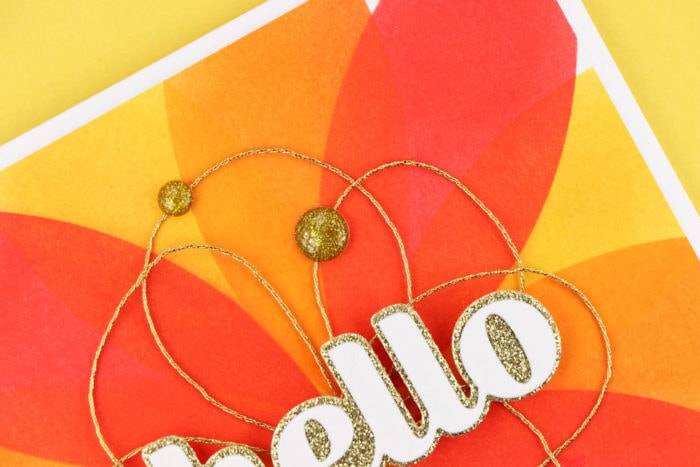
 Wishing you a healthy and happy 2019! And in case you missed it..
 Better hurry! Today is the last day of our After Christmas Sale!