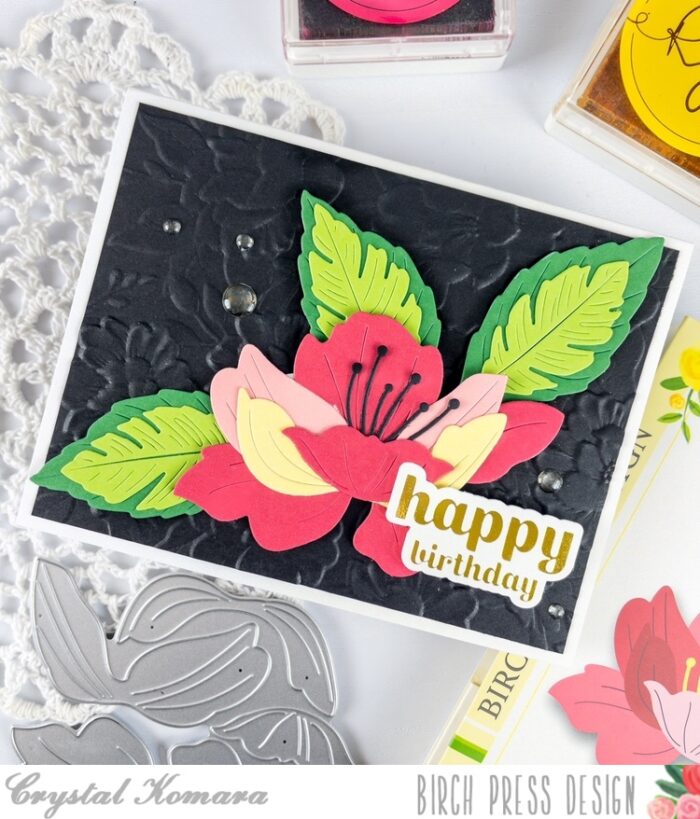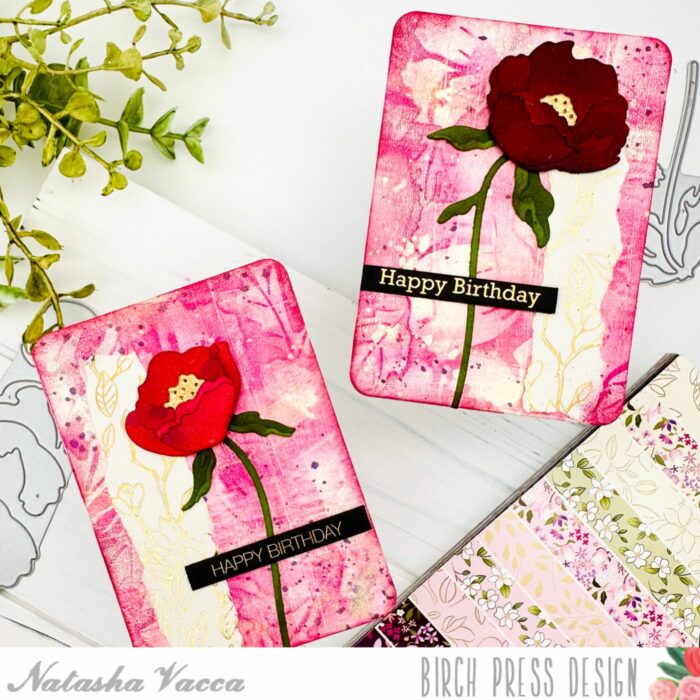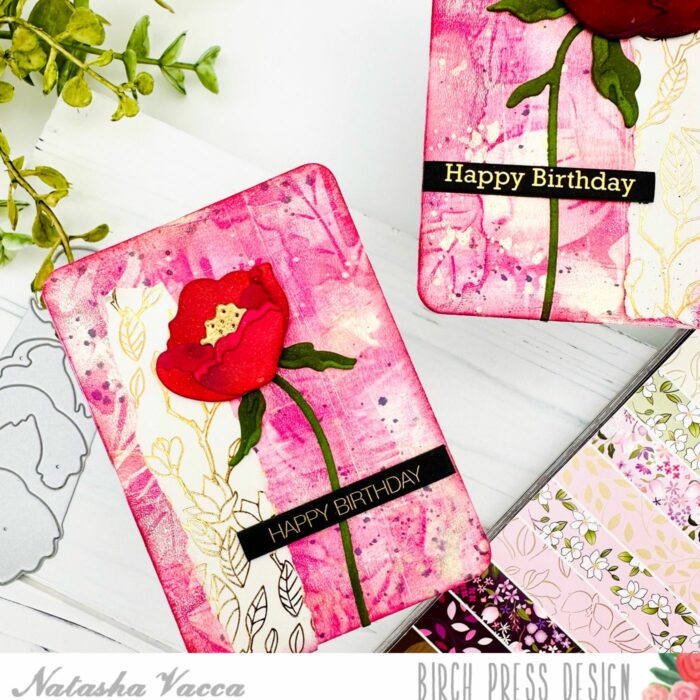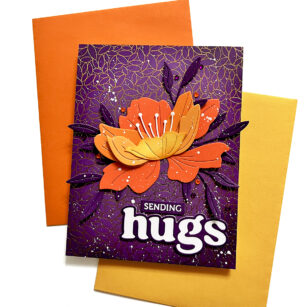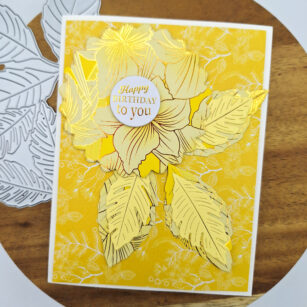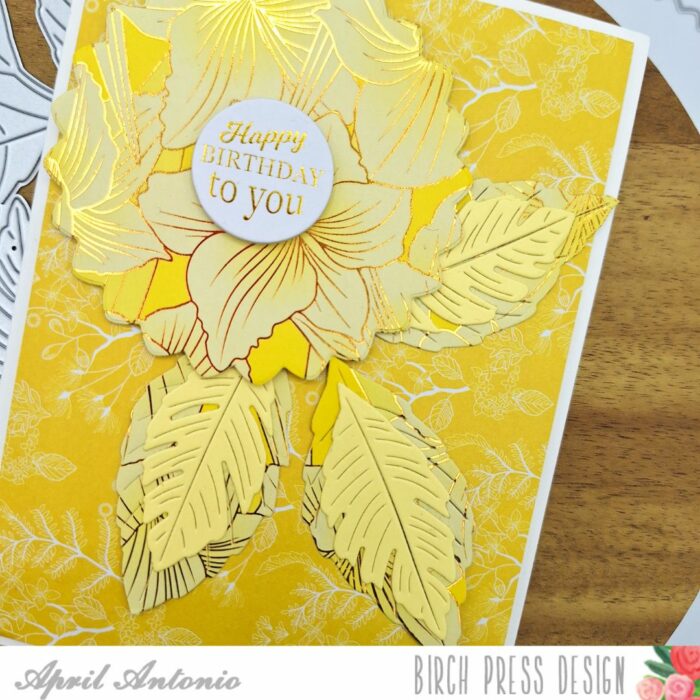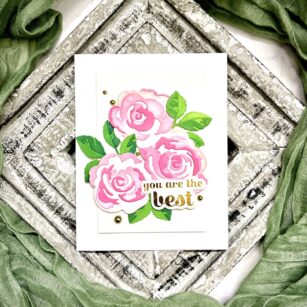
Hello, friends! This is Design Team member, Sandhya Iyer, and today I am sharing a floral card featuring the gorgeous Rose Bunch Contour Layers and the Sugar Script Sentiments 2 Hot Foil Plate and Die Sets. Oh! And I did grab the Dainty Rose and Leaves Contour Layers set to create my greens.
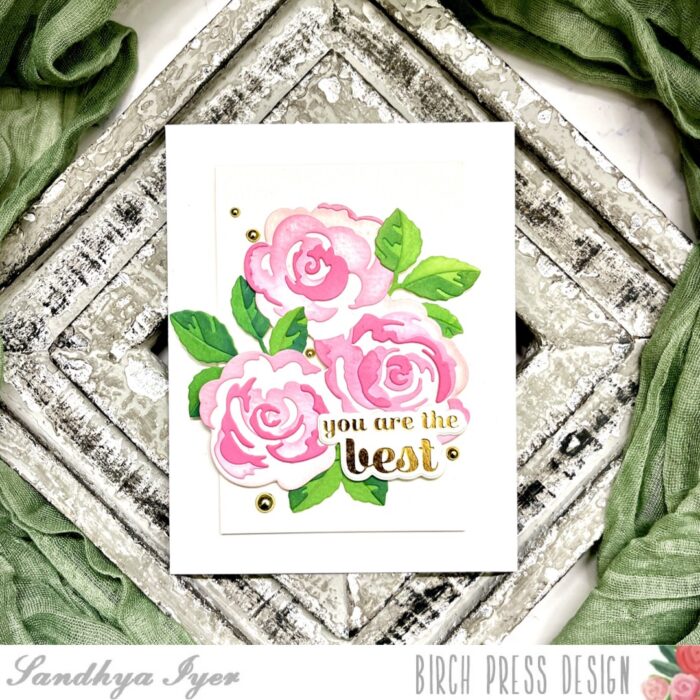
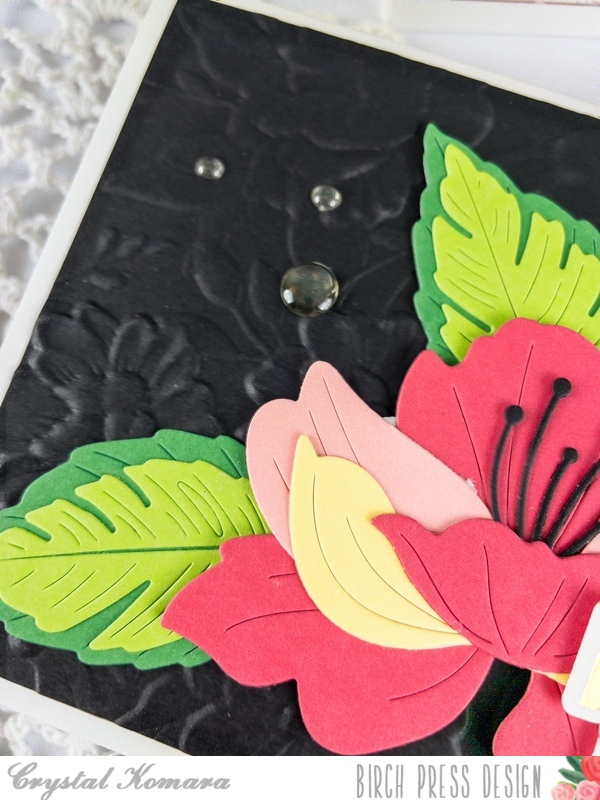
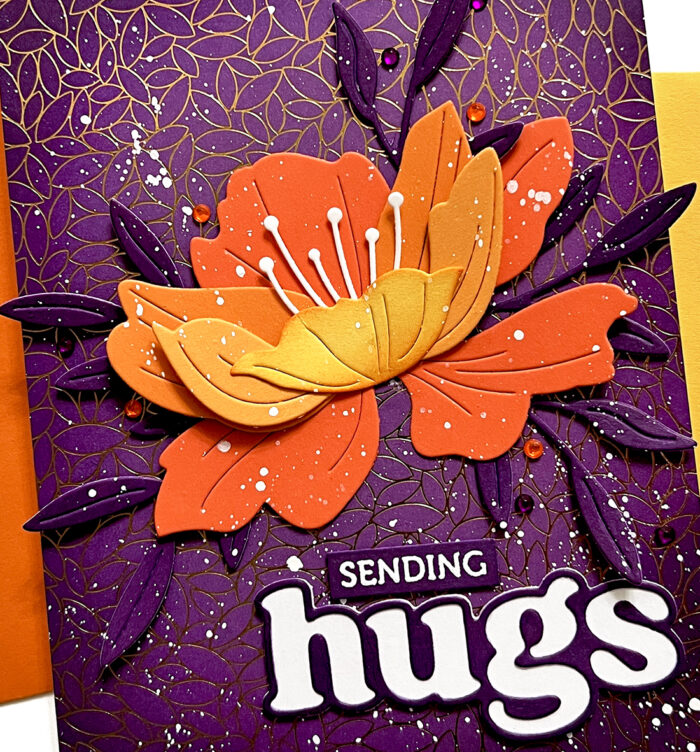
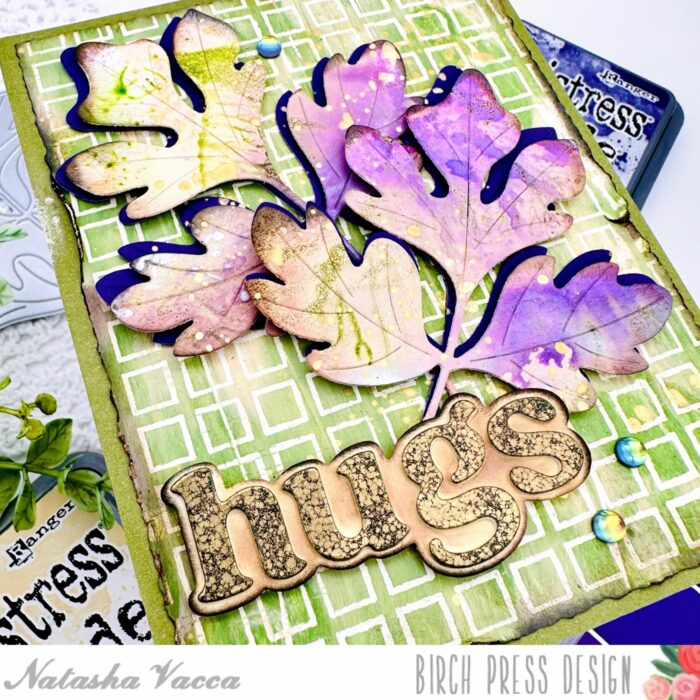
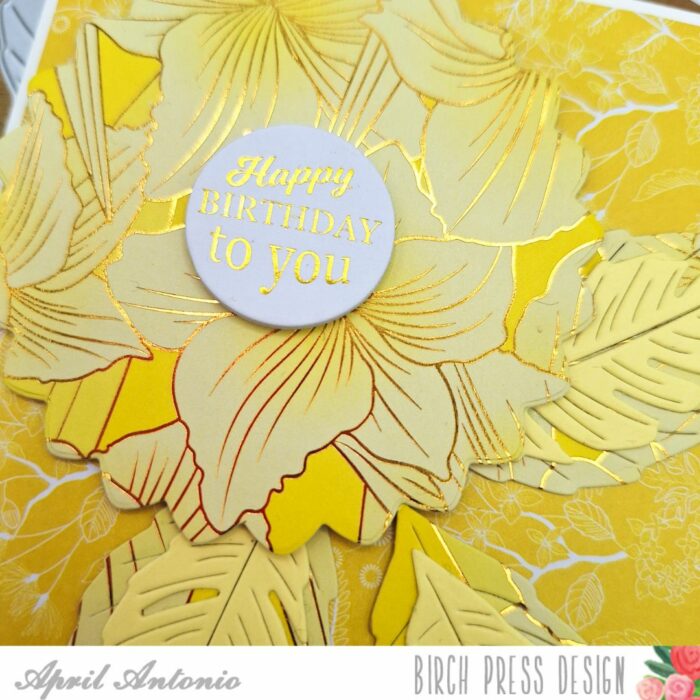
I started by die-cutting the rose bunch contour layers out of watercolor cardstock. Next, I pulled out Distress Oxide inks in varying shades of pink and used a blending brush to ink up the rose layers. For the delicate and more detailed pieces, I leave them attached to the area around them after die-cutting and ink them before popping them out.

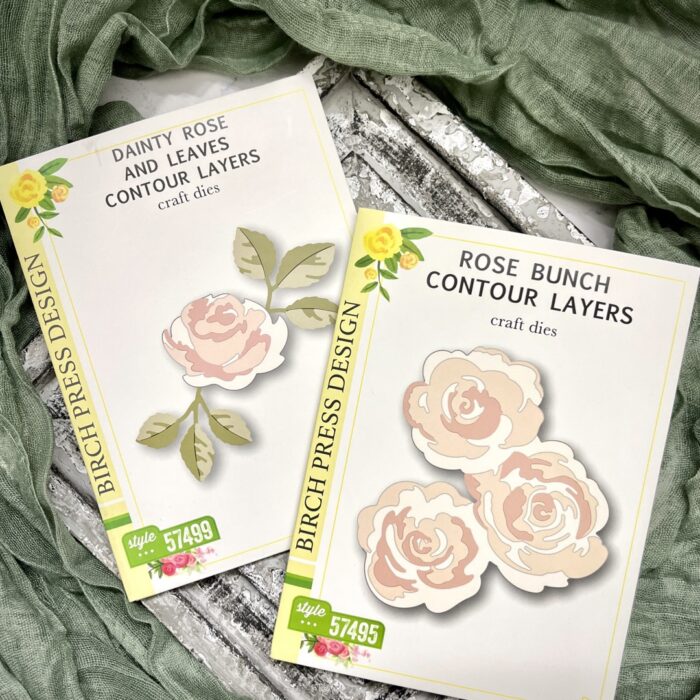
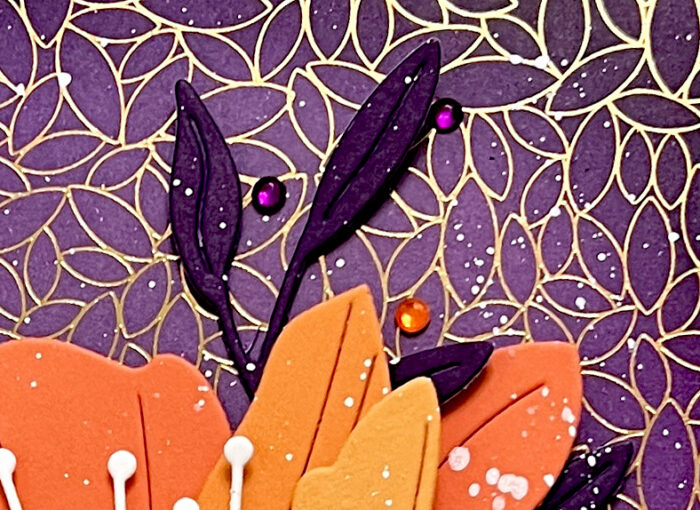
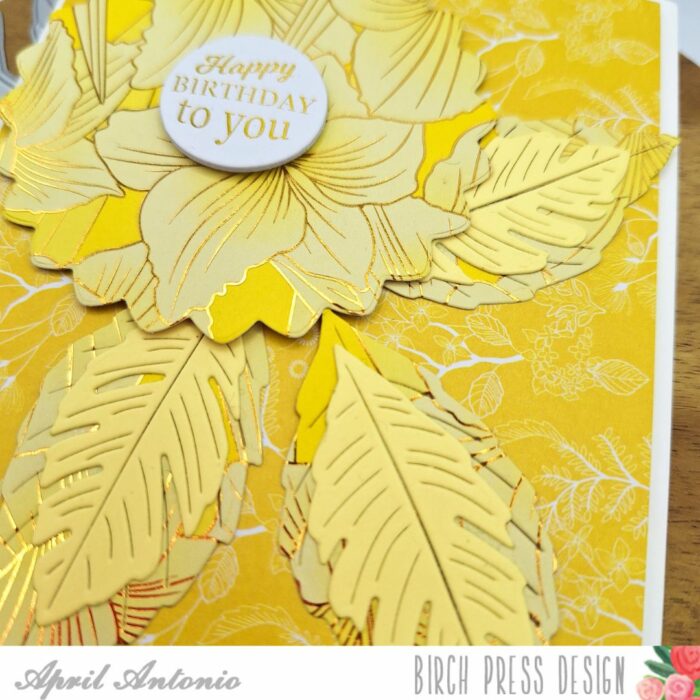
I repeated the same process to create three sets of inked leaves from the Dainty Rose and Leaves Contour Layers. I arranged them to my liking and adhered them down to a small panel cut out of watercolor cardstock.
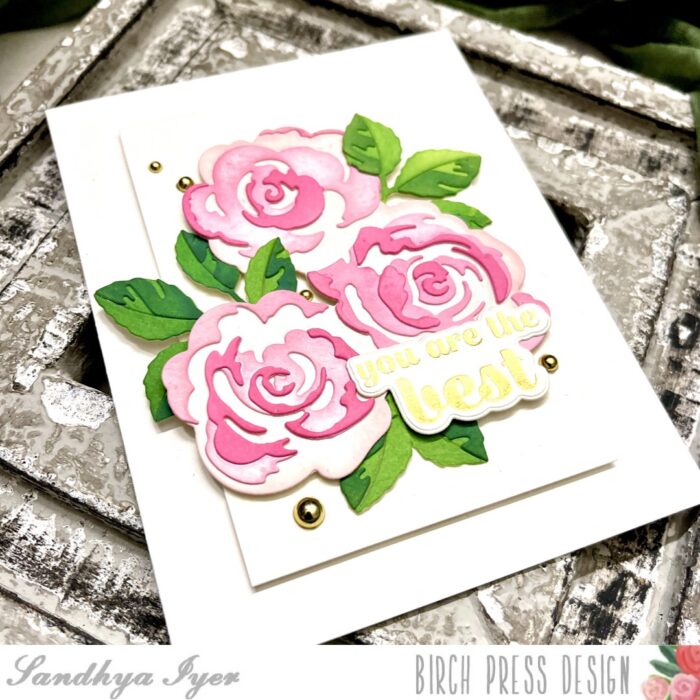
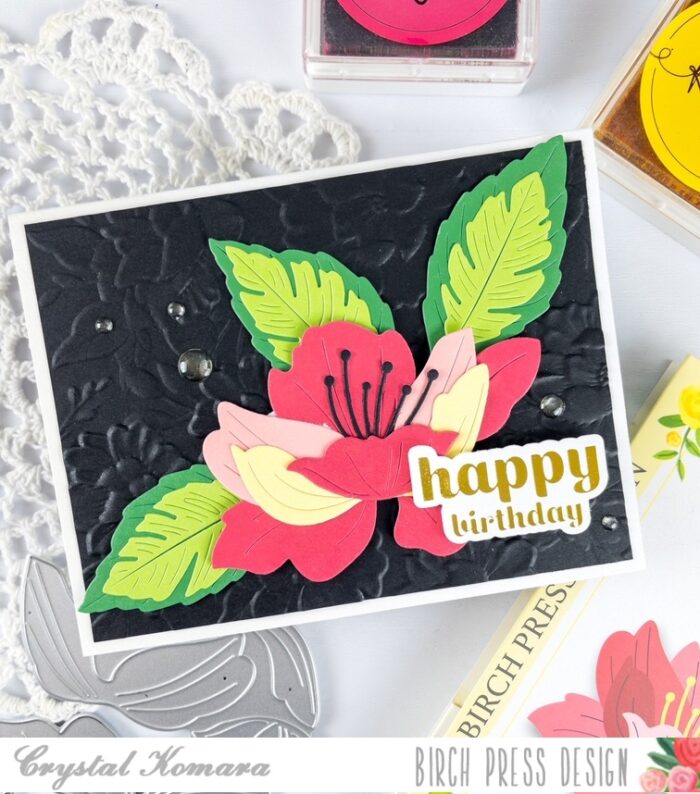
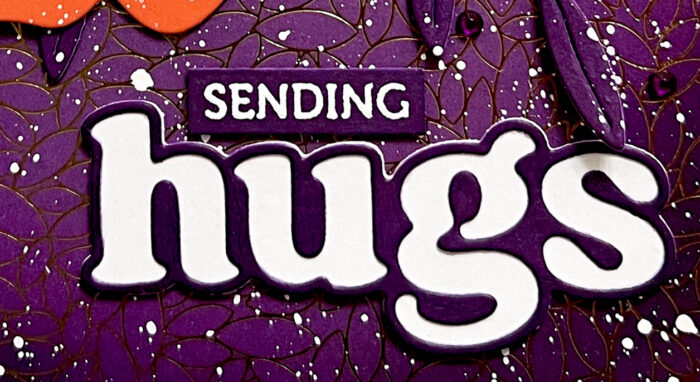
Finally, I used the ‘you are the BEST’ sentiment from the Sugar Script Sentiments 2 Hot Foil Plate and Die Set to create a gold foiled sentiment die-cut. I popped it over the floral panel with some foam tape. Then, I attached the panel to a white A2 card base and finished off with a few gold embellishments.

This brings us to the end of today’s post. Thank you so much for stopping by and I hope you have fun crafting today!