Hello friends! This is DT member Crystal Komara here with you today sharing more Easter inspiration using the beautiful new Floral Cross Layer Set. I have been enjoying playing around with these new dies and I can’t wait to see what my other team members create using it as well.
Card details:
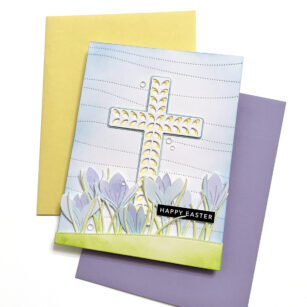
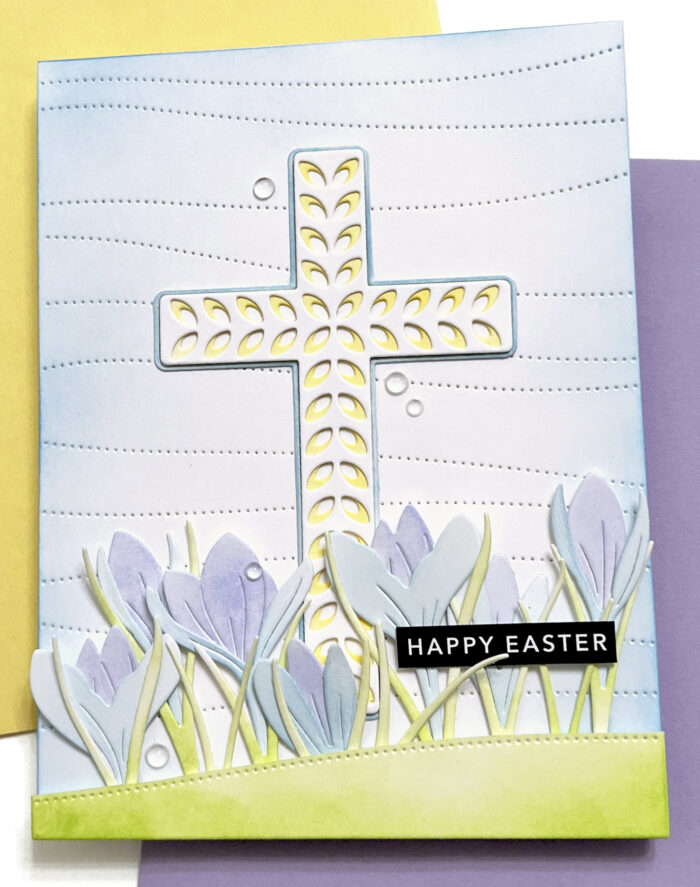
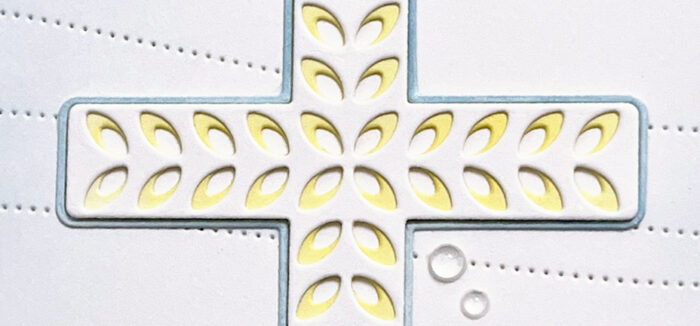
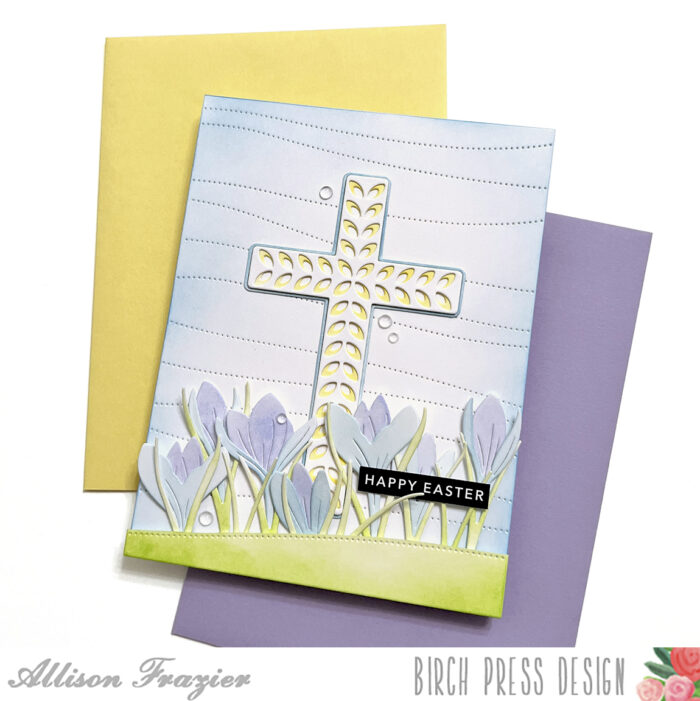
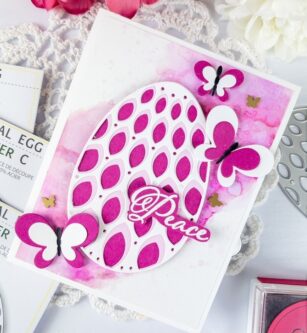
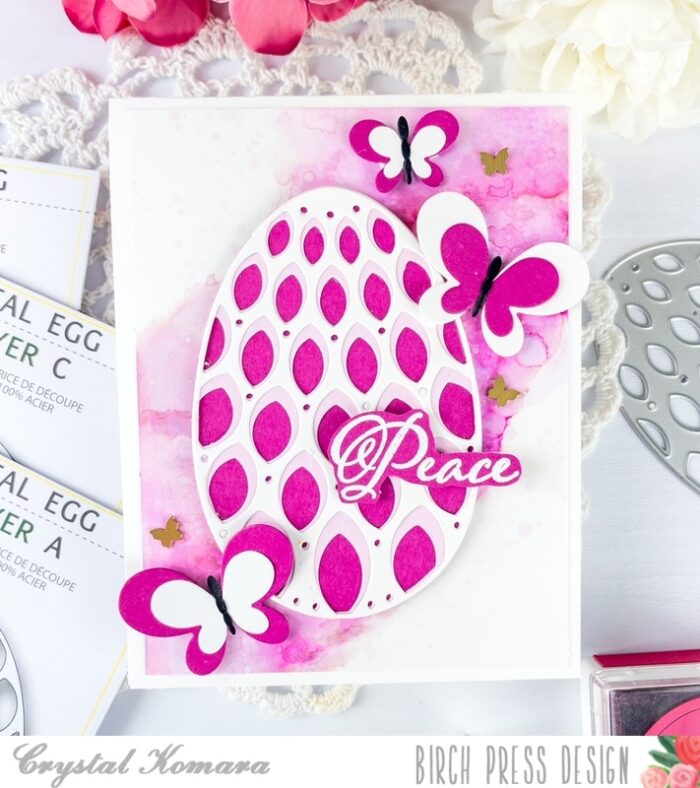
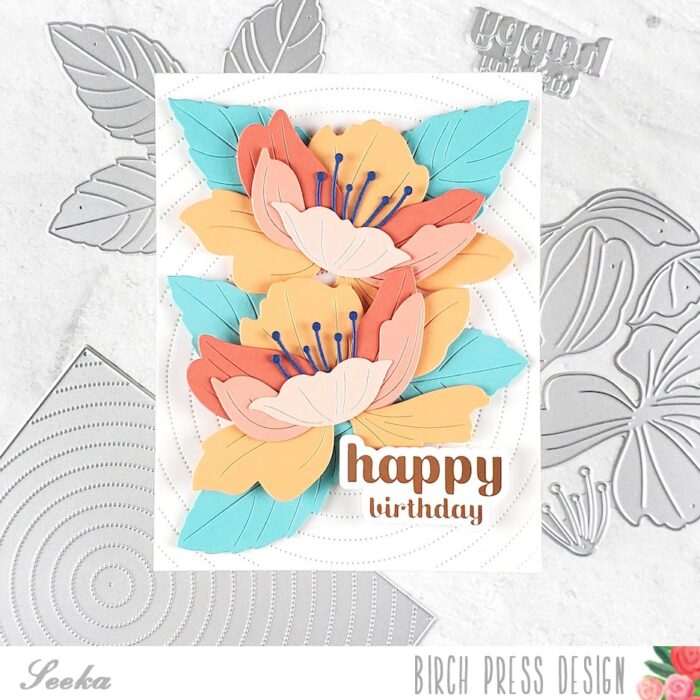
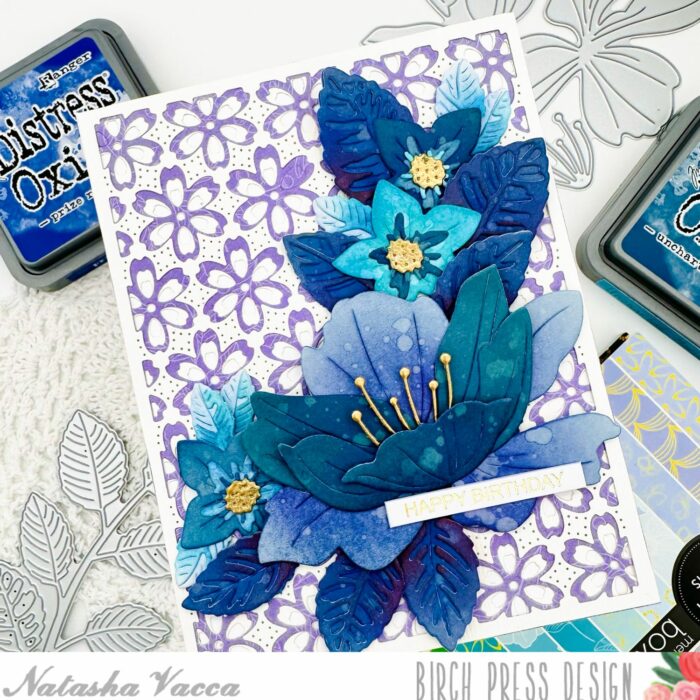
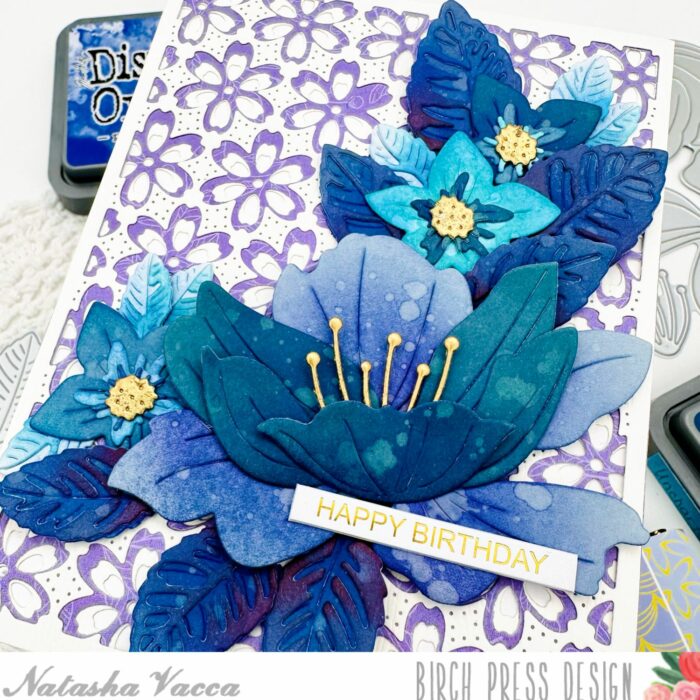
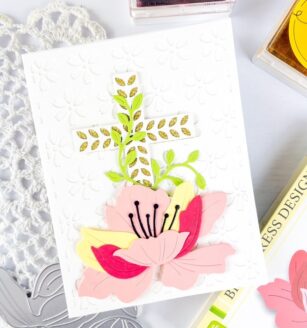
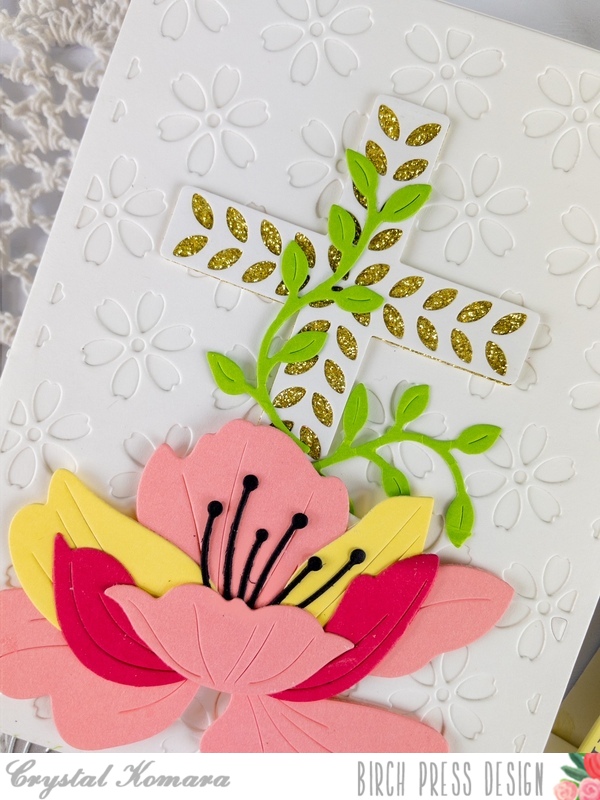
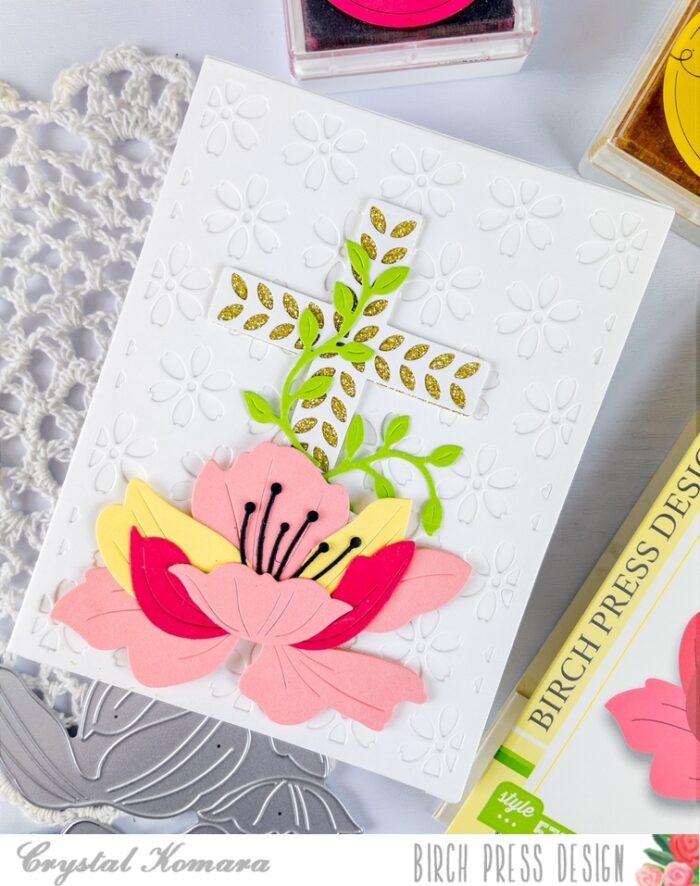
The base of this A2 sized card is made from 80 lb. Neenah Solar White Smooth cardstock. I cut Layer A from the Flora Plate Layering Set using the same white cardstock and this became the first layer of the card adding some texture and design to the background. I die cut Layer A of the Floral Cross from white cardstock and Layer C (the bottom layer) from gold glitter cardstock. I layered the two together with a fine-tip liquid adhesive and then I adhered the cross to the card using 3M foam adhesive for added dimension.
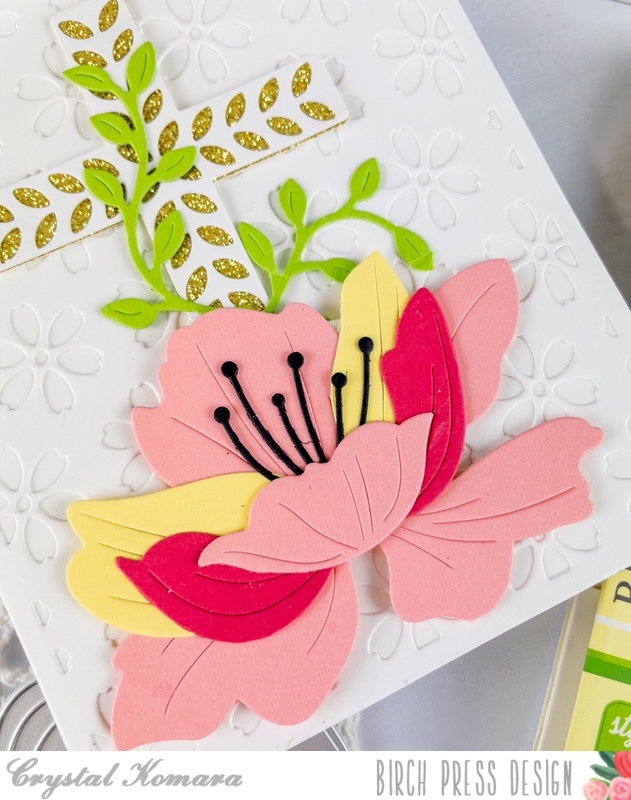
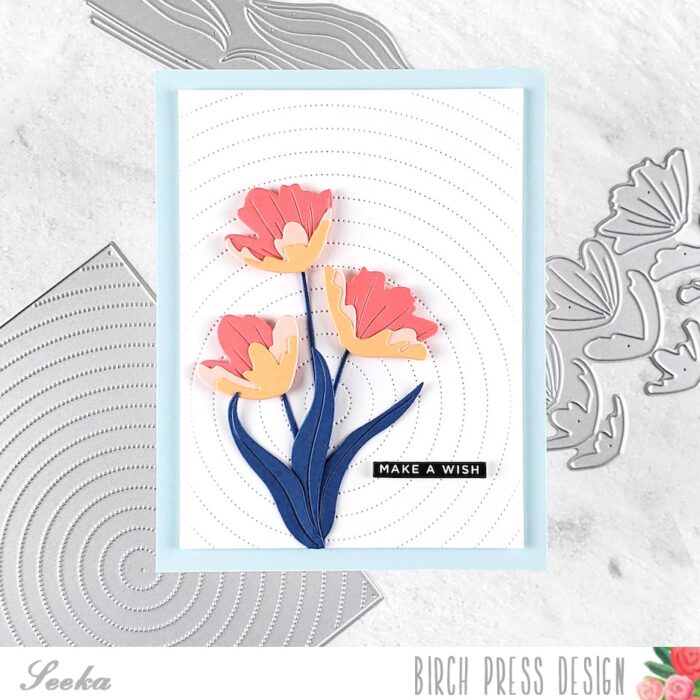
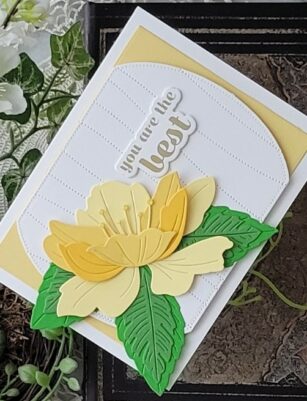
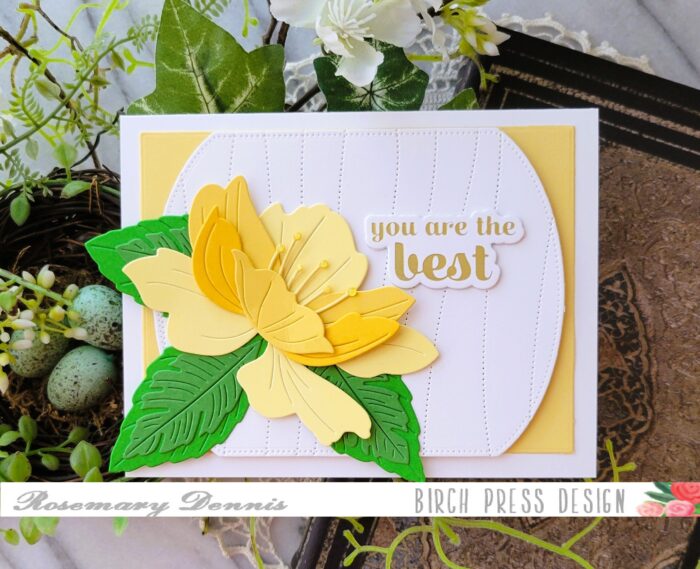
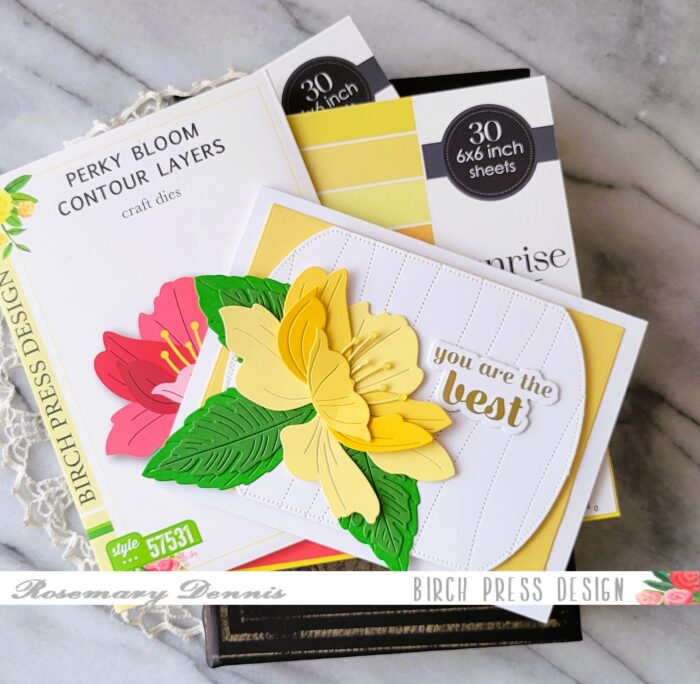
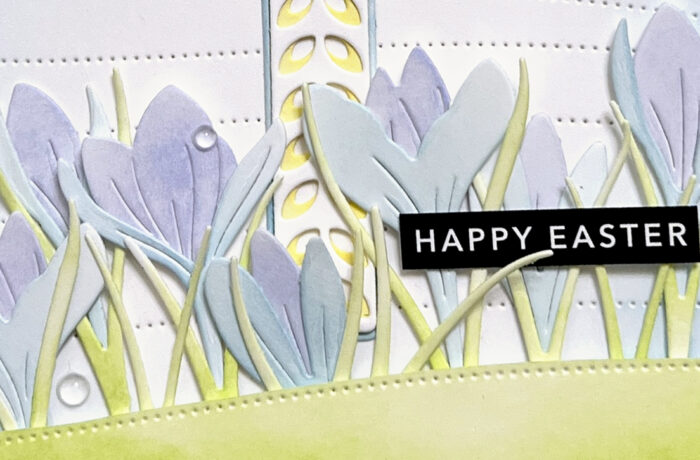
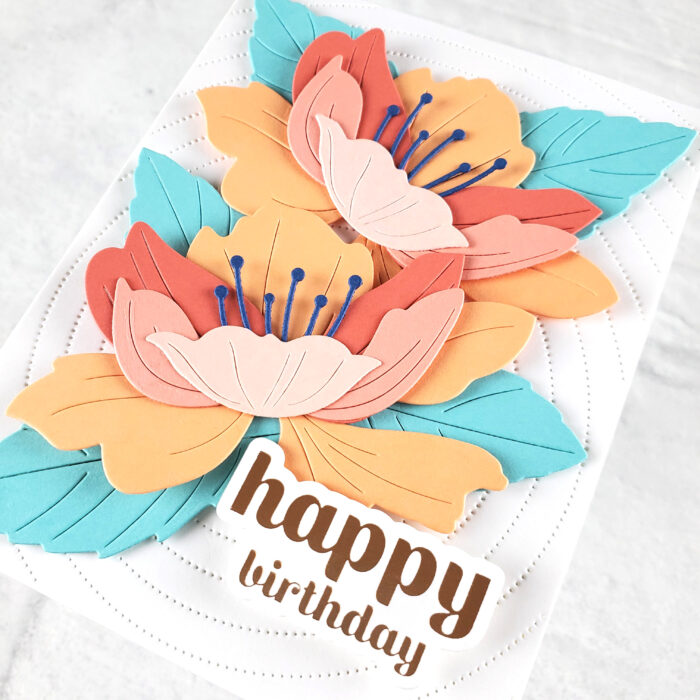
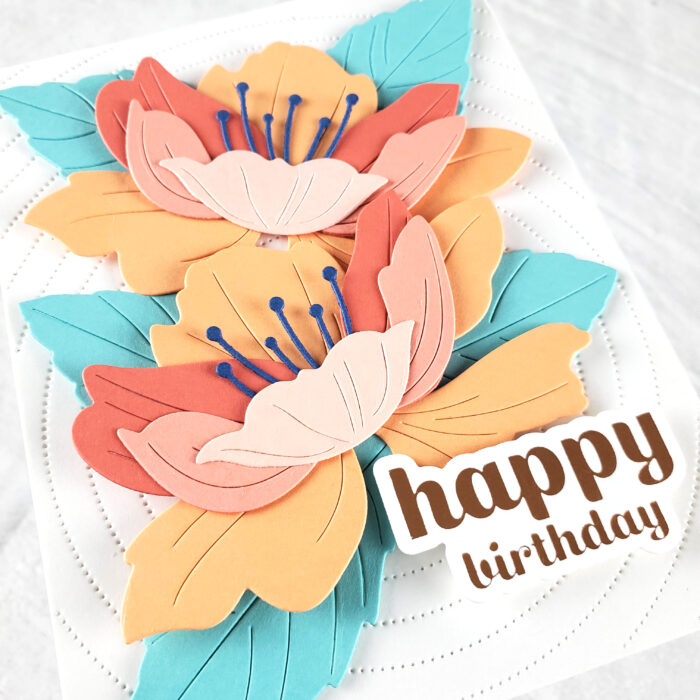
For the large flower I used the Perky Bloom Contour Layer Set. I die cut this flower from peach, pink and yellow cardstock. I adhere all the layers together and then die cut the stamen from black cardstock. I adhered the flower to the base of the cross and added a couple green vines running up through the cross.
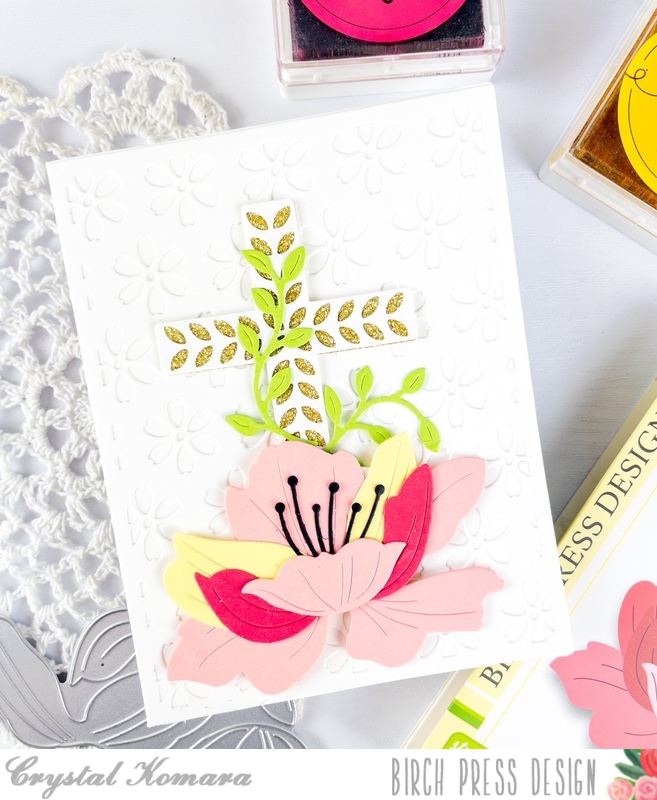
I am so happy with how this card came out and I am so in love with this elegant multi-layered cross and all its accompanying flowers and vines. I hope you will enjoy it too! Thanks for visiting and have a wonderfully crafty day!

Supplies