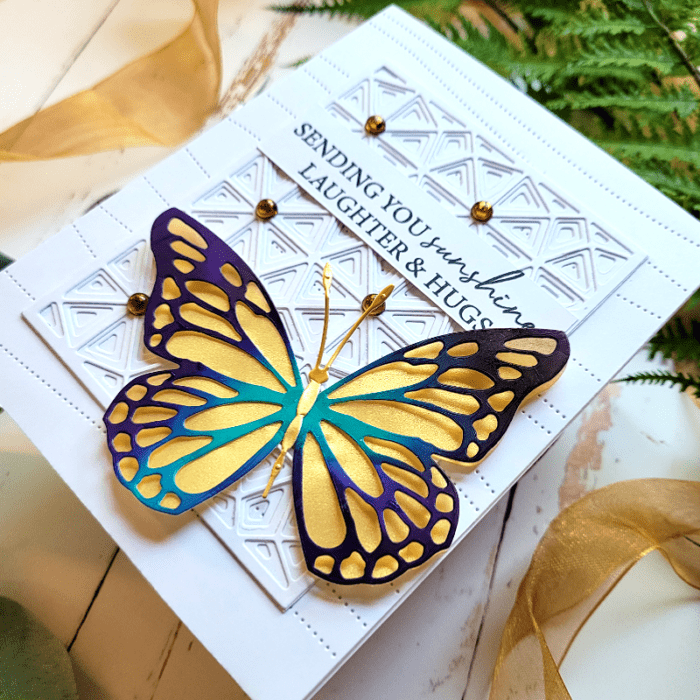
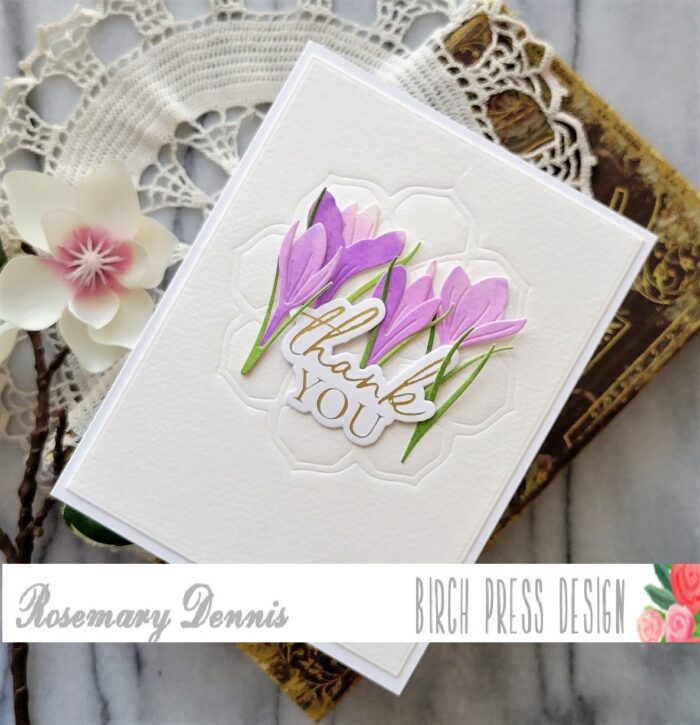
Happy Memorial Day to everyone here is the US! I hope you are having a relaxing day with your loved ones and remembering all those who gave their lives for our amazing country! Appropriately I am sharing a thank you card today. This one features the Sprouting Crocus Contour Layers dies, as well as the Thank You Noted Script hot foil plate and die set.
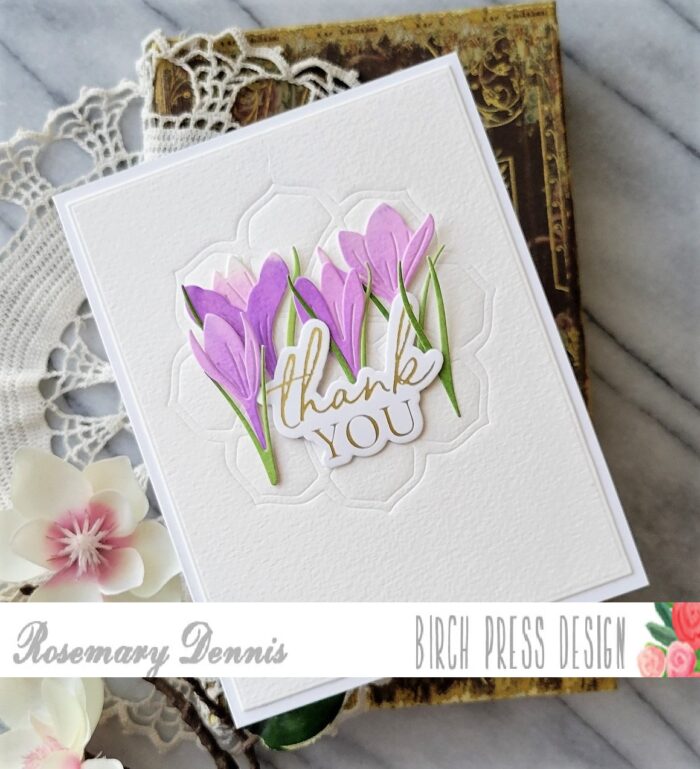
I started out my card by deciding that I wanted to do a little simple watercoloring. I have several different watercolor mediums, but recently rediscovered some color burst powders that I had bought years ago. I decided to use them for the watercoloring. It is a simple process to create the panels that I used. Simply wet watercolor cardstock, tape on a small amount of the powder and then spread the color around with a wet paintbrush. Once you have the color depth you want, dry the cardstock and die cut.

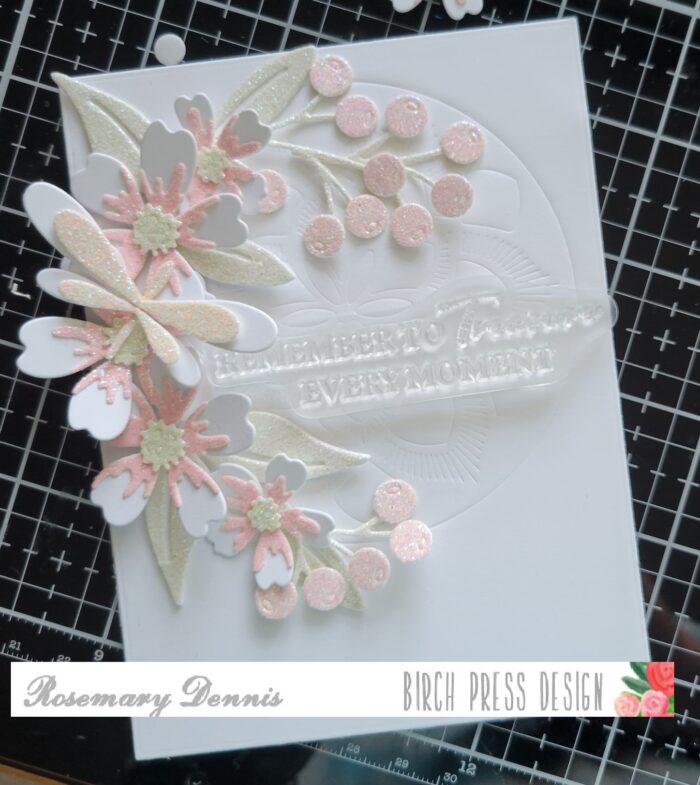
This photo shows the colors I used along with the panels after I had die cut all the part of the flowers. I assembled all the flowers using liquid adhesive and then moved onto foiling the sentiment. For this I used matte gold foil and white cardstock. I foiled several sentiments so I will have some for later use.
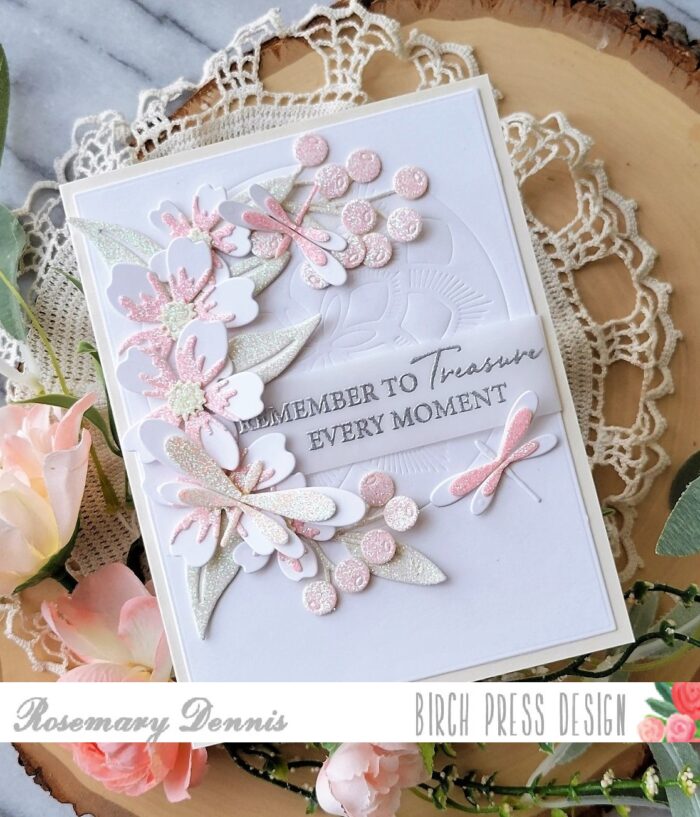
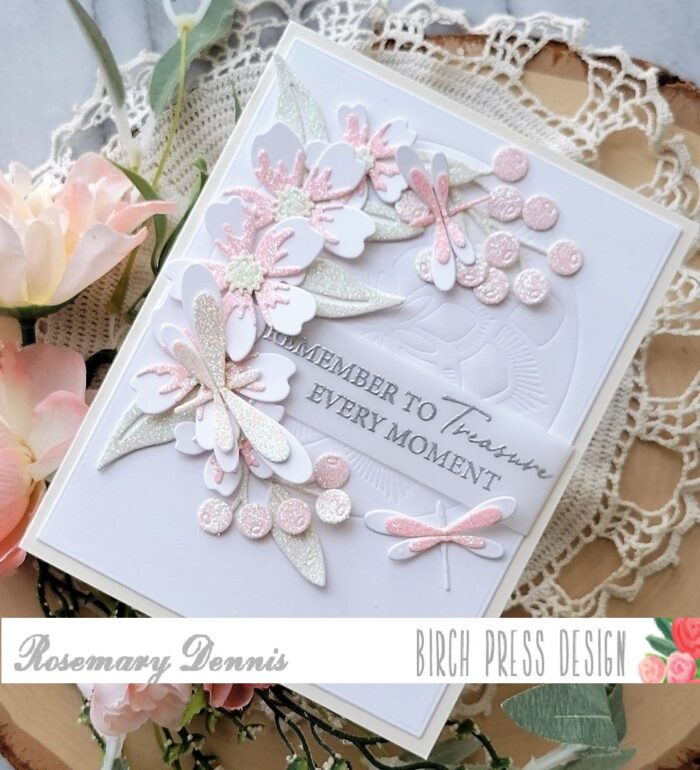
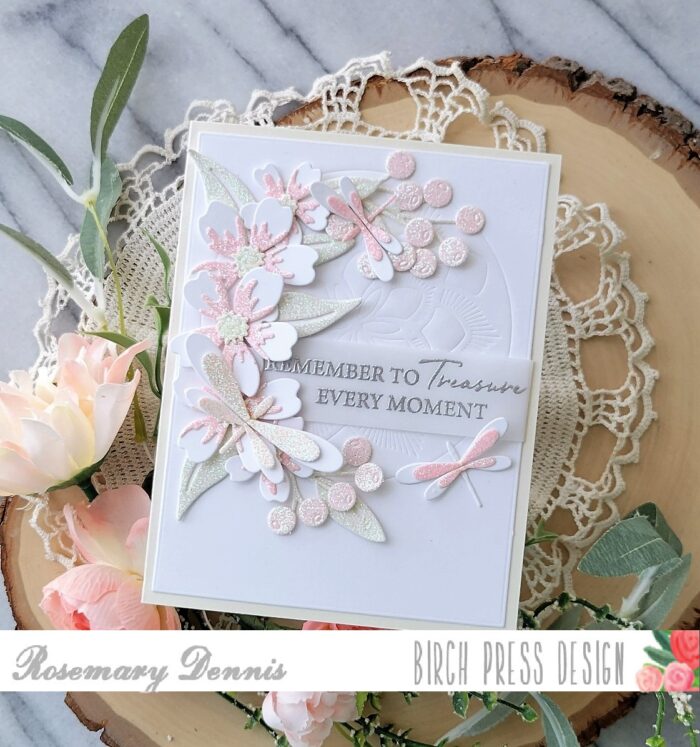
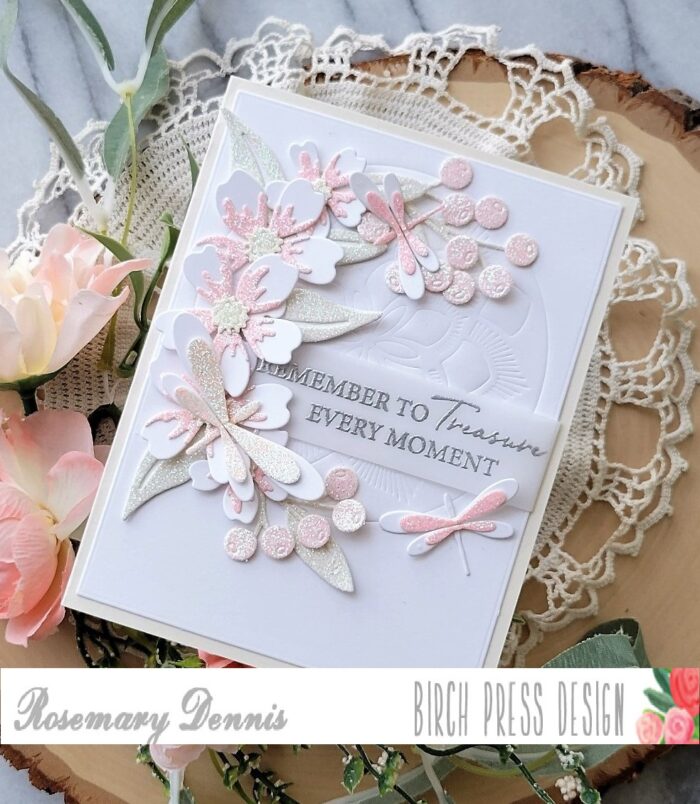
Since I love using the layering dies for embossing my backgrounds I used the Cora Layer A die to emboss some watercolor cardstock. I just love the letterpress look you get from using the thicker watercolor cardstock for embossing. (Again, my sandwich is the die cutting platform, one cutting plat, the embossing mat, cardstock, the die cutting side down and a few shims.) After embossing the background I die cut the panel with a rectangle die. This will flatten the embossing a bit, but it still looks nice.

Now it is time to arrange all my flowers. I used liquid adhesive to adhere the flowers first and then added the sentiment using a combination of thin foam squares and liquid adhesive where needed. I then added my panel to a white cardstock base using strong double sided adhesive strips.

Thanks for stopping by and have a lovely, lovely day!

Supplies
D2