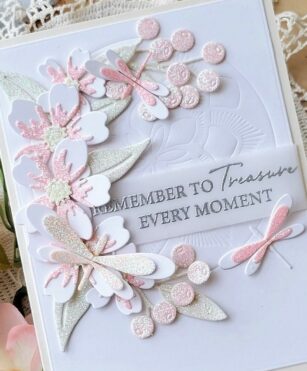
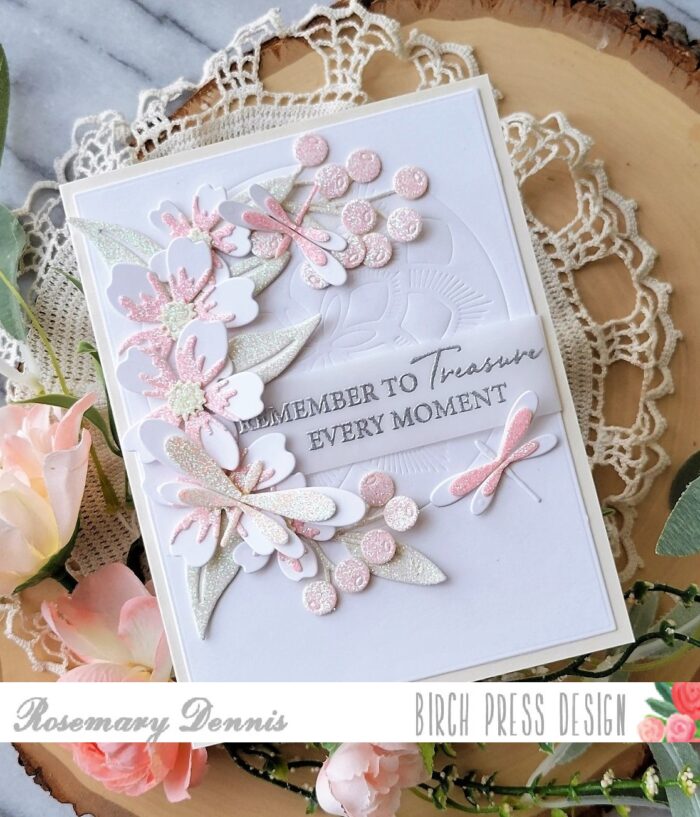
Hello everyone! I have a soft pastel card to share today that I created with glitter papers from the Memory Box Delicate Pastel Glitter pad and many different Birch Press Design dies. Let’s get started!
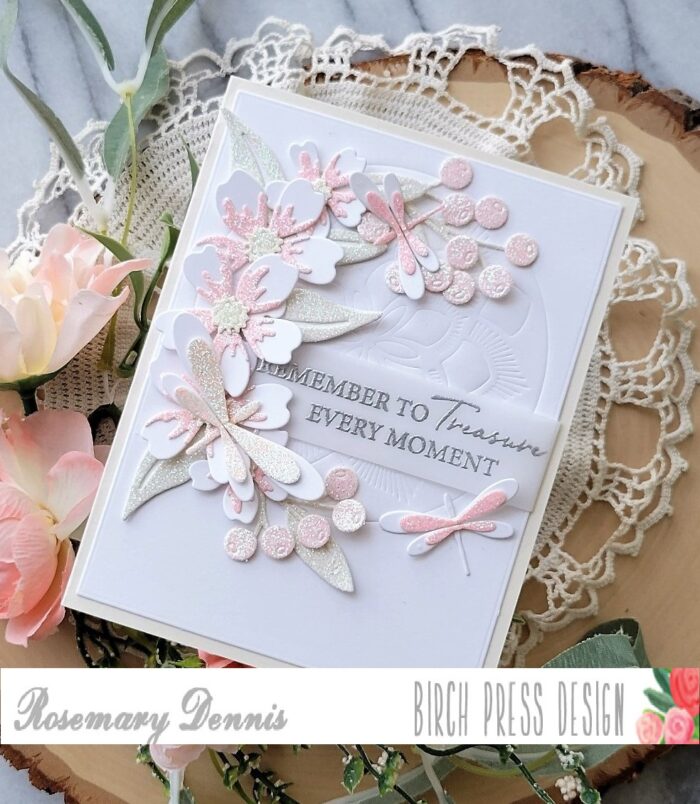
Birch Press Designs has so many wonderful layering dies and I just love going through them and finding ones that can also be used for embossing. As I was working on my idea for the card I flipped through my dies and came across the Arista layering set. I took one look at Layer B and knew immediately that I wanted to use it to emboss the background. I just love all the detail that is embossed into the background. (The embossing sandwich that works for me is my the diecutting platform, one cutting plate, a tan embossing mat, cardstock and die with the cutting side placed against the mat and a few cardstock shims.) I also knew that I wanted to use the Mixed Berry Contour Layers dies and the Simple Dragonfly Contour Layers. The Phlox Blooms and Leaves Contour Layers are so pretty and work wonderfully with the other dies.
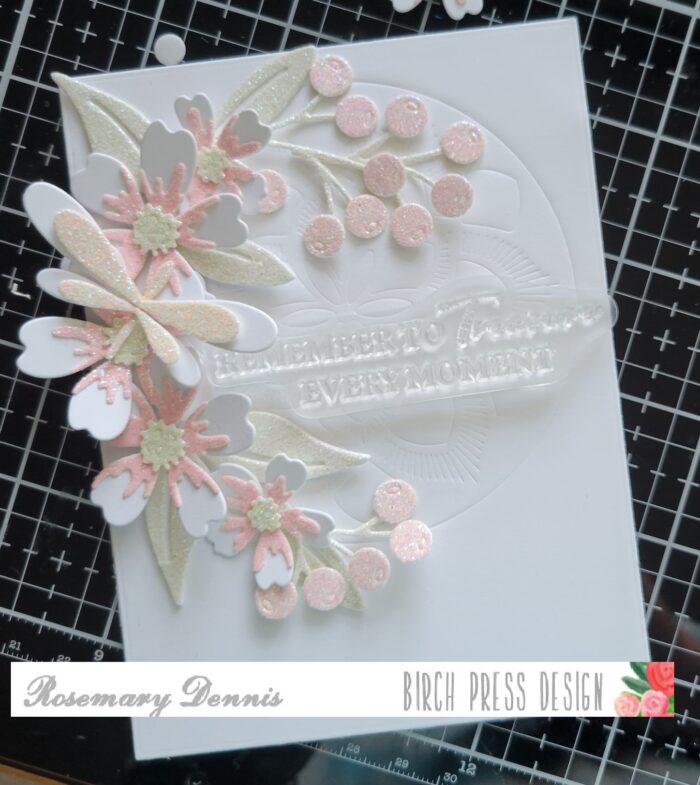
I die cut the flowers and leaves using white cardstock for the bases and then a sugary pink from the Delicate Pastel Glitter pad to the top layer. A pretty yellow from the pad was used for the flower centers. The glitter portion of the leaves were die cut from a light yellowy-green and layered on. I used yellow for the berry stems and a lighter pink for the berries. The above photo shows the general idea of the layout.
The base of the dragonflies were die cut from white and the layers from glitter papers. Going to be honest and tell you that when I started to put the dragonflies I got confused as to what layers went where. I got a bit frustrated with myself, but eventually I got them put together correctly. I used pink glitter paper for the small dragonflies and the larger one is a pretty light peach color. I used a sentiment from the beautiful Kind Hearts stamp set. It was heat embossed on vellum using silver embossing powder so it was stand out against all that white.
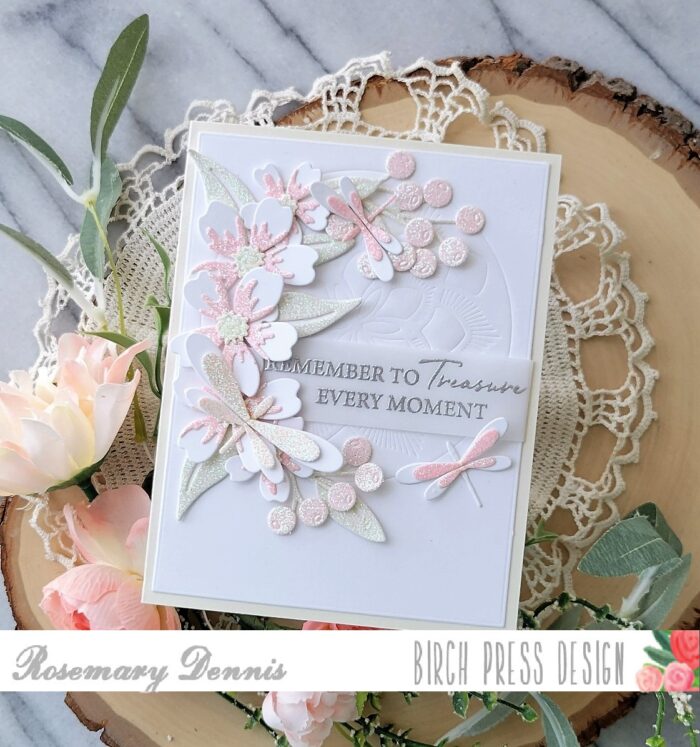
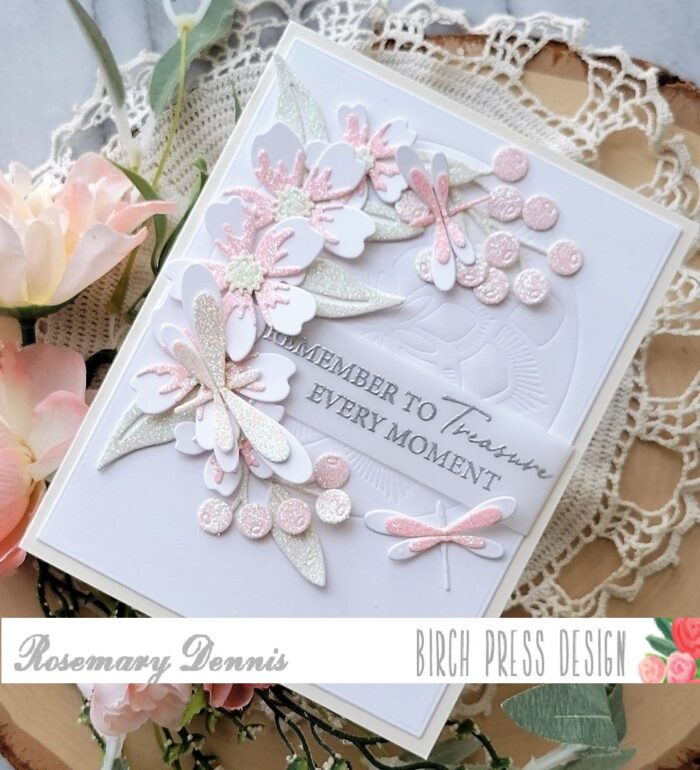
I cut the vellum into a strip and then wrapped part of it behind my panel and secured it with liquid adhesive. After that side had dried I secured the other side with liquid adhesive, as well. Then I started adding all the flowers, leaves and berry stems. The large flowers were popped up with thin foam squares. Everything else was adhered with liquid adhesive making it easy to tuck them into place. I finished with the dragonflies.
If you have yet, I hope you will look through your Birch Press Design layering dies and find ones that can be used to emboss the background of your projects. I think you will just love the look! Thanks for stopping by!

Supplies
D2


Comments
3 responses to “Remember to Treasure | by Rosemary Dennis”
A fabulous and delicate looking card, I love the idea of using glitter paper added to the layers. This is gorgeous.
I adore the colors you used on your die cuts, Rosemary! This is perfectly layered and just as pretty as can be!
Absolutely love the glitter papers you used! One of my favorite cards & you’ve inspired me to try using a BP die I have for embossing!