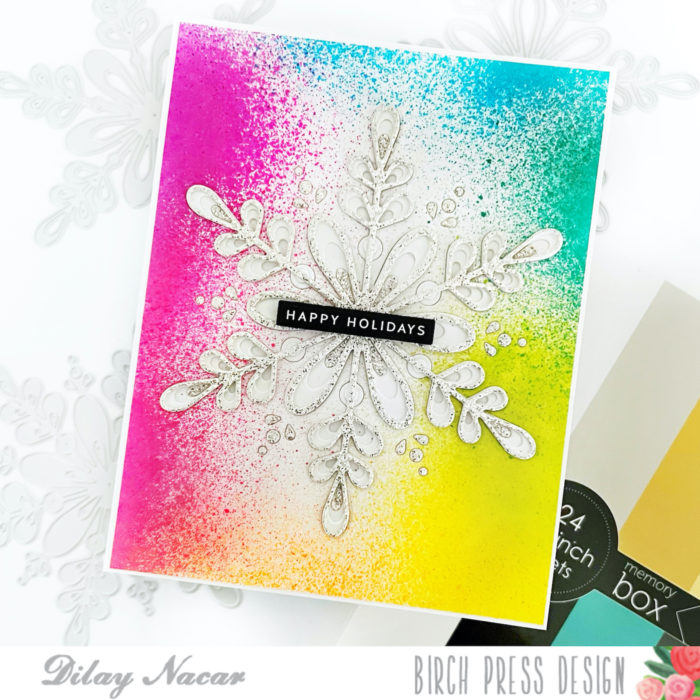
Happy Saturday Birch Press family! Today I’m leaning far into pre-Christmas card prep and sharing a project using some supplies from the newest release.
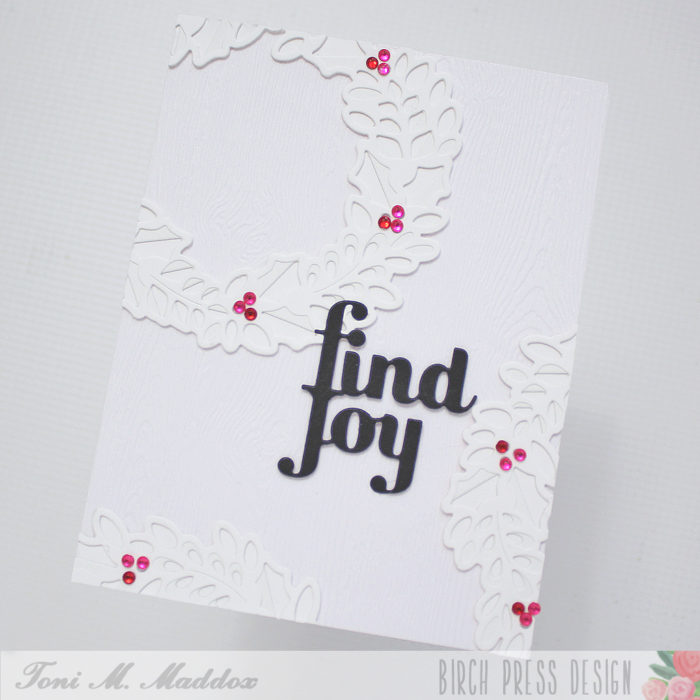
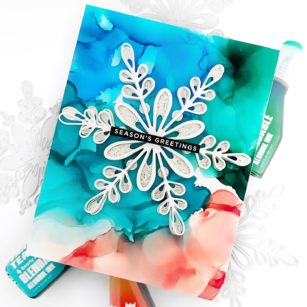
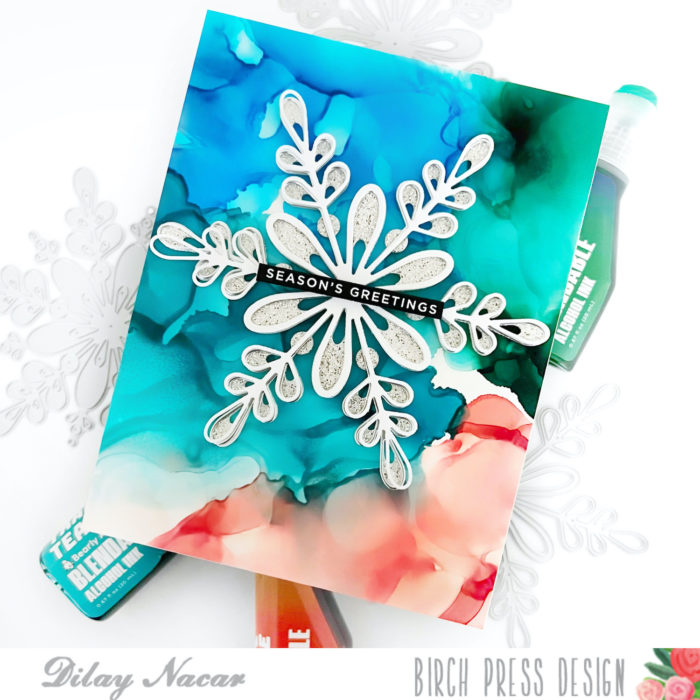
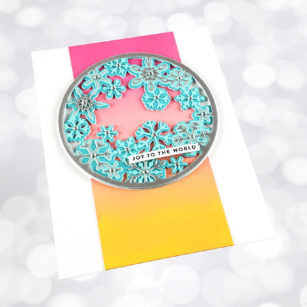
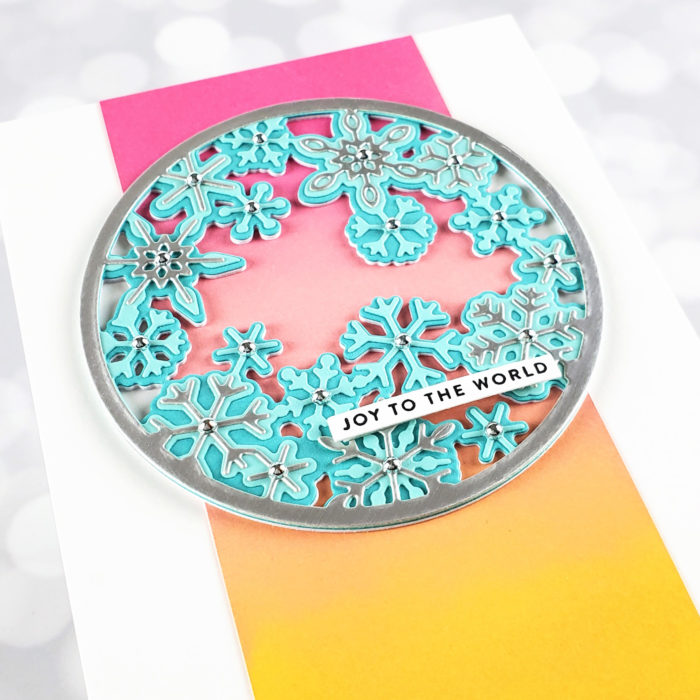
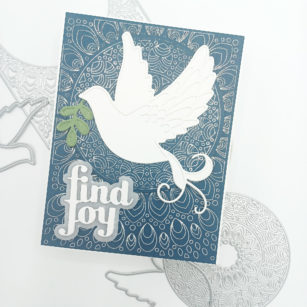
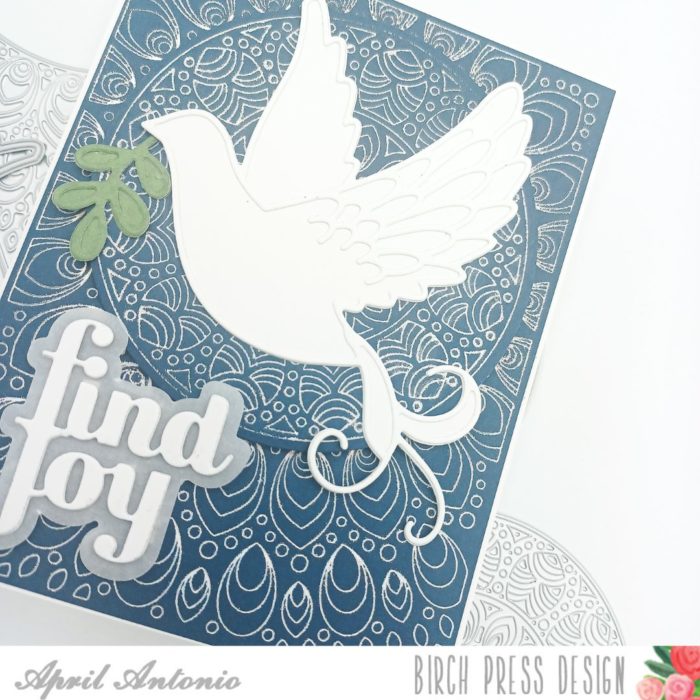
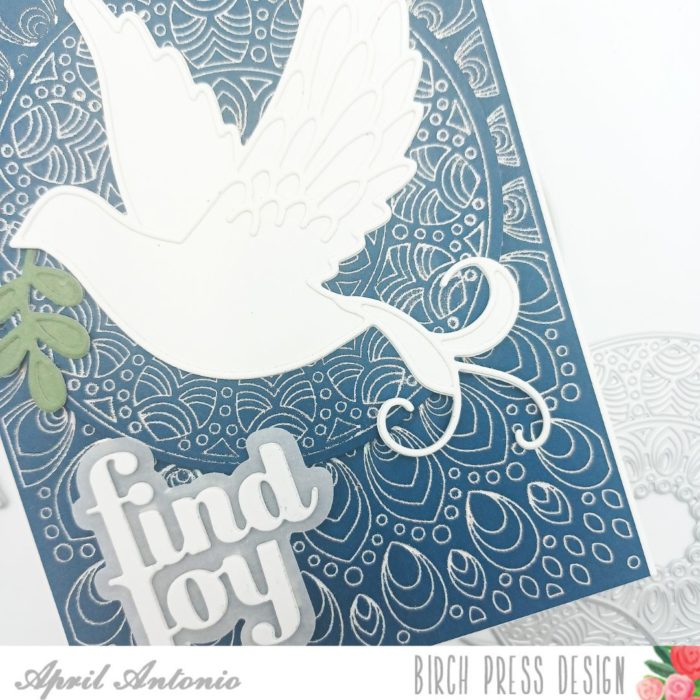
I’m fairly new to hot foiling and have definitely caught the foiling bug. I started this card by hot foiling the Gilded Grace hot foil set — both the cover plate and the insert circle, with Silver foil. I like to use the Spellbinders Silver or Gemini Aurora foil colors for silver. I trimmed the cover plate hot foil sheet down to slightly smaller than an A2 sized card, and then cut out the circle using the coordinating circle die.
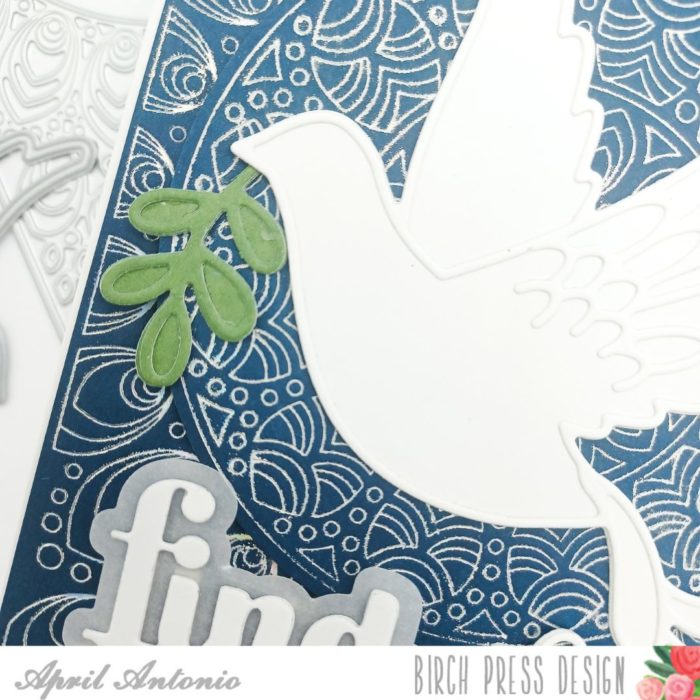
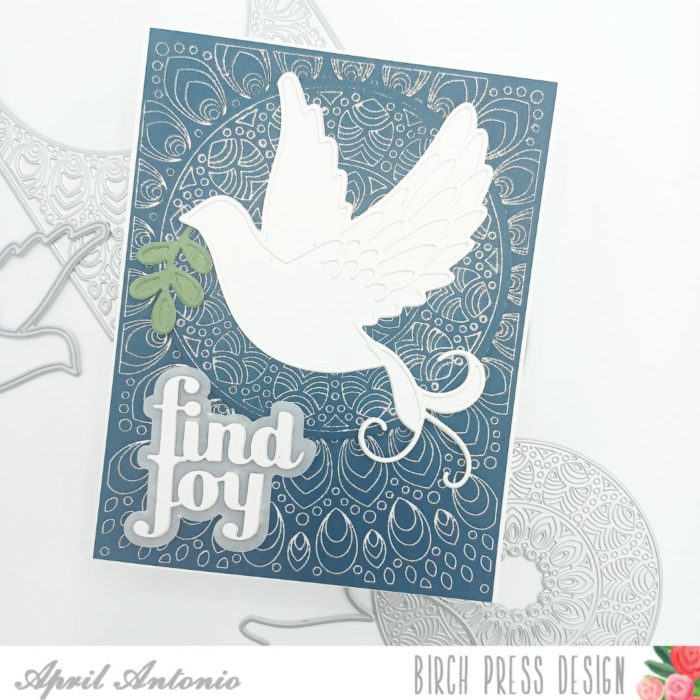
Next I used heavy weight white cardstock to die cut the Adornment Dove. I die cut both the outline and the solid piece. But before cutting out the outline piece, since it is so thin, I covered the cardstock with a double sided adhesive sheet.
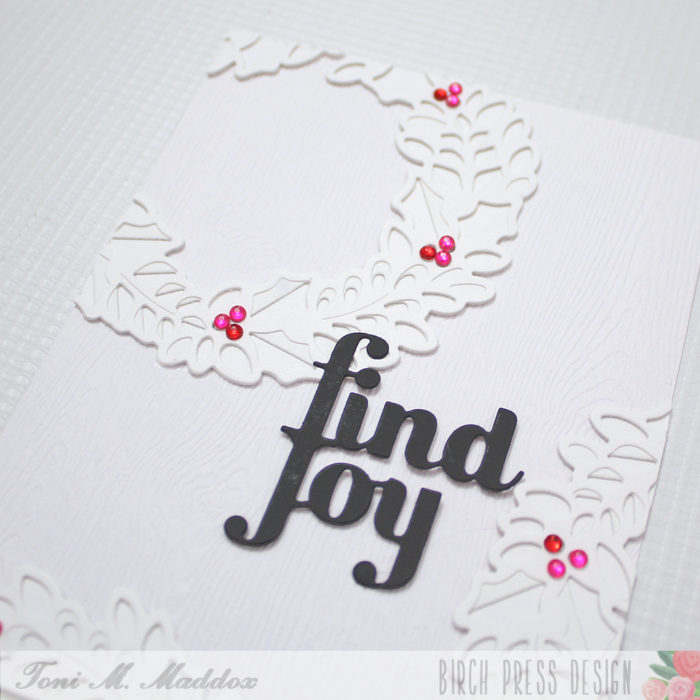
I also cut out the green sprig that came with the Adornment Dove set, using the Lush Green paper pad set.
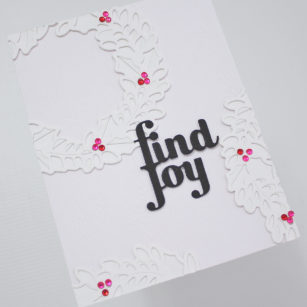
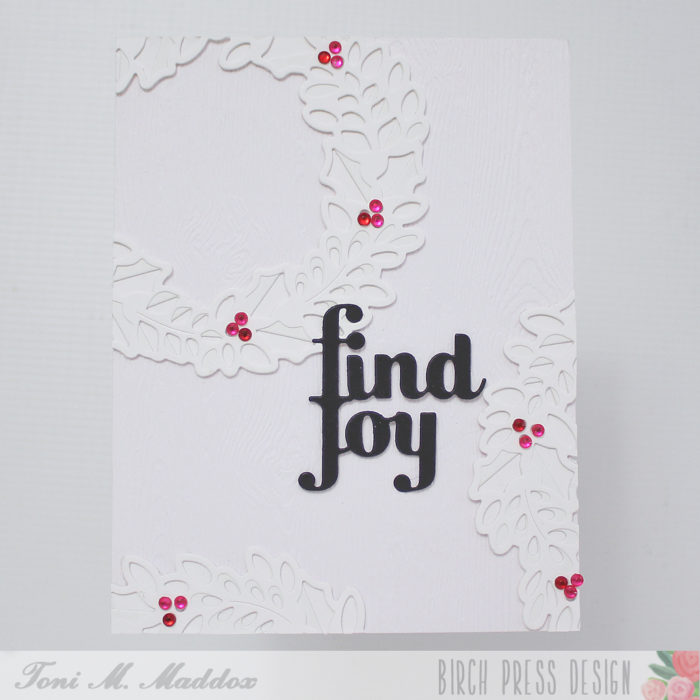
For the sentiment, I used the Find Joy die set that comes with the phrase ‘find joy’ and shadow. One thing that is really nice is that all of the words are connected to create only once piece. I cut this out twice and glued them together with liquid glue. I cut the shadow from vellum, and layered it behind the words.
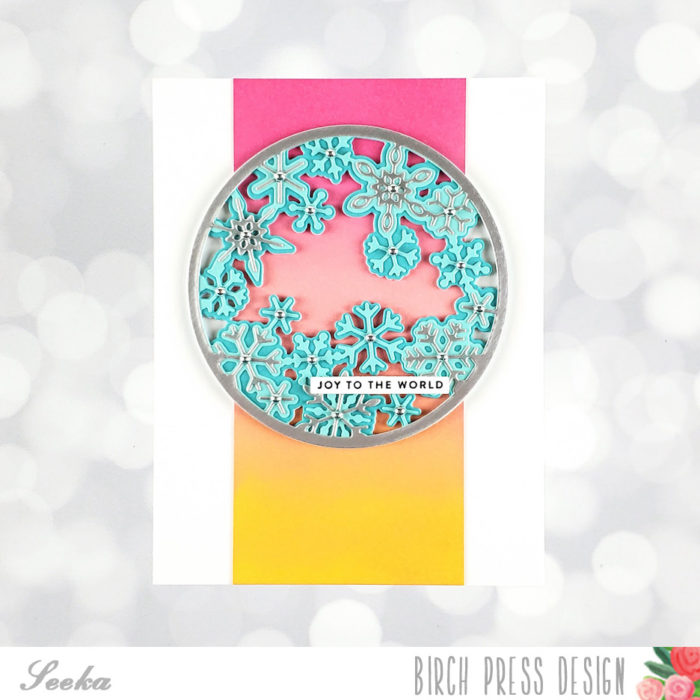
Lastly, I assembled everything together. I used a white A2 card base, put the background on first, adhered the hot foil circle with foam tape, glued the dove and green sprig on top and adhered the ‘find joy’ with small foam strips.
Usually at this point I will add some sort of sparkle, but the hot foil background is so decadent this card didn’t need anything else!
Keep on coming back to see more amazing projects by my fellow design team members, and have a great weekend.

Supplies