Hello Everyone and Welcome Back!
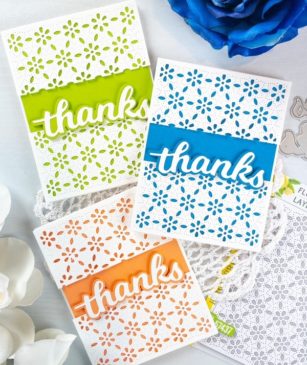
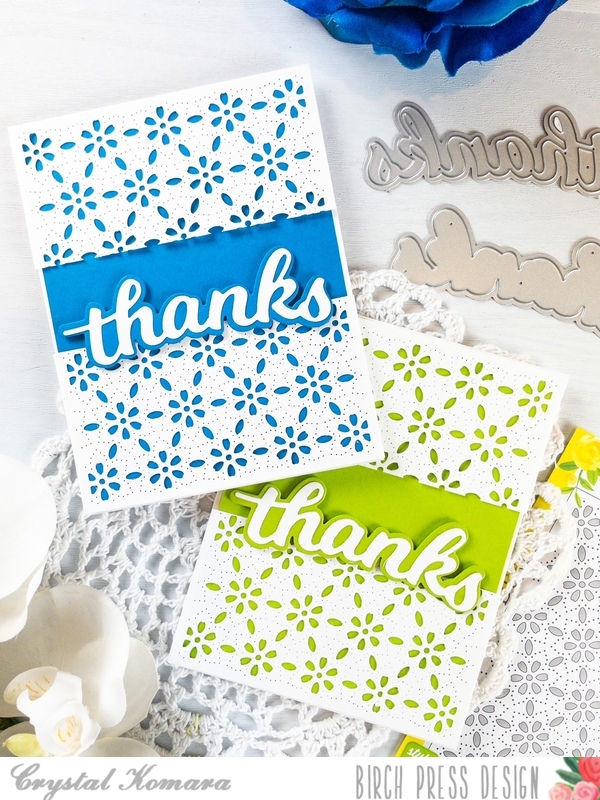
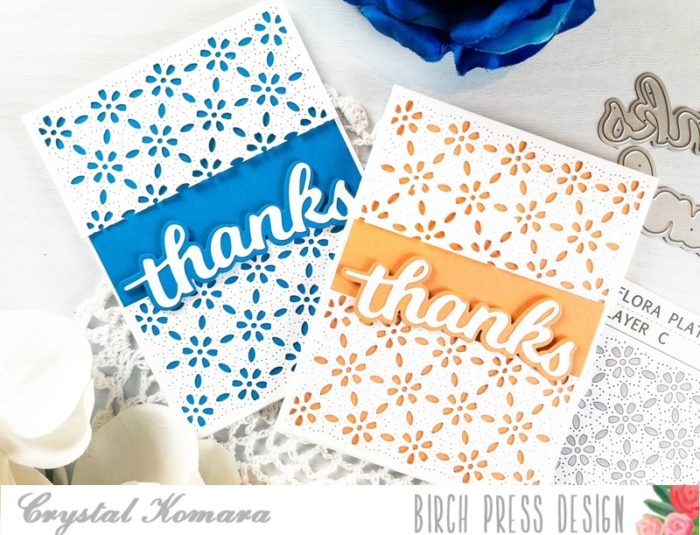
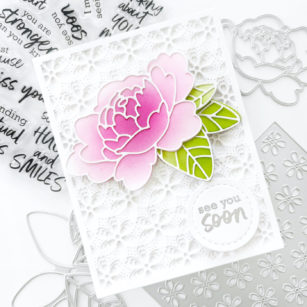
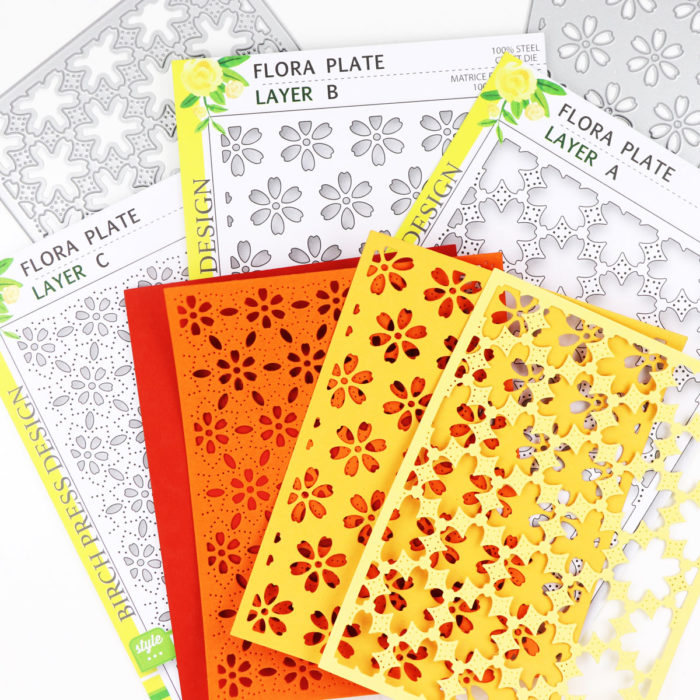
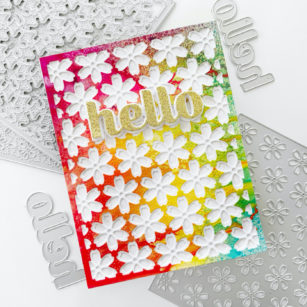
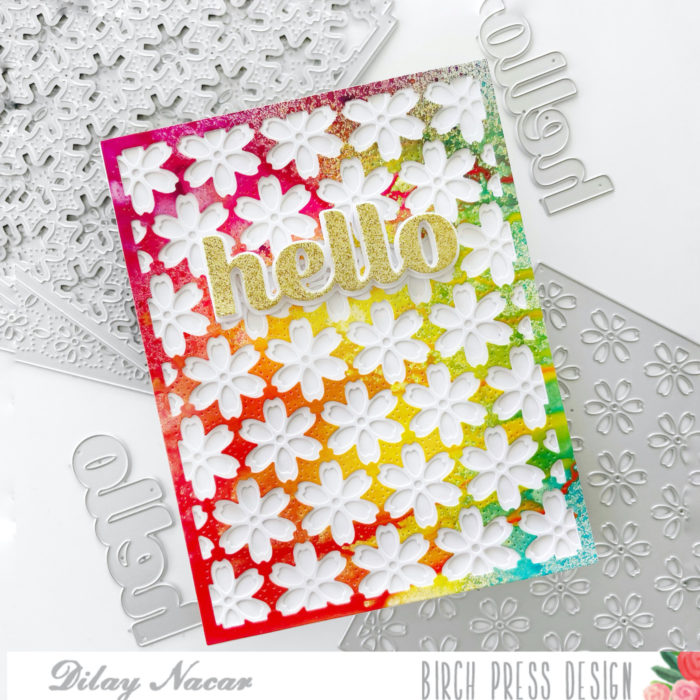
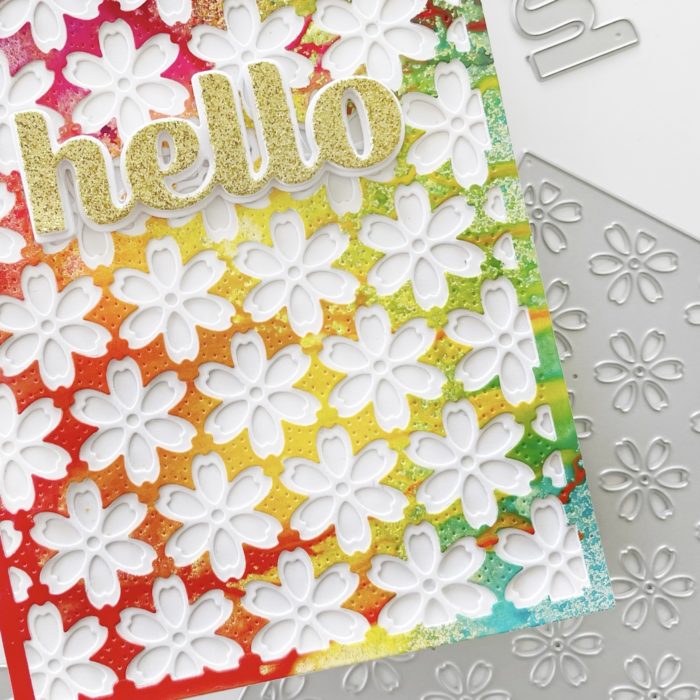
Let’s use up those scraps that come from some of our die cutting plates! The Flora plate is perfect for this as the top layers leaves wonderful flower images left behind! Save them!
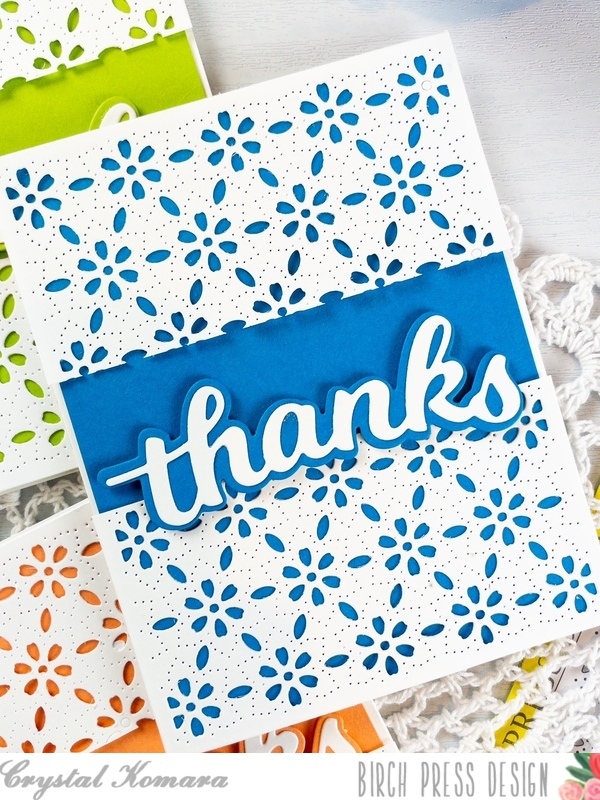
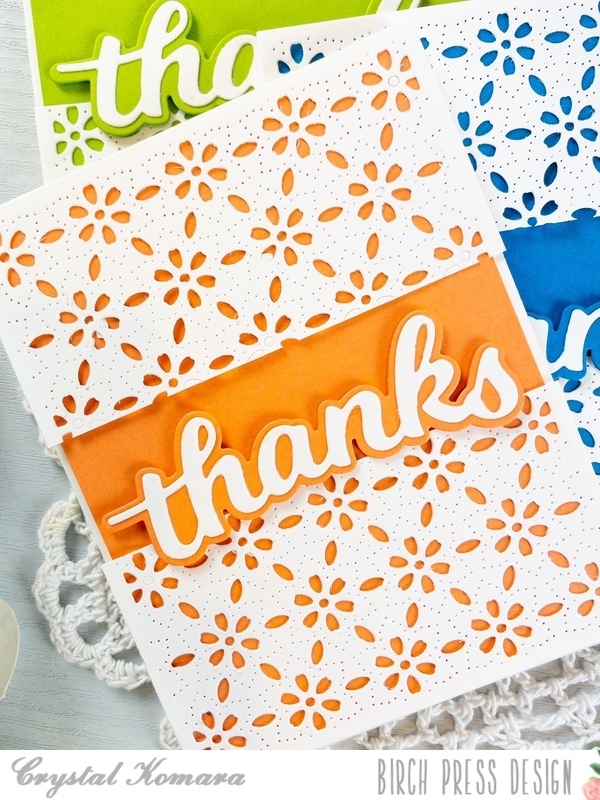
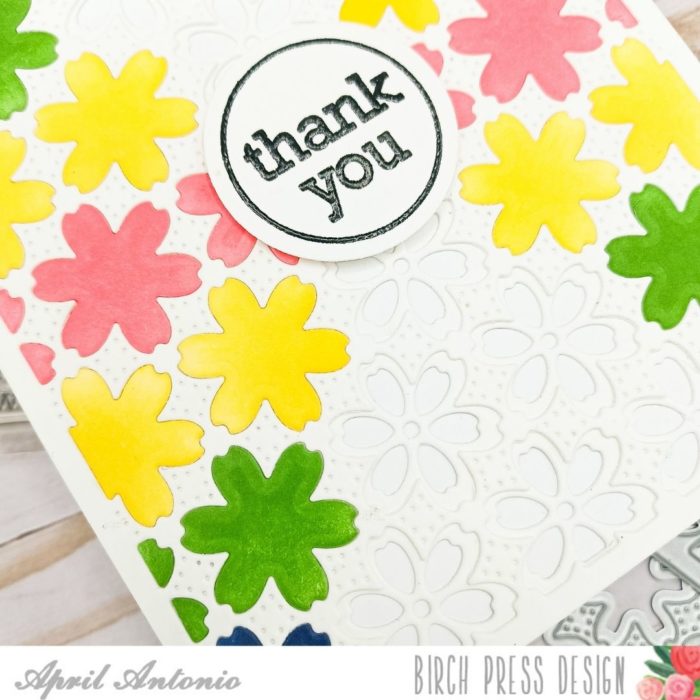
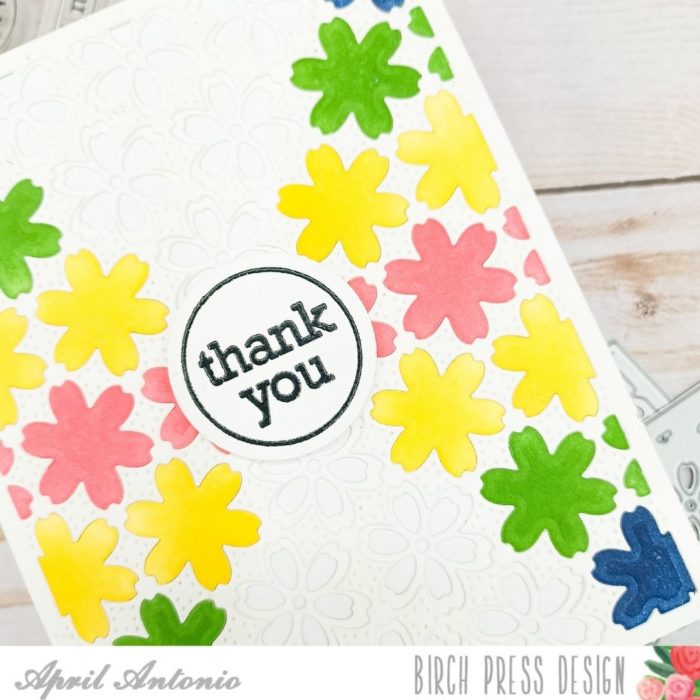
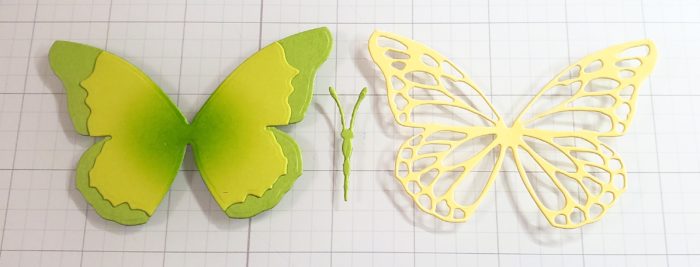
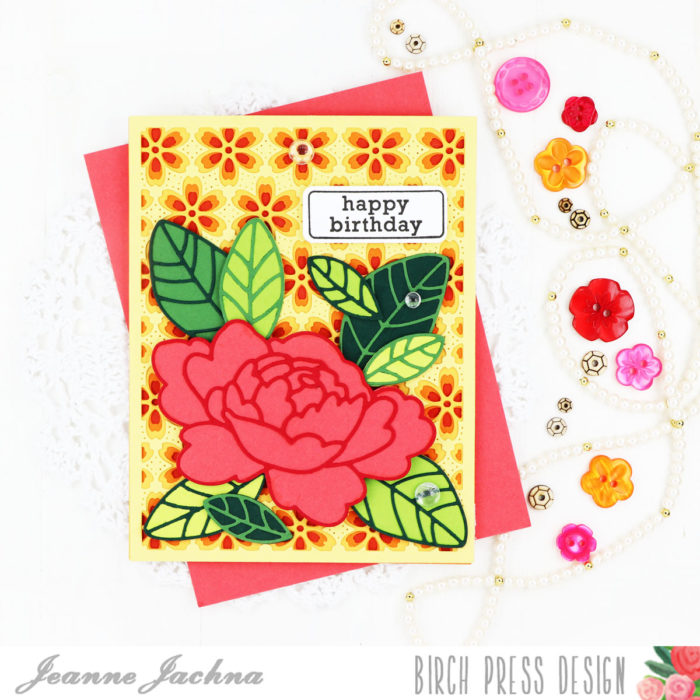
I die cut all my plates using one color card stock; I chose ivory. I also cut another top layer from an aqua color card stock and made sure I kept the full flower images and set them aside.
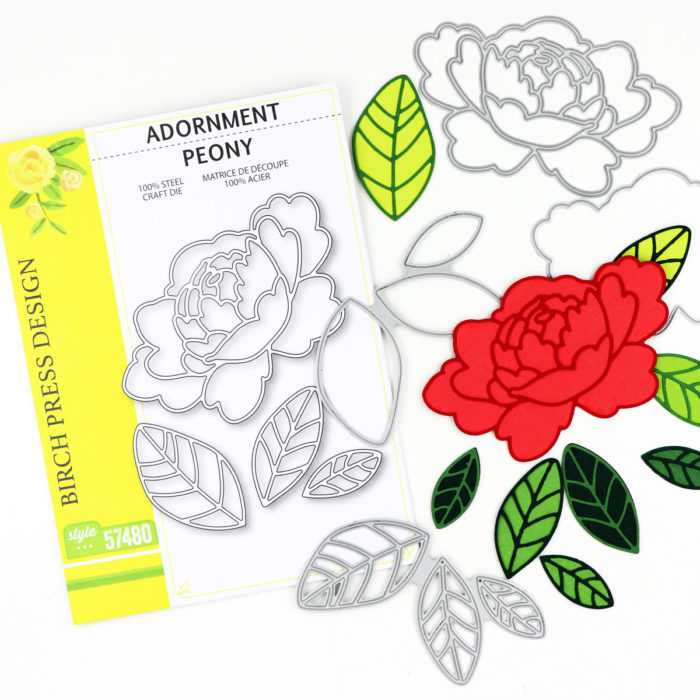
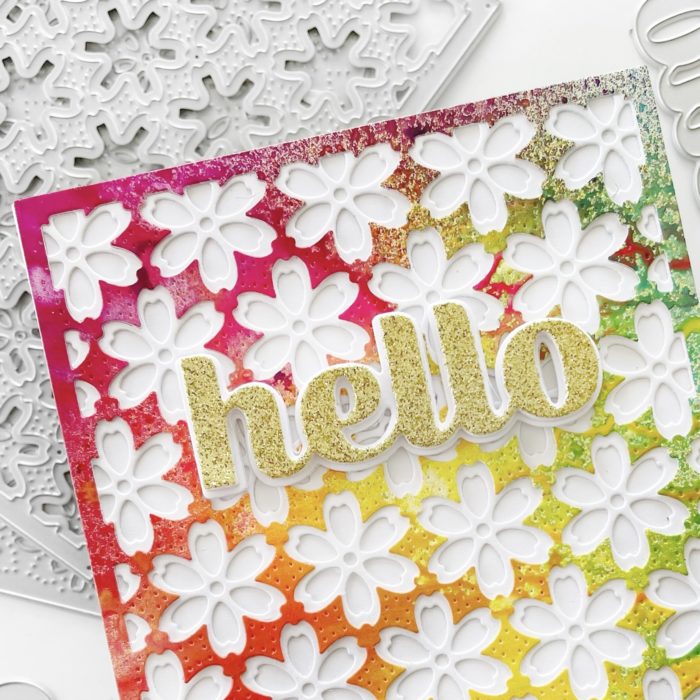
Layering my die cuts I used liquid adhesive to ensure a strong bond. Once dry I set it up on my Standard A2 size top folding card base. We want to set that aside and work on our flowers.
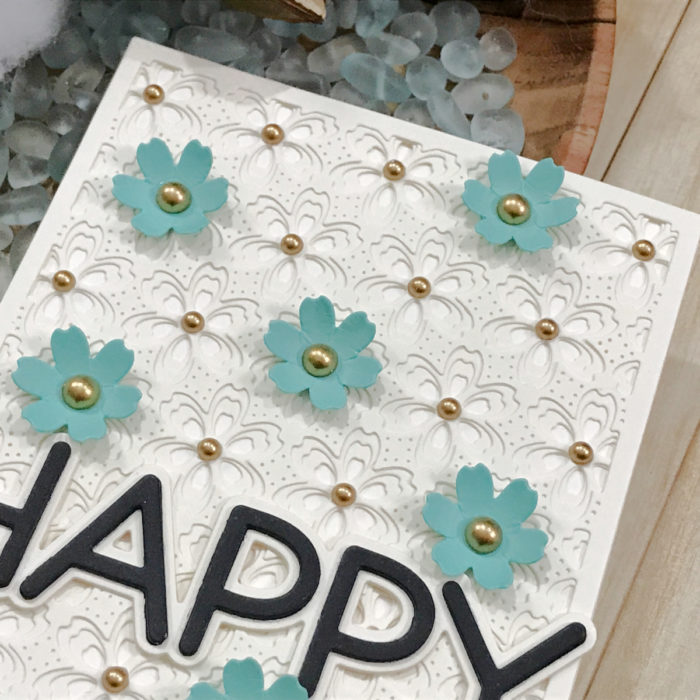
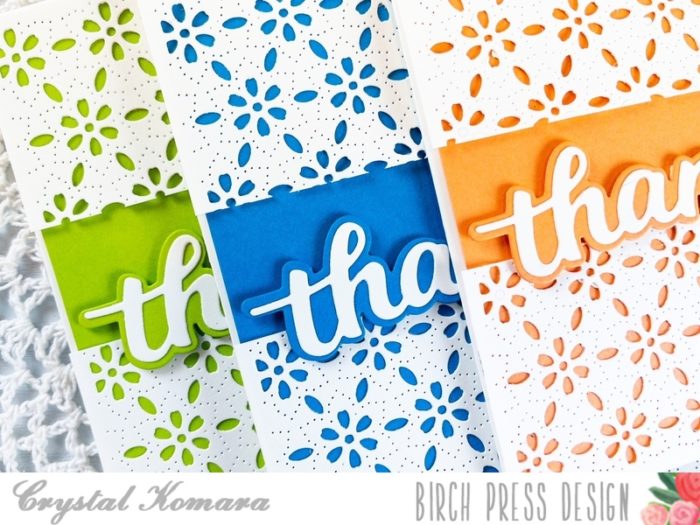
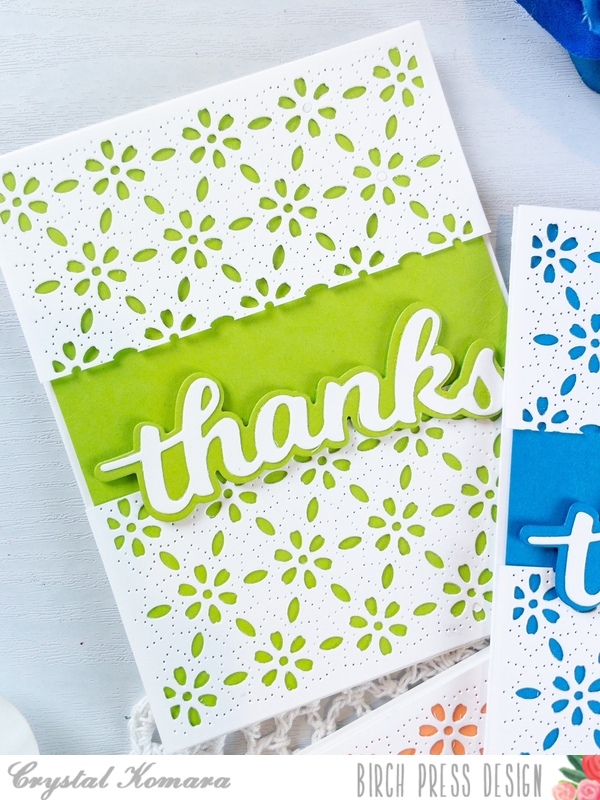
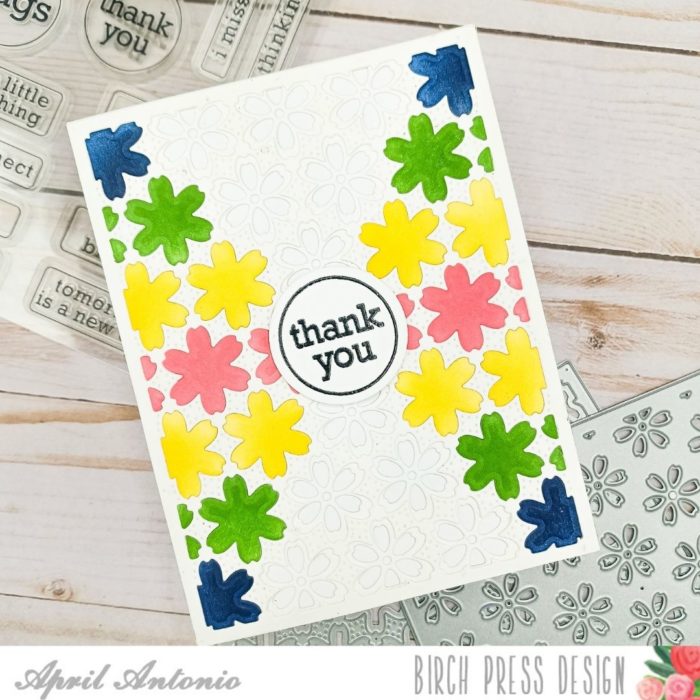
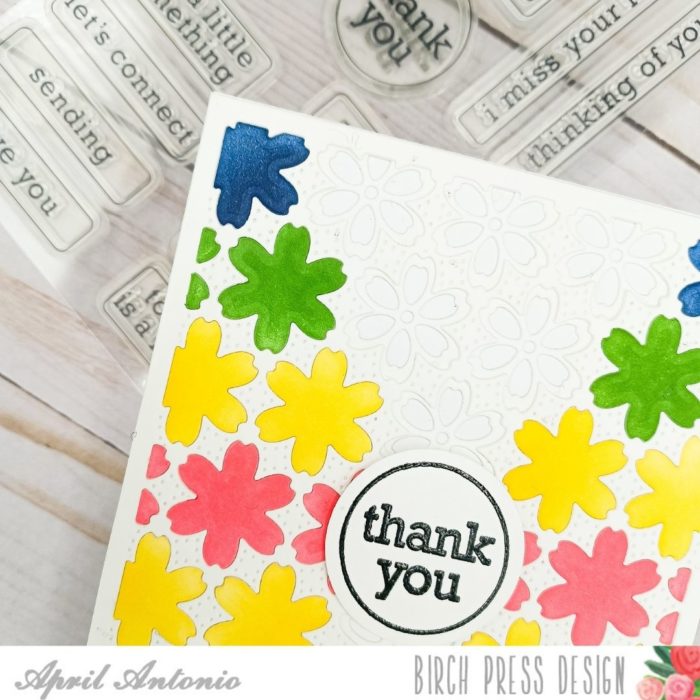
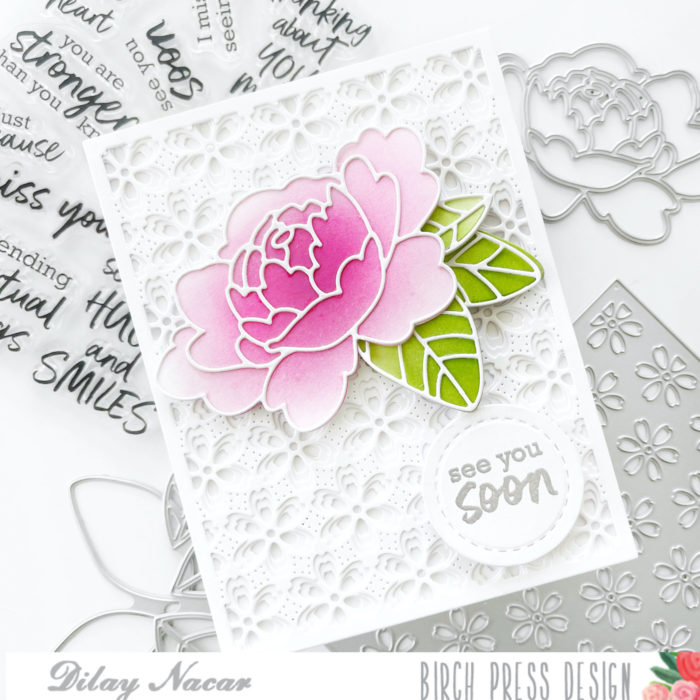
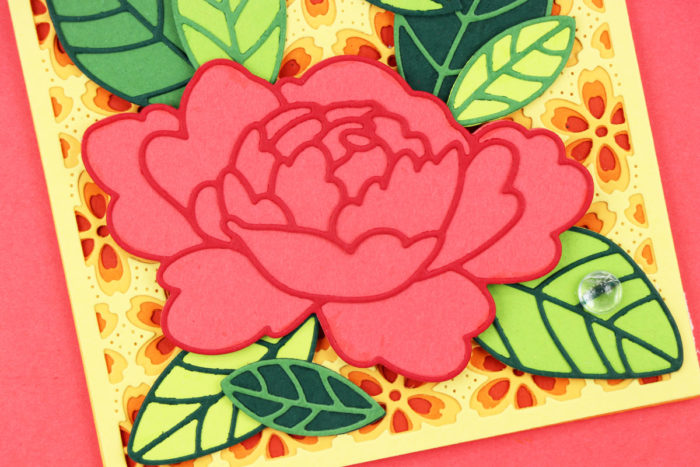
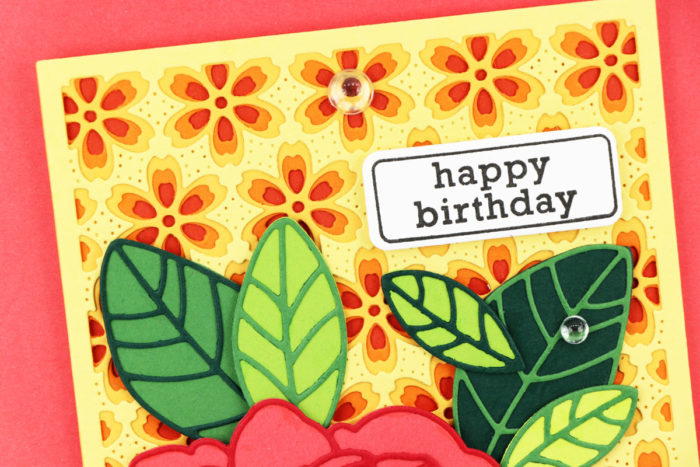
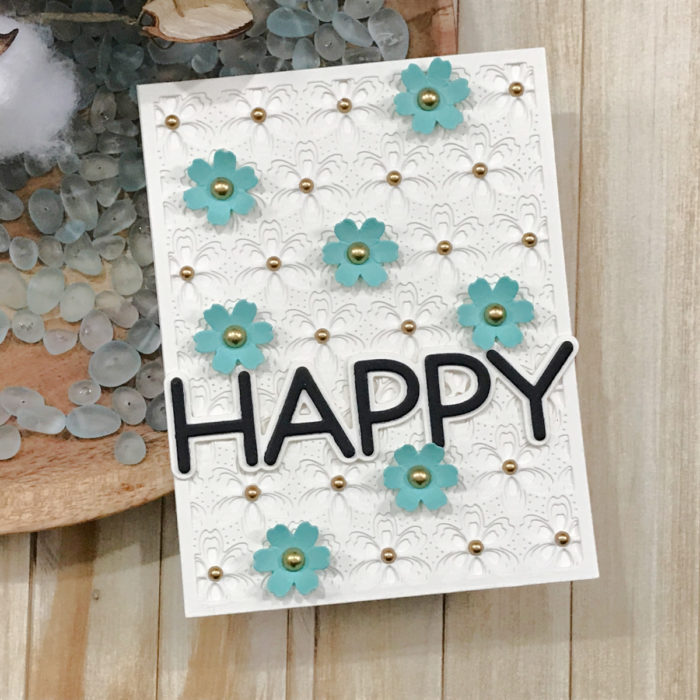
I grabbed a foam mat and a rounded edge tool, it can be a stylus or even a pen, use what you have! I cupped each of the flowers, so they form a cup shape. When these were done I layered my sentiment together to get ready for finishing my card.
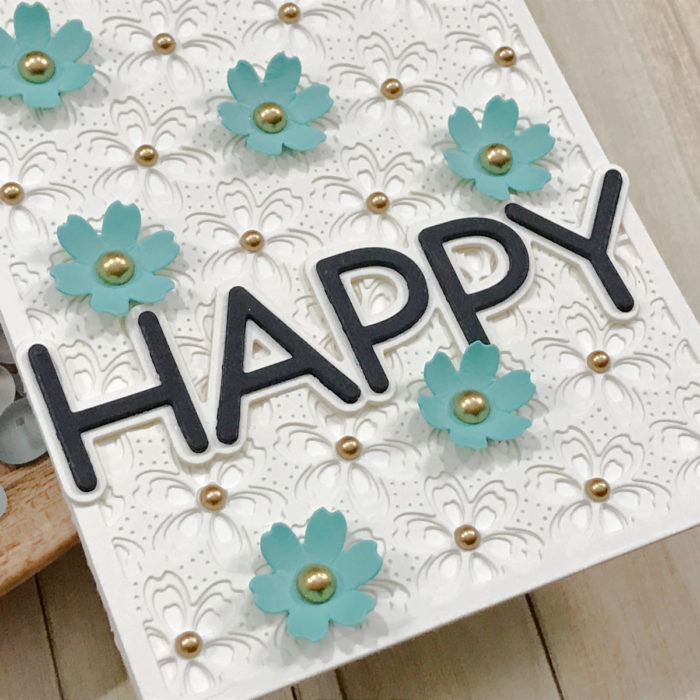
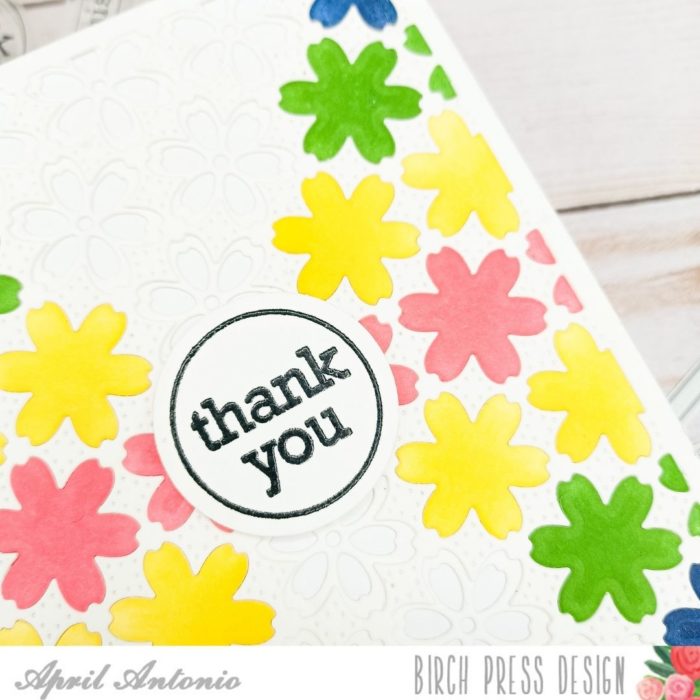
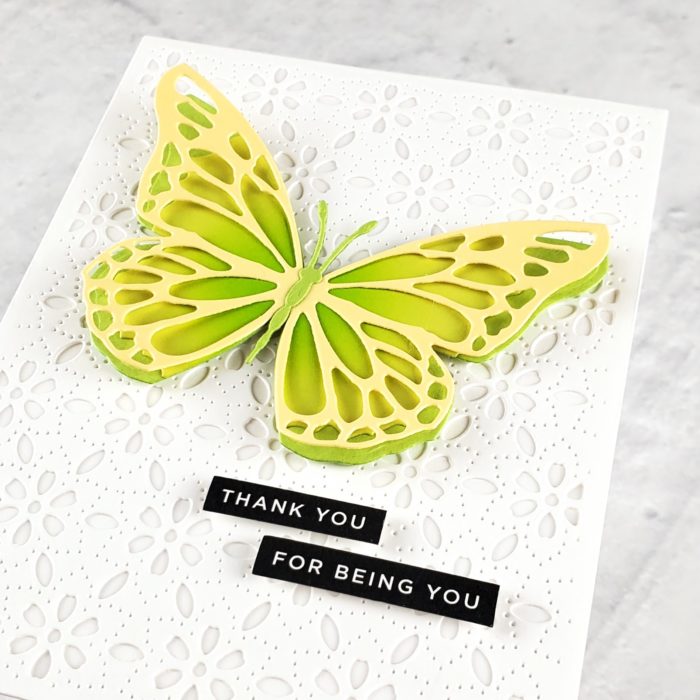
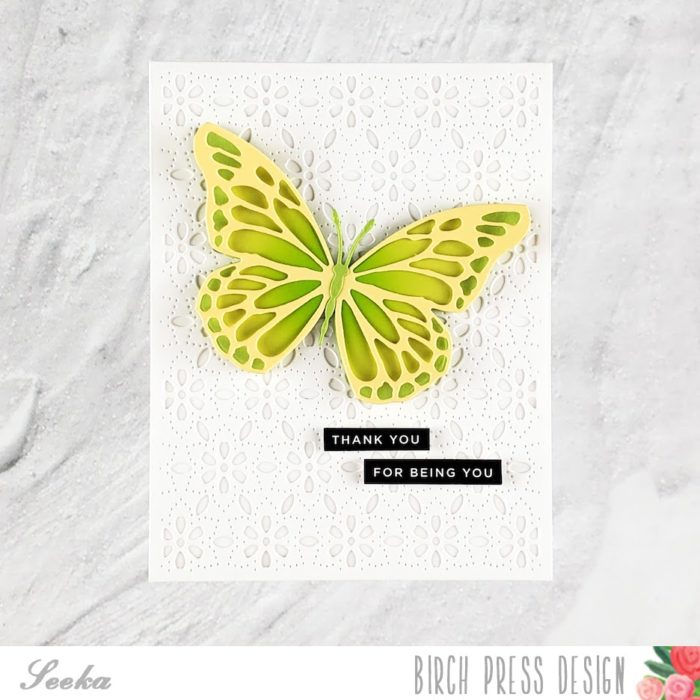
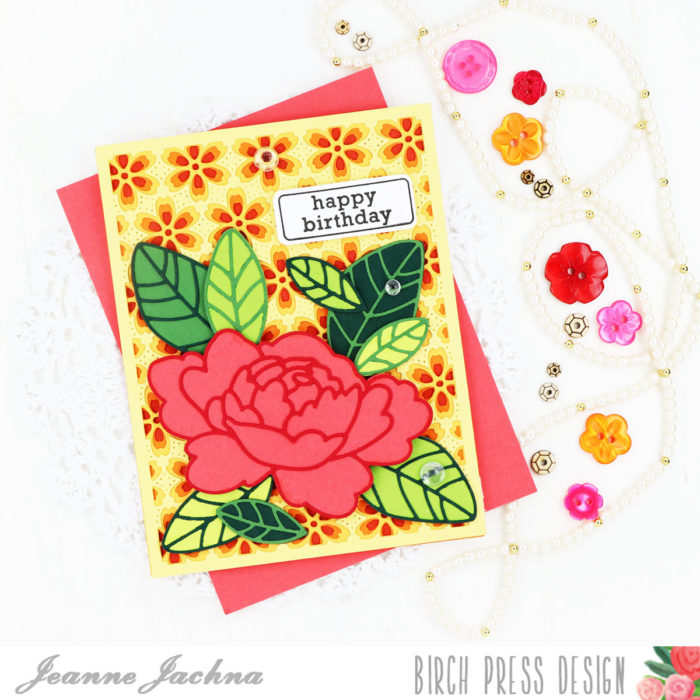
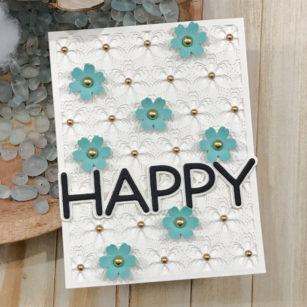
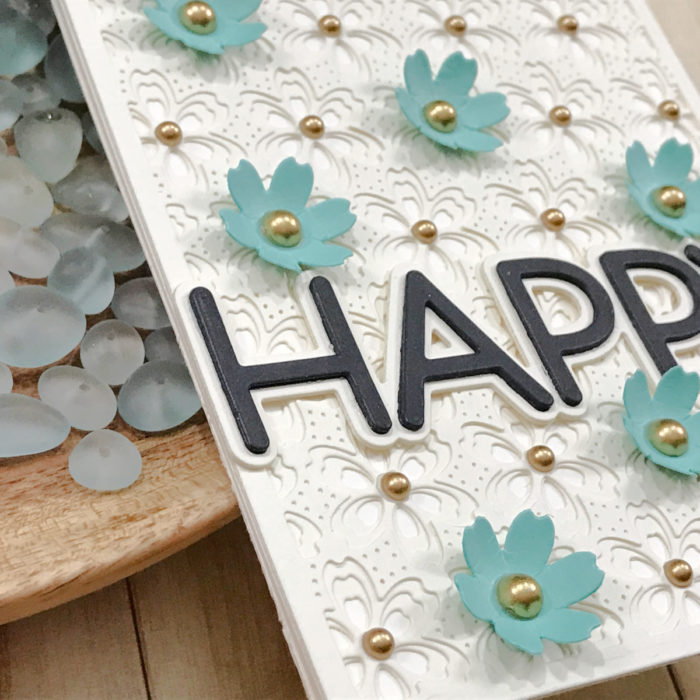
I placed the sentiment first on my card base so I could know the placement of my flowers. Once the sentiment was set the flowers were placed sporadically around the card base.
Added satin gold pearls in my flowers and also on the layering die background!
As always, I hope you enjoyed today’s project… and if you want to see more details just click on the video below and see how these projects come together step by step!
Make sure you stay tuned for more wonderful projects coming soon!

Supplies