Author: birch press

  • Hello Tulips | By Amanda Wilcox

    Hello Tulips | By Amanda Wilcox

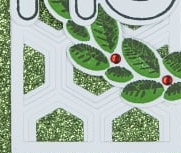
    Welcome back everyone. It’s Amanda from Twiddler’s Nook today with a fun springy feeling tulip card featuring the field of bloom layering dies.

    I started things off today by getting inky, which is one of my favorites. I pulled out a white cardstock panel and did ink smooshing with my tombow brush pens.

    Once that was dry, I chose a solid purple cardstock that complimented the inked panel, green foil paper for the leaf layer, and another white panel for the top. Then I started die cutting my layers.

    The purple pad I used was a 6×6 which left the perfect strip to cut the hello topper from so it would coordinate with the bottom layer of my card. Then I cut the hello word 3 times from white cardstock and glued everything together with liquid glue.

    I adhered all the field of blooms layers to the purple panel and then added it to a white card base and layered the hello topper last. I trimmed off the excess hanging over the edge and my card is finished.

    The green foil paper really has a cool effect when you move the card in the light. I just love it.

    I also love the modeled texture of the ink smooshing for the flowers. It gives the whole thing so much visual interest.

    I appreciate you sharing your time with me. Have a fabulous day!

    Supplies

  • InLay Die Cutting! | By Desiree Kuemmerle

    InLay Die Cutting! | By Desiree Kuemmerle

    Hello Everyone and Welcome Back!

    Today it all about the die cutting! We are going to use the inlay die cutting technique while featuring three laying die sets. I will be using Dahlia Mini Frame, Field of Bloom, and Floral Star sets, but any se can be used!

    Ok as always, let’s get started!

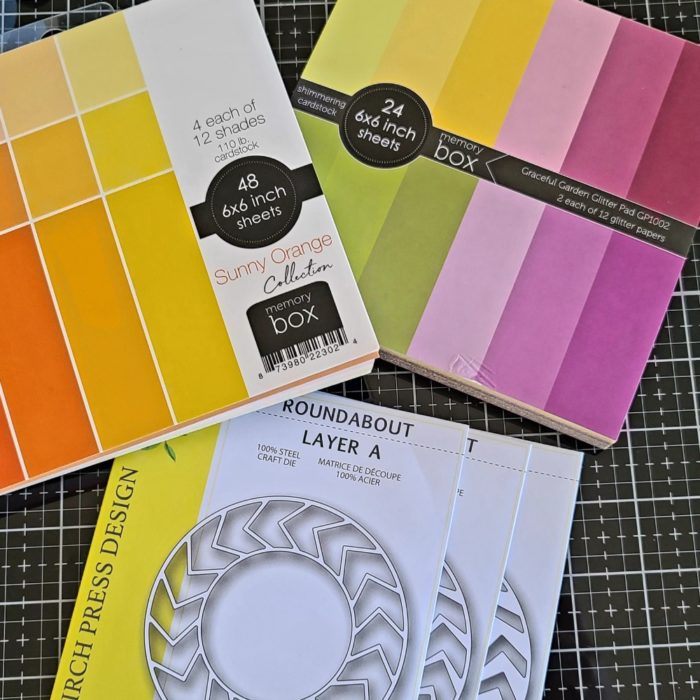
    Lots of die cutting so I made sure I chose my colors from the beautiful color pallets of 6×6 paper pads by Memory Box and got my layers die cut and put together with my liquid adhesive. Now I made sure I cut an extra layer “a” for each of the design I chose and set that layer aside.

    I chose my sentiments from the honey script die collection and only used the ‘cloud’ portion of the die set and cut into the layers I set aside where I wanted my sentiment to appear! Depending on the die set you used your top layer now may be two parts!

    I then die cut my sentiments and layered those as well…

    We are now ready to inlay our sentiments into our top panel!

    All my panel designs were placed onto a standard A2 size (4 1/4in x 5 1/2in) top folding card base.

    As always, I hope you enjoyed today’s project… and if you want to see more details just click on the video below and see how these projects come together step by step!

    Make sure you stay tuned for more wonderful projects coming soon! Have a great day and always remember… Be Creative!


    Supplies


  • Butterfly Garden | by Crystal Komara

    Butterfly Garden | by Crystal Komara

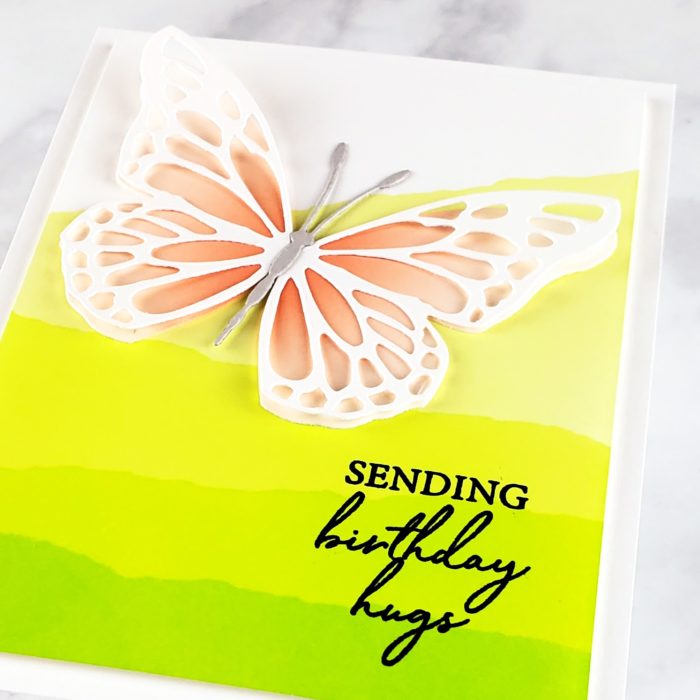
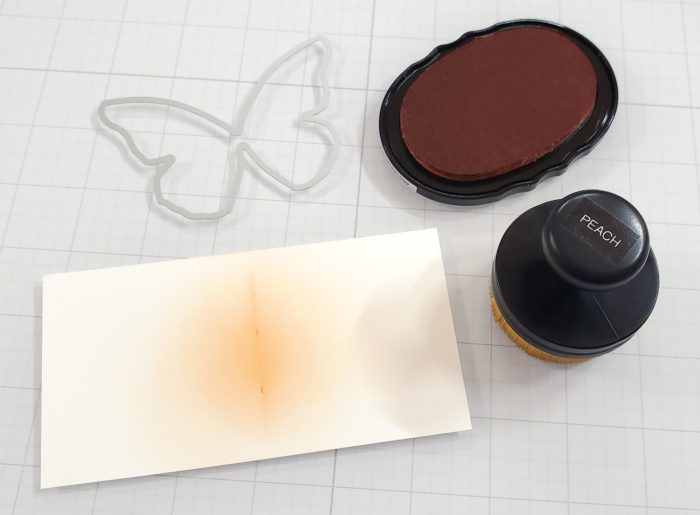
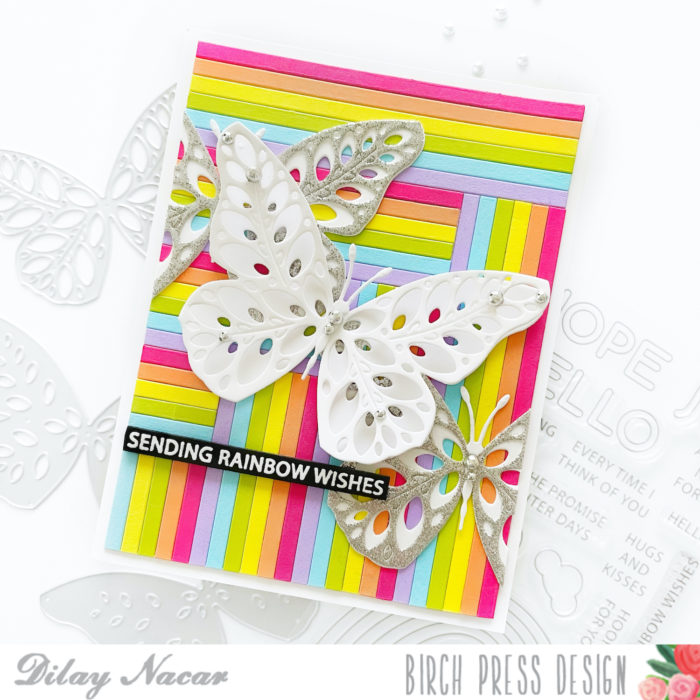
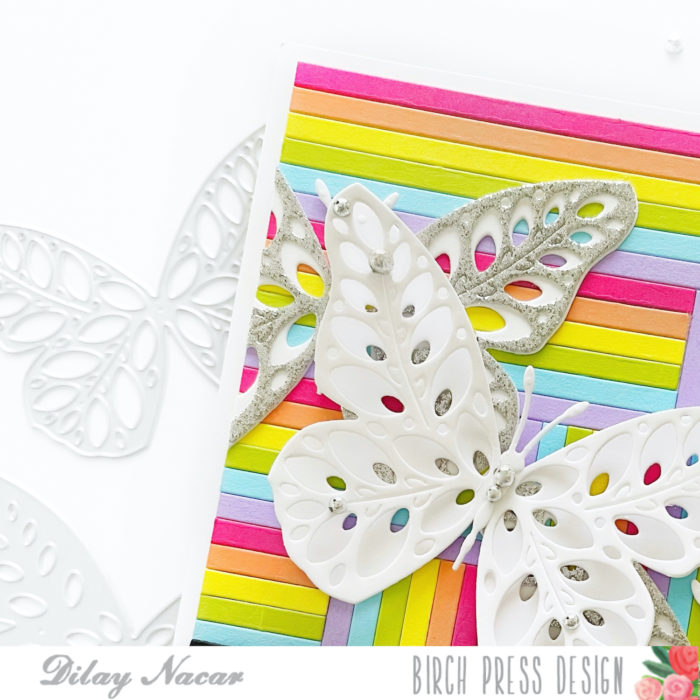
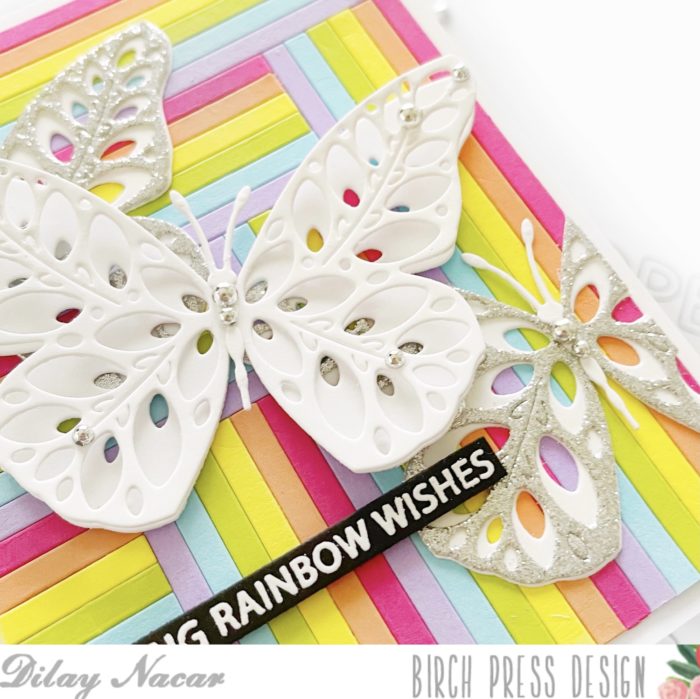
    Hello readers and happy Monday! If you celebrate the Easter holiday, I hope you had a blessed weekend. This is Crystal here with you today sharing two cards in bright spring-like colors made using the Butterfly Garden Layering Plates.

    I am so in love with these beautiful layering dies and while while one layer is enough to make an impact, all three layers together is really stunning, especially when you add in a middle layer of glitter cardstock.

    Here is a step-by-step instructional video so you can see how both of these cards were made:

    I hope you have enjoyed these cards! Thank you for visiting and have a wonderfully creative day.

    Supplies

  • Lotus Flower Inlay on Wood Grain | By Renee Moran

    Lotus Flower Inlay on Wood Grain | By Renee Moran

    Hello Everyone and Welcome Back!

    The project I have for today features the Lotus die but the A layer only, some glitter paper and some super cool wood grain paper.

    I started by die cutting the Lotus Flower Layer A out of a 4 1/4″ x 5 1/2″ panel of some wood grain paper as well as some glitter paper 6 x 6 glitter Holiday Glitter Pad. I know it isn’t anywhere near those normally sparkly holidays but this paper works any time of year!

    After I die cut the two pieces I ink blended over the wood grain flower with some light pink ink and some more intense pink ink. I wanted to add some softness and color to this gorgeous flower.

    I only used the outline from the glitter die cut. I layered it over the ink blended die cut image and inlaid it inside the original panel. What a beautiful way to finish a die cut design!

    I heat embossed my sentiment and mounted it center below my die cut image. I mounted everything on a top folding A2 card base.

    Thank you for stopping by and as I always say, Give Cards Generously!

    If you’d like to see how this card came together, you can check it out by clicking the video below.


    Supplies
     

  • String Art Circle Collage | By Dilay Nacar

    String Art Circle Collage | By Dilay Nacar

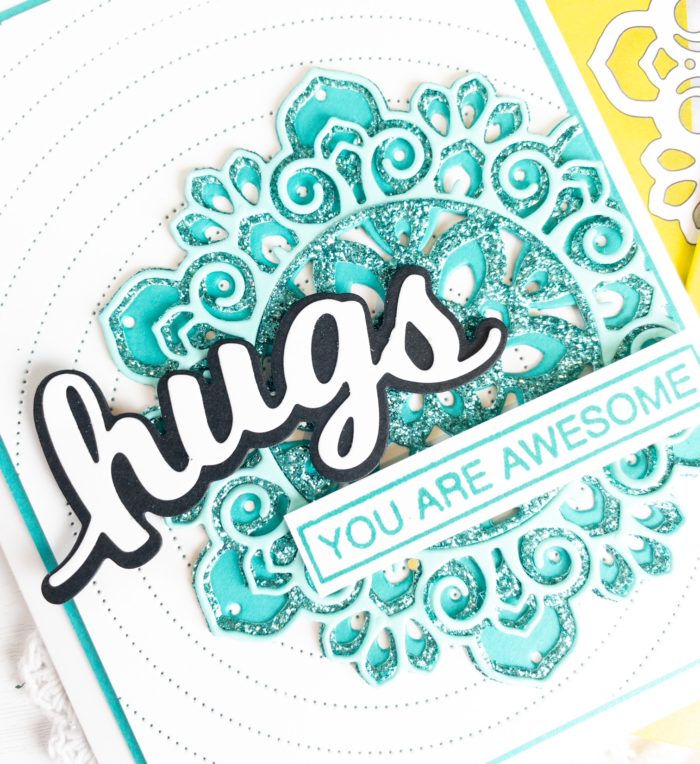
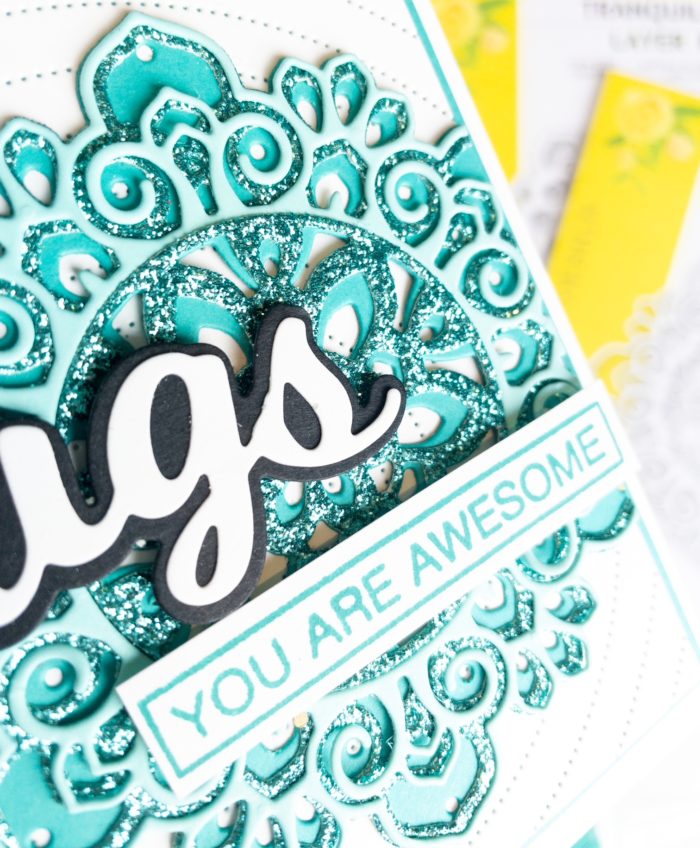
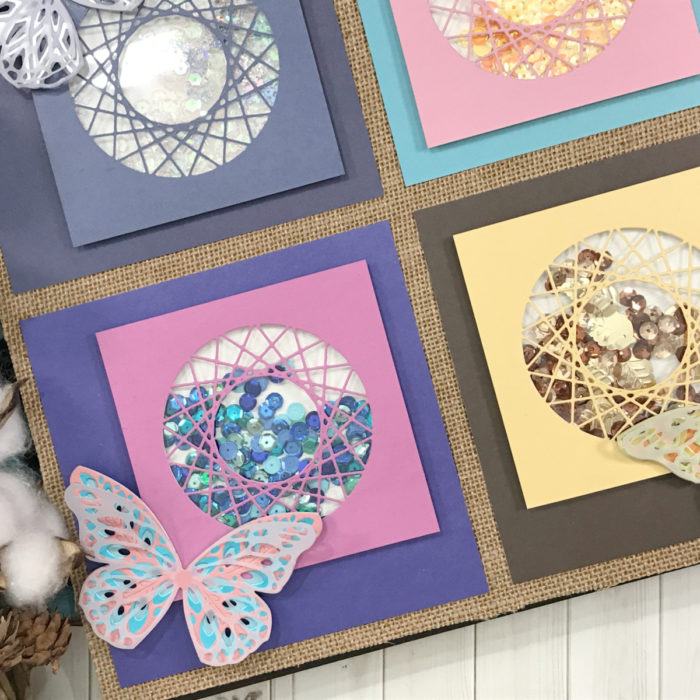
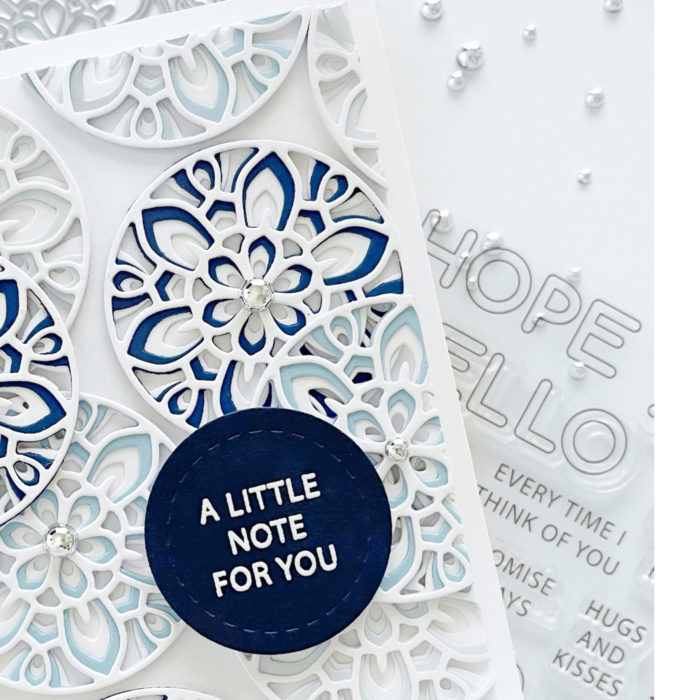
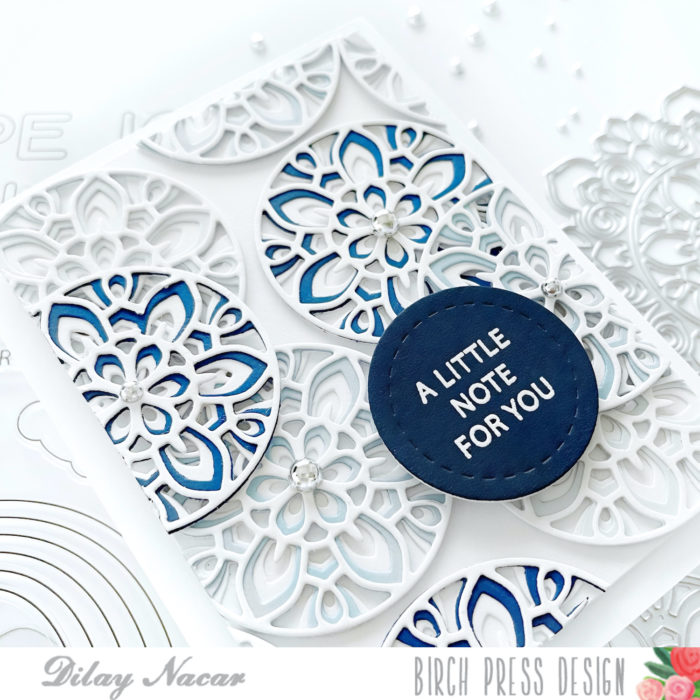
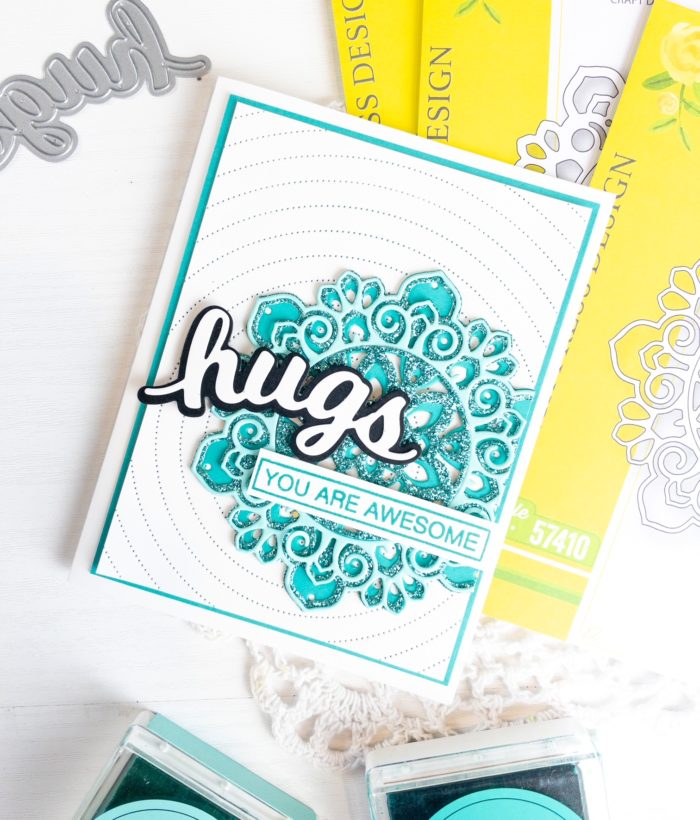
    Welcome, Crafters! Dee (@DilayNacar) here and today I am sharing a clean and sparkly encouragement card that features the new String Art Circle Collage die combined with two favorites of mine! Let’s get started and go over how to make this simple yet elegant card!

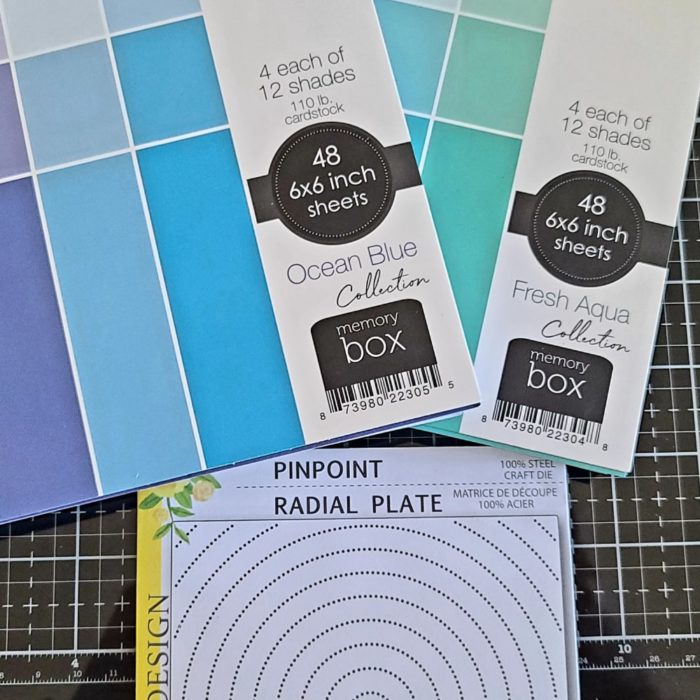
    I began by die cutting the background out of white cardstock using with the Pinpoint Radial die, then die cut directly through the circle using the String Art die. Next, I die cut the String Art die twice more using two different shades from the Memory Box Graceful Garden glitter pad and used the negative pieces to fill in the circle on the background panel. 

    For the sentiment, I die cut the Big Sending Sugar Script die twice in white and once in black cardstock, stacked them for extra dimension, and adhered it to the card. To finish, I chose a sub sentiment from my stash to add underneath and added some clear sequins as an extra touch!  

    I hope that you enjoyed my card today! Be sure to check back for more inspiration, and visit us on Instagram @BirchPressDesign and me @DilayNacar for more inspiration. Thanks so much for stopping by today!

  • Mosaic Watercolor | By Amanda Wilcox

    Mosaic Watercolor | By Amanda Wilcox

    Hey everyone! I’m so glad you’re here with me. It’s Amanda from Twiddler’s Nook with a pair of beautiful watercolor slimline cards to share.

    These cards were complete created using just the Crystal Lingo stamps and dies. It was so therapeutic and relaxing to watercolor this beautiful image! Let’s get started on how I created them.

    I started by stamping and heat embossing the mosaic image on watercolor paper with clear embossing powder. You could use any color you like here for dramatically different results. The sheet I was using happened to fit the image twice perfectly so I thought, why not!?!

    I used my Zig Clean Color Real Brush markers and a waterbrush pen to color the entire panel and trimmed it down to 3×8.

    For my supporting panels, I have a black one measuring 3.25×8.25 inches, teal that measures 3.5×8.5 inches and a slimline card base from white that is 7×8.5 inches. Folding it in half at 3.5 inches makes it the same size as the teal panel.

    The black is adhered to the watercolor panel with liquid glue, as is the teal panel to the card base. Then the two are adhered together with foam tape.

    As you can see in the photo, I stamped and heat embossed my sentiments. Hello is silver on white cardstock while the secondary sentiment is white on black cardstock. For the other card, Happy is heat embossed black on white and vice versa for the secondary sentiment there too. I love this contrast!

    The sentiments are added with a combination of foam squares and strips.

    I didn’t want any distraction from the beautiful watercoloring so I didn’t add any baubles or sequins to these cards today.

    I just love how they turned out and would be really excited to give it a try again, maybe in an A2 size and totally different color combos too!

    Do you have a favorite between the two? I don’t think I can choose one.

    I appreciate you sharing your time with me. Have a fabulous day!

    Supplies
  • Spread Kindness this Easter | by Tracey McNeely

    Spread Kindness this Easter | by Tracey McNeely

    Hi there crafty friends, I’m back today with a landscape slimline card showcasing the fabulous Crystal Lingo stamp set and the beautiful Petal Egg Layer die set.

    The faceted rectangle from the Crystal Lingo stamp set was white heat embossed on to a 8 1/2″ x 3 1/2″ panel of Bristol Smooth cardstock. I ink blended over the panel in a rainbow using Distress Oxide inks. The colours are Kitsch Flamingo, Carved Pumpkin, and Twisted Citron Distress Oxide inks and Mustard Seed, Tumbled Glass and Shaded Lilac Distress ink.

    The panel was trimmed down to 8 1/4″ x 3 1/4″ and it was attached to an 8 1/2″ x 3 1/2″ white card base with foam tape to add a bit of dimension.

    I wanted to use the pretty background along with the Petal Layers die set in a way that one wouldn’t overpower the other. I cut all three layers from heavyweight white cardstock. I adhered the layers together with liquid adhesive and once dry.

    I decided to use pinks and oranges as my egg colour from the background. You can place your egg anywhere on the card depending on the colours that appeal to you or your recipient. I chose to place the dimensional egg on a angle. I placed small pieces of foam tape behind the egg to pop it off the background.

    The sentiment from the Blooming Spring clear stamp set was heat embossed and trimmed down and added to he panel with foam tape.

    I love the idea of sending someone a landscape, slimline card. So easy to be displayed without tipping over.

    Thank you so much for creating with me today. Wishing you a happy and safe Easter.

    Supplies

  • Spring Floral Star | By Seeka

    Spring Floral Star | By Seeka

    Hello, crafty friends! Seeka here, and today I’m sharing a card featuring the Floral Star Layer die set. In my city, spring is the greenest time of year. The winter rain has refreshed the grasses and everything is bright green ahead of a long and dry summer.

    I started my card today by cutting the three layers of the Floral Star in shades of green.

    I used small adhesive dots to adhere the layers together, placing the dots towards the center of the star and leaving the edge of the “petals” free.

    Next, I prepared a background using a 4″ x 5.25″ panel of blue cardstock. To create a bit of depth, I used a blending brush to blend a bit of teal blue ink onto the corners of the panel.

    I also used a small paint brush, dipped in white Dina Wakley Media Gloss Spray, to add white splatter to the panel.

    Next, I stamped a sentiment from the Awesome Ticker Tape stamp set in black ink onto white cardstock. The stamps in this set include an outline which I trimmed away before adhering the sentiment to a frame of the same blue cardstock.

    To assemble the card, I adhered the Floral Star to the blue panel, and then used foam tape to adhere the card front to an A2-sized card base. As a final touch, I adhered jewel embellishments to the star.

    Thank you so much for visiting!


    Supplies


  • Stitchin’ on the Petal Egg! | By Desiree Kuemmerle

    Stitchin’ on the Petal Egg! | By Desiree Kuemmerle

    Hello Everyone and Welcome Back!

    Today’s project will be featuring the Petal Egg Layering Die Set! Grab some thread and let’s get gluing and stitching!

    Ok as always, let’s get started! So, I started choosing my colors from the Memory Box 6×6 Solids Card Stock Pads, I went with soft pastels in yellow, green and pink. Die cut my pieces and layered them together using my liquid adhesive!

    When these layers are together you can see a pattern of dots… There are perfect for hand stitching! I dug into my stash of 6 stranded floss and chose a white.

    Usually, I would use the cross stitch but since the holes are not next to each other I went with a French Knot!

    Once I was done my stitching, I placed my image on a white 3 ¾in x 5in panel and cut a matt 4 1/4in x 5 1/2in and set my design onto a standard A2 size (4 1/4in x 5 1/2in) top folding card panel.

    My sentiment I chose is simple ‘happy’…

    As always, I hope you enjoyed today’s project… and if you want to see more details just click on the video below and see how these projects come together step by step!

    Make sure you stay tuned for more wonderful projects coming soon! Have a great day and always remember… Be Creative!


    Supplies


  • Do the Slimline with Crystal Lingo | by Tracey McNeely

    Do the Slimline with Crystal Lingo | by Tracey McNeely

    Happy Spring crafty friends! Today I’m creating two slimline cards using the Crystal Lingo Stamps and dies.

    The faceted rectangle stamp in the Crystal Lingo clear stamp set is the perfect size for 8 1/2″ x 3 1/2″ slimline cards.

    For both of the my cards today I started off by white heat embossing the faceted rectangle from Crystal Lingo on to two panels of watercolour cardstock cut to 8 1/2″ x 3 1/2″.

    TIP: When embossing on watercolour cardstock I always make sure I prep the paper well with my embossing buddy and I always double stamp my embossing ink.

    I laid down a combination of Distress Ink and Distress Oxide inks on to my craft mat in a staggered rainbow. I used Kitsch Flamingo, Carved Pumpkin, and Twisted Citron Distress Oxide inks and Mustard Seed, Tumbled Glass and Shaded Lilac Distress ink.

    I spritzed some water onto the mat and then put my panel facedown into the ink and picked it up right away. I did not smoosh the ink, just straight on and off. I dried the panel thoroughly and then went back to the mat and tapped the panel around putting on a second layer. I spritzed a bit of water on my panel where the Distress Inks were to disperse them a bit more.

    Once again I dried the panel thoroughly and went back to the mat one more time but before tapping down I spritzed the craft mat a bit more to reactivate the ink and did one final layer by tapping the panel on the craft mat. I stamped and die cut the Big Lingo Type Thanks die in white and black and attached it to the card with foam adhesive!

    The second panel was actually the first panel but a little bit of Frayed Burlap was all it took to muddy up my rainbow.

    Rather than toss it away I kind of liked the masculine vibe that the brown gave to the card. So I did the same as I did for the other card.

    I dried it and added more ink until I had three layers! I die cut the Big Lingo Type Thanks using only the detailed die three times for the sentiment. I adhered the three layers together to give the die cut some stability. Trust me this takes some patience–lol! I adhered the die cut directly to the card front.
    It’s so much fun to take an image like this, emboss it and then have some fun with your inks. This technique can be done with most inks and of course a little bit of water.

    Thanks so much for joining me today and we’ll see you next time!

    Supplies