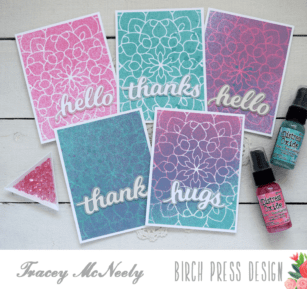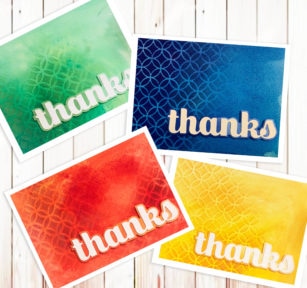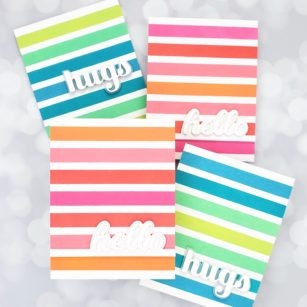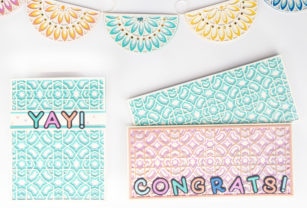

Hello! Today I am celebrating the birth of my beautiful niece, Ava Rose! In honor of her, I have made some festive cards using the Grandiose Bevel Plate Set and a banner using the Lumina Set. I love being able to come up with whatever word fits the occasion, and I used the dies from the Mod Alphabet Stamp and die set. Each letter in this set has two dies; one for the top layer, and one for the base. I used black for the base, with a color for the top.

Notice in the above photo, there are two sizes of cards shown. The one on the left is a standard A2 size using the die set as it is. The cards on the right utilize the repeating pattern of the same die to make a larger card than the die! These cards are not quite as large as slimline cards, but very close and would fit in the slimline envelopes.
To accomplish this, I needed to do some partial die cutting. I know that when I first heard of this technique, I was intimidated and it seemed complicated. Please try this! It’s easy, fast, and opens up so many possibilities to die cutting. Here are some photos of the process.

Notice the top cutting plate does not cover the bottom of the die. To extend this die cut pattern, we don’t want the end to be cut out. Anything under the top cutting plate will cut, anything not under the top cutting plate will not cut. Here’s what we get below:

Next, we need to just line up die. This is done by overlapping the pattern a little with the die, so the die can “click” into the cut piece, thus lining everything up perfectly for extending. If you don’t feel it “lock” into place, sometimes it is helpful to line it up from the back, as shown below.

Next, place the top cutting plate over the die, but remember we don’t want the end of the die to cut our pattern so we partially cut once again, as shown below on the cutting plates.

Here is the result:

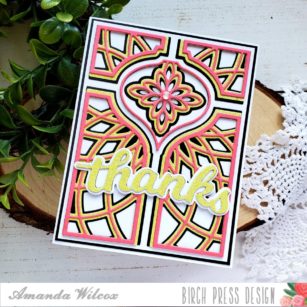
The finished piece measures 3.25 inches by 7.5 inches. To leave a small border around the design, I cut the card base slightly larger. Note: the dies, when stacked, have a bevel effect on one edge as shown in the “Yay!” card. I cut that bevel off with my trimmer (after gluing the layers together) so it did not have a bevel, as shown below:

The banner was so much fun to make, and super easy! I used the Lumina Layer Set in various colors. Even though the die cuts a full 4.25 x 5.5 design, I simply used scraps over the part I wanted to cut, as shown below:

Once the layers were cut and glued together, I glued that piece to a circle that closely matched the size of the design.

The circle creates a base to be folded over twine or ribbon. This is a one-sided banner, but to make the pattern visible from both front and back, simply glue another design onto the back… or use a different full circle design from Birch Press Design and fold in half. I love dies that have so much versatility!

I embellished each center with some Fairy Sugar glitter glue in matching colors, along with some heart-shaped sequins.
Thanks for stopping by today, and I hope these projects inspire your next celebration!

Supplies