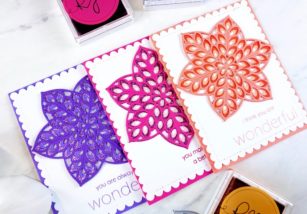

Good morning! It’s Ardyth here with 4 ideas for using the new Mod Alphabet Stamps & Dies!
The stamp set has regular and outline letters and the die set has matching sets for both letter styles, making layering fun and easy!

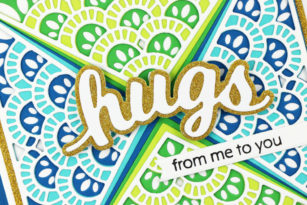
I created a blended plaid background using the Bold Stripes stencil and this helped guide the placement of my letters. My little sentiment comes from the You Are Awesome stamp set.

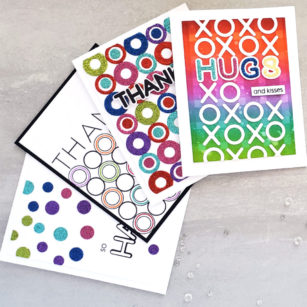
For this card, I used the new Twinkling Jewels Glitter Pad and cut LOTS of ‘fat’ and ‘skinny’ o’s. My sentiment is from Lingo Thanks stamp set along with the coordinating die.

Cutting all those O’s also gave me lots of dots from the O centres, which I used to create another card! This sentiment is also from You Are Awesome, along with the Big Lingo Type Happy die.

Finally, I used the O stamps to create a similar pattern, and added colour by stamping the regular O inside the outline O. My sentiment was created with the regular THANKS letters!
Here’s a video showing how all these cards came together:
We will be having giveaways on our Instagram Account March 21-29, 2020.
One comment will be chosen at random from each of the Instagram posts during the blog blitz. Only one prize per person per giveaway. We use a random number generator to select winners from comments. You have until midnight US EST April 1 to leave a comment on each and every Instagram post that you want to enter. Winners will be announced on the Instagram posts on April 3. For a chance to win the Mod Alphabet Clear Stamp and Die set:
1.) Follow Birch Press Design on Instagram
2.) Double Tap (LIKE) the post with this giveaway
3.) Tag A Friend in the comments Good luck! And thanks for joining us!

Supplies