
Hi friends! I hope you’re having a great day. Have you seen the new products in the store? I’m excited by all the wonderful designs…. dies, stamps and STENCILS!!!

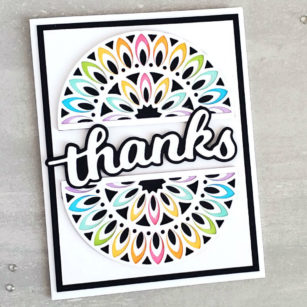
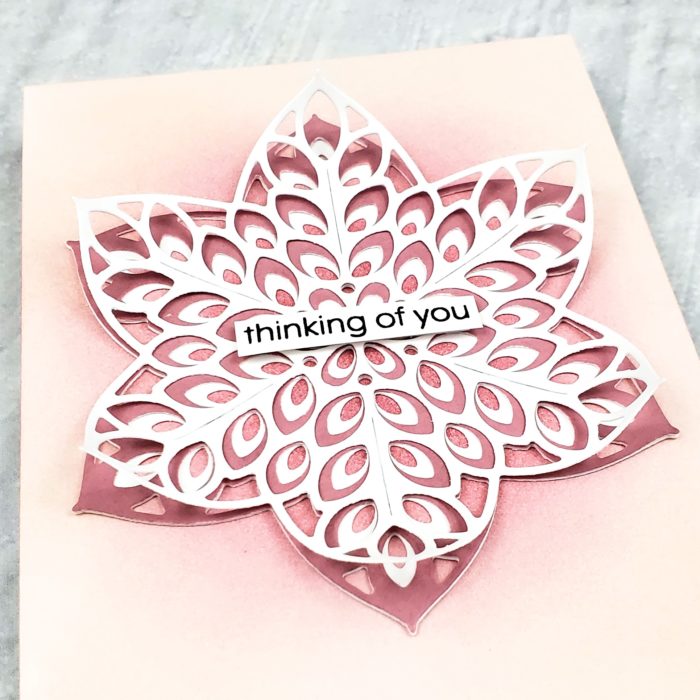
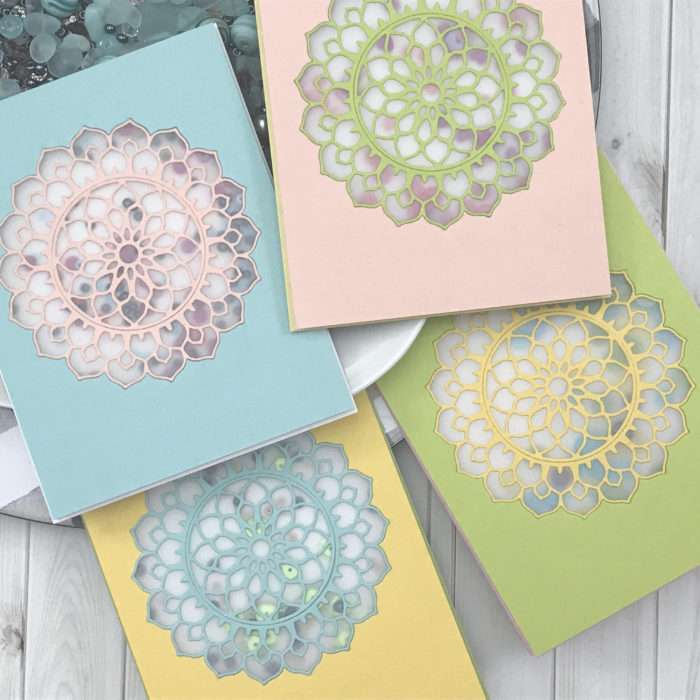
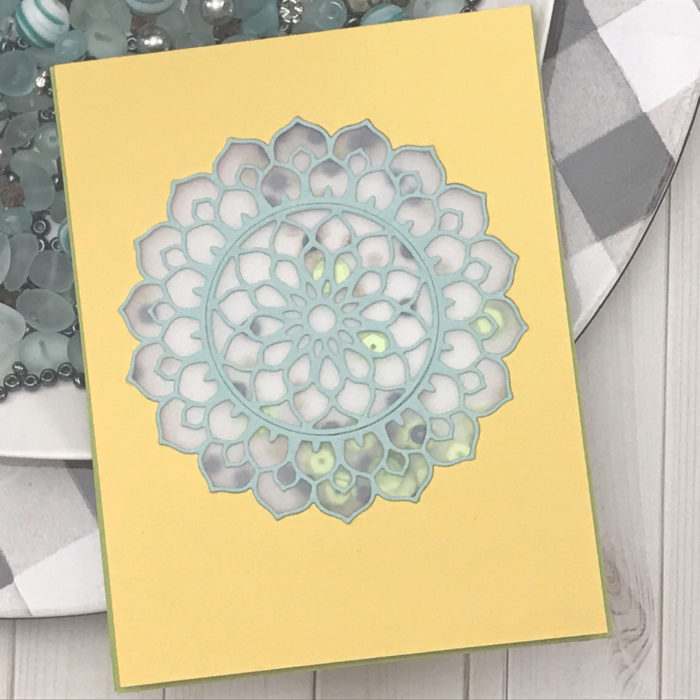
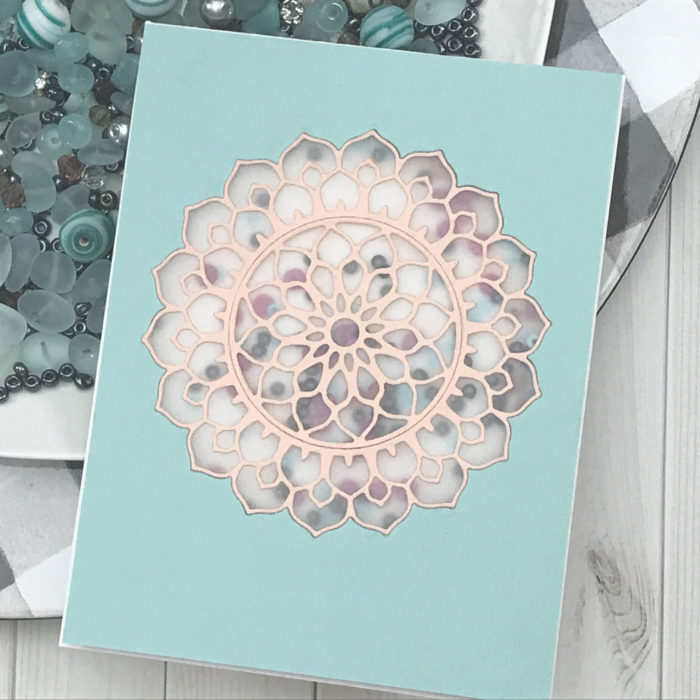
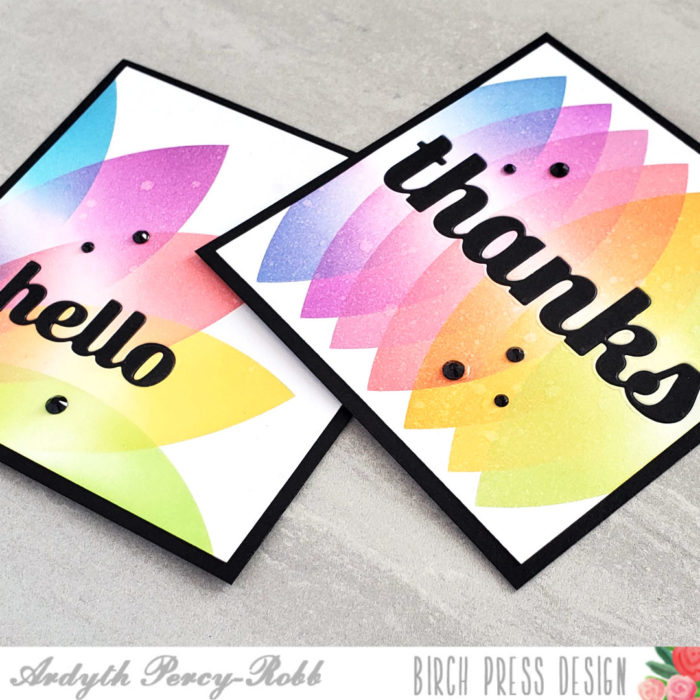
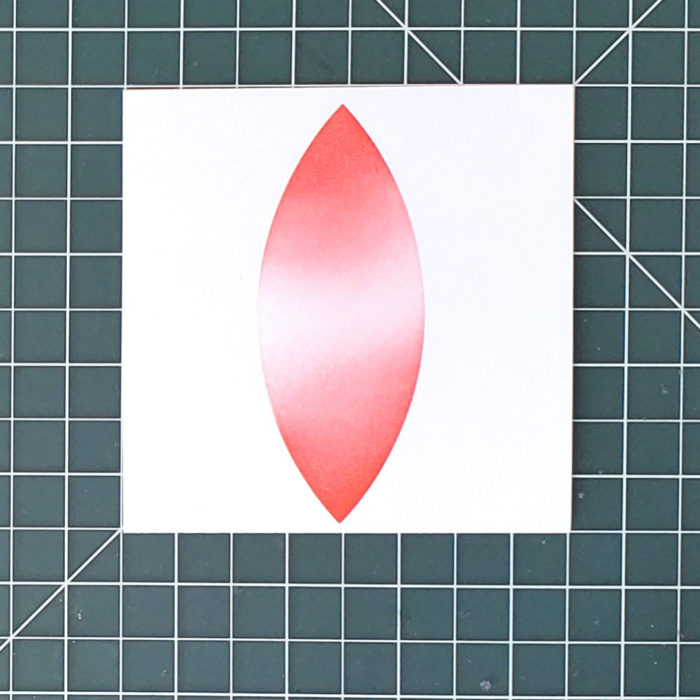
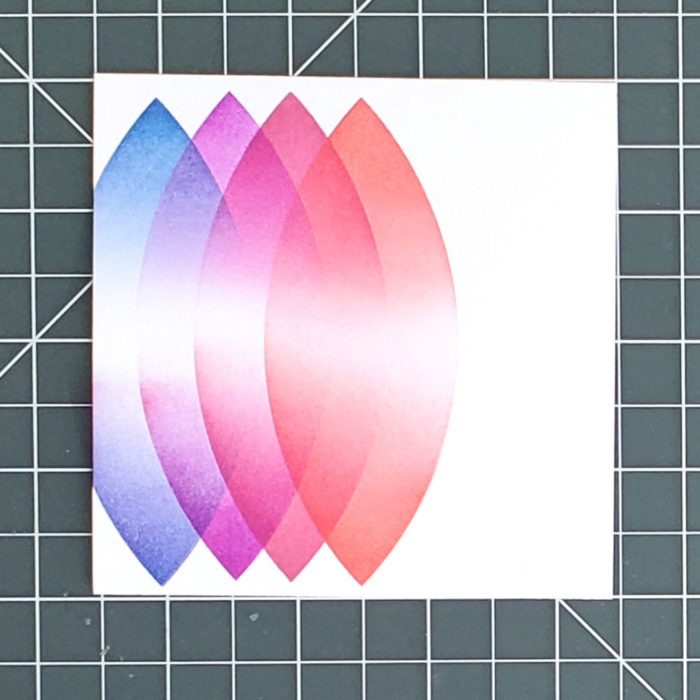
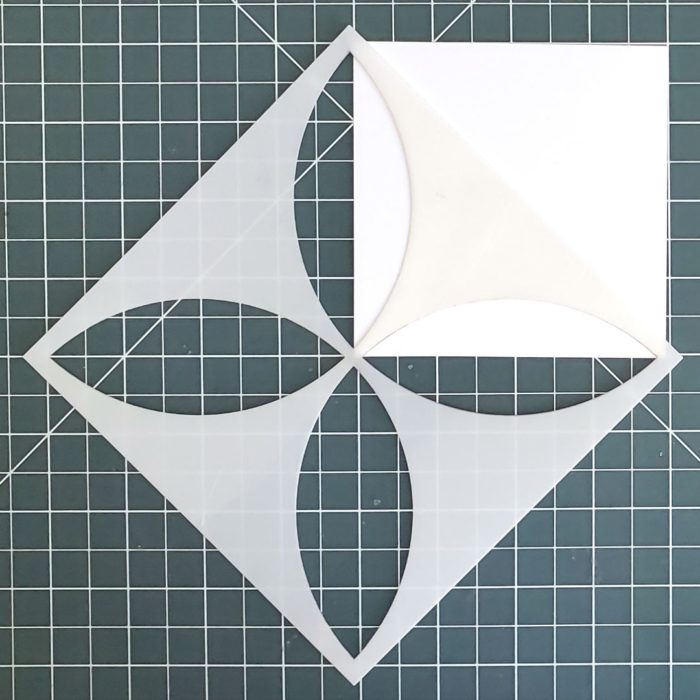
Today I’m playing with the new Ring Tile Stencil. I love the large open areas and intricate design.

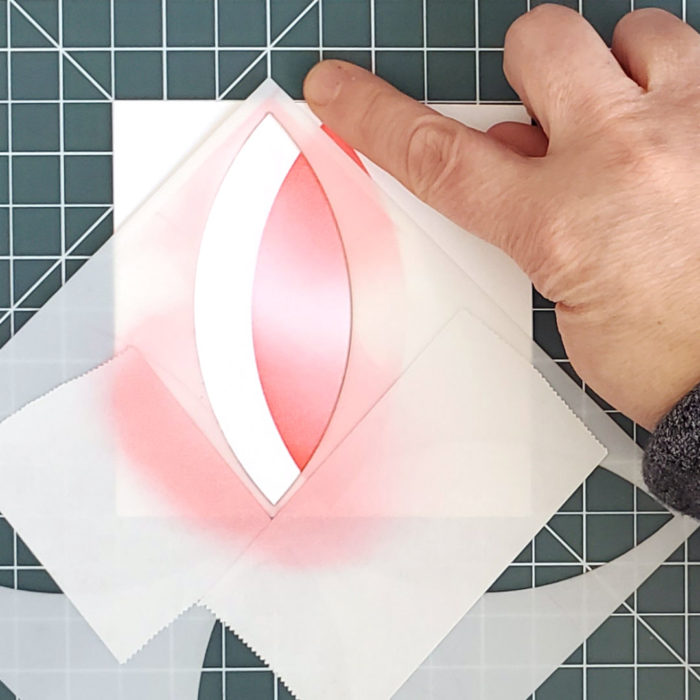
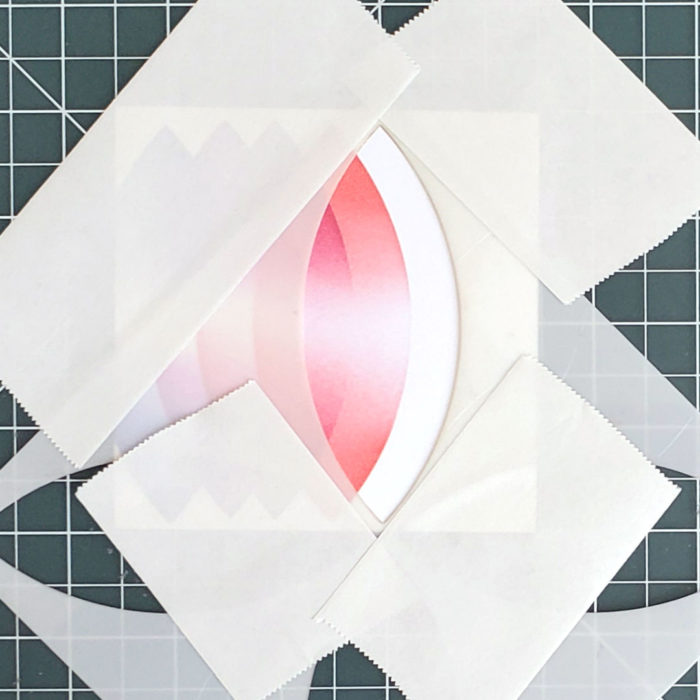
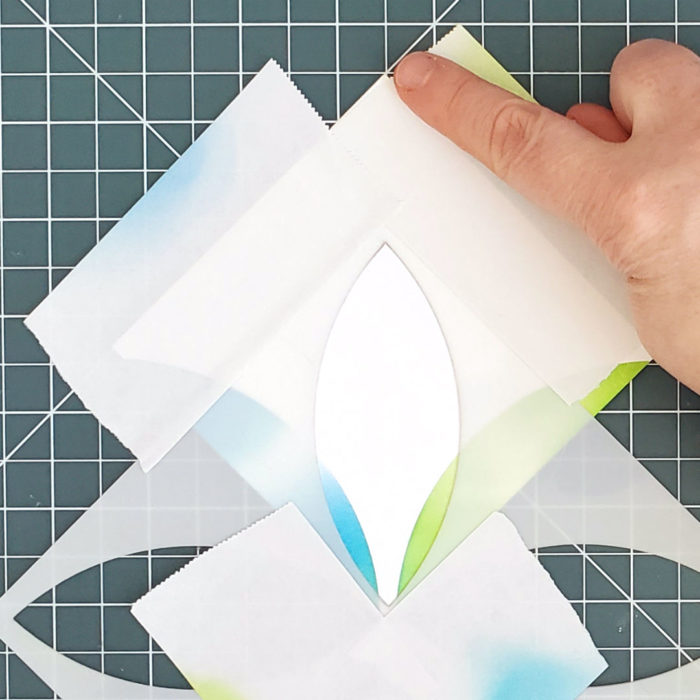
The most important part of working with stencils is making sure they stay in place while you ink so you can achieve well defined images. My secret weapon is Thermo Web Pixie Spray. It’s a light tack adhesive that is repositionable and won’t tear your paper.

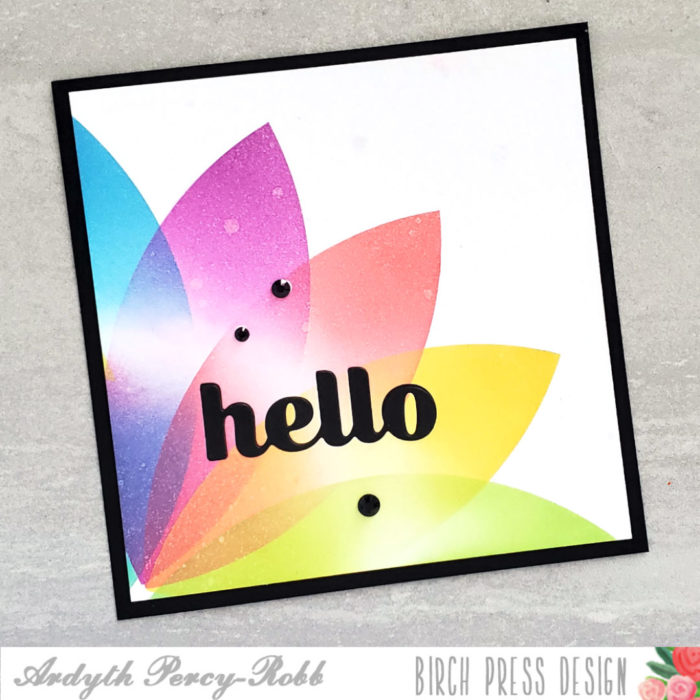
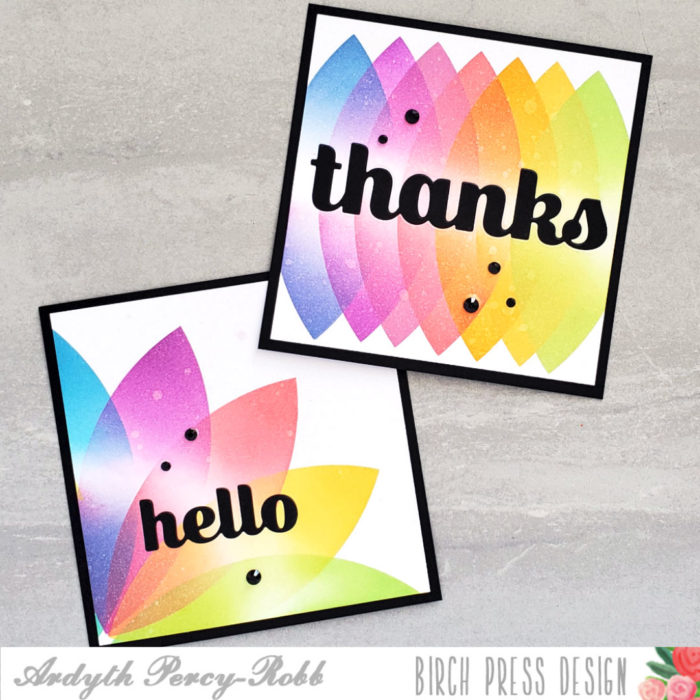
I inked the stencil with a rainbow of Distress Inks using a cosmetic brush.

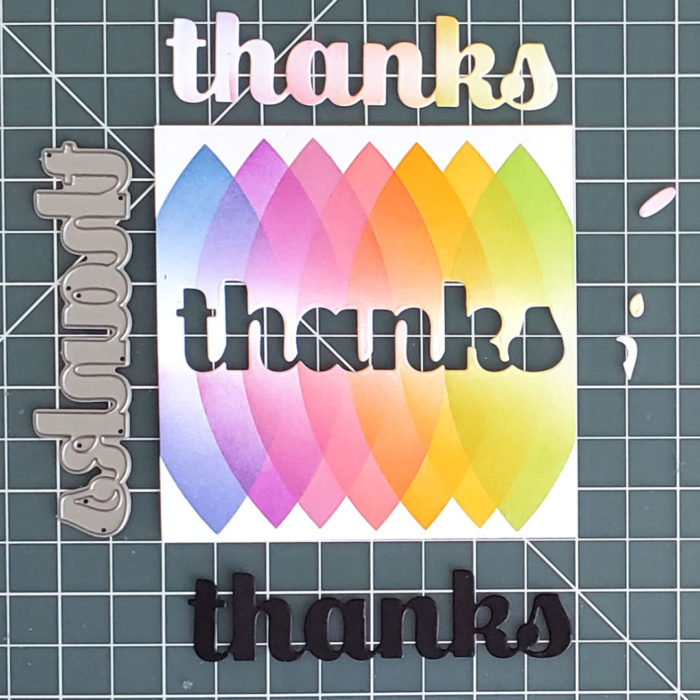
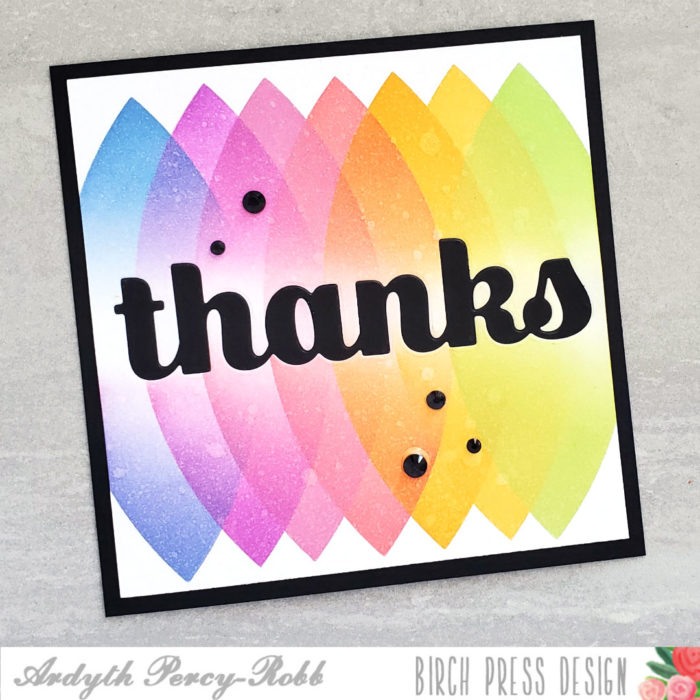
The panel was so pretty I couldn’t cover it up. I adhered a Thanks Honey Script sentiment layered over some black twine. A simple sentiment and a sprinkle of black enamel dots let the background take center stage.

I hope you’ll explore the world of stencils – they’re fun to work with and each is as unique as you!

Finished Size 4.25 x 5.5″
Supplies