Hello, crafty friends! Seeka here, and today I’m sharing a card that features the beautiful three-layer Floral Star Layer die set.
I don’t own a lot of color cardstock so when I play with layering dies, I like to ink up the layers with watercolor, markers, or ink blending. For this card, I used just two colors of Distress Ink: Tattered Rose and Victorian Velvet.
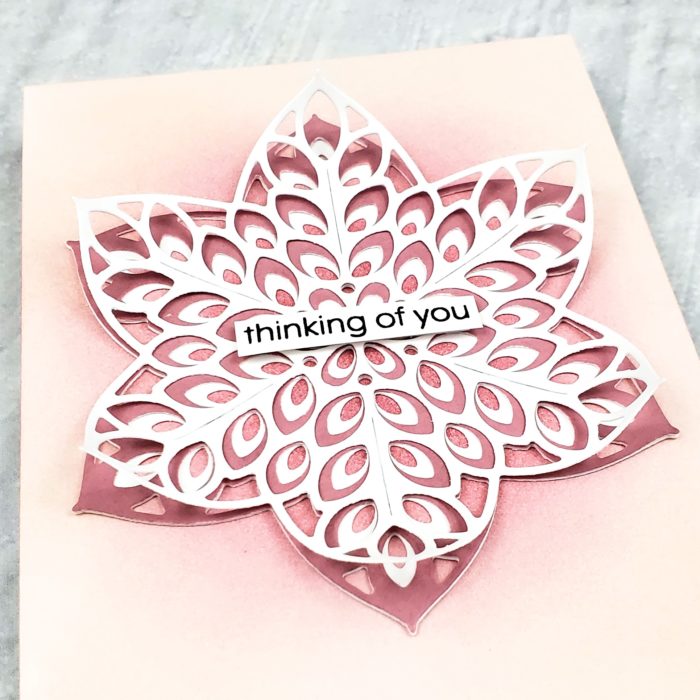
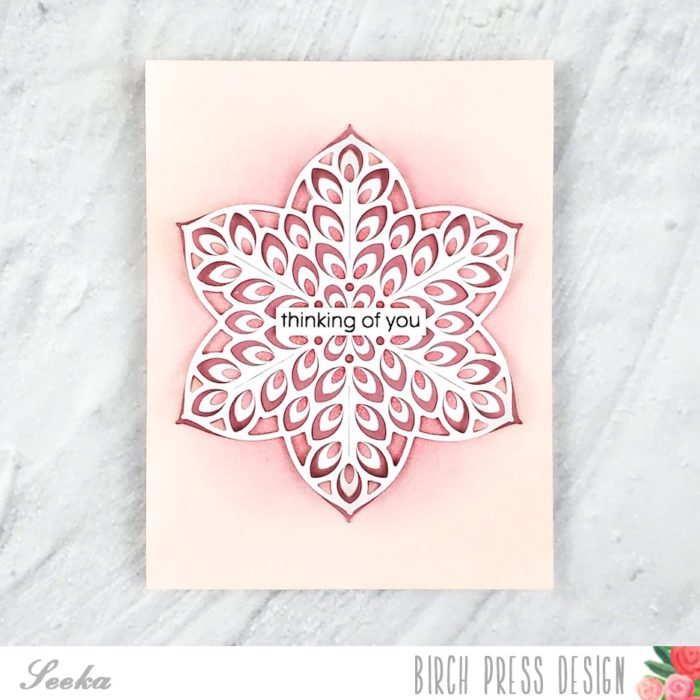
I started by die cutting the three layers of the Floral Star out of white cardstock. I decided to keep the top and bottom layers white and to ink up only the middle layer. I used a direct-to-paper method, rubbing my Victorian Velvet ink cube directly onto the die cut to quickly color it.

Next, I adhered the bottom two layers of the Floral Star together. I curled each petal of the top layer by wrapping it around the handle of a tool I had handy.

I adhered this top layer using just a few Zots Bling adhesive ots. I placed one dot at the center and a couple more very close to the center, allowing the tips of the petals to stand away from the rest of the die cut.
For the background, I used foam blending tools to blend both ink colors onto an A2-sized piece of Strathmore Bristol Smooth cardstock. I concentrated Victorian Velvet at the center, and covered the rest of the card with Tattered Rose. Because I planned to adhere the Floral Star to the center of the background, I didn’t worry much about getting a perfectly smooth blend.

To assemble the card, I adhered a stamped sentiment from the You Are Awesome stamp set to the center of the Floral Star and then adhered the star to the background. Finally, I adhered the card front to an A2-sized card base.
Thank you so much for visiting!

Supplies


Comments
One response to “Floral Star Layering | By Seeka”
Beautiful Seeka!