
Hello Everyone and Welcome Back!
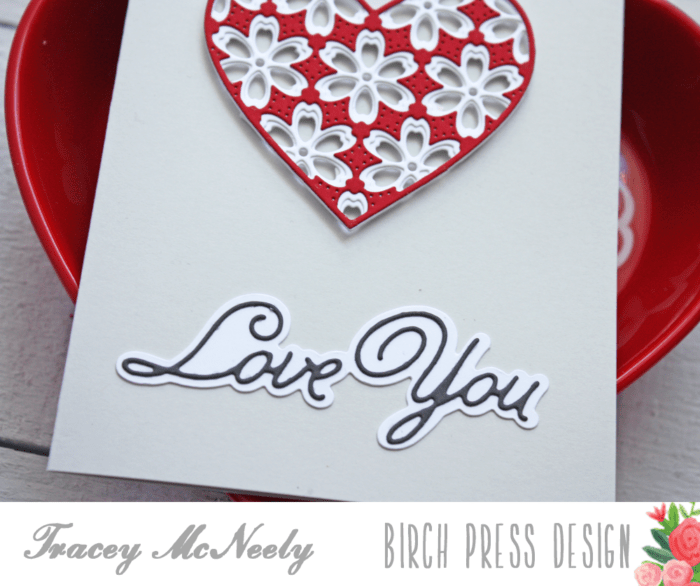
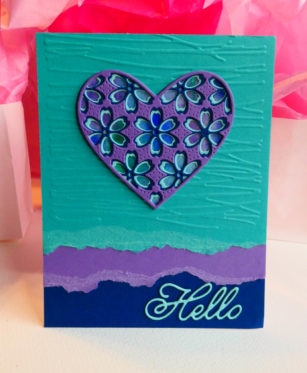
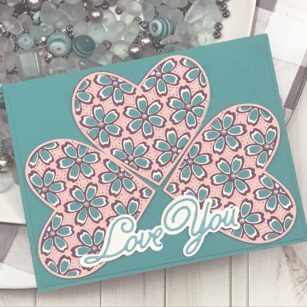
For today let’s make a trio of hearts for our Valentine’s Day Card!
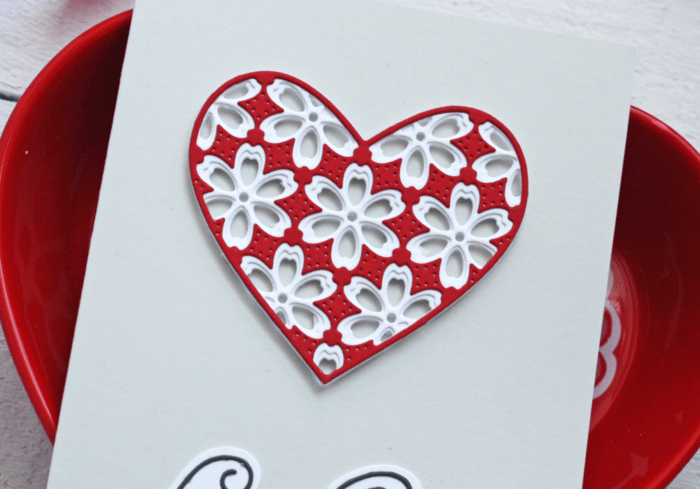
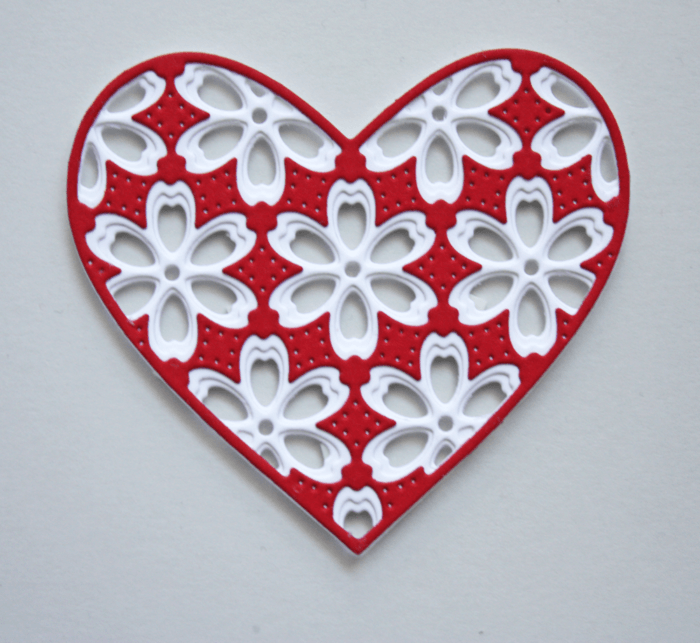
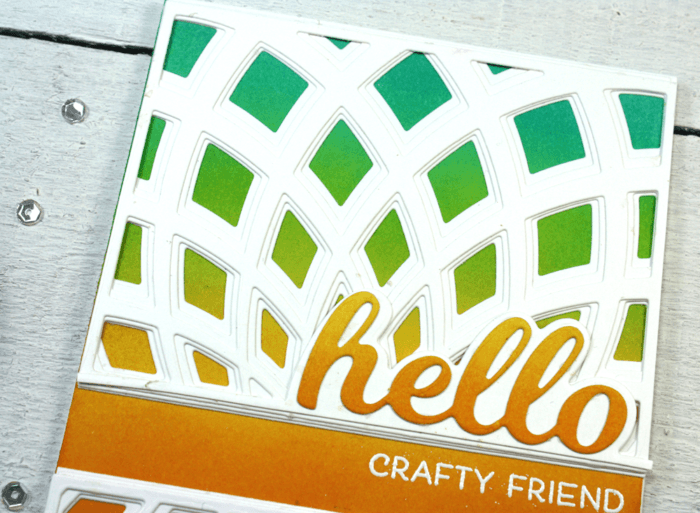
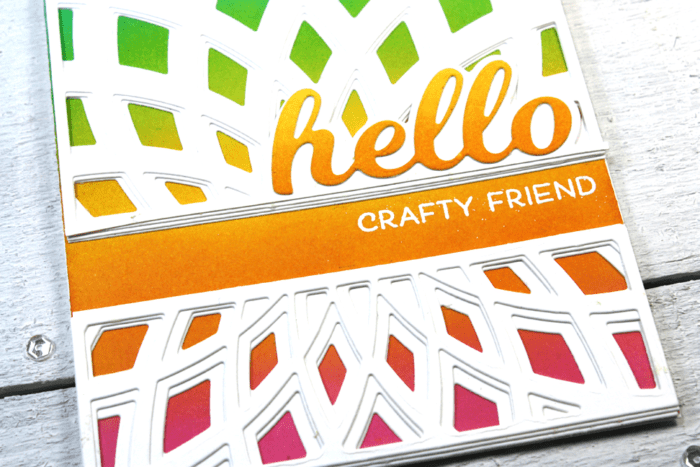
Let’s start by cutting our cardstock making sure we have three of each die. For the Hearts I chose the traditional red, pink and white, but the card base I went with a deep teal. While I had my die cutting machine out I made sure my sentiment was cut also.
Using my liquid adhesive, I layered all my die cuts together.

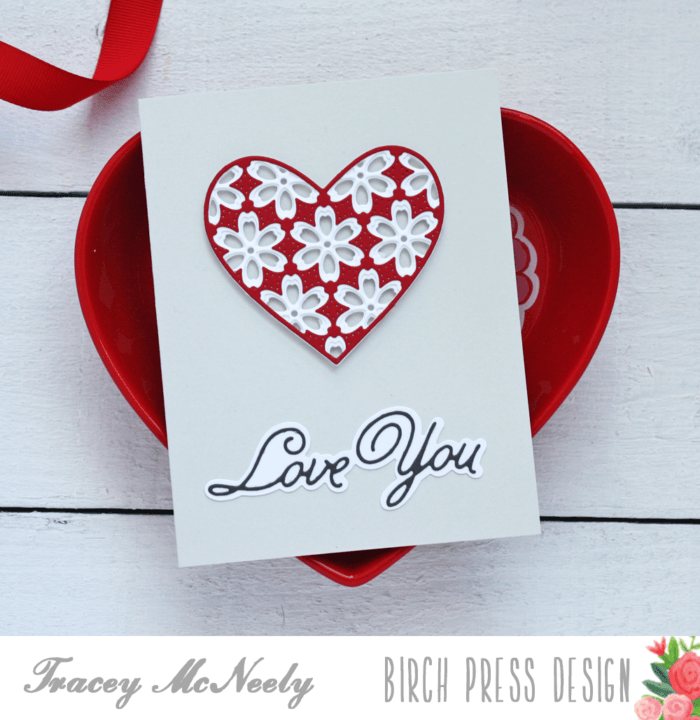
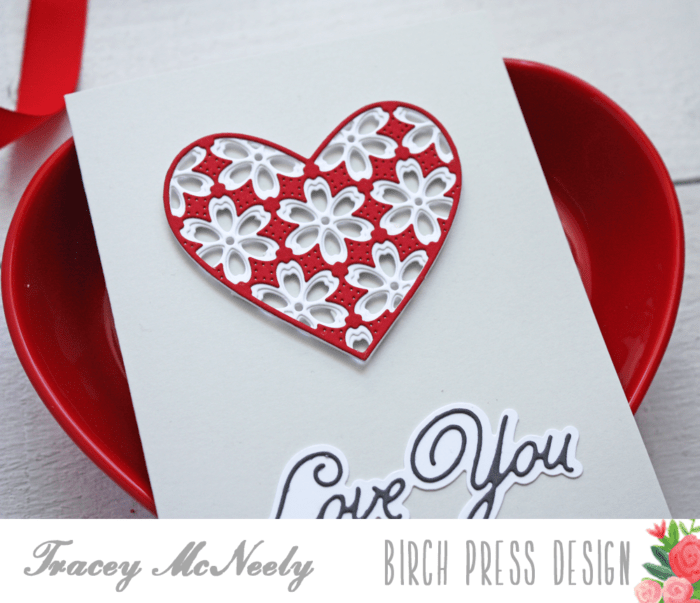
I grabbed my standard A2 size top folding card base and a slightly smaller panel of the same color cut to 4 in x 5 ¼ in. Checked my placement of my hearts and sentiment to ensure they would fit on my panel and card base so I would not have to cut any excess.

Used my liquid adhesive to set my die cuts in place and used my pearl embellishments to accent each of the hearts!
As always, I hope you enjoyed today’s project… and if you want to see more details just click on the video below and see how these projects come together step by step!
Make sure you stay tuned for more wonderful projects coming soon! Have a great day and always remember… Be Creative!

Supplies